stop start CHEVROLET COLORADO 2005 1.G Owner's Guide
[x] Cancel search | Manufacturer: CHEVROLET, Model Year: 2005, Model line: COLORADO, Model: CHEVROLET COLORADO 2005 1.GPages: 414, PDF Size: 2.57 MB
Page 267 of 414

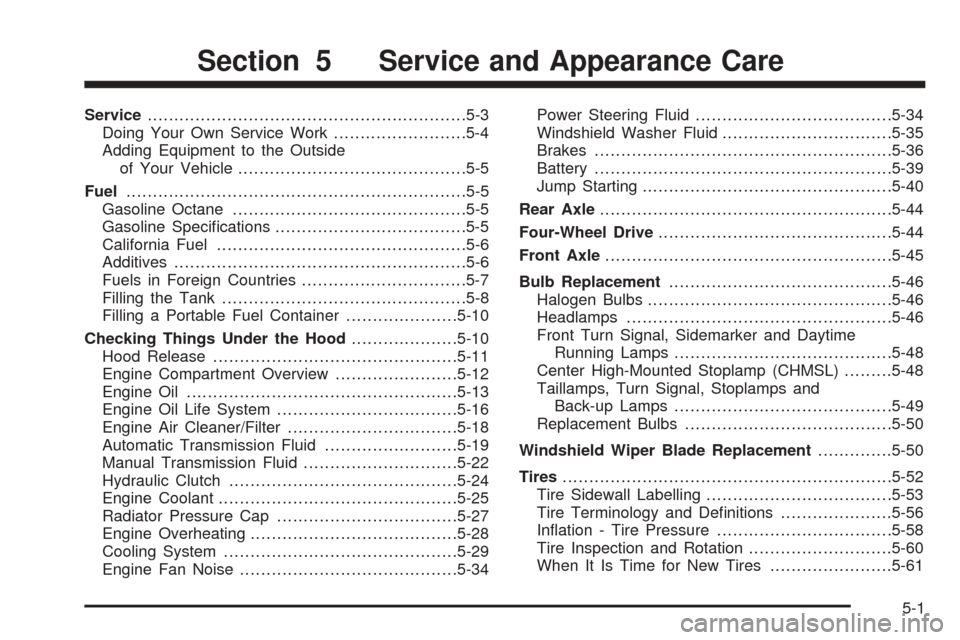
Service............................................................5-3
Doing Your Own Service Work.........................5-4
Adding Equipment to the Outside
of Your Vehicle...........................................5-5
Fuel................................................................5-5
Gasoline Octane............................................5-5
Gasoline Speci�cations....................................5-5
California Fuel...............................................5-6
Additives.......................................................5-6
Fuels in Foreign Countries...............................5-7
Filling the Tank..............................................5-8
Filling a Portable Fuel Container.....................5-10
Checking Things Under the Hood....................5-10
Hood Release..............................................5-11
Engine Compartment Overview.......................5-12
Engine Oil...................................................5-13
Engine Oil Life System..................................5-16
Engine Air Cleaner/Filter................................5-18
Automatic Transmission Fluid.........................5-19
Manual Transmission Fluid.............................5-22
Hydraulic Clutch...........................................5-24
Engine Coolant.............................................5-25
Radiator Pressure Cap..................................5-27
Engine Overheating.......................................5-28
Cooling System............................................5-29
Engine Fan Noise.........................................5-34Power Steering Fluid.....................................5-34
Windshield Washer Fluid................................5-35
Brakes........................................................5-36
Battery........................................................5-39
Jump Starting...............................................5-40
Rear Axle.......................................................5-44
Four-Wheel Drive............................................5-44
Front Axle......................................................5-45
Bulb Replacement..........................................5-46
Halogen Bulbs..............................................5-46
Headlamps..................................................5-46
Front Turn Signal, Sidemarker and Daytime
Running Lamps.........................................5-48
Center High-Mounted Stoplamp (CHMSL).........5-48
Taillamps, Turn Signal, Stoplamps and
Back-up Lamps.........................................5-49
Replacement Bulbs.......................................5-50
Windshield Wiper Blade Replacement..............5-50
Tires..............................................................5-52
Tire Sidewall Labelling...................................5-53
Tire Terminology and De�nitions.....................5-56
In�ation - Tire Pressure.................................5-58
Tire Inspection and Rotation...........................5-60
When It Is Time for New Tires.......................5-61
Section 5 Service and Appearance Care
5-1
Page 275 of 414

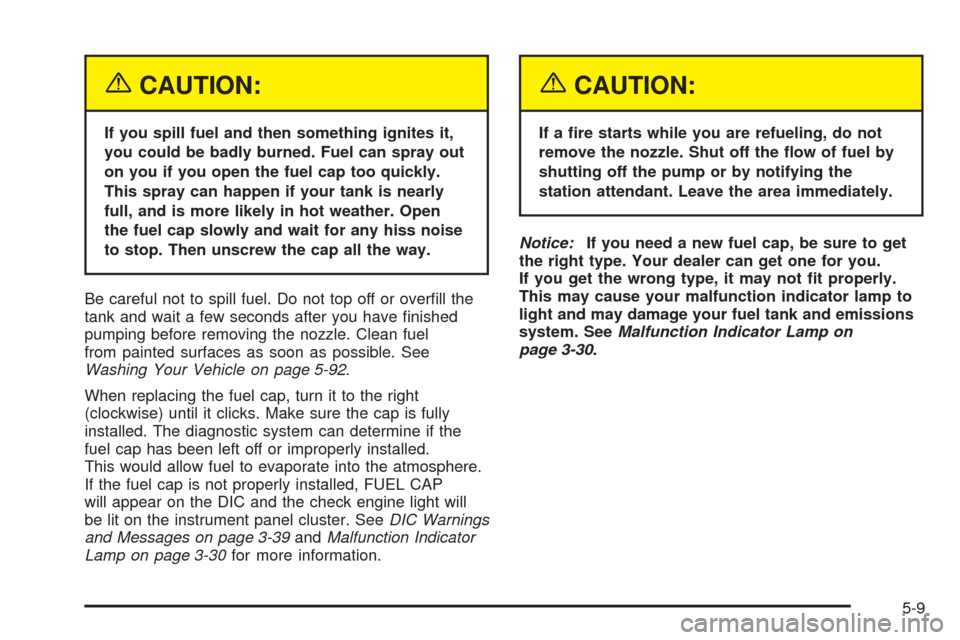
{CAUTION:
If you spill fuel and then something ignites it,
you could be badly burned. Fuel can spray out
on you if you open the fuel cap too quickly.
This spray can happen if your tank is nearly
full, and is more likely in hot weather. Open
the fuel cap slowly and wait for any hiss noise
to stop. Then unscrew the cap all the way.
Be careful not to spill fuel. Do not top off or over�ll the
tank and wait a few seconds after you have �nished
pumping before removing the nozzle. Clean fuel
from painted surfaces as soon as possible. See
Washing Your Vehicle on page 5-92.
When replacing the fuel cap, turn it to the right
(clockwise) until it clicks. Make sure the cap is fully
installed. The diagnostic system can determine if the
fuel cap has been left off or improperly installed.
This would allow fuel to evaporate into the atmosphere.
If the fuel cap is not properly installed, FUEL CAP
will appear on the DIC and the check engine light will
be lit on the instrument panel cluster. SeeDIC Warnings
and Messages on page 3-39andMalfunction Indicator
Lamp on page 3-30for more information.
{CAUTION:
If a �re starts while you are refueling, do not
remove the nozzle. Shut off the �ow of fuel by
shutting off the pump or by notifying the
station attendant. Leave the area immediately.
Notice:If you need a new fuel cap, be sure to get
the right type. Your dealer can get one for you.
If you get the wrong type, it may not �t properly.
This may cause your malfunction indicator lamp to
light and may damage your fuel tank and emissions
system. SeeMalfunction Indicator Lamp on
page 3-30.
5-9
Page 412 of 414

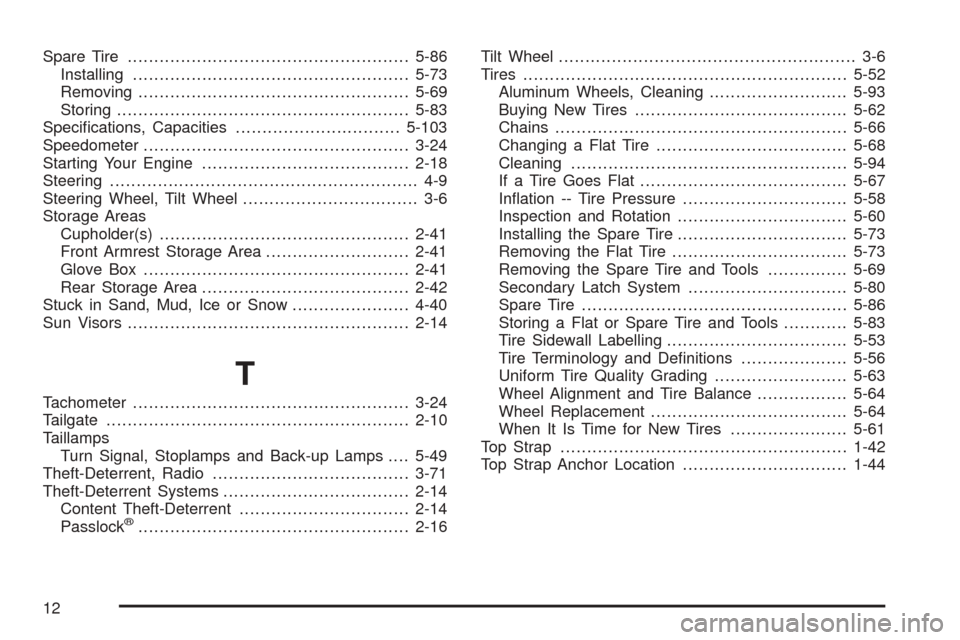
Spare Tire.....................................................5-86
Installing....................................................5-73
Removing...................................................5-69
Storing.......................................................5-83
Speci�cations, Capacities...............................5-103
Speedometer..................................................3-24
Starting Your Engine.......................................2-18
Steering.......................................................... 4-9
Steering Wheel, Tilt Wheel................................. 3-6
Storage Areas
Cupholder(s)...............................................2-41
Front Armrest Storage Area...........................2-41
Glove Box..................................................2-41
Rear Storage Area.......................................2-42
Stuck in Sand, Mud, Ice or Snow......................4-40
Sun Visors.....................................................2-14
T
Tachometer....................................................3-24
Tailgate.........................................................2-10
Taillamps
Turn Signal, Stoplamps and Back-up Lamps....5-49
Theft-Deterrent, Radio.....................................3-71
Theft-Deterrent Systems...................................2-14
Content Theft-Deterrent................................2-14
Passlock
®...................................................2-16Tilt Wheel........................................................ 3-6
Tires.............................................................5-52
Aluminum Wheels, Cleaning..........................5-93
Buying New Tires........................................5-62
Chains.......................................................5-66
Changing a Flat Tire....................................5-68
Cleaning....................................................5-94
If a Tire Goes Flat.......................................5-67
In�ation -- Tire Pressure...............................5-58
Inspection and Rotation................................5-60
Installing the Spare Tire................................5-73
Removing the Flat Tire.................................5-73
Removing the Spare Tire and Tools...............5-69
Secondary Latch System..............................5-80
Spare Tire..................................................5-86
Storing a Flat or Spare Tire and Tools............5-83
Tire Sidewall Labelling..................................5-53
Tire Terminology and De�nitions....................5-56
Uniform Tire Quality Grading.........................5-63
Wheel Alignment and Tire Balance.................5-64
Wheel Replacement.....................................5-64
When It Is Time for New Tires......................5-61
Top Strap......................................................1-42
Top Strap Anchor Location...............................1-44
12