key CHEVROLET CORVAIR 1960 1.G Owners Manual
[x] Cancel search | Manufacturer: CHEVROLET, Model Year: 1960, Model line: CORVAIR, Model: CHEVROLET CORVAIR 1960 1.GPages: 38, PDF Size: 13.42 MB
Page 5 of 38
OPERATING INSTRUCTIONS
BREAKING-IN PERIOD
Sound design and precision manufacturing methods
will permit you to operate your new Corvair in a normal
manner from its very first mile without adhering to a
formal "break-in" schedule. However, during the first
few hundred miles of driving you can, by observing a
few simple precautions, add to the future performance
and economy of your car.
It is recommended that your speed during the first
500 miles be confined to a maximum of 60 M.P.H., but
do not drive for extended periods at anyone constant
speed, either fast or slow. During this period, avoid full
throttle "jack-rabbit" starts and quick, abrupt stops.
Gentle braking during the first few hundred miles of
operation will result in longer brake life and better
future performance. Avoid hard stops especially during
the first 200 miles of operation since brake misuse during
this period will destroy much future brake efficiency.
Always drive at a moderate speed until the engine
has completely warmed up.
2
STARTING THE ENGINE
LOCK OFF ON START
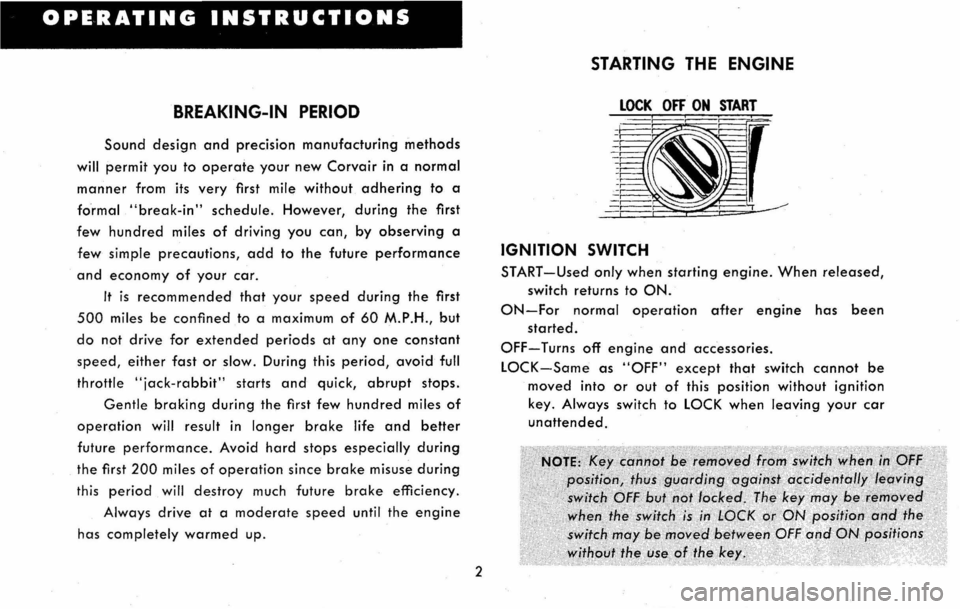
IGNITION SWITCH
START-Used only when starting engine. When released,
switch returns to ON.
ON-For normal operation after engine has been
started.
OFF-Turns off engine and accessories.
LOCK-Same as "OFF" except that switch cannot be
moved into or out of this position without ignition
key. Always switch to LOCK when leaving your car
unattended.
Page 7 of 38
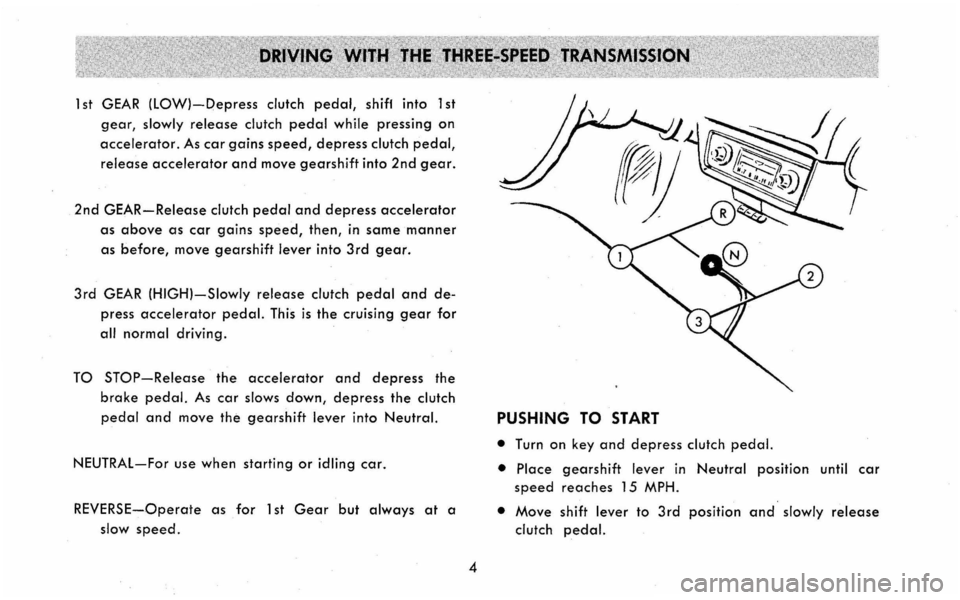
1 st GEAR (lOW}-Depress clutch pedal, shiff into 1 st
gear, slowly release clutch pedal while pressing on
accelerator. As car gains speed, depress clutch pedal,
release accelerator and move gearshift into 2nd gear.
2nd GEAR-Release clutch pedal and depress accelerator
as above as car gains speed, then, in same manner
as before, move gearshift lever into 3rd gear.
3rd GEAR (HIGH}-Slowly release clutch pedal and de
press accelerator pedal. This is the cruising gear for
all normal driving.
TO STOP-Release the accelerator and depress the
brake pedal. As car slows down, depress the clutch
pedal and move the gearshift lever into Neutral.
NEUTRAL-For use when starting or idling car.
REVERSE-Operate as for 1 st Gear but always at a
slow
speed.
4
PUSHING TO START
• Turn on key and depress clutch pedal.
• Place gearshift lever in Neutral position until car
speed reaches 15 MPH.
• Move shift lever to 3rd position and slowly release
clutch pedal.
Page 9 of 38
POWERGlIDE
PUSHING TO START
• Turn on key and move selector lever to Neutral. At
20 to 25 MPH move lever to "L."
• When engine starts, move selector lever to "D."
NOTE: Never tow to start.
TOWING
• Place selector lever in Neutral.
• If transmission or axle are malfunctioning, tow with
rear wheels raised.
• Never tow faster than 30 MPH.
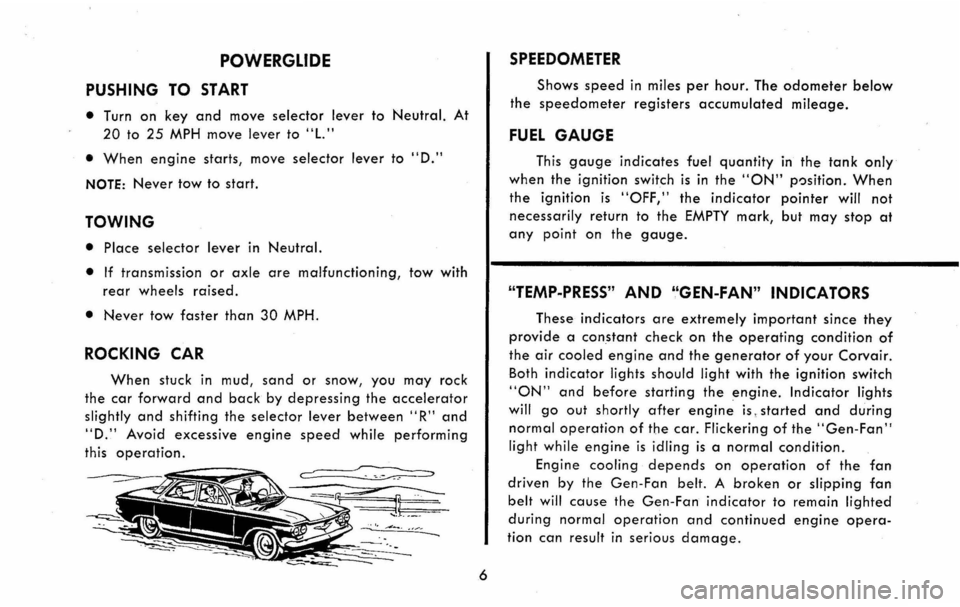
ROCKING CAR
When stuck in mud, sand or snow, you may rock
the car forward and back by depressing the accelerator
slightly and shifting the selector lever between" R" and
"D." Avoid excessive engine speed while performing
this operation.
~ -'.
6
SPEEDOMETER
Shows speed in miles per hour. The odometer below
the speedometer registers accumulated mileage.
FUEL GAUGE
This gauge indicates fuel quantity in the tank only
when the ignition switch is in the "ON" p')sition. When
the ignition is "OFF," the indicator pointer will not
necessarily return to the EMPTY mark, but may stop at
any point on the gauge.
"TEMP-PRESS" AND "GEN-FAN" INDICATORS
These indicators are extremely important since they
provide a constant check on the operating condition of
the air cooled engine and the generator of your Corvair.
Both
indicator lights should light with the ignition switch
"ON" and before starting the engine. Indicator lights
will go out shortly after engine is, started and during
normal operation of the car. Flickering of the "Gen-Fan"
light while engine is idling is a normal condition.
Engine cooling depends on operation of the fan
driven by the Gen-Fan belt. A broken or slipping fan
belt will cause the Gen-Fan indicator to remain lighted
during normal operation and continued engine opera
tion can result in serious damage.
Page 14 of 38
KEYS AND LOCKS
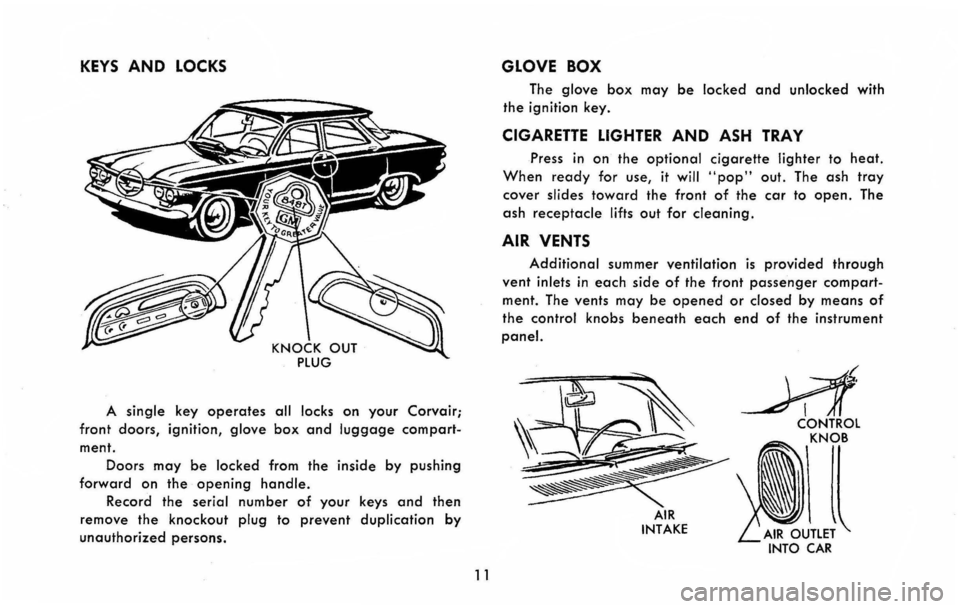
A single key operates all locks on your Corvair;
front doors, ignition, glove box and luggage compart
ment. Doors
may be locked from the inside by pushing
forward on the opening handle.
Record the serial number of your keys and then
remove the
knockout plug to prevent duplication by
unauthorized persons.
11
GLOVE BOX
The glove box may be locked and unlocked with
the ignition key.
CIGARETTE LIGHTER AND ASH TRAY
Press in on the optional cigarette lighter to heat.
When ready for use, it will .. pop" out. The ash tray
cover slides toward the front of the car to open. The
ash
receptacle lifts out for cleaning.
AIR VENTS
Additional summer ventilation is provided through
vent inlets in each side of the front passenger compart
ment. The vents may be opened or closed by means of
the control knobs beneath each end of the instrument
panel.
AIR INTAKE
INTO CAR
Page 16 of 38
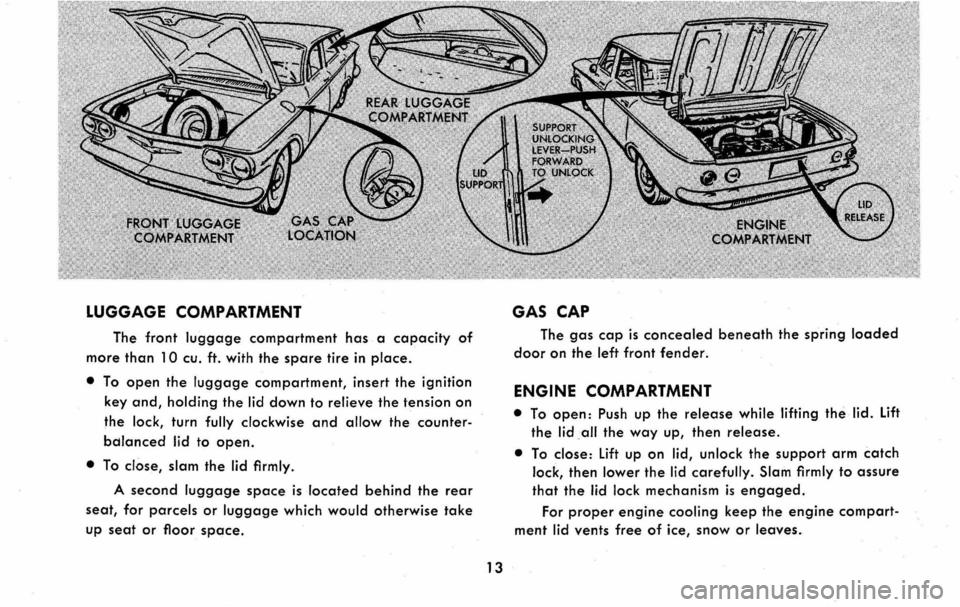
LUGGAGE COMPARTMENT
The front luggage compartment has a capacity of
more than 10 cu. ft. with the spare tire in place.
• To open the luggage compartment, insert the ignition
key and, holding the lid down to relieve the tension on
the
lock, turn fully clockwise and allow the counter
bdlanced lid to open.
• To close, slam the lid firmly.
A second luggage space is located behind the rear
seat, for parcels or luggage which would otherwise take
up seat or floor space.
13
GAS CAP
The gas cap is concealed beneath the spring loaded
door on the left front fender.
ENGINE COMPARTMENT
• To open: Push up the release while lifting the lid. Lift
the
lid .all the way up, then release.
• To close: Lift up on lid, unlock the support arm catch
lock, then lower the lid carefully. Slam firmly to assure
that the lid lock mechanism is engaged.
For proper engine cooling keep the engine compart
ment lid vents free of ice, snow or leaves.
Page 33 of 38
INDEX
Page
Air Cleaner .............. , . ............ .. 21
Air Vents ............................... .
Ash Tray
............ .................... .
Battery ................................. .
Body
lubrication ......... . ............... .
Brake
Master Cylinder ..................... .
Brake-Parking .......................... .
Brakes
........ .. ............. .. ........ .
Breaking-in
Period . ........ .. ........... . .
11
11
22
23
?3
9
9
2
Bright Metal Parts . .............. .......... 14
Bulb Specifications .................... .... , 29
Chassis lubrication ................... ..... 19
Cigarette Lighter .......................... 11
Circuit Breaker ......... . ................. 29
Cleaning Hints . . . . . . . . . . . . . . . . . . . . . . . . . . .. 14
Clutch Cross Shaft lever ................... , 20
Clutch Pulleys & Cables .. . . . . . . . . . . . . . . . . . .. 23
Cooling System ........................... 17
Crankcase lubrication ................ 16 and 20
Dimensions .............................. . 28
Dimmer Switch ... ........................ . 8
Distributor .............................. . 21
30
Page
Driving for Economy . . . . . . . . . . . . . . . . . . . . . . .. 3
Engine Oil Cooler ............. .......... . . 21
Engine
Compartment ....................... 13
Engine lubrication .................... 16 and 20
Engine Specifications . . . . . . . . . . . . . . . . . . . . . .. 28
Exterior Appearance ....................... 14
Washing ............................. 14
Polishing ........ ..................... 14
Bright Metal Parts . . . . . . . . . . . . . . . . . . . . .. 14
White Sidewall Tires .................... 15
Folding Rear Seat . . . . . . . . . . . . . . . . . . . . . . . .. 12
Front Seat Adjuster ........................ 12
Front Suspension ......... ........ ......... 20
Front Wheel Bearings ............ .......... 21
Fuel Filter ............. .. ................ 23
Fuel Gauge . . . . . . . . . . . . . . . . . . . . . . . . . . . . .. 6
Fuses ..
................. ................ 29
Gas Cap ........ ........................ 13
Generator ............................... 20
Gen-Fan Indicator ......................... 6-7
Glove Box ......... .... ............... . ' .' 11
Heater .. . . . . . . . . . . . . . . . . . . . . . . . . . . . . . . .. 10
Ignition Switch . . . . . . . . . . . . . . . . . . . . . . . . . . .. 2
Interior Appearance ............... ...... .'. 15
Jacking the Car . . . . . . . . . . . . . . . . . . . . . . . . . .. 1 8
Keys
and Locks .... . . . . . . . . . . . . . . . . . . . . . .. 11