CHEVROLET CORVETTE 1964 User Guide
Manufacturer: CHEVROLET, Model Year: 1964, Model line: CORVETTE, Model: CHEVROLET CORVETTE 1964Pages: 52, PDF Size: 11.2 MB
Page 11 of 52
10
Pushing and Towing Tips
PUSHING CAR TO START
Should it ever beco me necessary to start the engine by
pu shing the car (towing to start is not recommended as car being towed may accelerate into tow car), pro
ceed as fo llows: Turn off all e lect rical loads su ch as radio, heater
and, if possible, lights until the engine st arts.
MANUAL TRANSMISSION - T
urn ignition switch
to "on." Place shift leve r in high (3rd on 3-spee d
transmissions, 4th on four-speed) and depress clutch. When car reaches 25-30 miles per hour, slowly re
l ease clutch to sta rt e ng ine.
POWERGLlDE TRANSMISSION -
Turn ignit io n
switch to "on" and place sel ector lever in "N." W h e n
car reac hes a spee d of 25-30 mph, place th e selecto r
l ever in
A DISABLED CAR
If your Corvette must be towed, the following pre
cautions must be observed:
MANUAL TRANSMISSION
-Release parking brake
and place shift lever in neutral.
POWERGLIDE TRANSMISSION -Release
parking brake and place selector lever in "N." DO NOT TOW IN EXCESS OF 30 MPH. II the transmission is inoperative, or not operating properly, the propeller shaft must b e d isconnected or car must be
towe d with rear wheels off the ground.
TOWING WITH REAR WHEELS
RAISED-When a
vehicle is being towed on its front wheels, the steer
ing whee l shou ld be secured to maintain a straight
forward position.
Do
not use tire chains on the rear wheels of your Corvette . Clearance between
USE OF TIRE CHAINS
AND SNOW TIRES
• tire and wheelhouse is insufficient to permit operation with chains insta!led.
Many [ire manufa cturers market tires for the Corvette which have specialized
tread designs for mud and snow use.
Page 12 of 52
CLUTCH AND STEERING ADJUSTMENTS-Your Chevrolet deal!!! '?I.n make these 'adjustments for YQu: • A linkage adjustment to reduce clutch pedal travel to permit .fast release and more rapid gear shifting; • An adjustment to move the steering wheel forward or rearward; _ A linkage IIdjustment to permit
"faster" steering
response.
TRAILERS and their EFFECT on CAR OPERATION
The Corvette is designed primaril y (or passenge r
co nveyance . H owever , it is well known that many owners do pull trailers and have experi e nced very
sa tisfacLOry serv ice.
When a trailer is attached to a car, the car becomes
not only a l oad-carrying vehicle, but a load-pulling vehicle . The d e m a n ds of this type of operation are
very different from those (or which t h e automobile is pri ma rily designed and may present probl ems, such
as spring and tire loading, braking, coo ling, lighting, and steering. Howeve r, careful driving practices will
better s atisfy the requirements of trailer hauling.
If in the opinion of the manufacturer a part or com ponent of a motor vehicle has been advers ely affected
by misuse of the vehicle with trailer loads, such part or
com
ponent will not be covered by the manufacturers warranty .
The size o f and equipment for trailers, including
su ch ite ms as hitc hes and safe t y ch a ins, brakes, ligllls, pO\ve r- wei ght ratios a n d over-all length, are gen erally
su bject to safet y regulations in all states, and i t is the responsibility o f the u ser to m a ke certain that h e is in full compliance with th e regulations of the states
in which h e plans to opera te with a traile r and of t h e Interstate Commerce Commission, i f applicable,
before doing so . Furthe r , when opera tin g a car with a traile r attached, the drive r must realize tha t the performance, steering characte ri stics , a n d brakin g distance of his ca r h ave been altered , and that h e mlls t exe r c ise greater caution t o safe ly handle his
ca r and trailer.
Page 13 of 52
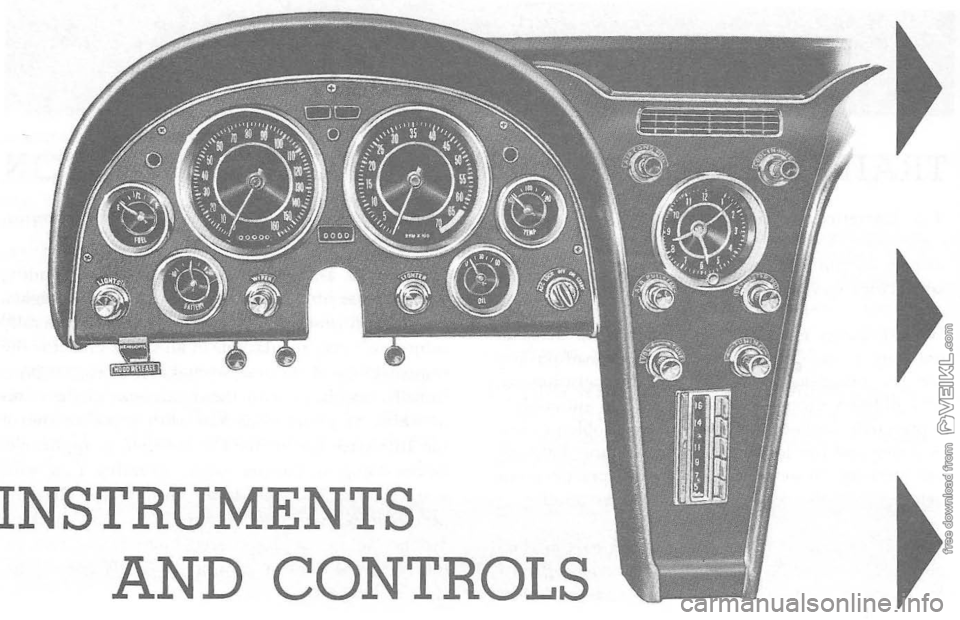
INSTRUMENTS AND CONTROLS
Page 14 of 52
SPEEDOMETER
AND
ODOMETER
..
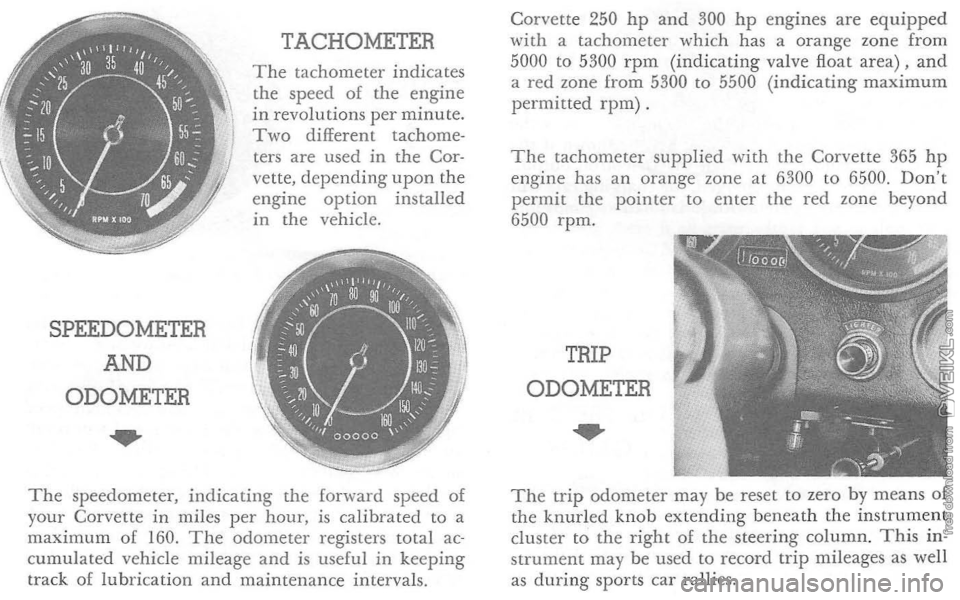
TACHOMETER
The tachometer indicates
the speed of the engine in revolutions per minute. Two different tachometers are used in the Cor
vette, depending upon the engine option installed
in the vehicle.
The speedometer, indicating the forward speed of
your Corvette in miles per hour, is calibrated to a
maximum of 160. The odometer registers total accumulated vehicle mileage and is useful in keeping
track of lubrication and maintenance intervals. Corvette
250
hp and 300 hp engines are equipped with a tachometer which has a orange zone from
5000 to 5300 rpm (indicating valve float area) , and a red zone from 5300 to 5500 (indicating maximum permitted rpm) .
The tachometer supplied with the Corvette 365 hp engine has an orange zone at 6300 to 6500. Don't permit the pointer to enter the red zone beyond
6500 rpm.
TRIP
ODOMETER
The trip odometer may be reset to zero by means of
the knurled knob extending beneath the instrument
cluster to the right of the steering column.
This in
strument may be used to record trip mileages as well as during sports car rallies.
Page 15 of 52
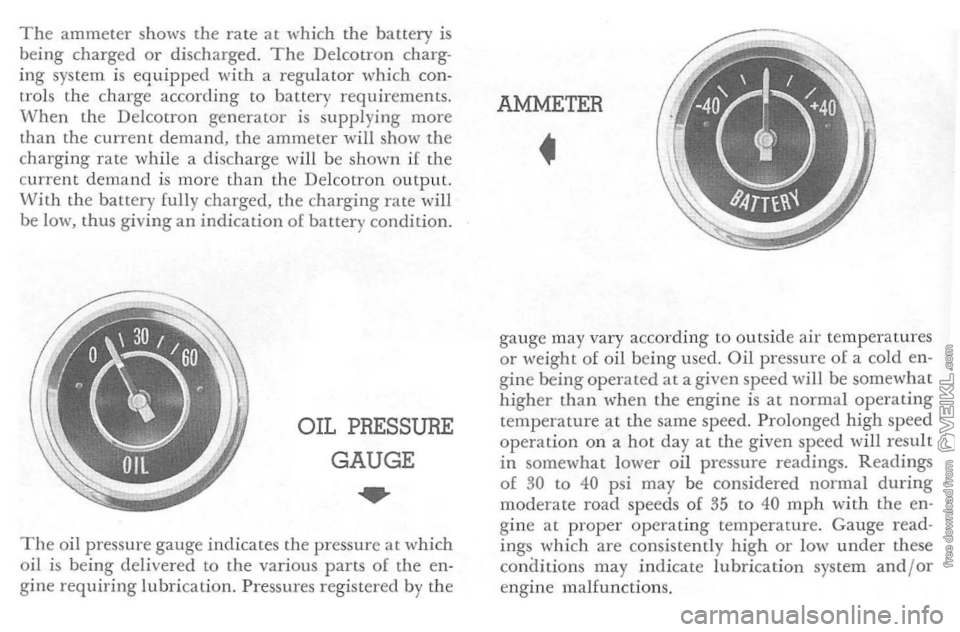
The ammeter shows the rate at which the battery is being charged or discharged. The Delcotron charg
ing system is equipped 'with a regulator which con
trol s the charge acco rding to battery requirements.
When the Delcotron generator is supp lying more
than the curre nt demand, the ammeter will show the
chargi ng rate while a disc harg e will be shown if
the
current demand is more than the Delcotron output.
With the battery fully charged , the charging rate will be 1m-\', thus giving an indication of battery condition.
OIL PRESSURE
GAUGE
...
The oil pressure gauge indicates the pressure at which
oil is being delivered to the various parts of the en·
gine requiring lubrication. Pressures registered by the
AMMETER
•
gauge
may vary acco rding to outside air temperatures or weight of oil being used. Oil pressure of a cold en
gine being operated at a given speed will be somewhat
higher than when the engine is at normal operating
temperature at the sam e speed. Prolonged high speed operation on a hot day at the giv en speed will result in somewhat lower oil pressure readings. Readings of 30 to 40 psi may be considered normal during moderate road speeds of 35 to 40 mph with the en
gine at proper operating temperature. Gauge read
in gs whi ch are consistently high or low under these
co nCIitions may ind i cate lubrication system and/or
engine malfunctions.
Page 16 of 52
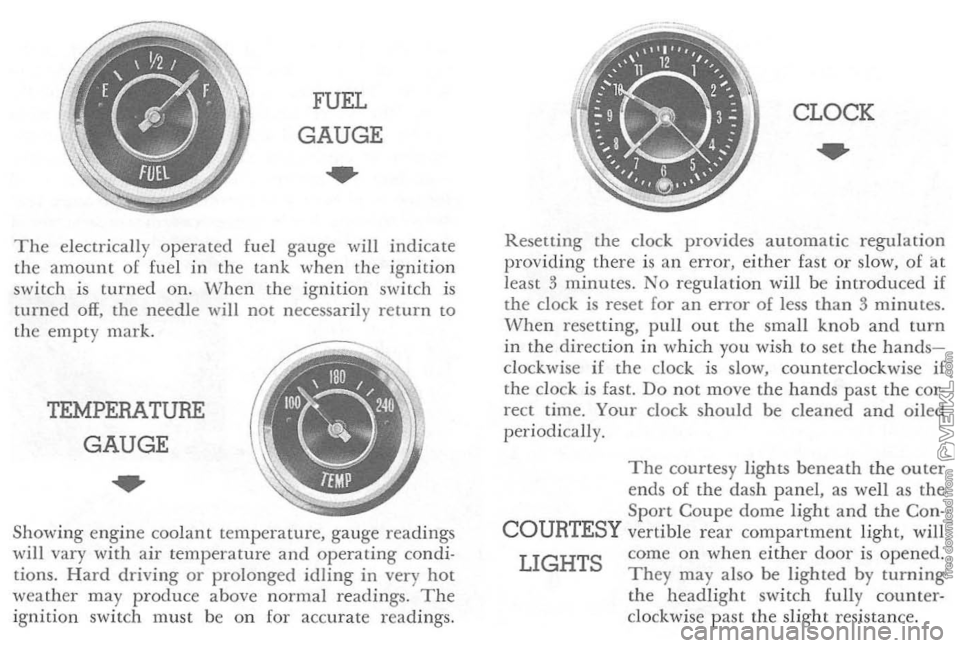
FUEL
GAUGE
..
The ele ctr ically o p erated fuel gauge will indicate
th e amoun t o f fuel in the lan k when th e ig nition
switc h i s turned on. W hen the ignition switch is
turned off, the nee dle will not necessar ily retur n to the em pty mark.
TEMPERATURE
GAUGE
..
Showing engin e coo lant temperature, gauge readings w ill vary with air temp eratur e and operating condi
tions. Hard driving or prolonged idling in very hot
weather may produc e above normal readings. The ignitio n swit ch must be o n [or accur ate r eadings.
CLOCK
..
Resetting the dock provides a utomatic regulat io n
providing ther e is an error, either fast o r slow, of at
lea st 3 minu tes. No regulat ion will be introd uced if
the clock is reset for an error of less than 3 minutes. When resetting, pull out the small knob and turn in the direction in whi ch you wi sh to set the handsclockwise if the clock is slow, counterclockwi se if the clo ck is fast. Do not move the hand s pas t the cor
rect time. Your clock should be cleaned and oiled periodi cally.
The courtesy lights beneath the o u ter
en ds of the dash p a nel, as well as the Sport Coupe dome light and the Con-
COURTESY vertible r ear compartment light, will
LIGHTS come on when eithe r door is opened. They may a lso be lighted by turning the headlight switch fully counterclockwise past the slight resi stan ce.
Page 17 of 52
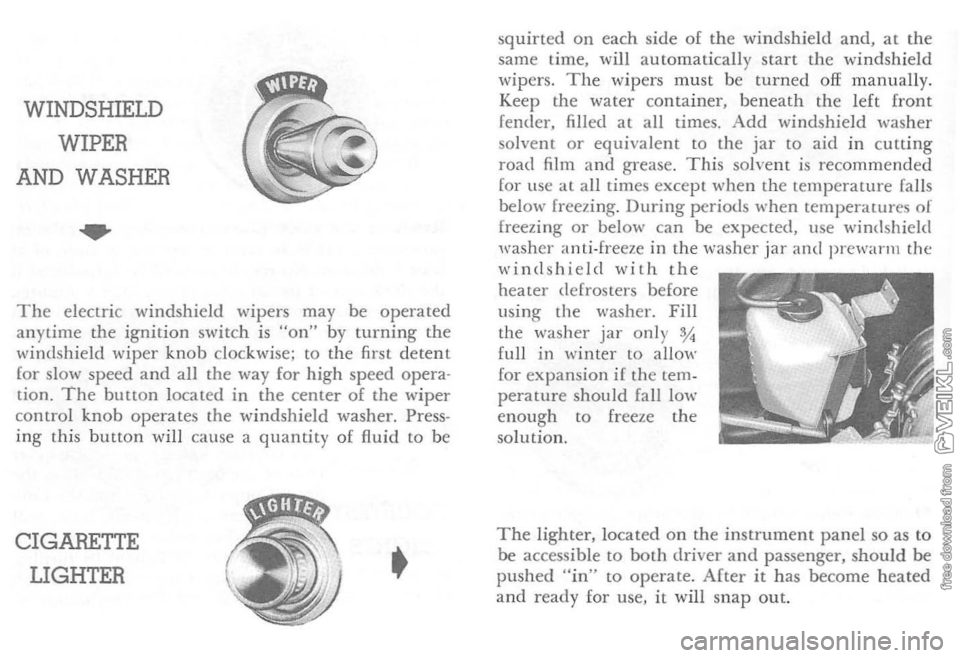
WINDSHIELD
WIPER
AND WASHER
..
The electric windshield wipers may be operated
anytime the ignition switch is "on" by turni ng the
\-vindshield wip er knob clockwise; to the first detent
for slow speed
and all the way for high speed opera
tion. 'The button located in the center of the wiper
contro l knob operates the windshield washer. Press
ing this button will cause a quantity of fluid to be
CIGARETTE
LIGHTER • squ
irted on ea
ch sid e of the windshield and, at the
same time, will autom atically star t the windshi eld
w ipers. The wipers must be turned off manually.
Keep the water container , beneath the l eft front
fender, filled
at all times. Add windshield washer solvent or equ ivalent to the jar to aid in c utting
road film and grease . This so lve nt is recomm ended for lise at all times except when th e temperature falls
below freezing. During periods when temperawres of freezing or below can be expected, use windshield
washer anti-freeze in the washer jar and prewarm the windshield with the heater defrosters before
us ing the washer. Fill
the was her jar on l), %
full in win ter to allow for expa nsion if the temperature should fall low enou gh to freeze the
so lution.
The light e r. located on the instrument panel so as to
be accessible to both dri
ver and passenger, should be pushed "in" to operate. After it has become hea ted and ready for use, it will snap out.
Page 18 of 52
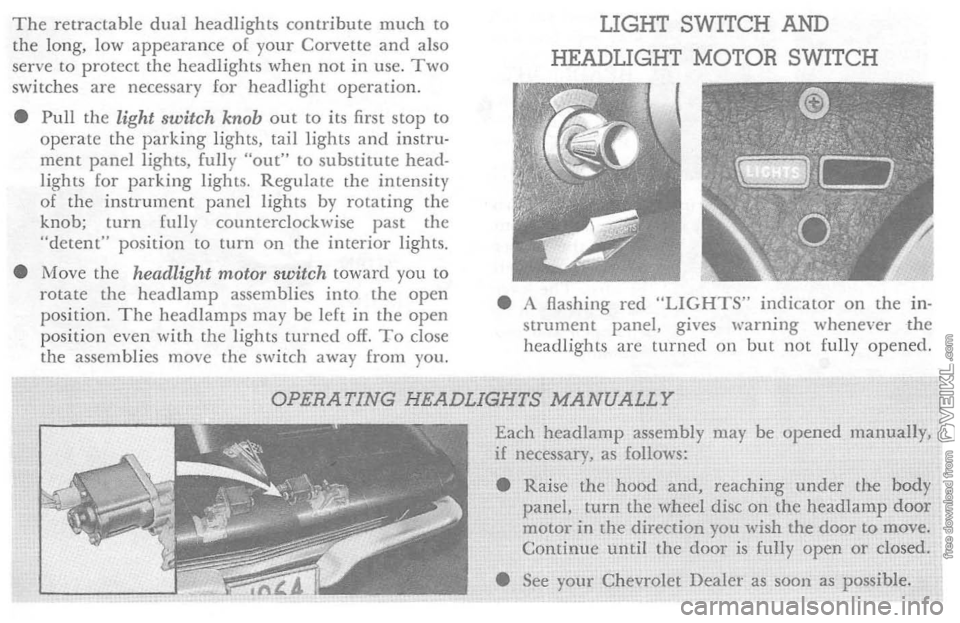
The retractable dual headlights contribute much to the long, low appearance 01 your Corvette and also
serve to protect the headlights when not in use . Two switches are necessary for headlight operation.
• Pull
the light switch knob out to its first stop to operate the parking lights, tail lights and instru· ment panel lights, fully "out" to substitute head·
lights lor parking lights. Regulate th e intensity 01 the instrument panel lights by rotating the
knob; turn fully counterclockwise past the
"detent" position
to turn on the interior lights.
• Move
the headlight motor switch toward you to
rotate the head lamp assemblies into the open
position. The headlamps may be lelt in the open
position even WiLh the lights turned off. To close
the assemblies move the switch away from you.
LIGHT SWITCH AND
HEADLIGHT MOTOR SWITCH
• A flashing red "LIGHTS" indicator on the in·
strument panel, gives warning whenever the
headlights are
turned on but not fully opened.
OPERATING HEADLIGHTS MANUALLY
Each headlamp assembly may be opened manuaJly, if necessary, as follows:
• Raise
the hood and, reaching under the body panel, turn the wheel disc on the headlamp door motor in the direction you wish the door to move. Continue until the door is fully open or closed .
• See
your Chevrolet Dealer as sOOn as possible.
Page 19 of 52
HEADLIGHT
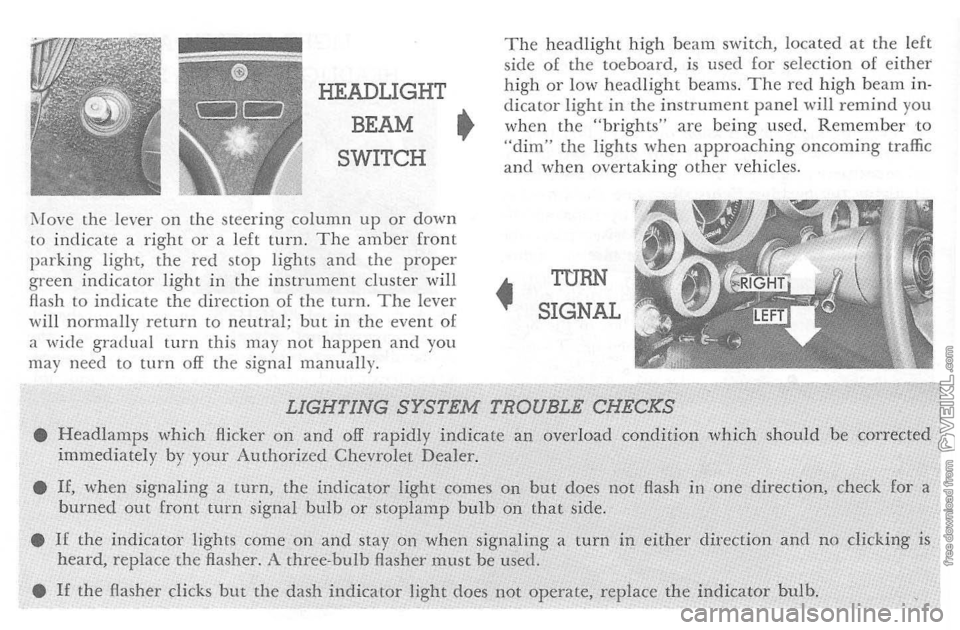
BEAM •
SWITCH
i\fove the lever on t h e steering column up or down to indicate a right o r a left turn. The amber front parking light, the red stop lights and the proper green indicator light in the instrument cluster will
flash to indicate the d irection of the turn. The lever
wi ll normally return to neutral; but in the event of
a wide gradual turn this may not happen and you
may nee d to turn off the signa l manually.
The headlight high beam switch, located at the left
side of the toeboard. is used for selection of either high or low headlight beams. The red high beam indicator light in the instrument p a nel will remind you when the "brights" are being used. Remember to "dim" the lights when approaching oncoming traffic and when overtaking other vehicles .
•
TURN
SIGNAL
LIGHTING SYSTEM TROUBLE CHECKS • Headlamps which Hickel' on and off rapidly indicate an overload condition which should be corrected immediately by your Authorized Chevrolet Dealer.
•
If, when signaling a turn, the indicator light comes on but does not Hash in one direction, check for a burned out front turn signal bulb or stoplamp bulb on that side.
•
If the indicator lights come on and stay on when signaling a turn in either direction and no clicking is heard, replace the flasher. A three-bulb Aasher must be used.
•
If the Hasher clicks but the dash indicator light does not operate, replace the indicator bulb.
Page 20 of 52
HOOD
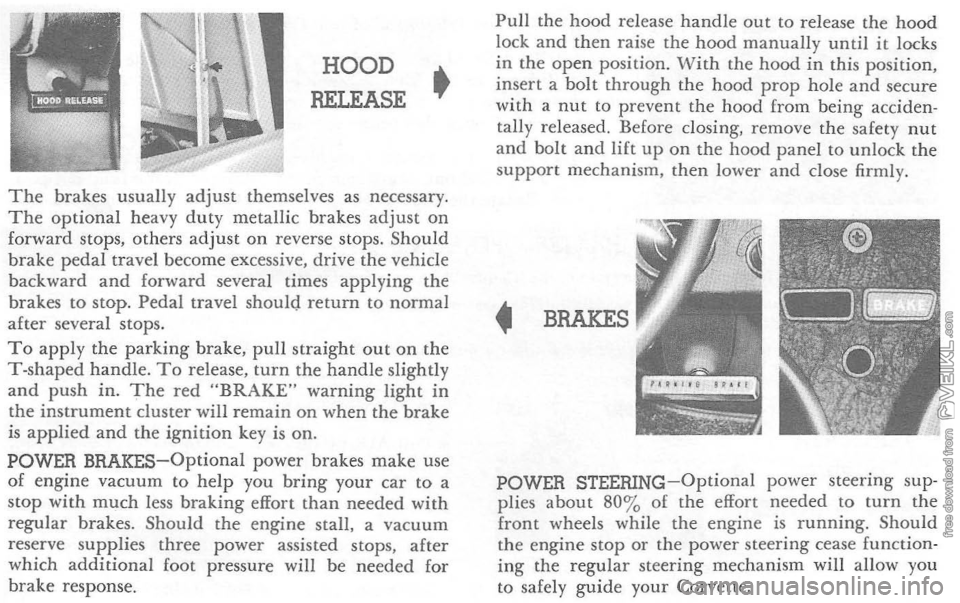
RELEASE •
The brakes usually adjust themselves as necessary. The optional heavy duty metallic brakes adjust on forward stops, others adjust on reverse stops. Should
brake pedal travel become excessive, drive the vehicle
back ward
and forward several times applying the
brakes to stop. Pedal travel should return to normal after several stops. To apply the parking brake, pull straight out on the T-shaped handle. To release, turn the handle slightly and push in. The red "BRAKE" warning light in the instrument cluster will remain on when the brake is applied and the ignition key is on. POWER BRAKES-Optional power brakes make use of engine vacuum to help you bring your car to a stop with much less braking effort than needed with regular brakes. Should the engine stall. a vacuum
reserve supplies three power assisted stops, after
which additional foot pressure will be needed for
brake response.
Pull the hood release handle out to release the hood lock and then raise the hood manually until it locks
in the open position . With the hood in this position, insert a bolt through the hood prop hole and secure
with a nut to prevent the hood from being acciden
tally released. Before closing, remove the safety nut
and bolt and lift up on the hood panel to unlock the
support mechanism . then lower and close firmly.
• BRAKES
POWER STEERING-Optional power steering sup
plies about 80 % of the effort needed to turn the front wheels while the engine is running. Should the engine stop or the power steering cease function ing the regular steering mechanism will allow you
to safely guide your Corvette.