set clock CHEVROLET CORVETTE 1964 Owners Manual
[x] Cancel search | Manufacturer: CHEVROLET, Model Year: 1964, Model line: CORVETTE, Model: CHEVROLET CORVETTE 1964Pages: 52, PDF Size: 11.2 MB
Page 16 of 52

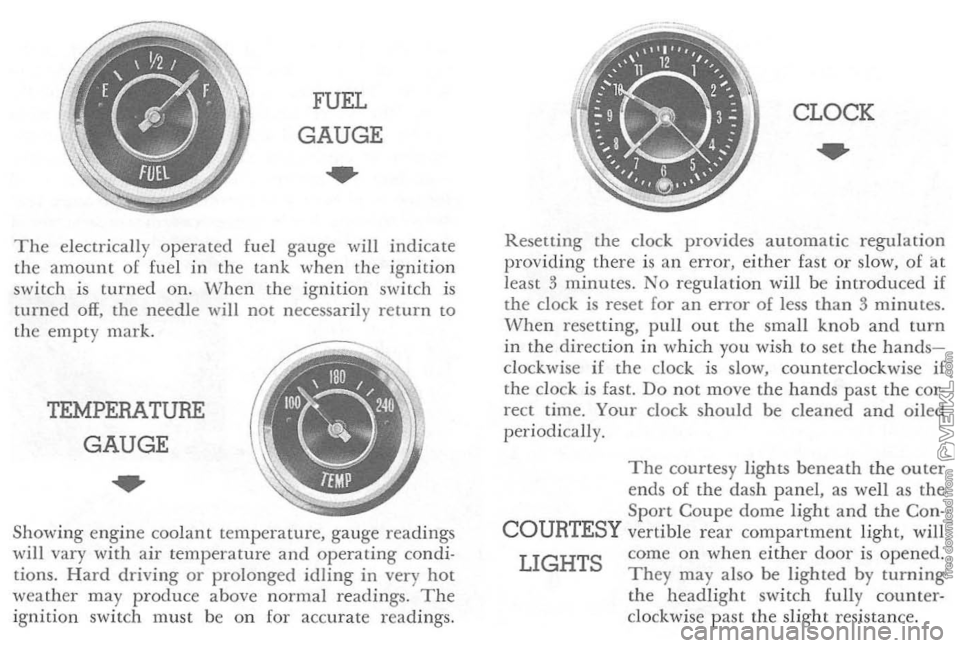
FUEL
GAUGE
..
The ele ctr ically o p erated fuel gauge will indicate
th e amoun t o f fuel in the lan k when th e ig nition
switc h i s turned on. W hen the ignition switch is
turned off, the nee dle will not necessar ily retur n to the em pty mark.
TEMPERATURE
GAUGE
..
Showing engin e coo lant temperature, gauge readings w ill vary with air temp eratur e and operating condi
tions. Hard driving or prolonged idling in very hot
weather may produc e above normal readings. The ignitio n swit ch must be o n [or accur ate r eadings.
CLOCK
..
Resetting the dock provides a utomatic regulat io n
providing ther e is an error, either fast o r slow, of at
lea st 3 minu tes. No regulat ion will be introd uced if
the clock is reset for an error of less than 3 minutes. When resetting, pull out the small knob and turn in the direction in whi ch you wi sh to set the handsclockwise if the clock is slow, counterclockwi se if the clo ck is fast. Do not move the hand s pas t the cor
rect time. Your clock should be cleaned and oiled periodi cally.
The courtesy lights beneath the o u ter
en ds of the dash p a nel, as well as the Sport Coupe dome light and the Con-
COURTESY vertible r ear compartment light, will
LIGHTS come on when eithe r door is opened. They may a lso be lighted by turning the headlight switch fully counterclockwise past the slight resi stan ce.
Page 35 of 52

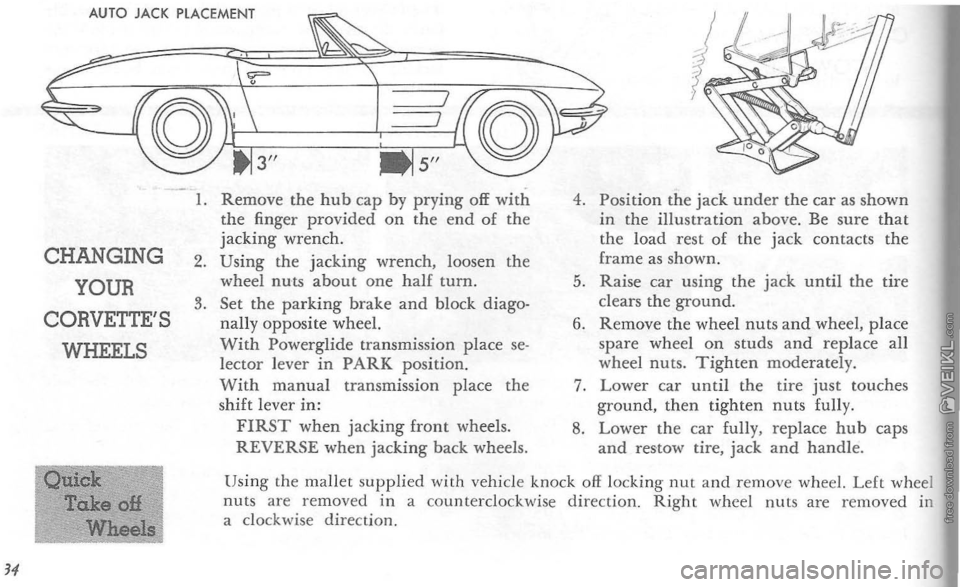
AUTO JACK PLACEMENT
CHANGING
YOUR
CORVETTE'S
WHEELS
1. Remove the hub cap by prying off with the finger provided on the end of the jacking wrench. 2. Using the jacking wrench, loosen the wheel nuts about one half turn. 3. Set the parking brake and block diago
nally opposite wheel.
With Powerglide transmission place selector lever in PARK position. With manual transmission place the
shift lever in:
FIRST when jacking front wheels. REVERSE when jacking back wheels. 4.
Position the jack under the car
as shown
in the illustration above. Be sure that
the
load rest of the jack contacts the frame as shown. 5. Raise car using the jack until the tire
clears the ground. 6. Remove the wheel nuts and wheel, place spare wheel on studs and replace all
whee l nuts. Tighten moderately. 7. Lower car until the tire just touches ground, then tighten nuts fully. 8. Lower the car fully , replace hub caps
and res-tow tire. jack and handl e .
Using the mallet supplied with vehicl e knock
off locking nut and remove wheel. Left whee l
nuts are removed in a counterclockwise direction. Right wheel nuts are removed in a clockwise direction.