CHEVROLET CORVETTE 1993 4.G Owners Manual
Manufacturer: CHEVROLET, Model Year: 1993, Model line: CORVETTE, Model: CHEVROLET CORVETTE 1993 4.GPages: 370, PDF Size: 21.43 MB
Page 271 of 370
Downloaded from www.Manualslib.com manuals search engine Service & Appearance Care
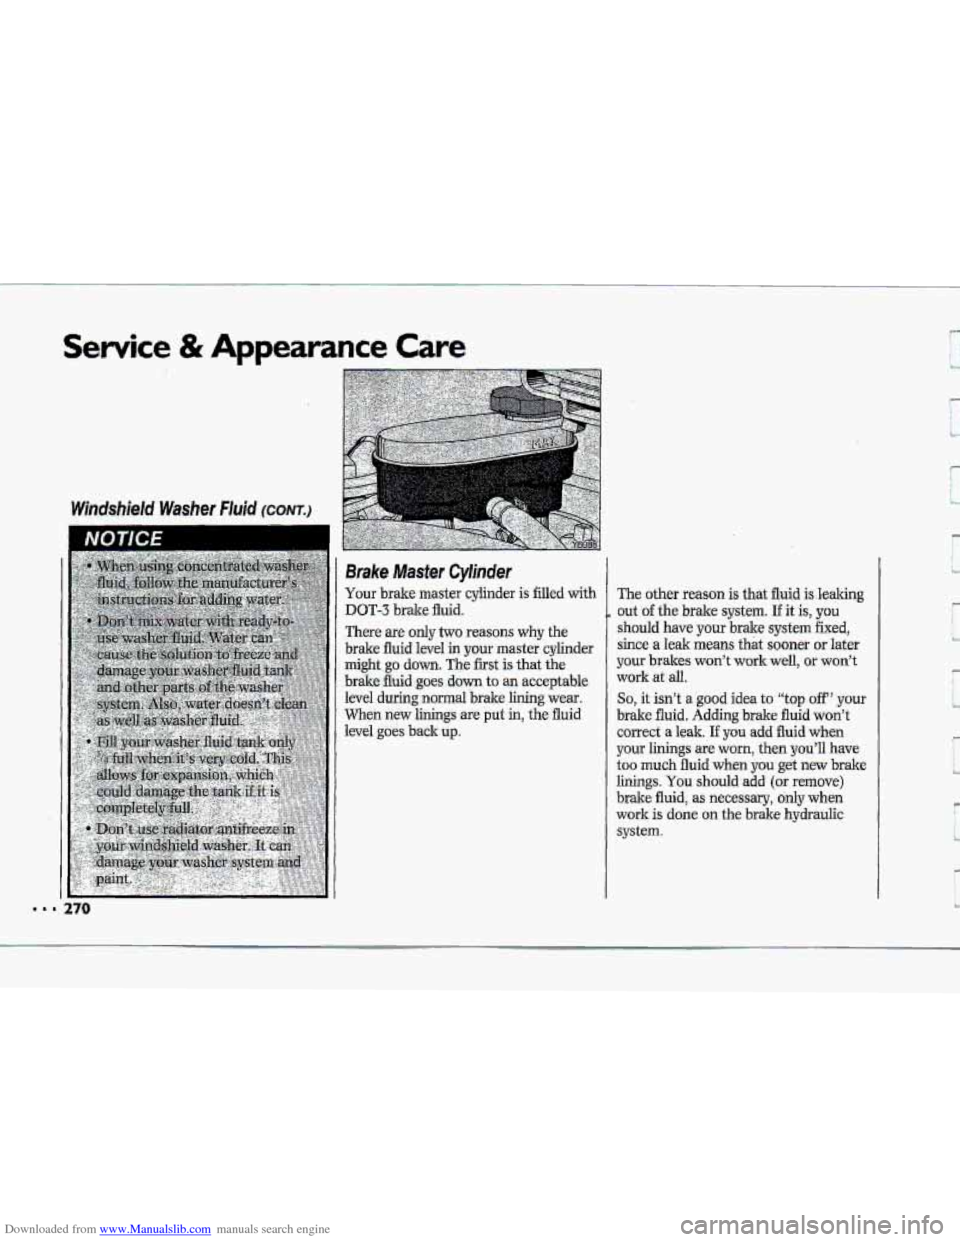
Brake Master Cylinder
Your brake master cylinder is filled with
DOT-3 brake fluid.
There are only two reasons why the
brake fluid level
in your master cylinder
might go down. The first is that the
brake fluid goes down to an acceptable
level during normal brake lining wear.
When new
linings are put in, the fluid
level goes back up.
The other reason is that fluid is Iealring
out
of the brake system. If it is, you
should have your brake system fixed,
since
a leak means that sooner or later
your brakes won’t work well, or won’t
work at all.
So, it isn’t a good idea to “top off” your
brake fluid. Adding brake fluid won’t
correct
a leak. If you add fluid when
your linings are worn, then you’ll have
too much fluid when you get new brake
linings. You should add (or remove)
brake fluid,
as necessary, only when
work
is done on the brake hydraulic
system.
Page 272 of 370
Downloaded from www.Manualslib.com manuals search engine c
.-
WETen your brake fluid falls to a.low
level,
your brake warning light,
SERVICE ABS light and SERVICE
ASR light will come on. The- anti-lock
brake and .acceleration
slip regulation
systems are disabled when your brake
flu.id falls to
it low level. See thedndex
under
Brake System Warning Light;
To Add Brake Fluid:
Lift the cap and pour in fluid to the
MAX mark on the master cylinder. Do
not oveffiI1.
&%at to Add:
When you do need brake fluid, use-
)nly
DOT-3 brake fluid-such as
lelcrr Supreme 1P (GM Part No.
.052535). Use new brake fluid from a
'eded. container only.
NOTlCE
Replacing Brake System Parts
The braking system on a modern
vehicle is
complex. Its many parts have
to be
of top quality -and work well
together if the vehicle is to haye really
good braking. Vehicles we design and
test have top-quality GM brake-parts in
the&, as
your Corvette does when it is
new. When you replace parts of your
braking 'system-for example, when
your brakelinings wear down and you
have to have new ones put in-be sure
you get new genuine GM replacement
parts. If.you don't, your brakes may no
longer work properly. For example, if
someone.puts
in b.r&e linings that are
wrong for your vehicle, .the balance
between your
front and rear brakes can
change, for the worse. The braking
performance
you've come to expect can
change in many other ways if.-someone
puts
in the wrong replacement brake
parts.
27 I
Page 273 of 370
Downloaded from www.Manualslib.com manuals search engine Service & Appearance Care
Battery
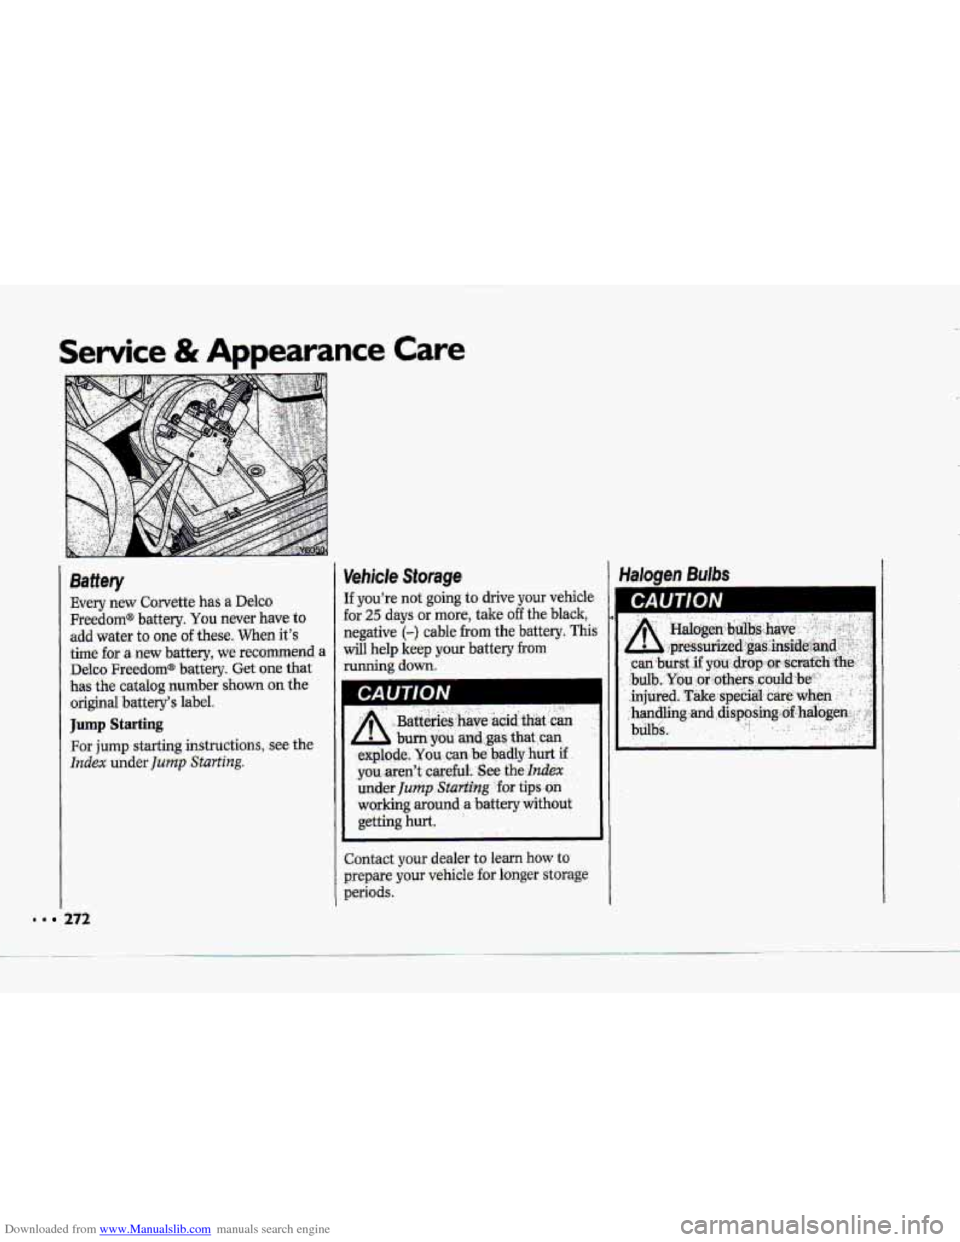
Every new Corvette has a Delco
Freedoma battery. You never have to
add water to one of these. When it's
time far a new. battery, we recommend. a
Delco
Freedom* battery. Get one that
has -the catalog number shorn on the
okiginal battery's label.
Jump Starting
For jump starting iqs.tructions, see the
Iizdex under Jump Starting
Vehicle Storage
If you're not going to drive your vehicle
for 25 days or 'more, take off the black,
negative
(-1 cable from the battery. This
wit1 help keep your battery from
.running down,
Contact your dealer to-learn how to
prepare your vehicle far longer storagg
mriods.
272
Page 274 of 370
Downloaded from www.Manualslib.com manuals search engine Headlr'ghf Bulb Replacement
TO change your-Corvette's headli,ghts,
you'll need a Phillips screwdriver and a
# 15 Torx@ driver.
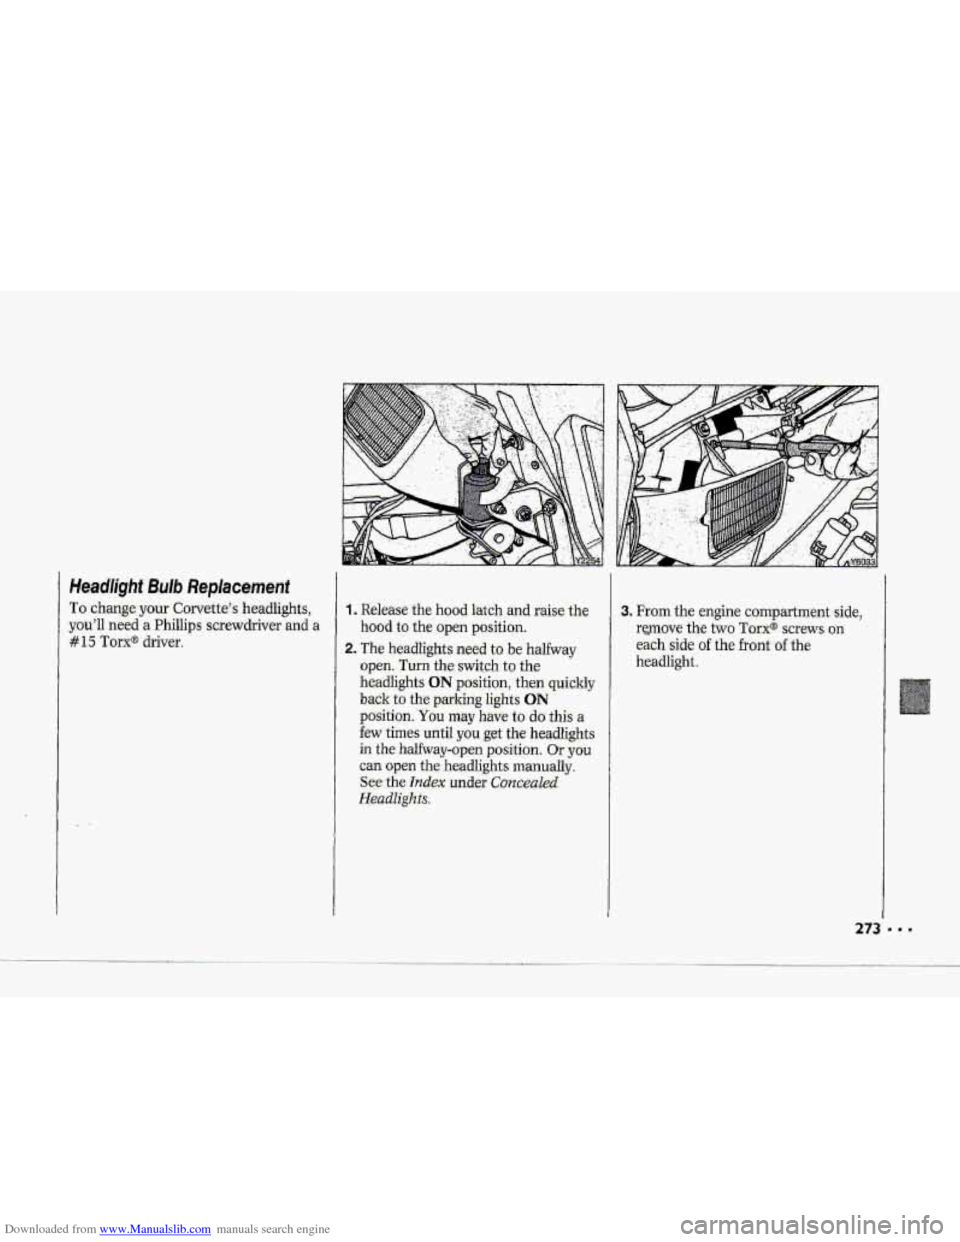
'1 .. Release the hood latch and r~ise the
2. The headlights need to be halfway
hood to the open position.
open. Turn theswitch to the
headlights ON position., -then quicldy
back to the p.arking lights ON
position .You hay have to do this a
few times until you get the headlights
in the halfway-open position. Or you
can open the .headlight-s manually.
See the Index urmder Conceukd.
Hmdlighfq.
3. From the engine compartment -side,
rcpove the two Torx@ screws on:
each side of the. front, of the
headlight.
Page 275 of 370

Downloaded from www.Manualslib.com manuals search engine Se,rvice & Appearance Care
Headlight Bulb Replacement
(CON7")
4. Then remove the two Phillips screws
from both sides of the cover, but
before you remove the last screw, put
your hand under the headlight cover
to
hold it..
5. Then reach around the .hood and pull
the cover straight out.
Be careful not
to scratch the- paint.
6. From the engine campartment side,
remove the four
Phillips screws from
the retainer. These screws are near
each corner of the headlight. Don't
disturb
the large-head adjusting
screws or your headlight will be
improperly aimed.
HoHthe headlight
when all the
screws are removed. Then remove the
retainer.
7. Remove the headlight and unplug
8. Plug in the new headlight and
the electrical connector.
replace
the headIight retainer and
screws.
9. Replace the headlight cover.
10. Turn off the parking lights.
Page 276 of 370
Downloaded from www.Manualslib.com manuals search engine Headlight Aiming
Improperly aimed headlights can be
dangerous. Periodic headlight. checks
for proper aiming and adjustment are
strongly recommended. Your Chevroket
dealer is well. equip,ped to
provide such
service.
Fog Ught Bulb Replacement
The fog lights can be reached from
under the- front bumper.
1 Remove the hex-head screw using a
7 m hex-head socket.
2. Open the door. Then reach up into
the fog light assembly €or the bulb.
3. Rotate the bulb base eounter-
doclm&e l/s turn. Then pull the bulb
bise out.
from the wiring harness.
reconnect the
wiring h-mess. Cluse
and secure the door.
4. &refully disconnect the bulb base
5. Insert the neq7 bulb -and then
If your fog 'lights become improperly
aimed,
have your Chwrokt dealer aim
tka QQr YOU.
Page 277 of 370
Downloaded from www.Manualslib.com manuals search engine ..I
Service & Appearance Care
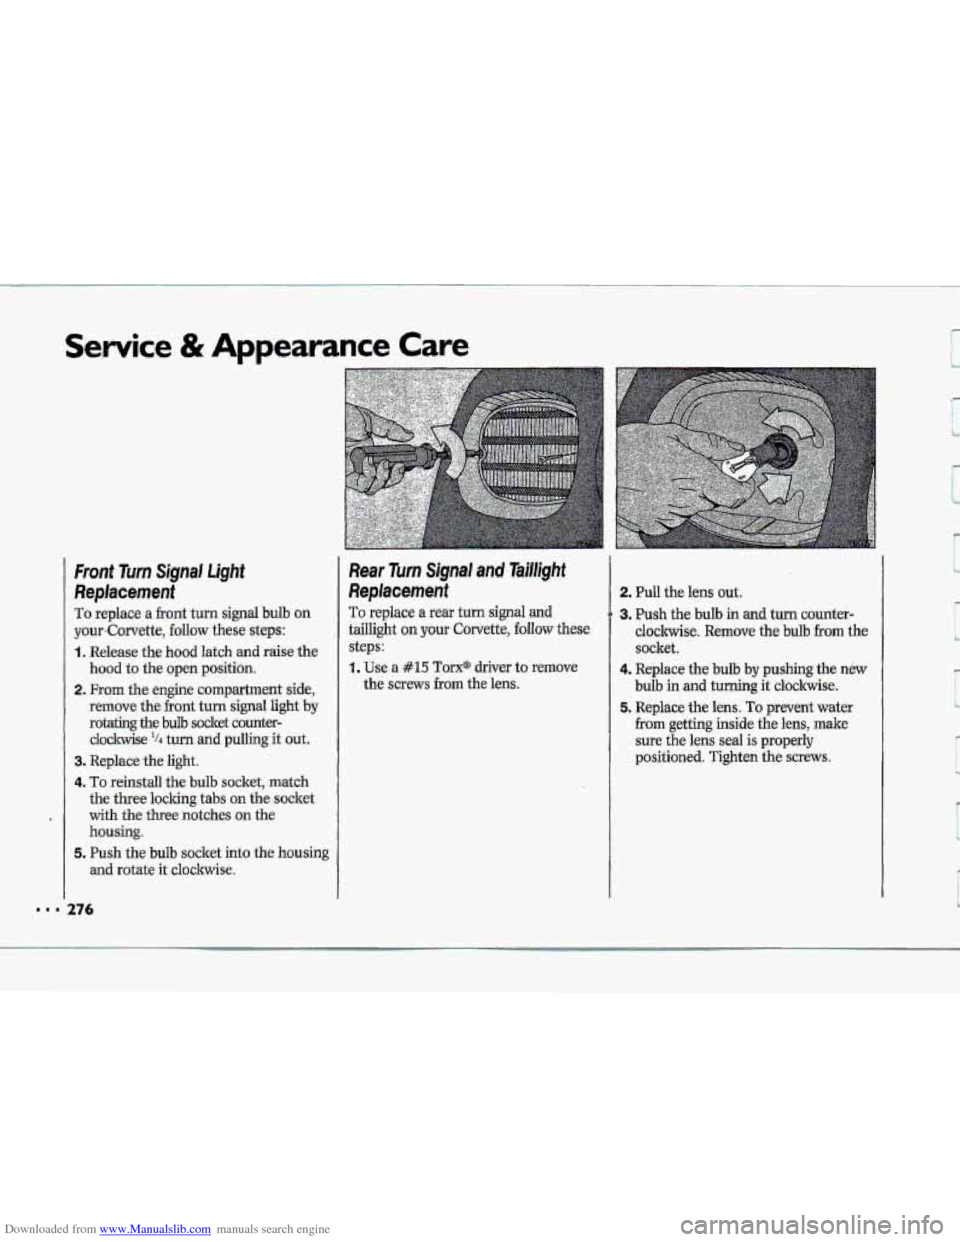
Front Turn Signal Light
Replacement
To replace a front turn signal bulb on
your,Corvette, follow these steps:
1, Release the hood latch and raise the
hood
to the open position.
2. From the engine compartment side,
remove the front turn signal light by
rotating the bdb socket counter-
cloclwise
'14 turn and pulling it out.
3. Replace the light.
4. To reinstall the bulb socket, match
the three
loclcing tabs on the socket
with the three notches
on the
housing.
and rotate it cloclmise.
5. Push the bulb socket into the housing
276
.................
....................................................
Rear Turn Slgnal and Taillight
Replacement
To replace a rear turn signal and
taillight on your Corvette, €0110~ these
steps:
1. Use a #15 Tom* driver to remove
the
screws from the lens.
2. Pull the lens out.
3. Push the bulb in and turn counter-
clockwise. Remove the bulb from the
socket.
4. Replace the bulb by pushing the new
bulb in and turning it clockwise.
5. Replace the lens. To prevent water
from getting inside the lens, make
sure the lens seal is properly
positioned. Tighten the
screws.
Page 278 of 370
Downloaded from www.Manualslib.com manuals search engine Back-up Light Replacement-
You can service the back-up lights by
removing the license plate and reaching
through the
opening. Tu replace a back-
up light
on YOUV Corvette, follow these
steps:
1, Push the tab on the bulb socket in
and turn it counterclockwise.
.Remove
the bulb from the socket.
2. Push the new bulb in and turn it
clockwise.
3:Reinstall the
bulb socket. J3t Ire the'
tab on the socket latches.
4. Reinstall thelicense plate.
Side Marker Light Replacement
'You can service the front side marker
Jights from inside the engine
compartment. Service' the rear
side
marker lights from underneath the
vehicle, To replace a side marker-light
on your Corvette., foIlow these steps:
1 To remow the; bulb socket, rotate 'the
bulb -socket counterclo.c,kwise turn
and
pull it out..
2. Repiac,e the bulb.
,3. To reinstdl the bulb socket, pu! it.
into the h.ousing and- turn'it
clockwise.
Page 279 of 370
Downloaded from www.Manualslib.com manuals search engine Service & Appearance Care
Rear Cargo Compartment Light
Replacement (couw
To replace axear cargo compartment
light
in your Corvette coupe, .follow
these
steps:
1. Remove the targo light cover by
carehlly prying it off with a
screwdriver.
2. Replace the bulb.
3. Position the cover over the operiing
.and. press into place.
Rear Cargo Compartment Light
Repkement (CONVERTIBLE)
To replace a rear cargo compartment
light in
your Corvette convertible,
folluw these steps:
1, Remove the cargo light assembly by
carefully prying it out with a
screwdriver.
2. Replace the bulb.
3. Position the light assembly over the
opening
and press it into place,
Canter High-Mounted Stop Light
Replacement (~GEPTZR-I)
You can service this 'light by removing
the license plate and reaching through
the
opening. To replace the center high-
mounted stop light on your Corvette,
follow these steps:
1. Rotate the bulb socket counter-
clockwise
'/4 turn and pull. out.
2. Replace the bulb.
3. To reinstall the bulb socket, push it
into
the housing and turn it
cloclnvise.
4. Reinstall the license plate.
Page 280 of 370
Downloaded from www.Manualslib.com manuals search engine I "' .. . . ..
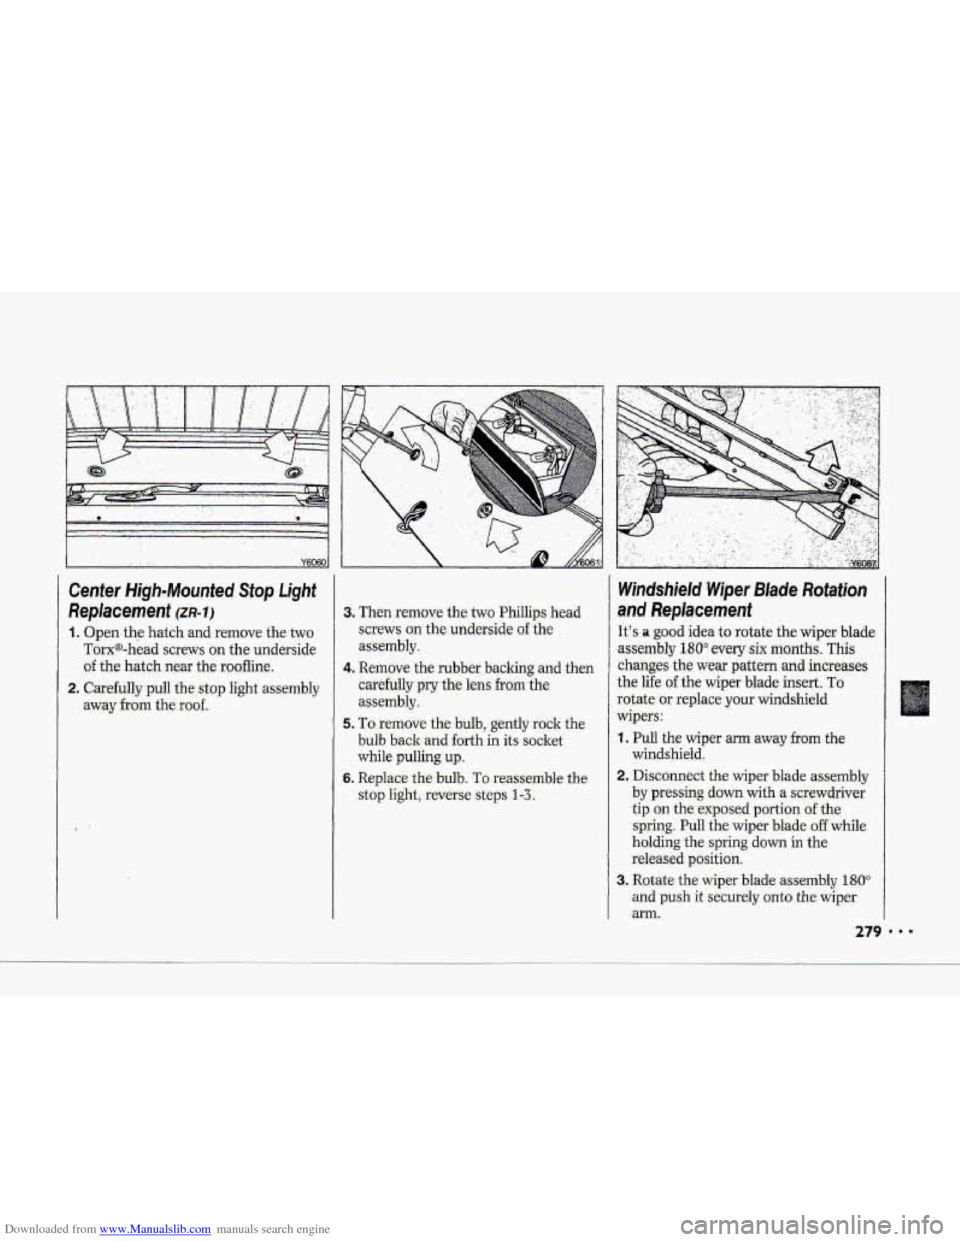
Center High-Mounted. Stop Light-
Replacement (m-11
1. Open the hatch and remove the two
Torx@-head screws on the underside
of the hatch near the rg-ofline.
2. C-arhlly~pull the- stop light assembly
aw;ly.frgm the;roof.
3* Then. remove the two Phi1lip.s head
screws on-the'underside of 'the
assembly.
c~mdully pry the lens from the-
assembly.
5. TO: remove- the bulb, geritIy rock the
bulb back and forth in its:socket
while pulling up..
6. Replace the bulb. TO rea'ssmble the
stop li&tj. Eeverse:-steps. I-L
4. Remove the,rubb.er backing and then