flat tire CHEVROLET CORVETTE 1993 4.G Owners Manual
[x] Cancel search | Manufacturer: CHEVROLET, Model Year: 1993, Model line: CORVETTE, Model: CHEVROLET CORVETTE 1993 4.GPages: 370, PDF Size: 21.43 MB
Page 10 of 370
Downloaded from www.Manualslib.com manuals search engine I T
‘p
‘T
‘T
T
T
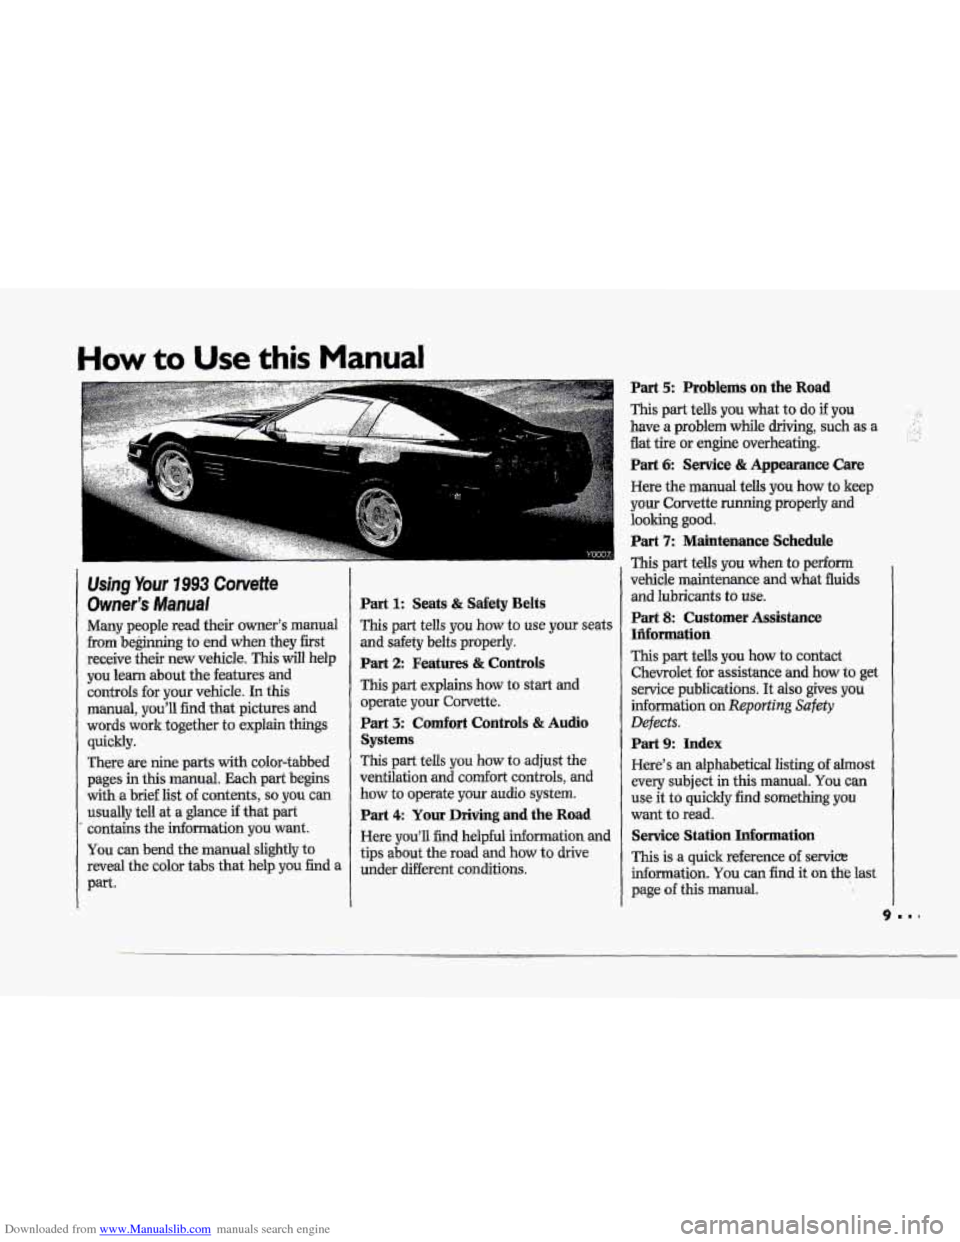
How to Use this Manual
Ushg Your 7993 Corvette
Owner’s Manual
Many people read their owner’s manual
from beginning to end when they first
receive their
new vehicle. This will help
you learn about
the features and
controls for
your vehicle. In this
manual, you’ll find that pictures and
words
work together to explain things
quickly.
There
are nine parts with color-tabbed
pages
in this manual. Each part begins
with
a brief list of contents, so you can
usually tell at a- glance if that part
contains the infomation you want.
You can bend the manual slightly to
reveal the color tabs that help-
you find a
Part.
--
L.
Part 1: Seats & Safety Belts
This part tells you how to use your seats
and safety belts properly.
Part 2: fleatures & Controls
This part explains how to start and
operate your Corvette.
Part 3: Comfort Controls & Audio
Systems
This part tells you how to adjust the
ventilation and com€ort controls, and
how to
operate your audio system.
Part 4 Your Driving and the Road
Here you’ll find helpful information an(
tips about the road and how to drive
under different conditions.
d
Part 5: Problems on the Road
This part tells you what to do if you
have a problem while driving, such as a
flat tire
or engine overheating.
Part 6 Senrice & Appearance Care
Here the manual tells you how to keep
your Corvette
running properly and
looking good.
Part 7: Maintenance Schedule
This part tells you when to perform
vehicle maintenaxice
and what fluids
and hbricm‘ts to use.
Part 8: Customer Assistance
IHormation
This part tells you how to contact
Chevrolet for assistance and how to get
service publications. It also gives you
information on Reporting Safety
Defects.
Part 9: Index
Here’s an alphabetical listing of almost
every subject in this manual. You can
use it to quickly find something you
want to read.
Service Station Information
This is a quick re€erence of service
information.
You can find it on the last
page of this manual.
Page 16 of 370
Downloaded from www.Manualslib.com manuals search engine '-=I-
-=. ,,,*
-T-
Y c Y1077
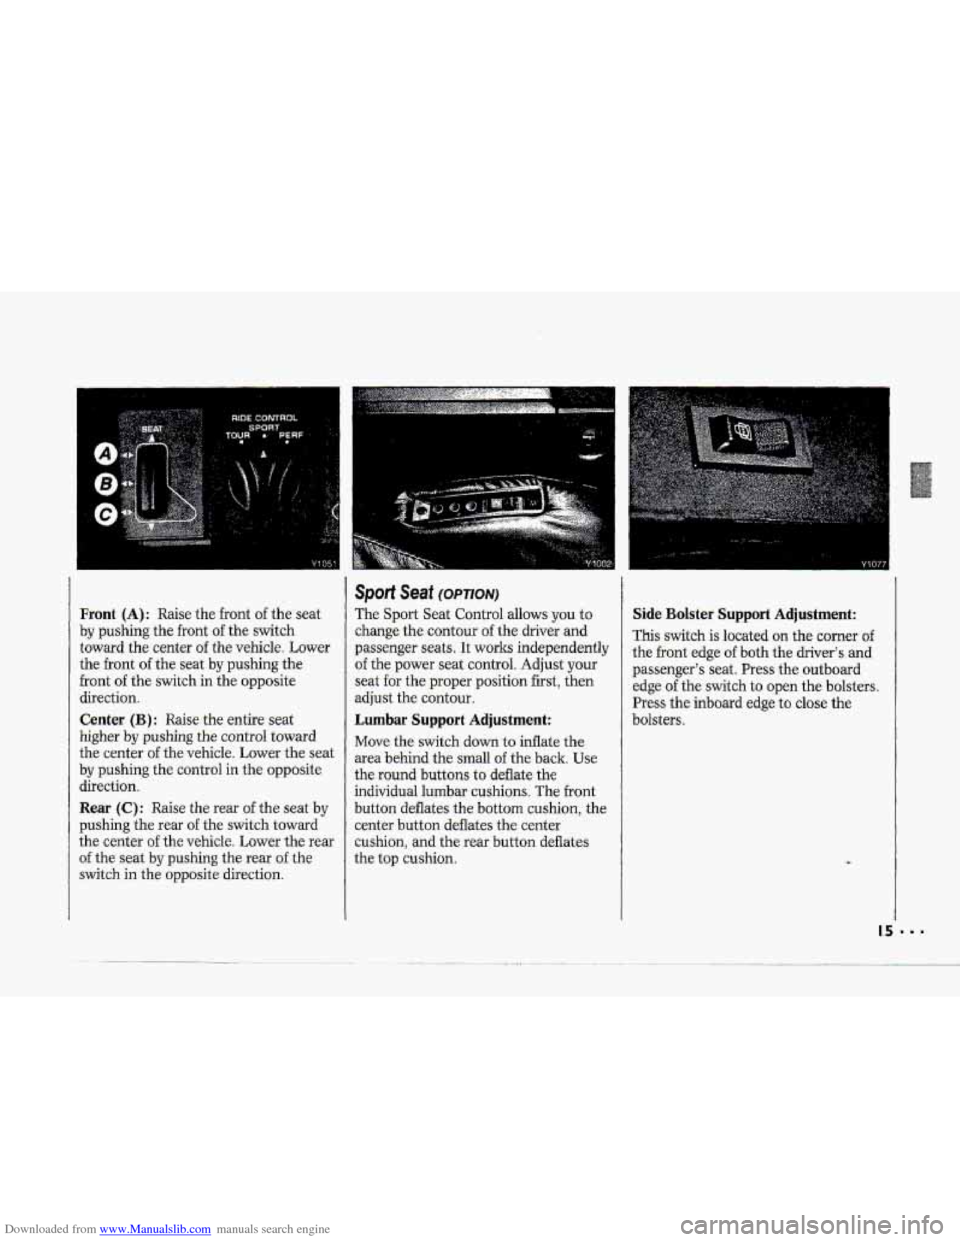
Front (A): Raise the front of the seat
by pushing the front of the switch
toward. the center
of the vehicle. Lower
the front of the sgat by pushing the
front
of the switch in the opposite
direction.
Center (B): Raise the entire seat
higher by pushing the control toward
the center
of the vehicle. Lower the ssat
by pushing the control in the opposite
direction.
Rem (C) : Raise the rear of the seat by
pushing the rear of the switch toward
the center
of- the vehicle. Lower the.rear
of the seat by pushing the rear of the
switch in the opposite direction.
Sport Seat (OPT/QNI
The Sport Seat Control allows you to
change
the contour of the driver and
passenger seats. It works independently
of the power seat control. Adjust your
seat €or the proper position first, then
adjust the contour.
Lumbar Support Adjustment:
Move the switch down to inflate the
area behind the small
of the back. Use
the-round buttons to deflate the
individual lumbar cushions, The
front
button deflates the bottom cushion, the
center button deflates the center
cushion,
and the rear button deflates
the
top cushion.
Side Bolster Support Adjustment:
Thisiswitch is-located on the corner of
-the front edge of both the driver's and
passenger's seat.
Press the outboard
edge
of the switch to open the bolsters.
Press the inboard edge to close
the
bolsters.
4
Page 113 of 370
Downloaded from www.Manualslib.com manuals search engine Features & Controls
..I I
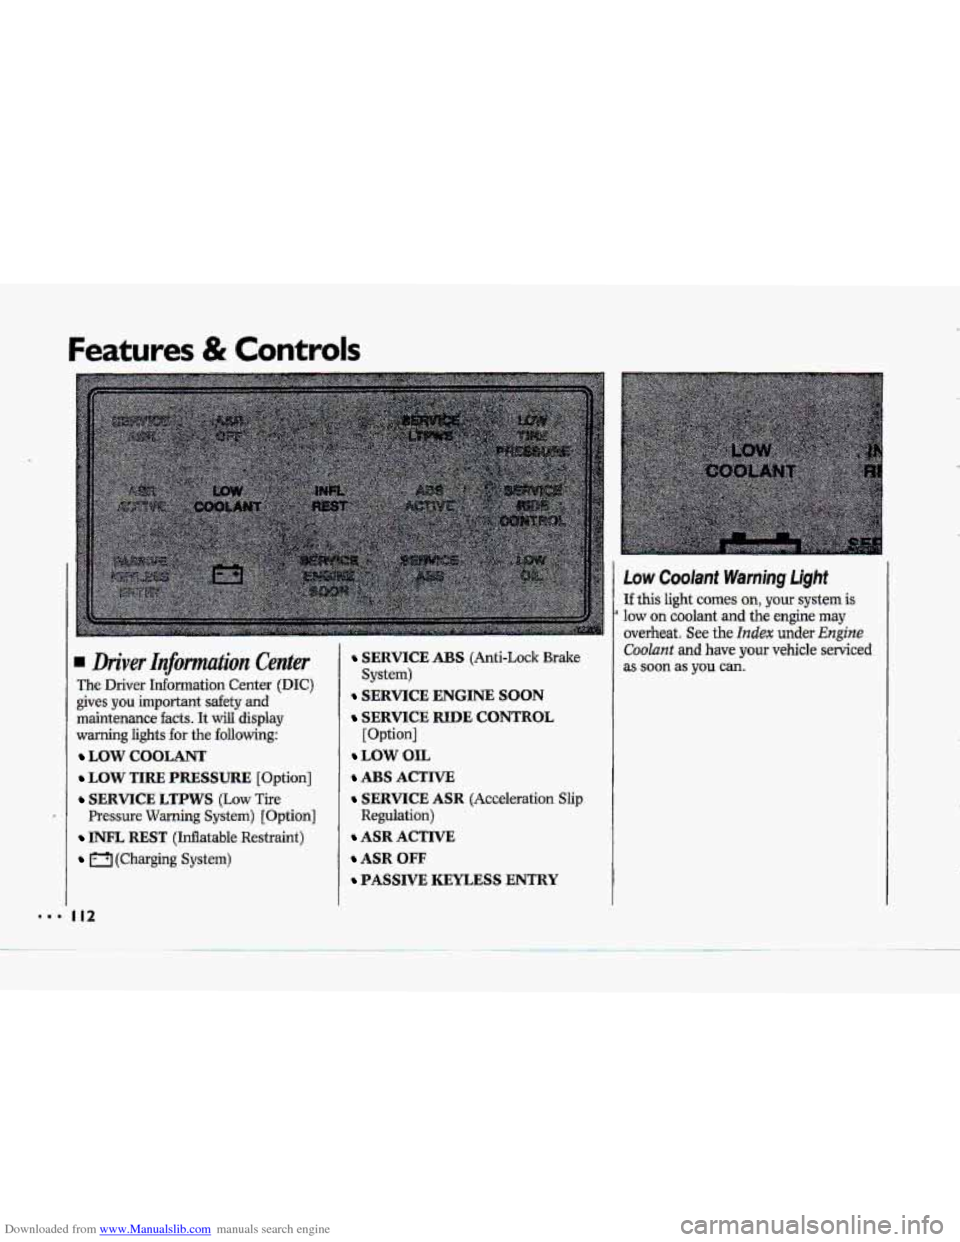
Low Coolant Warning Light
If this light comes on, your system is
overheat. See the Index under Engine
Coolant and have your vehicle serviced
a low on coolant and the engine may
Driver Infomtation Center
The Driver Information Center (DIC)
gives you important safety and
maintenance
facts. It will display
warning lights
€or the following:
LOW COOLANT
LOW TIRE PRESSURE [Option]
SERVICE LTPWS (Low Tire
Pressure Warning System) [Option]
INFL REST (Inflatable Restraint)
(Charging System)
I12
SERVICE ABS (Anti-Lock Brake
SERVICE ENGINE SOON
SERVICE RIDE CONTROL
[Option]
LOW OIL
ABS ACTIVE
SERVICE ASR (Acceleration Slip
Regulation)
ASR ACTIVE
ASR OFF
PASSIVE KEYLESS ENTRY
System) as soon as you can.
Page 114 of 370
Downloaded from www.Manualslib.com manuals search engine P
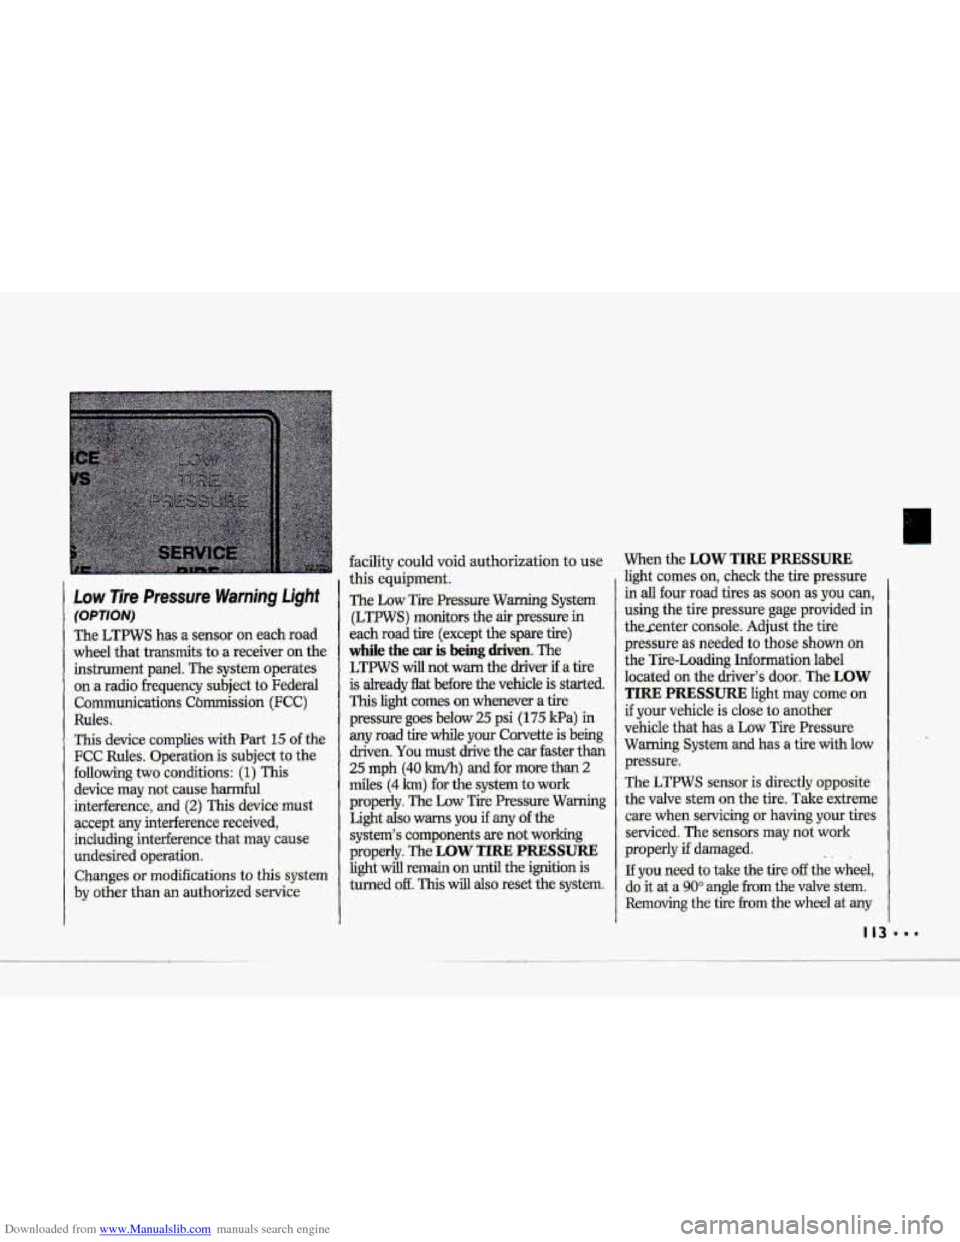
Low 7ire Pressure Warning Light
(OPTION)
The LTPWS has a sensor 'on each road
wheel that transmits-to
a receiver on the
instrument panel.
The system operates
on a radio frequency subject
to Federal
Communications Cbmission
(FCC)
Ruks.
This device complies with Part 15 of the
FCC Rules. Operation is subject to the
following
two conditions: (1) This
device may not cause harmful
interhence,
and (2) This device.must
accept
any interhence received,
including interference that-may cause
undesired operation.
Changes or modifications to- this system
by other than an authorized service
facility could void authorization to use
this equipment.
The Low Tre Pressure Warning System
(LTPWS) monitors the
air pressure in
each road tire (except the spare tire)
while the car is being driven. The
LTFWS will not warn the driver if a tire
is
already flat before the vehicle is started.
This light comes on whenever a tire
pressure
goes below 25 psi (I 75 Ha) in
any road tire while your Corvette is being
driven.
You must drive the car faster than
25 mph (40 km/h) and for more than 2
miles (4 h) -for the system to work
properly.
The Low Tire Pressure Warming
Light also warns you if any of the
system's comp.onents-are not working
properly. The
LOW TIRE PRESSURE
light will remain on until the ignition is
turned
off. This will also reset the system.
When the LOW TIRE PRESSURE
fight comes on, check the tire -pressure
.in
all four road tires as soon as you can,
using the
tire pre:ssure gage.provided in
thesenter console. Adjust the tire
pressure as needed to those shown on
the Tire-Loading Information label
10-cated
on the driver's door, The LOW
TIRE PRESSURE light may come on
if your vehicle is close to aaother
vehicle that has
a Low Tire Pressure
Warning System
and has a tire-with low
pressure.
The LTPWS sensor is directly opposite
the valve stem on the tire. Take extreme
care when servicing or
having your tires
serviced. The sensors may not work
properly
if damaged.
If you need to take the tire off the wheel,
do it at a
90" angle from the valve stem.
Removing the tire from the wheel at any
.. 1
Page 194 of 370
Downloaded from www.Manualslib.com manuals search engine I 9 II
!-
i
Driving a Long Distance
Although most long trips today are
made on freeways, there are still many
made
on regular highways.
Long-distance driving
on freeways and
regular highways is the same in some
ways. The trip has to be planned and
the vehicle prepared, you drive at
higher-than-city speeds, and there are
longer turns behhd the wheel. You’ll
enjoy your
trip more if you and your
vehicle
are in good shape. Here are
some.fips for
a successful long trip.
Before Leaving on a Long Trip
Make sure you’re ready. Try to be well
rested.
If you must start when you’re
not fresh-such as after
a day’s work-
don’t plan to
make too many miles that
first part of the journey. Wear
comfortable clothing and shoes you
can
easily drive in.
Is your vehicle ready for a long trip? If
you keep it serviced and maintained, it’s
ready to
go. If it needs service, have it
done before starting
out. Of course,
you’ll find experienced and able service
experts in Chevrolet dealerships all
across North America. They’ll be ready
and willing to help if you need it. Here
&e some
things you can check
before
a trip:
Windshield Washer Fluid: .Is the
reservoir full? Are ,all windows
clean
inside and outside?
shape?
you checked all levels?
lenses clean?
safe, trouble-hee trip. Is the tread
good enough for lofig-distance
drivhg? Are the tires all inflated to
the recammended pressure?
weather outlook
along your route?
Should you delay your trip a
short
time to avoid a major storm system?
0 Maps: Do you have up-to-date maps?
Wiper Blades: Are they in good
Fuel,, Enme Oil, Other Fluids: Have
Lights: Are they all working? Are the
Tires: They are vitally important to a
Weather Forecasts: What’s the
193
Page 196 of 370
Downloaded from www.Manualslib.com manuals search engine f
F"
Hin and Mounfain Roads
Driving on steep hills or mountains is
dif€erent fram driving in flat or rolling
terrain. If you drive regularly in steep
country,
or if you're planning to visit
there, here are -some tips that can make
your trips safer and.more enjoyable.
Keep your vehicle in good shape. Check
all fluid levels and also the brakes, tires,
cooling system and transmission. These
parts can work hard on mountain roads.
Know how to go down hills. The most
important thing to how is this: Let
your engine do. some of the slowing
'down. Don't make your brakes do it
all. Shift to a lower gear when you go
down .a steep or long hill. That way,
you will slow down without excessive
use of your brake-s.
Know how to go uphill. You may
want to shift dawn to a lower gear.
The lower gems help cool your engine
and transmission, and you can clin-ib
the *f hiU better.
Stay in your own lane when driving
on two-lane roads in hills or
mountains. Don't swing wide .or cut-
across. the .center of the road. Drive at
speeds that-let-you stay 'in your own
lae. That way, you won't be
surprised by,a vehicle- coming toward
you
in the same lane.
* It takes longer to pass another vehicle-
when you're going uphill. You'll want
to leave extra room to pass. If a
vehicle is passing you and doesn't
have enough room, slow down to
make it easier for the other vehicle to
get by.
Page 204 of 370
Downloaded from www.Manualslib.com manuals search engine H ere ~OU’II find What to do about:
same problems that can occur on
the road.
Part 5
Problems on the Road
Hazard Warning: Flashers +.. ........................................................................\
.... 204
Jump Starting ............ $. ..... (.. ............................ .,. ............................................... .-. 205
Towing Your Corvette ........................................................................\
................ 208
Engine:Overheating 21 3
If a Tire Gdes Flat ........................................................................\
........................ 224
Changing a Flat Tire ........................................................................\
.................... 225
C.ompact Spare Tire ..;.. ........................................................................\
................. 236
”4 ........................................................................\
.................
If You‘re Stuck: In. S.md, Mud, Tce or Snow .................................................... .. 237
LJ
203 . =
Page 225 of 370
Downloaded from www.Manualslib.com manuals search engine Problems on the Road
lJu Tire Goes Flat
It’s unusual for a tire to “blow out”
while you’re driving, especially if-you
maintain
your tires properly. If air goes
out of a tire, it’s much more likely to
leak out
slowly. But if you should ever
have a “blowout,” here are a few tips-
about what to expect
and what to do:
If a front tire fails, the flat tire will
create a drag that pulls the vehicle
toward that side. Take yuur foot 08 the
accelerator pedal
and grip the steering
wheel firmly. Steer to maintain lane
p-osition, then gently brake to -a stop
well out of the. traffic lam.
A rear blowout, particularly on a curve,
acts much like a skid and may require
the
same corre&ion you’d use in a skid.
h any rear bhwout, remove yop foot
from the accelerator pedal. Get the
vehicle under control by steering the
way you want the vehicbto go. It may
be very bumpy and noisy, hut you can
still steer. Gently brake to B stop, well
off’ the road if posiible.
If your tire go& flat, the next section
shows how to use your jacking
equipment to change a flat tire sdely.
e
Page 229 of 370
Downloaded from www.Manualslib.com manuals search engine Prc L'- ms on the Road
Changing a FIaf Tire (CONTJ
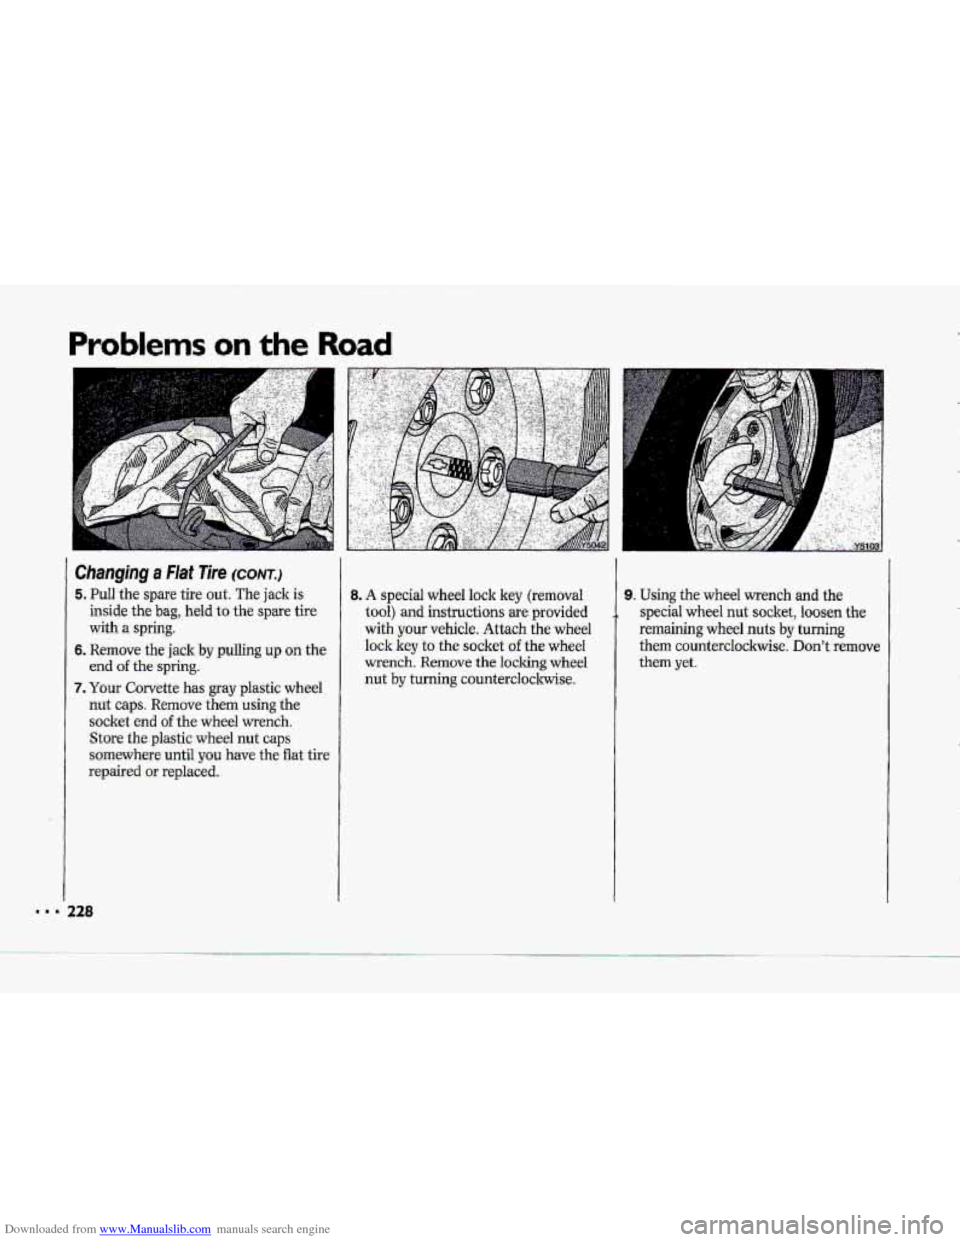
5. Pull the spare tire out. The jack is
inside the bag, held to the spare tire
with
a spring.
6. Remove the jack by pullihg up on the
erid of the spring.
7. Your Corvette has gray plastic wheel
nut caps. Remove them using the
socket
end of the wheel wrench.
Store
the plastic-wheel nut caps
somewhere until you have the flat tire
repaired
or replaced.
228
8. A special wheel lock key (removal
tool)
and instructions are provided
with
your vehicle. Attach the wheel
lock key to the socket of the wheel
wrench. Remove the locking wheel
hut by turning counterclockwise.
9. Using the wheel wrench and the
special
wheel nut socket, loosen the
remaining wheel nuts by turning
them counterclockwise.
Don't remove
them
yet.
Page 230 of 370
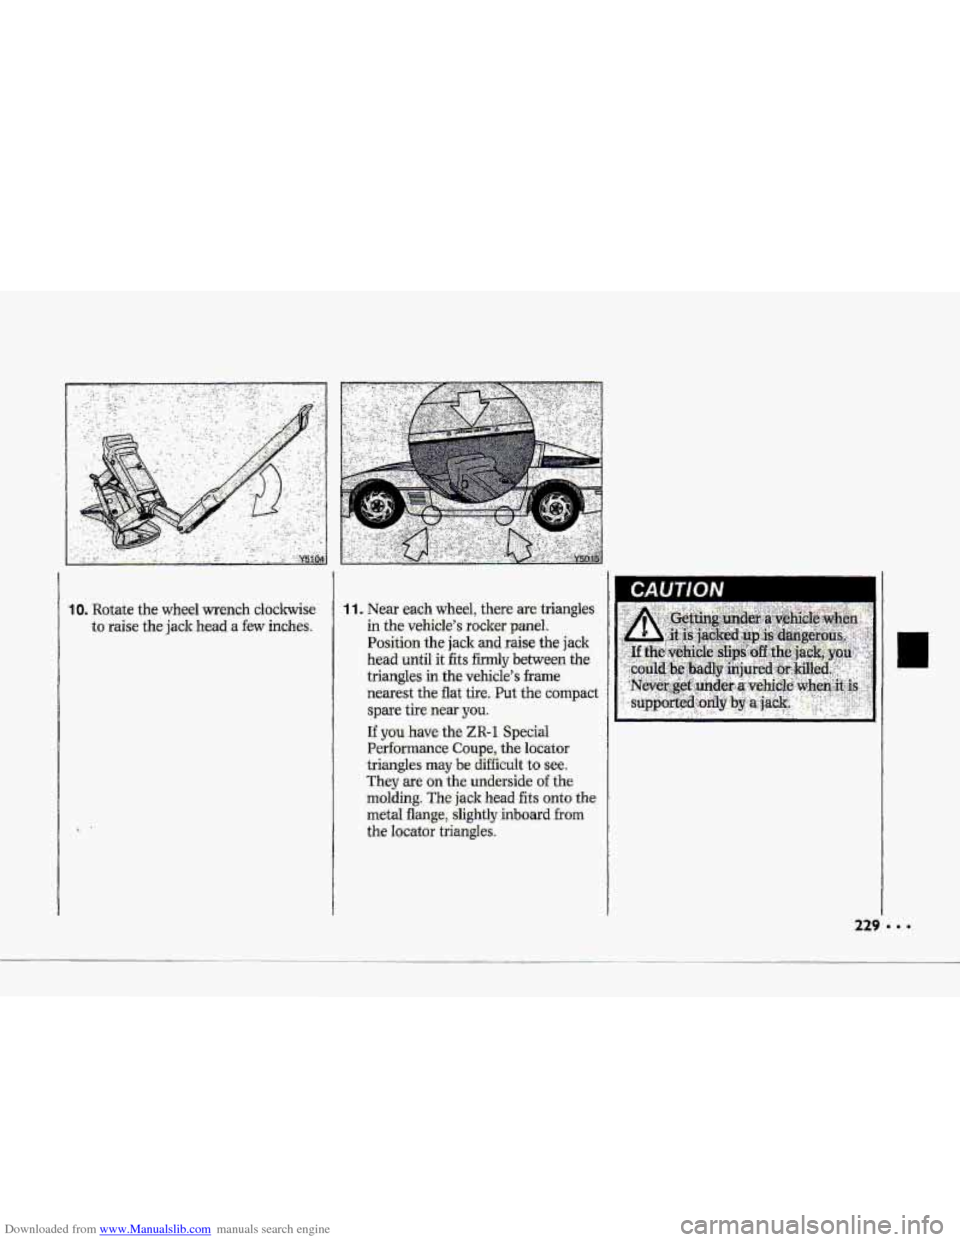
Downloaded from www.Manualslib.com manuals search engine 1 1 .‘Near eadh wheel, there-ae. triangles
in the vehicle’s ro.cl& panel..
Positiorr the jack and raise the jack
head until it fits firmly between the
triangles in the vehitle’s frame
narest the flat tire, Put the compact
spare-tire- newyoui
If you have the ZR-f Special
Performance Coupe, the lo.&itor
-triangles. may .be difficult to see.
.They are on the underside of the
mdding: The- jack head fits onto the
-metal flange, slightly inboard. from
the lacator triangles,.
0
229 . .