instrument panel CHEVROLET CORVETTE 1993 4.G Owners Manual
[x] Cancel search | Manufacturer: CHEVROLET, Model Year: 1993, Model line: CORVETTE, Model: CHEVROLET CORVETTE 1993 4.GPages: 370, PDF Size: 21.43 MB
Page 21 of 370
Downloaded from www.Manualslib.com manuals search engine ...
Seats & Safety Belts
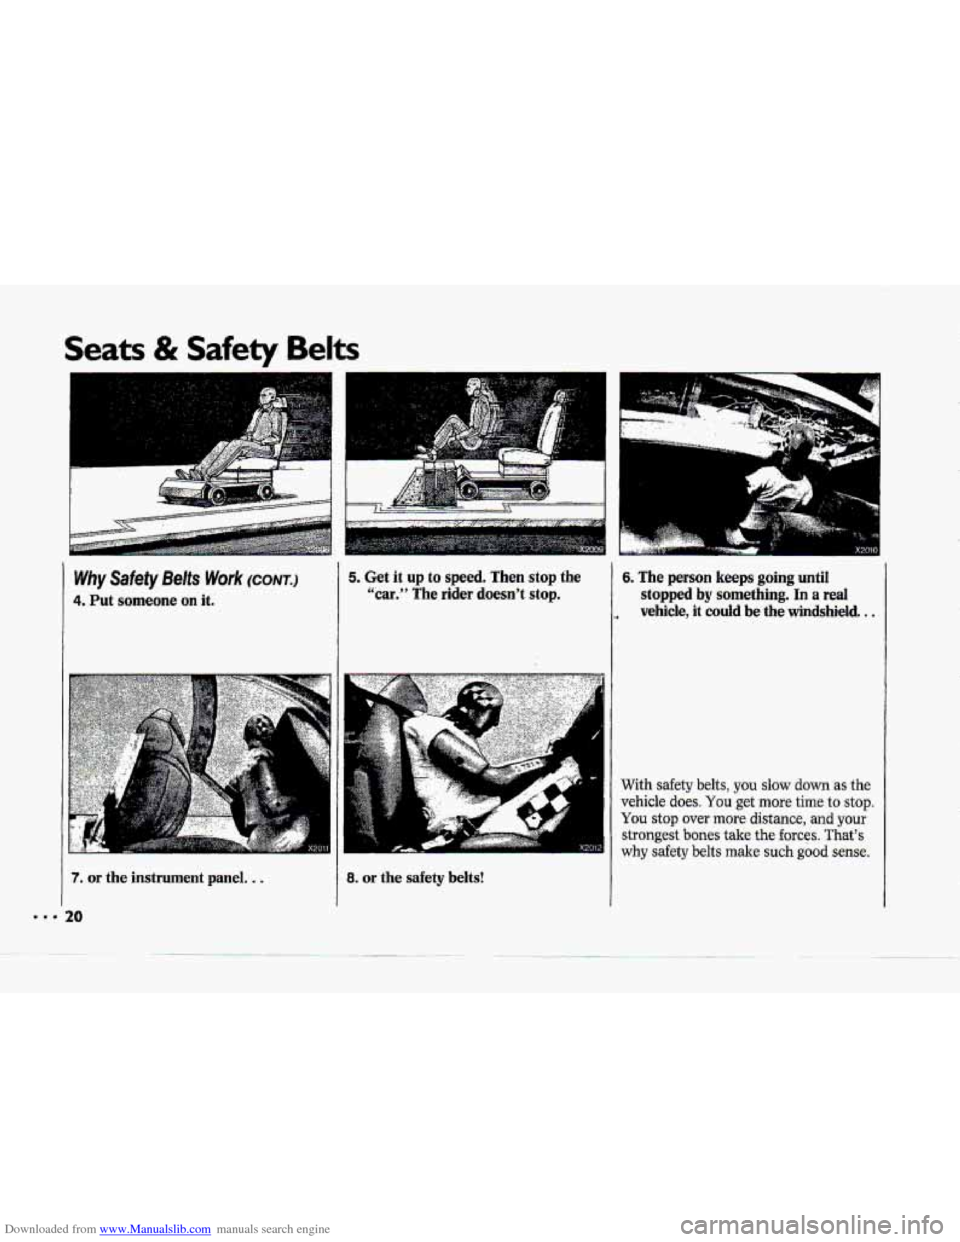
Why Safety Belts Work (CONT.)
4. Put someone on it.
A
7. or the instrument panel. ..
20
5. Get it up to speed. Then stop the
‘‘car.” The rider doesn’t stop.
8. or the safety belts!
- x2c
6. The person keeps going until
stopped
by something. In a real
. vehicle, it could be the windshield. ..
With safety belts, you slow down as the
vehicle does. You get more time to stop.
You stop over more distance, and your
strongest bones take the forces. That’s
why safety belts make such good sense.
Page 42 of 370
Downloaded from www.Manualslib.com manuals search engine !
....
+-
Here you can learn about the
many standard and optional features
on your Corvette. and information on
starting. shifting and braking . Also
explained are the instrument panel
and the warning systems that tell you
if everything is working properly-
and what to do if you have a
problem .
Part 2
Features & Controls
Keys ........................................................................\
........................................... 42
Locks ........................................................................\
......................................... 43
Passive Keyless Entry System ........................................................................\
... 44
Glove Box ........................................................................\
.................................. 59
Starting Your Engine ........................................................................\
.................. 61
Engine Block Heater ........................................................................\
................. 66
Shifting the Transmission ........................................................................\
......... 67
Parlring Brake ............................................... .................................................... 77
Turn SignaVHeadlight Beam Lever .................................................................. 82
Windshield Wipers~asher ........................................................................\
....... 83
Cruise Control ........................................................................\
............................ 84
PASS-Key'" ........................................................................\
....................................... 55
Ignition ........................................................................\
...................................... 60
Windows ........................................................................\
..................................... 81.
Headlights ........................................................................\
.................................. 89
Interior Lights ........................................................................\
........................... 91
Storage Compartments ........................................................................\
............. 95
Mirrors 92
Sun Visors ........................................................................\
................................. 93
Ashtray and Lighter ........................................................................\
................... 96
Instrument Panel ........................................................................\
...................... 98
Warning Lights, Gages and Indicators ........................................................... 1 02
........................................................................\
.......................................
Trip Monitor ........................................................................\
............................. 1 IO
Driver Information Center ........................................................................\
. .:. .... 112
Convertible Hardtop ........................................................................\
................ 128
Removable Roof Panel ........................................................................\
............ 120
Convertible Top ........................................................................\
...................... 124
41
Page 62 of 370
Downloaded from www.Manualslib.com manuals search engine on manuai , transmission
vehicles,' turning
the key to
Lock will lock the steering column
and result
in a ioss of ability to
steer the vehicle. This could cause a
collision..
If you need to turn the
engine off while 'the vehicle is
moving, turn the key only-to Off.
Don't press the key release button
while the vehicle
is moving.
Starting Your Engine
Engines start differently. The 8th digit
of your Vehicle Identification Number
(VIN) shows the code letter or number
for your engine. You will find the VIN
at the top left of your instrument panel.
(See the
Index under Vehicle
Identification Number.) Follow the
proDer steps to start
your engine.
1
61
Page 83 of 370
Downloaded from www.Manualslib.com manuals search engine ..a
Features & Controls
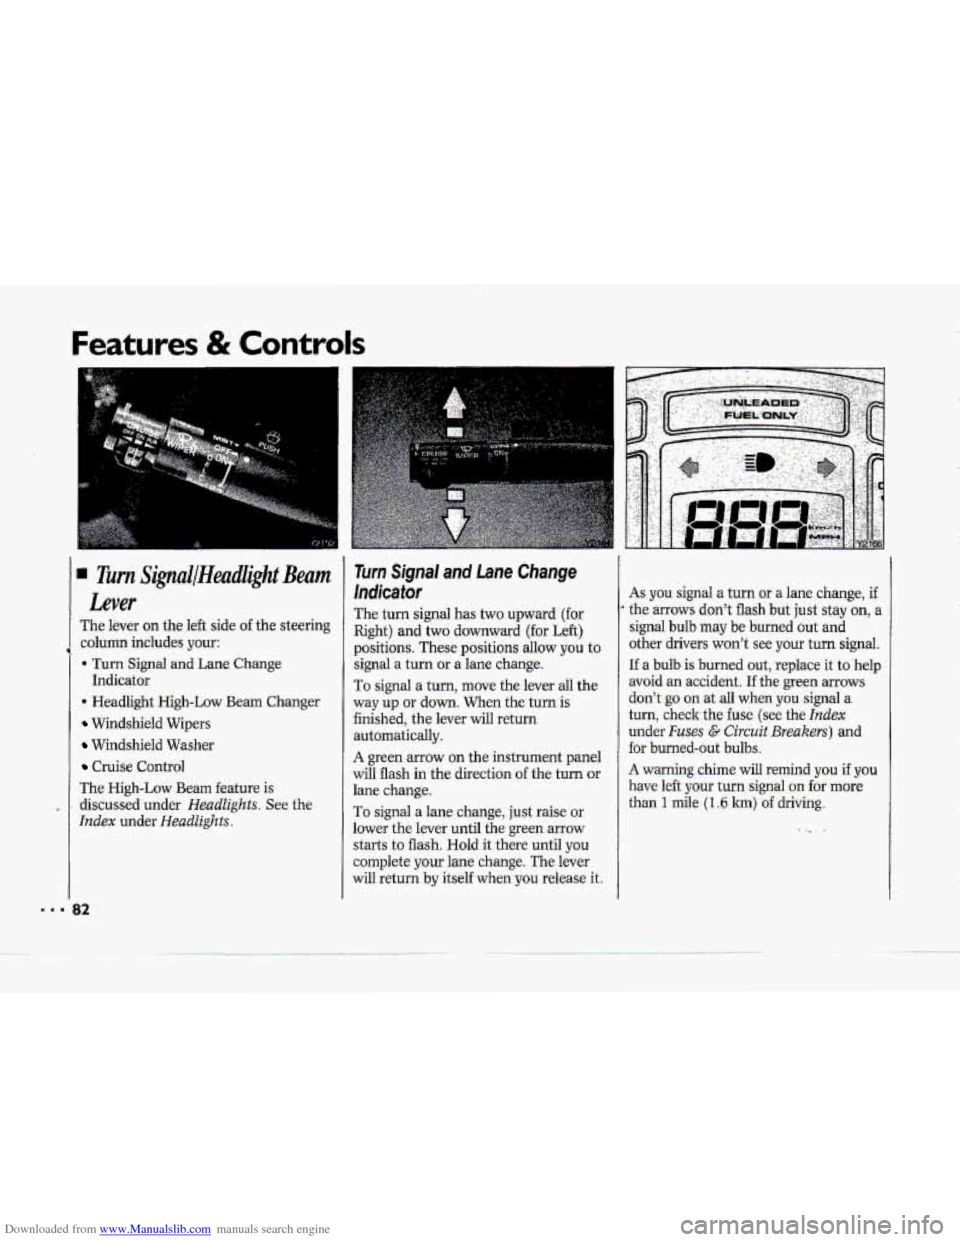
Turn Signal/Headlight Beam
Lever
The lever on the left side of the steering
column includes your:
. Turn Signal and Lane Change
4 Headlight 'High-Low Beam Changer
Windshield Wipers
Windshield Washer
Cruise Control
The High-Low Beam feature is
discussed under
HeadZights. See the
Index under Headlights.
Indicator
32
E
Turn Signal and fane Change
Indicator
The turn signal has two upward (for
Right) -and two downward (for
Left)
positions. These positions allow you to
signal a turn or a lane change.
TO signal a turn, move the lever all the
way up
01- down. When the.turn is
finished, the lever will return
automatically.
A green arrow on the instrument panel
will flash in the direction af the turn or
lane change.
To signal
a lane change, just raise or
lower the lever until the-green arrow
starts
to flash. Hold it there until you
complete your lane change. The lever
will return
by itself when you release it.
As you~ignal a turn or a lane change, if
the arrows don't flash but just stay on, a
signal bulb may be burned out and
other drivers
won't see your turn signa1.
If a bulb is burned out, replace it to help
avoid .an accident. If the green
arrows
don't-go on at all when you signal a
turn, check the fuse (see the Index
under Fuses G Circuit Breizkers) and
for burned-out bulbs.
A warning chime will remind you if you
have left your turnsignal cm for more
than 1 mile (1.6 km) 'of driving.
Page 91 of 370
Downloaded from www.Manualslib.com manuals search engine us.
Features & Controls
Operation of Lights
Although your vehicle’s lighting system
(headlamps, parking lamps,
fog lamps,
side marker lamps and taillamps) meets
all applicable federal lighting
requirements, certain states
and
provinces may apply their own lighting
regulations that may require special
attention before
you operate these
lamps. For exampk, some jurisdictions
may require
that you operate your lower
beam lamps with fog lamps at all times,
or that headlamps be turned on
whenever
you must use your windshield
wipers. In addition, most jurisdictions
prohibit driving solely
with parking
lamps, especially at dawn or dusk It is
recommended that you check with your
own state or provincial highway
authority
for applicable lighting
regulations.
?O
Concealed Headlights
The headlights of your vehicle are
concealed behind protective doors. The
doors open when the headlights are
turned
on.
Do not force the doors open or closed.
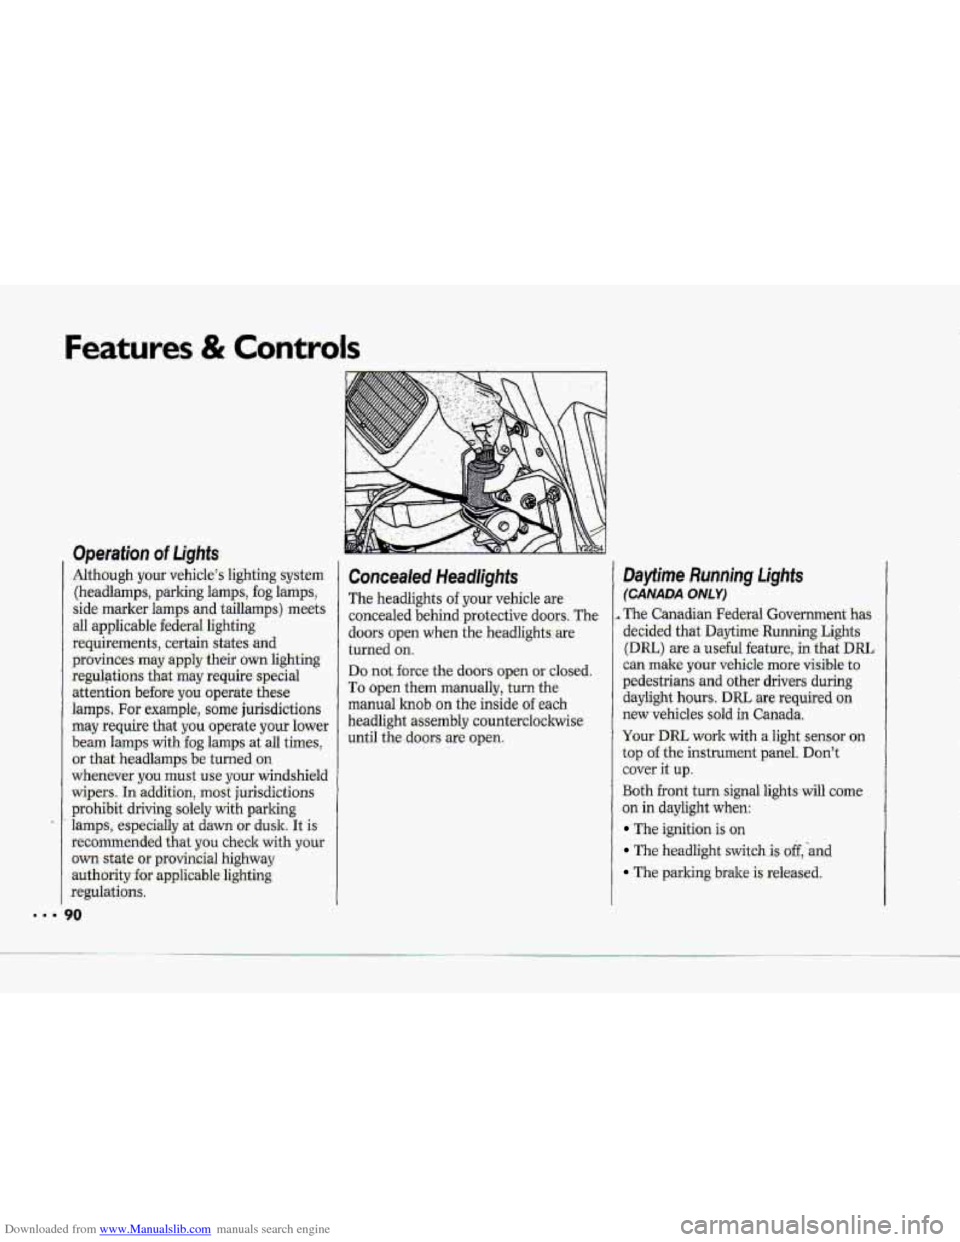
To open them manually, turn the
manual hob
on the inside of each
headlight assembly countercloclnvise
until the doors are open.
Daytime Running Lights
(CANADA ONLY)
, The Canadian Federal Government has
decided that Daytime Running Lights
(Dm) are a useful feature, in that DRL
can make your vehicle more visible to
pedestrians and other drivers during
daylight hours.
DRL are required on
new vehicles sold in Canada,
Your
DRL work with a light sensor on
tap of the instrument panel. Don’t
1 come
cover
it
up.
Both front turn. signal lightswil
on in daylight when:
The ignition is on
The headlight switch.is &,-and
The parking brake is released.
Page 92 of 370
Downloaded from www.Manualslib.com manuals search engine P
I
P
At dusk, the exterior lights will come on
automatically and both front turn 9ignal
lights
will go out. At dawn, the exterior
lights will
go out and both front turn
signal lights
will come on (if the
headlight switch is
off).
Of course, you may still turn on the
headlights any time you need to.
To idle your vehicle with the DRL off,
set the parking brake while the ignition
is in the Off or Lock position. Then
start the vehicle. The DRL will stay off
until you release the parking brake.
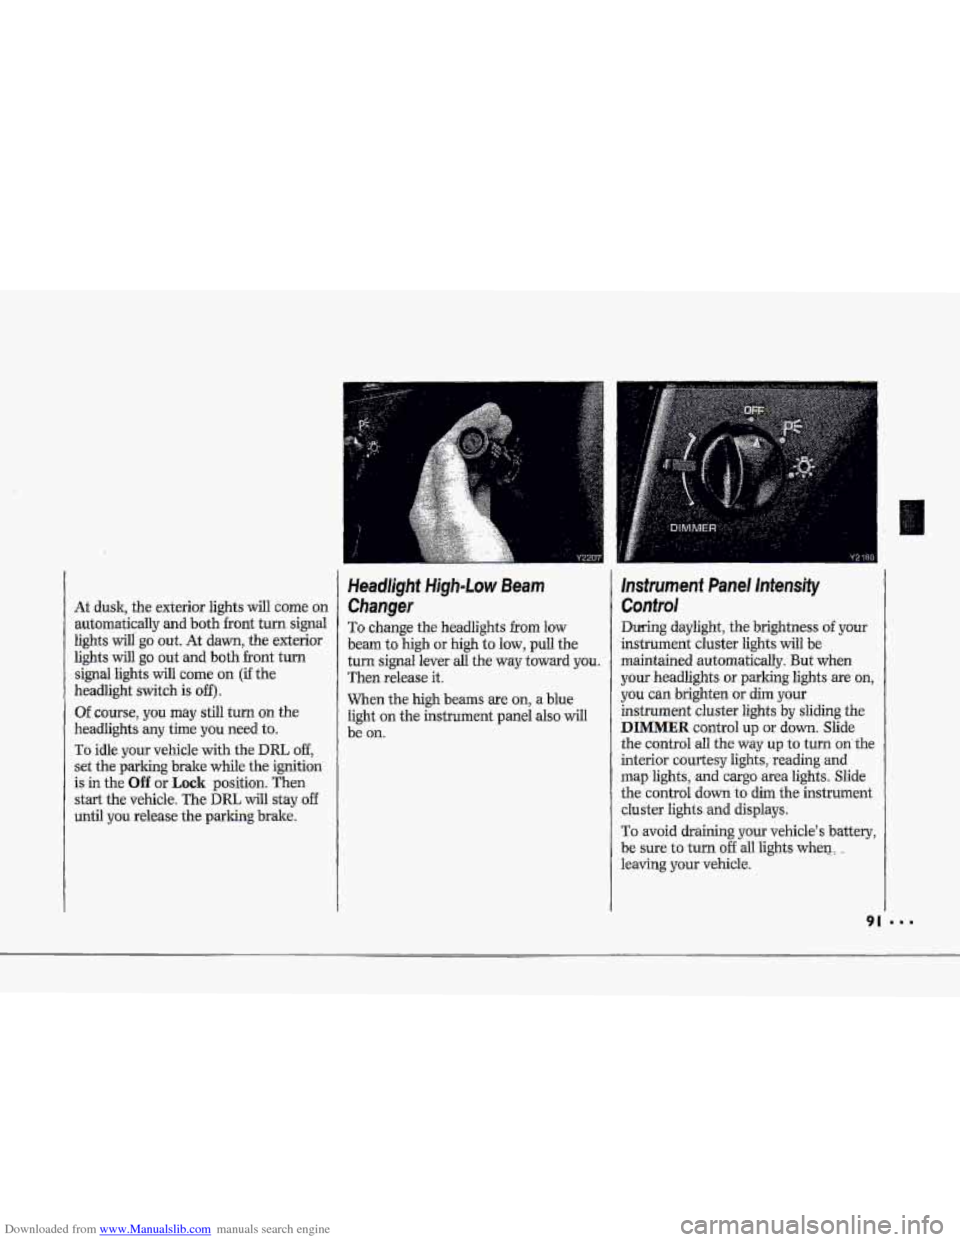
Changer
To change the headlights from low
beam to
high or high to low, pull the
turn signal lever all the
way toward you.
Then release it.
When the
high beams are on, a blue
light
on the instrument panel also will
be
on.
Instrument Panel Intensity
Confro!
During daylight, the brightness of your
instrument cluster lights will be
maintained automatically. But when
your headlights or parking lights are on,
you can brighten or dim your
instrument cluster lights by
sliding the
DIMMER control up or down. Slide
the control all
the way up to turn on the
interim courtesy lights,
reading and
map lights, and cargo area lights. Slide
the control
down to dim the instrument
cluster lights and displays.
To avoid draining.your vehicle's battery,
be sure to turn off all lights when.:. -
leaving your vehicleA
Page 100 of 370
Downloaded from www.Manualslib.com manuals search engine i
P
r
F"
i I
The Insfrument Panel-
Your lnformaiion System
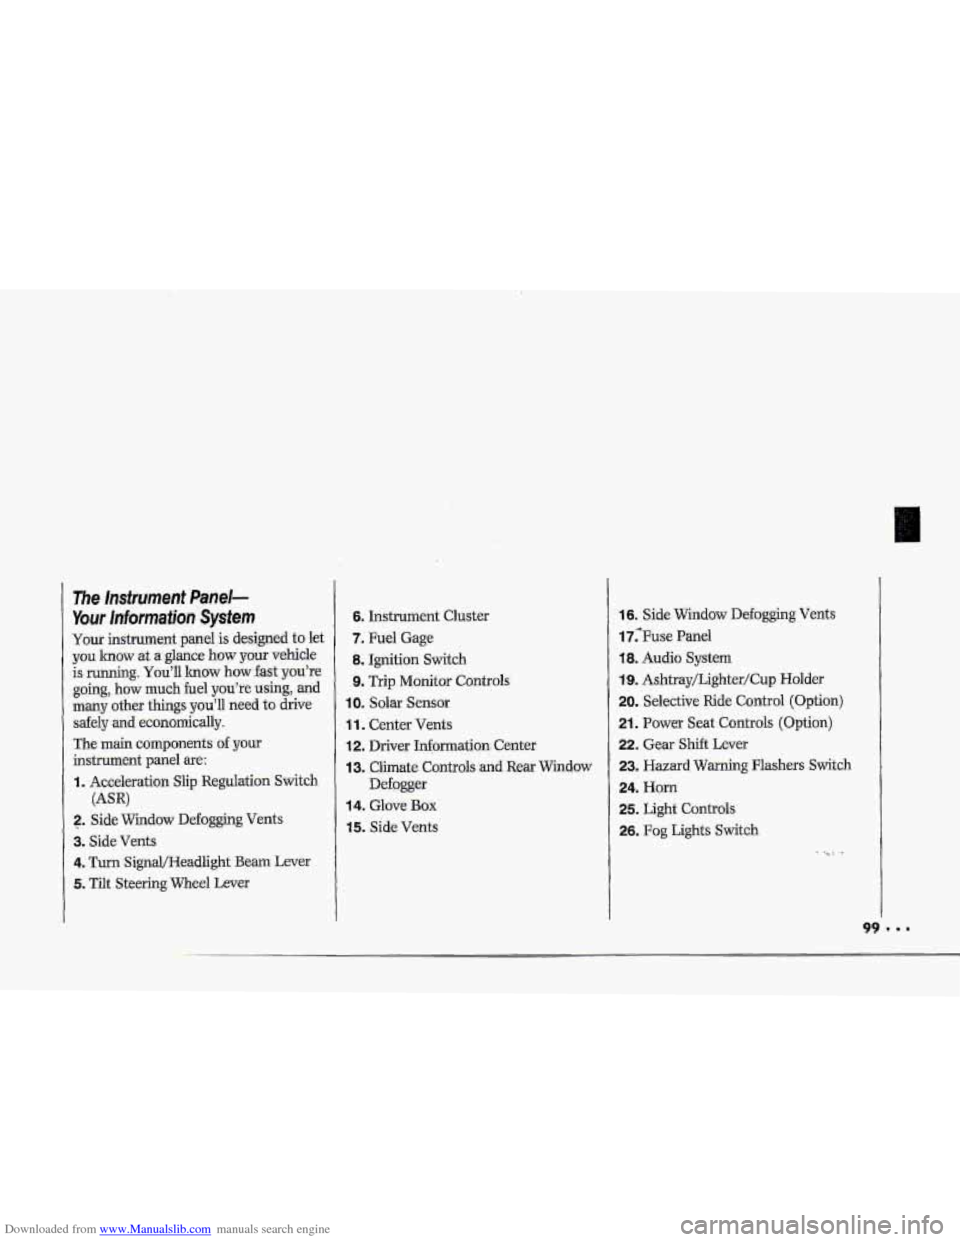
Your instrument panel is designed to let
you lmow at a glance how your vehicle
is running.
You'll lrnow how fast you're
going, how much fuel
you're using, and
many other things you'll need to drive
safely
and economically.
The main components
of your
instrument panel are:
I. Acceleration Slip Regulation Switch
2. ,Side Widow Defogging Vents
3. Side Vents
4. Turn SignQHeadlight Beam Lever
5. Tilt Steering Wheel Lever
(AW
6. Instrument Cluster
7. Fuel Gage
8. Ignition Switch
9. Trip Monitor Controls
IOm Solar Sensor
1 1. Center Vents
12. Driver Information. Center
13. Climate Controls and Rear Window
Defogger
14. Glove Box
15. Side Vents
16. Side Window Defogging Vents
17;Fuse Panel
18. Audio System
19. Ashtray/Lighter/Cup Holder
20. Selective Ride Control (Option)
21. Power Seat Controls (Option)
22. Gear Shift Lever
23. Hazard Warning Flashers Switch
24. Horn
25. Light Controls
26. Fog Lights Switch
-. .
Page 101 of 370
Downloaded from www.Manualslib.com manuals search engine Features & Controls
I..
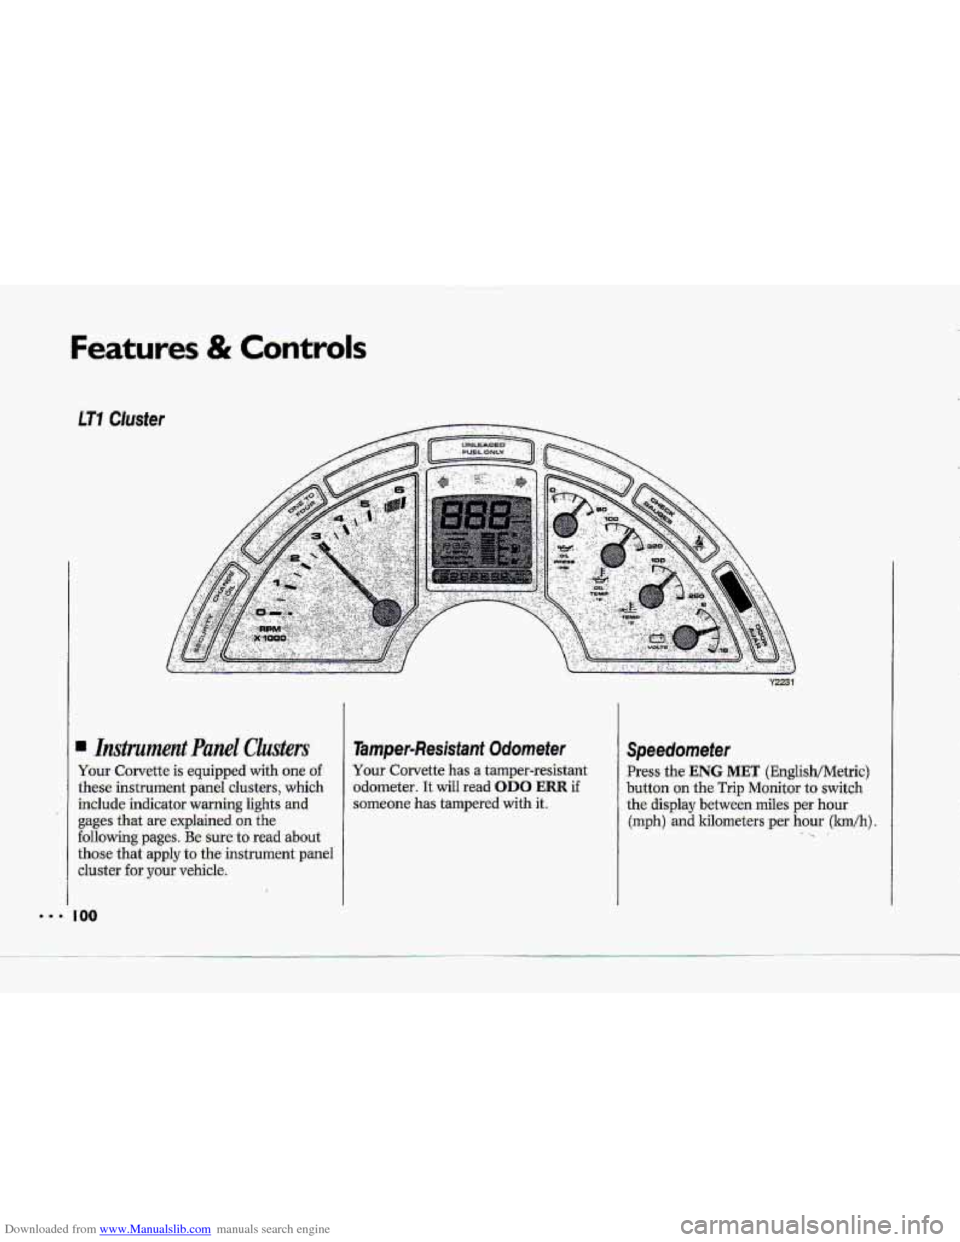
Your Corvette is equipped with -one of.
these instrument panel clusters, which
include indicator warning lights and
gages that are explained on the
following pages. Be sure to rad about
those that apply to the instrument panel
cluster for your vehicle.
coo
Tamper-Resisfaant Odornefer
Your-Corvette has a tamper-resistant
,odometer.
It wiII read OD0 ERR if
someone has tampered with it.
Speedometer
Press the ENG MET (EnglisWMetric)
button
on the Trip Monitor to switch
the di-splay b.etween miles per hour
(mph)
and kilometers per hour (lmkh). .. .
Page 111 of 370
Downloaded from www.Manualslib.com manuals search engine Features & Controls
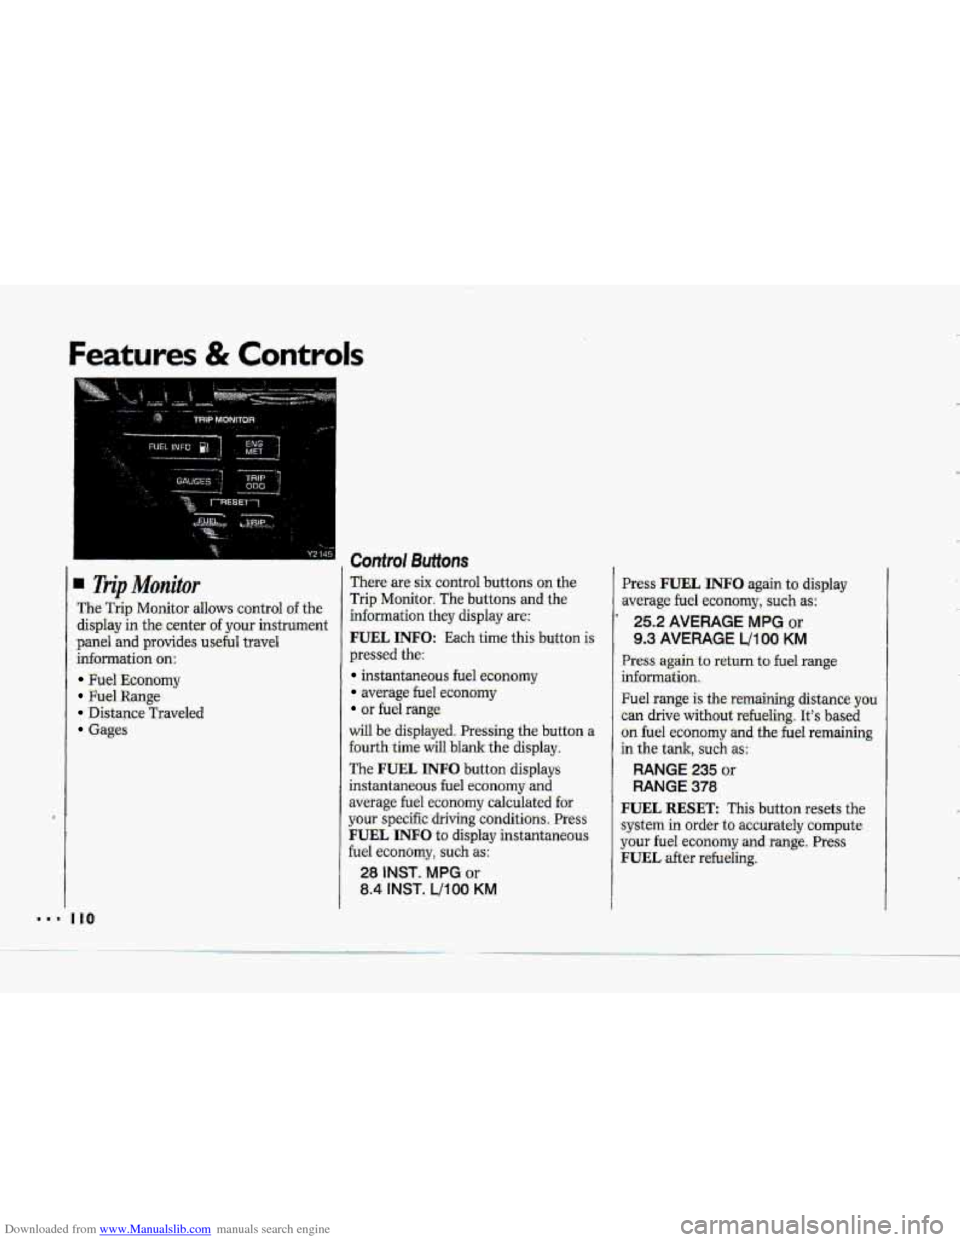
I Control Buffons
Trip Monitor There are six control buttons on the
Trip Monitor. The buttons and the
The Trip Monitor allows control of the
FUEL -1 INFO: Each time this button is panel and provides useful travel
display
in the
center of your instrument infomation they display are:
infomatioi on:
Fuel Economy
Fuel Range
Distance Traveled
Gages
1 IO
pressed the:
instantaneous fuel economy
average fuel economy
or fuel range
will
be displayed. Pressing the button a
fourth time will blank the display.
The
FUEL INFO button displays
instantaneous fuel economy
and
average fuel economy calculated €or
your specific driving conditions. Press
FUEL INFO to display instantaneous
fuel economy,
such as:
28 INST. MPG or
8.4 INST. UlOO KM
!
Press FUEL INFO again to display
average fuel economy, such as:
25.2 AVERAGE MPG or
9.3 AVERAGE u100 KM
Press again to return to fuel range
information.
Fuel range is the remaining distance
you
can drive without refueling. It's based
on he1 economy and the fuel remaining
in the tank,
such as:
RANGE 235 or
RANGE 378
FUEL RESET: This button resets the
system in order
to accurately compute
your fuel economy and range.
Press
FUEL after refueling.
Page 114 of 370
Downloaded from www.Manualslib.com manuals search engine P
Low 7ire Pressure Warning Light
(OPTION)
The LTPWS has a sensor 'on each road
wheel that transmits-to
a receiver on the
instrument panel.
The system operates
on a radio frequency subject
to Federal
Communications Cbmission
(FCC)
Ruks.
This device complies with Part 15 of the
FCC Rules. Operation is subject to the
following
two conditions: (1) This
device may not cause harmful
interhence,
and (2) This device.must
accept
any interhence received,
including interference that-may cause
undesired operation.
Changes or modifications to- this system
by other than an authorized service
facility could void authorization to use
this equipment.
The Low Tre Pressure Warning System
(LTPWS) monitors the
air pressure in
each road tire (except the spare tire)
while the car is being driven. The
LTFWS will not warn the driver if a tire
is
already flat before the vehicle is started.
This light comes on whenever a tire
pressure
goes below 25 psi (I 75 Ha) in
any road tire while your Corvette is being
driven.
You must drive the car faster than
25 mph (40 km/h) and for more than 2
miles (4 h) -for the system to work
properly.
The Low Tire Pressure Warming
Light also warns you if any of the
system's comp.onents-are not working
properly. The
LOW TIRE PRESSURE
light will remain on until the ignition is
turned
off. This will also reset the system.
When the LOW TIRE PRESSURE
fight comes on, check the tire -pressure
.in
all four road tires as soon as you can,
using the
tire pre:ssure gage.provided in
thesenter console. Adjust the tire
pressure as needed to those shown on
the Tire-Loading Information label
10-cated
on the driver's door, The LOW
TIRE PRESSURE light may come on
if your vehicle is close to aaother
vehicle that has
a Low Tire Pressure
Warning System
and has a tire-with low
pressure.
The LTPWS sensor is directly opposite
the valve stem on the tire. Take extreme
care when servicing or
having your tires
serviced. The sensors may not work
properly
if damaged.
If you need to take the tire off the wheel,
do it at a
90" angle from the valve stem.
Removing the tire from the wheel at any
.. 1