turn signal CHEVROLET CORVETTE 1994 4.G Owners Manual
[x] Cancel search | Manufacturer: CHEVROLET, Model Year: 1994, Model line: CORVETTE, Model: CHEVROLET CORVETTE 1994 4.GPages: 274, PDF Size: 15.61 MB
Page 10 of 274
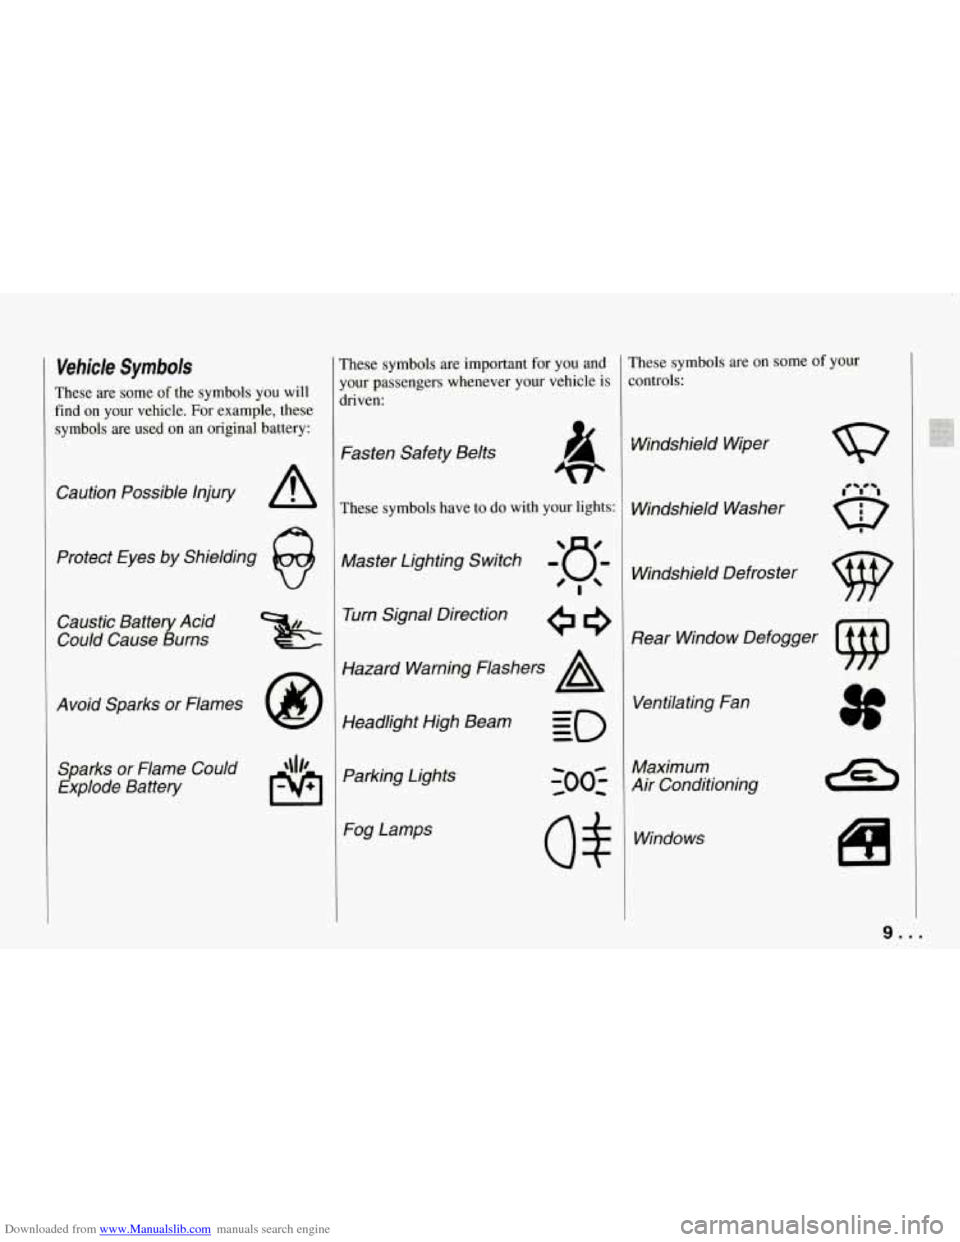
Downloaded from www.Manualslib.com manuals search engine Vehicle Symbols
These are some of the symbols you will
find on your vehicle. For example, these
symbols are used on an original battery:
Caution Possible Injury A
Protect Eyes by Shielding
Caustic Battery Acid
Could Cause Burns
Avoid Sparks
or Flames
Sparks
or Flame Could
Explode Battery
These symbols are important for you and
your passengers whenever your vehicle is
driven:
Fasten Safety Belts
These symbols have to do with your lights:
Master Lighting Switch -'a-
'!
Turn Signal Direction
Hazard Warning Flashers
A
Headlight High Beam Parking Lights Fog Lamps
rhese symbols are on some of your
:ontrols:
Windshield Wiper
Windshield Washer Windshield Defroster
Rear Window Defogger Ventilating Fan
Maximum
Air Conditioning
Windows
I
i
9...
Page 40 of 274
Downloaded from www.Manualslib.com manuals search engine transmitter, and the system will automatically disarm your theft deterrent
system and unlock the doors. If it’s dark
enough outside, your interior lights will
come on.
If you move out of range, the PKE system
will:
1. Lock the doors after five seconds.
2. Arm the theft deterrent system.
3. Sound the horn to let you know the
4. Turn off the interior lights.
You can also use the buttons on the
transmitter. Press
“DOOR’ to open the
passenger’s door or “HATCH’ to open
the hatch. The “HATCH’ button will only
work when the ignition is
off.
The system has a feature that makes it
difficult for you to lock your keys in your
vehicle. If you leave your keys in the
ignition and lock the doors,
the system
will unlock the doors as soon as they are
closed. If you leave
the keys in the
ignition and move away with the
transmitter, the doors still
will not lock.
You should notice that the horn doesn’t
sound and return to get your keys.
doors
are locked.
[f you shake the transmitter, you may hear
1 slight rattle. This sound is from the
notion sensor inside
the transmitter. It
joes not indicate that anything is wrong
with your transmitter.
The system will allow you to lock your
keys in
the vehicle if you didn’t leave
them in the ignition.
You should,
however, be able to use
the transmitter to
get them out. After
26 seconds of no
motion, the transmitter shuts down to save
the battery. Wait about
30 seconds, then
rock the vehicle. The transmitter should
”wake
up” and unlock the doors.
This system can’t guarantee that you’ll
never be locked out of your vehicle. If
the battery is low or if
the transmitter is
in a place where the signal can’t get to
the antenna, it won’t unlock the doors.
Always remember to take your keys
with you.
PKE Settings
You can use the system for both doors or
just the driver’s door, or you can
turn the
system
off.
To change door settings:
1. Put the ignition key in the ignition,
but don’t
turn it on.
2. Press “DOOR” on the transmitter
until the door locks cycle (about two
seconds).
To turn the system off:
1. Take the ignition key out of the
2. Press “DOOR’ on the transmitter unti
ignition.
the door locks cycle (about two
seconds).
To turn the system back on, just repeat the
steps.
To check that the system is off, turn on
the ignition. The “PASSIVE KEYLESS
ENTRY” light on the Driver Information
Center should not come on. If the light
does come on for a second or two, then
the PKE system is still on.
You can also check whether the system is
on or
off by closing the door and walking
away with the keys and transmitter.
If the
doors lock, the system is on.
If you are working around your vehicle
and keeping your keys with you, you
might want to turn the PKE system
off.
If you don’t, the transmitter will keep
locking and unlocking your doors.
39 . I
Page 62 of 274
Downloaded from www.Manualslib.com manuals search engine Tilt Wheel
A tilt steering wheel allows you to adjust
the steering wheel before you drive.
You can also raise it to the highest level to
give your legs more room
when you exit
and enter
the vehicle.
To tilt the wheel, hold the steering wheel
and pull the lever. Move the steering
wheel to a comfortable level, then release
the lever to lock the wheel
in place.
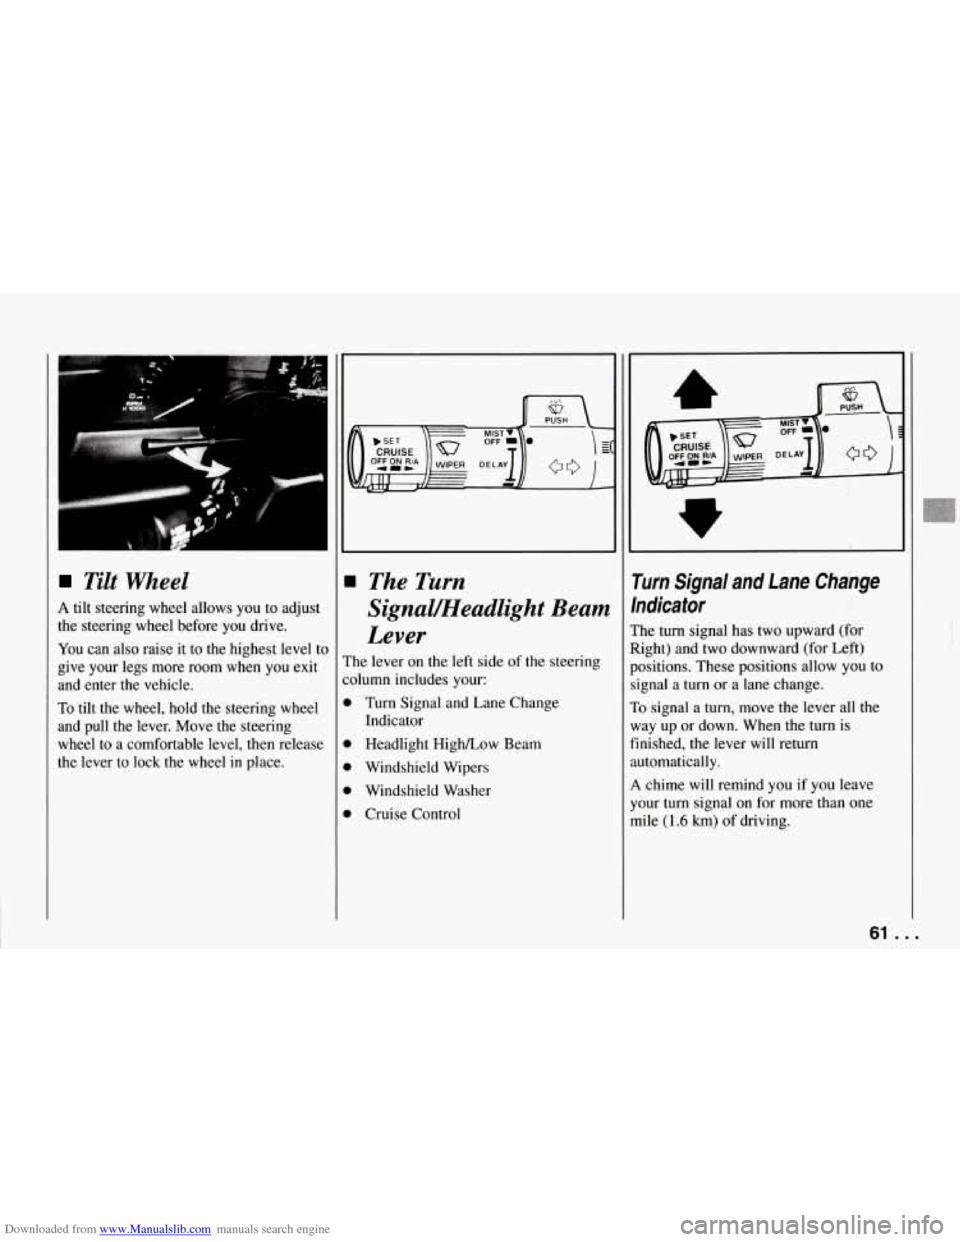
The Turn
Signal/Headlight Beam
Lever
The lever on the left side of the steering
:olumn includes your:
D Turn Signal and Lane Change
D Headlight High/Low Beam
D Windshield Wipers
D Windshield Washer
D Cruise Control Indicator
rurn Signal and Lane Change
ndicator
:he
turn signal has two upward (for
tight) and two downward (for Left)
kositions. These positions allow you to
ignal a
turn or a lane change.
10 signal a turn, move the lever all the
vay up or down. When the turn
is
inished, the lever will return
.utomatically.
4 chime will remind you if you leave
'our turn signal on for more than one
nile
(1.6 km) of driving.
61 . .
r
Page 63 of 274
Downloaded from www.Manualslib.com manuals search engine Features and Controls
L L
c
L
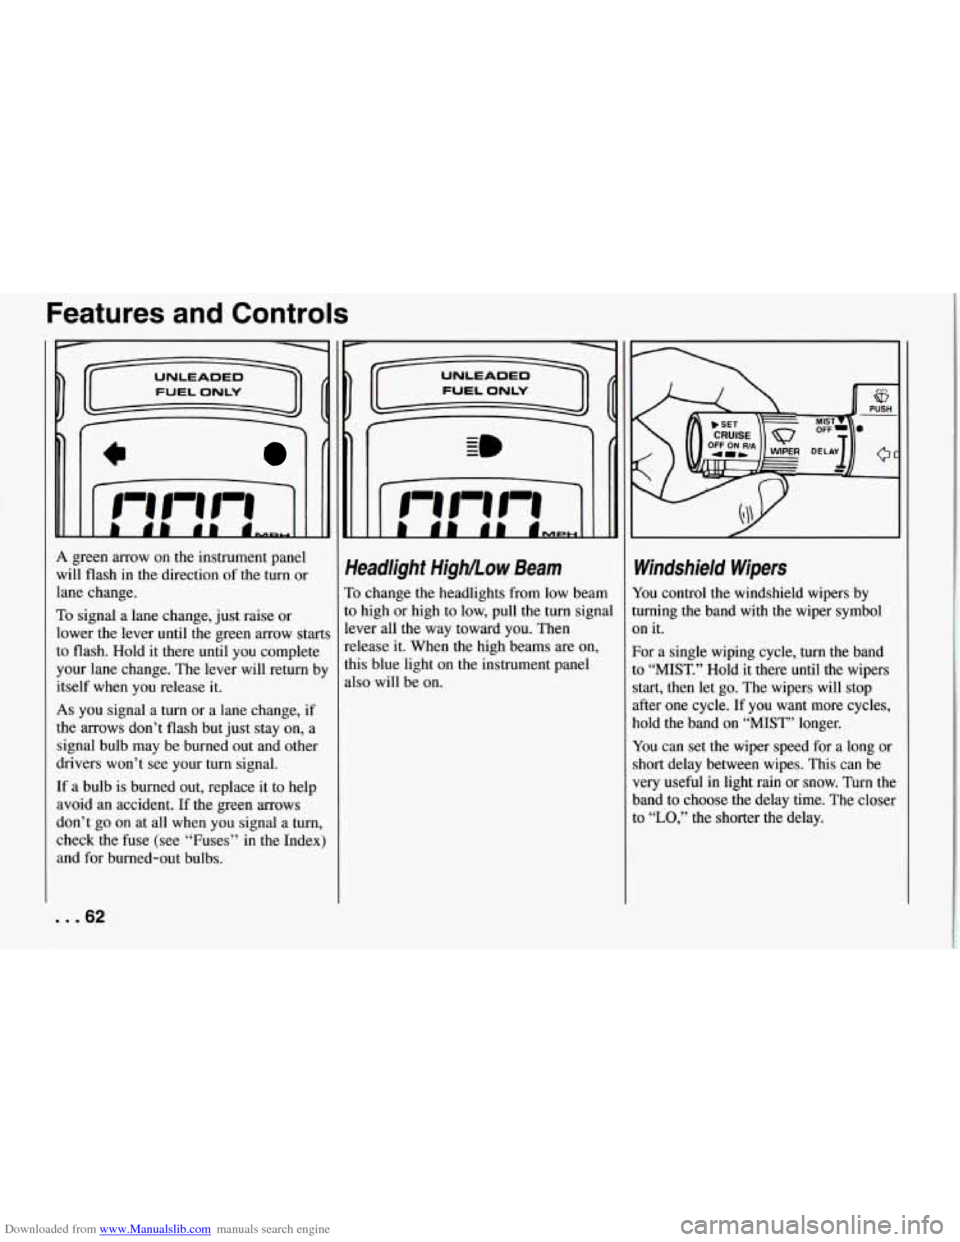
A green arrow on the instrument panel
will flash in the direction of the
turn or
lane change.
To signal a lane change, just raise or
lower the lever until the green arrow start
to flash. Hold it there until you complete
your lane change. The lever will return b!
itself when you release
it.
As you signal a turn or a lane change, if
the arrows don’t flash but just stay on, a
signal bulb may be burned out and other
drivers won’t see your
turn signal.
If a bulb is burned out, replace it to help
avoid an accident.
If the green arrows
don’t go on at all when you signal a
turn,
check the fuse (see “Fuses” in the Index)
and for burned-out bulbs.
Headlight High/..ow Beam
To change the headlights from low beam
to high or high to low, pull the turn signal
lever all the way toward you. Then
release it. When the high beams are on,
this blue light on the instrument panel
also will be on.
Windshield Wipers
You control the windshield wipers by
turning the band with the wiper symbol
on it.
For a single wiping cycle,
turn the band
to “MIST.” Hold it there until the wipers
start, then let go. The wipers will stop
after one cycle. If you want more cycles,
hold the band on “MIST” longer.
You can set the wiper speed for a long or
short delay between wipes. This can be
very useful in light rain or snow. Turn the
band to choose the delay time. The closer
to
“LO,” the shorter the delay.
... 62
Page 64 of 274
Downloaded from www.Manualslib.com manuals search engine For steady wiping at low speed, turn the
band away from you to the
“LO’ position.
For high speed wiping,
turn the band
further,
to “HI.” To stop the wipers, move
the band to
“OW.”
Damaged wiper blades may prevent you
from seeing well enough to drive safely.
To avoid damage, be sure to clear ice and
snow from the wiper blades before using
them.
If they’re frozen to the windshield,
carefully loosen or thaw them.
If your
blades do become damaged, get new
blades or blade inserts.
Heavy snow or ice can overload your
wipers. A circuit breaker will
stop them
until the motor cools. Clear away snow or
ice to prevent an overload.
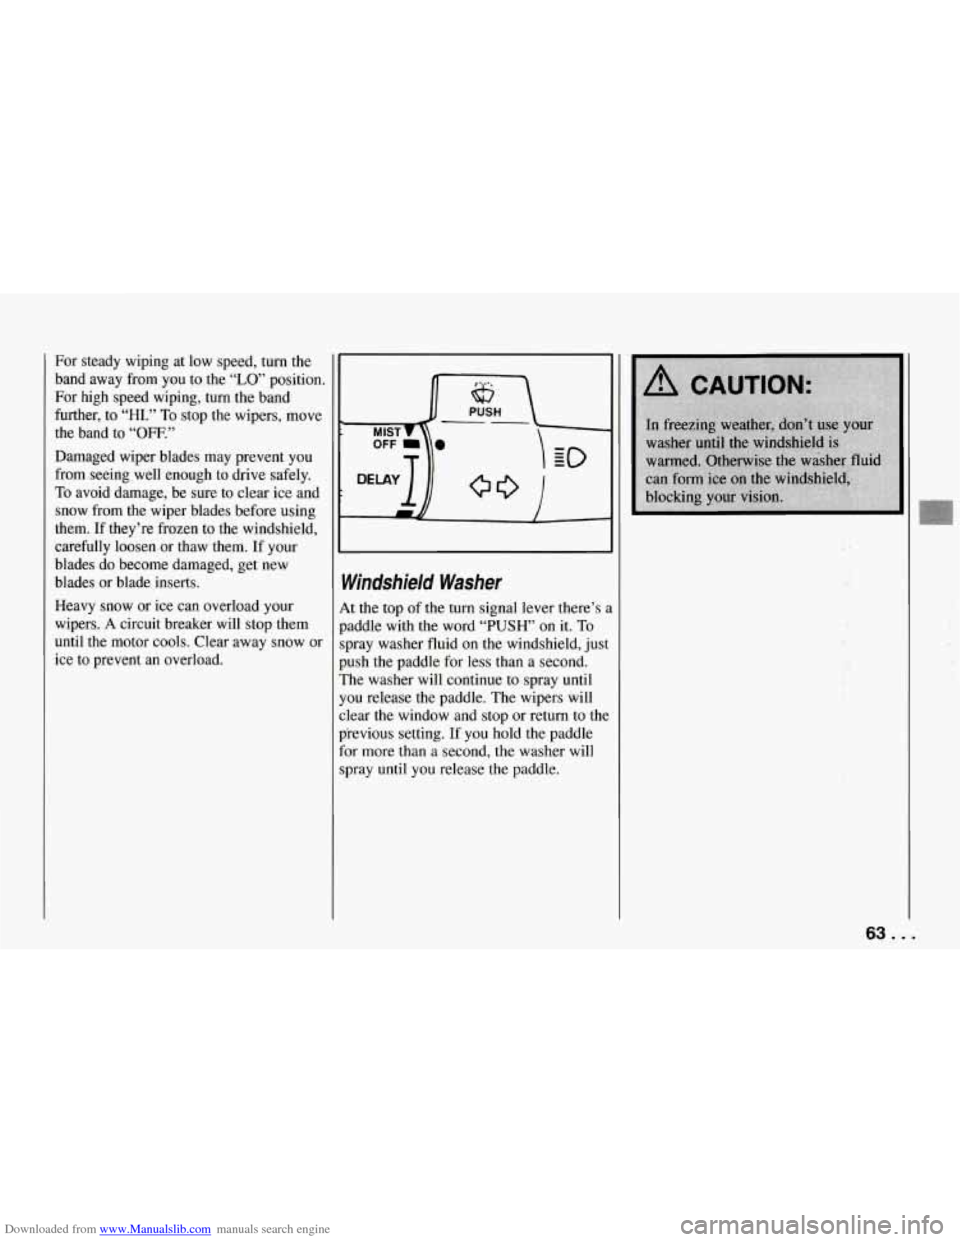
Windshield Washer
At the top of the turn signal lever there’s a
paddle
with the word “PUSH’ on it. To
spray washer fluid on the windshield, just
push the paddle for less than a second.
The washer will continue to spray
until
you release the paddle. The wipers will
clear the window and stop or return to the
previous setting. If you hold the paddle
for more than a second, the washer will
spray until you release the paddle.
63. .
Page 69 of 274
Downloaded from www.Manualslib.com manuals search engine Features and Controls
Daytime Running Lights (Canada)
The Canadian Federal Government has
decided that “Daytime Running Lights”
(DE) are a useful feature, in that DIU
can make your vehicle more visible to
pedestrians and other drivers during
daylight hours. DIU are required on new
vehicles sold
in Canada.
Your
DRL, work with a light sensor on top
of the instrument panel. Don’t cover it up.
The front turn signal lights will come on
in daylight when:
0 The ignition is on
0 The headlight switch is off, and
0 The parking brake is released.
At dusk, the exterior lights will come on
automatically and the front turn signal
lights will go out. At dawn, the exterior
lights will go out and the front turn signal
lights will come on (if the headlight
switch is
off).
Of course, you may still turn on the
headlights any time
you need to.
To idle your vehicle with the DRL off, set
the parking brake while the ignition is
in
the “Off” or “LOCK” position. Then start
the vehicle. The DRL will stay
off until
you release the parking brake.
... 68
$.
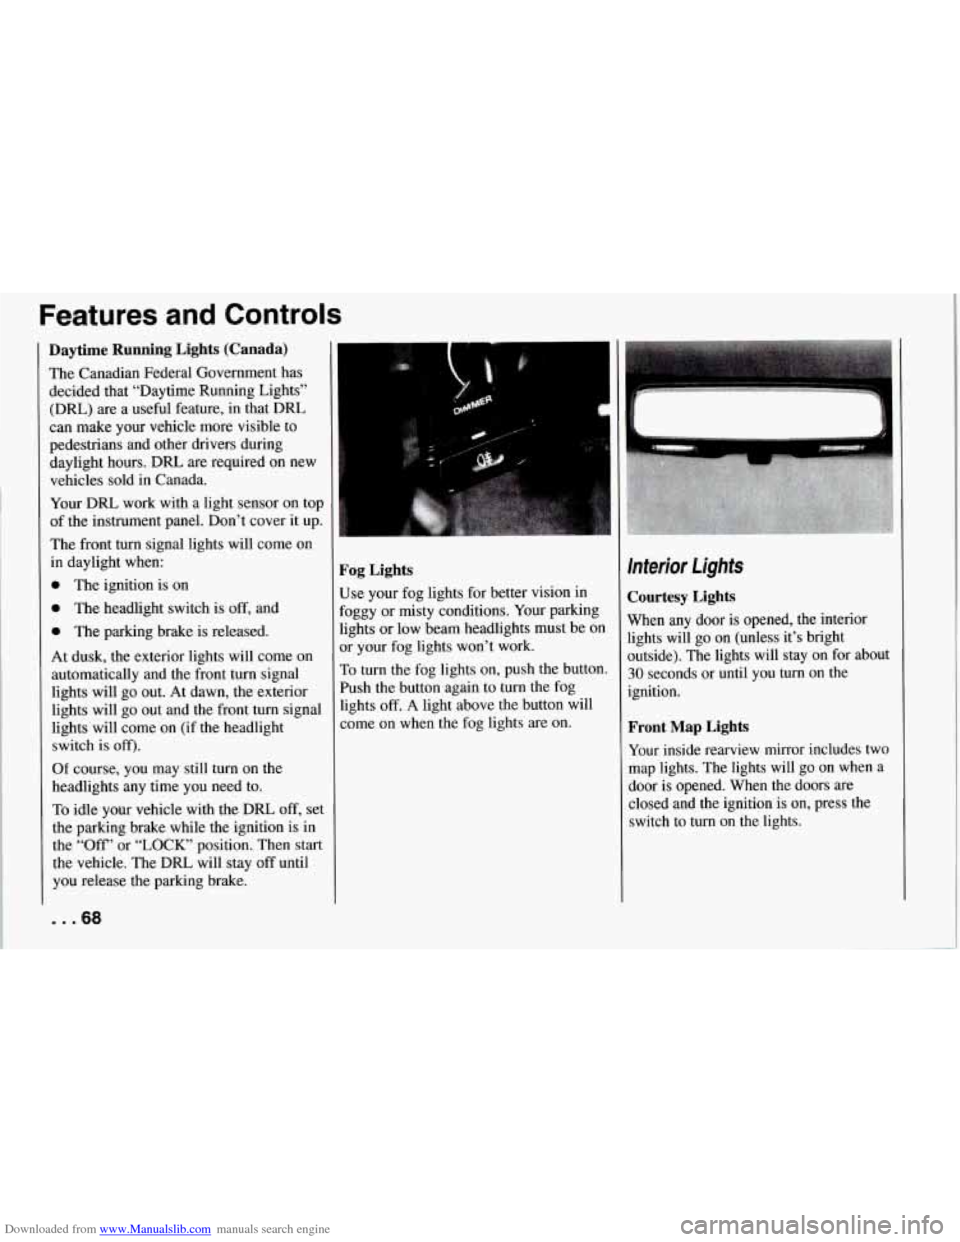
Fog Lights
Use your fog lights for better vision in
Foggy or misty conditions. Your parking
lights or low beam headlights must be
on
or your fog lights won’t work.
To turn the fog lights on, push the button.
Push the button again to turn the fog
lights
off. A light above the button will
come on when the fog lights are on.
Interior Lights
Courtesy Lights
When any door is opened, the interior
lights will go on (unless it’s bright
outside). The lights will stay on for about
30 seconds or until you turn on the
ignition.
Front Map Lights
Your inside rearview mirror includes two
map lights. The lights will go on when a
door is opened. When the doors are
closed and the ignition is on, press the
switch to turn on the lights.
Page 83 of 274
Downloaded from www.Manualslib.com manuals search engine Features and Controls
Warning Lights, Gauges
and Indicators
This section describes the warning lights
and gauges that may be on your vehicle.
The pictures will help you locate them.
Warning lights and gauges can signal that
something is wrong before it becomes
serious enough to cause an expensive
repair or replacement. Paying attention
to your warning lights and gauges could
also save you or others from injury.
Warning lights go on when there may be
or
is a problem with one of your vehicle’s
functions.
As you will see in the details
on the
next few pages, some warning
lights come on briefly when you turn the
ignition key just to let you know they’re
working. If you are familiar with this
section, you should not be alarmed when
this happens.
Gauges can indicate when there may be
or is a problem with one of your vehicle’s
functions. Often gauges and warning
lights work together to
let you know
when there’s a problem with your vehicle.
... 82
When one of the warning lights comes on
and stays on when you are driving, or
when one of the gauges shows there may
be a problem, check the section that tells
you what to do about
it. Please follow the
manual’s advice. Waiting to
do repairs
can be costly
- and even dangerous. So
please get to know your warning lights
and gauges. They’re a big help.
Your vehicle also has a driver information
center that works along with the warning
lights and gauges. See “Driver Information Center’’
in the Index.
System Problems
If “SYS” flashes on the display near your
fuel gauge, there may be a problem with
your Corvette’s electrical system. If the
“SECURITY” light flashes at the same
time, there is a problem with your theft
deterrent system. Have your vehicle
checked by your dealer
if “SYS’ keeps
appearing.
Gauge Markings
The analog gauges provide a quick visual
reference to the actual measurement of
these gauges. However, you must keep in mind that the gauges aren’t linear. This means that the middle mark is not
a
temperature halfway between the top and
bottom temperatures on the gauge. For
example, the middle mark on the coolant
gauge represents 210°F,
not 180°F as you
might expect.
Page 118 of 274
Downloaded from www.Manualslib.com manuals search engine Repeat: Press “REPT” to go to the
beginning of the current track after eight
seconds or more
of play. After eight
seconds or less of play, the player will
return to the beginning of the previous
track.
Search: Press “SRCH’ to go to the
beginning of the next track.
Scan: Press “SCAN” to listen to the first
eight seconds of each track. Press it again
to stop scanning.
Compression: Press “COMP” to make
loud and soft passages more nearly equal
in volume. Press
it again for normal play.
To Stop the Disc Player
0
0
0
Turn the power off or turn the ignition
key
off. The disc stays in the player
and will resume playing at the point
where it stopped.
Press “STOP-PLAY” to stop playing
the disc and switch to radio. Press it
again to restart the disc at the point
where it stopped.
Press “EJCT” to eject the disc and
switch to radio. If the ignition or audio
system is turned
off, the player will
pull the disc back in if you don’t
remove it from the opening within
30 seconds.
Understanding Radio Reception
FM Stereo
FM stereo will give you the best sound.
But FM signals will reach only about
10 to 40 miles (16 to 65 km). And, tall
buildings or hills can interfere with
FM signals, causing the sound to come
and go.
AM
The range for most AM stations is greater
than for
FM, especially at night. The
longer range, however, can cause stations
to interfere with each other. AM can pick
up noise from things like storms and
power lines. Try reducing the treble to
reduce this noise if you ever get it. Care of Your Cassette Tape
Player
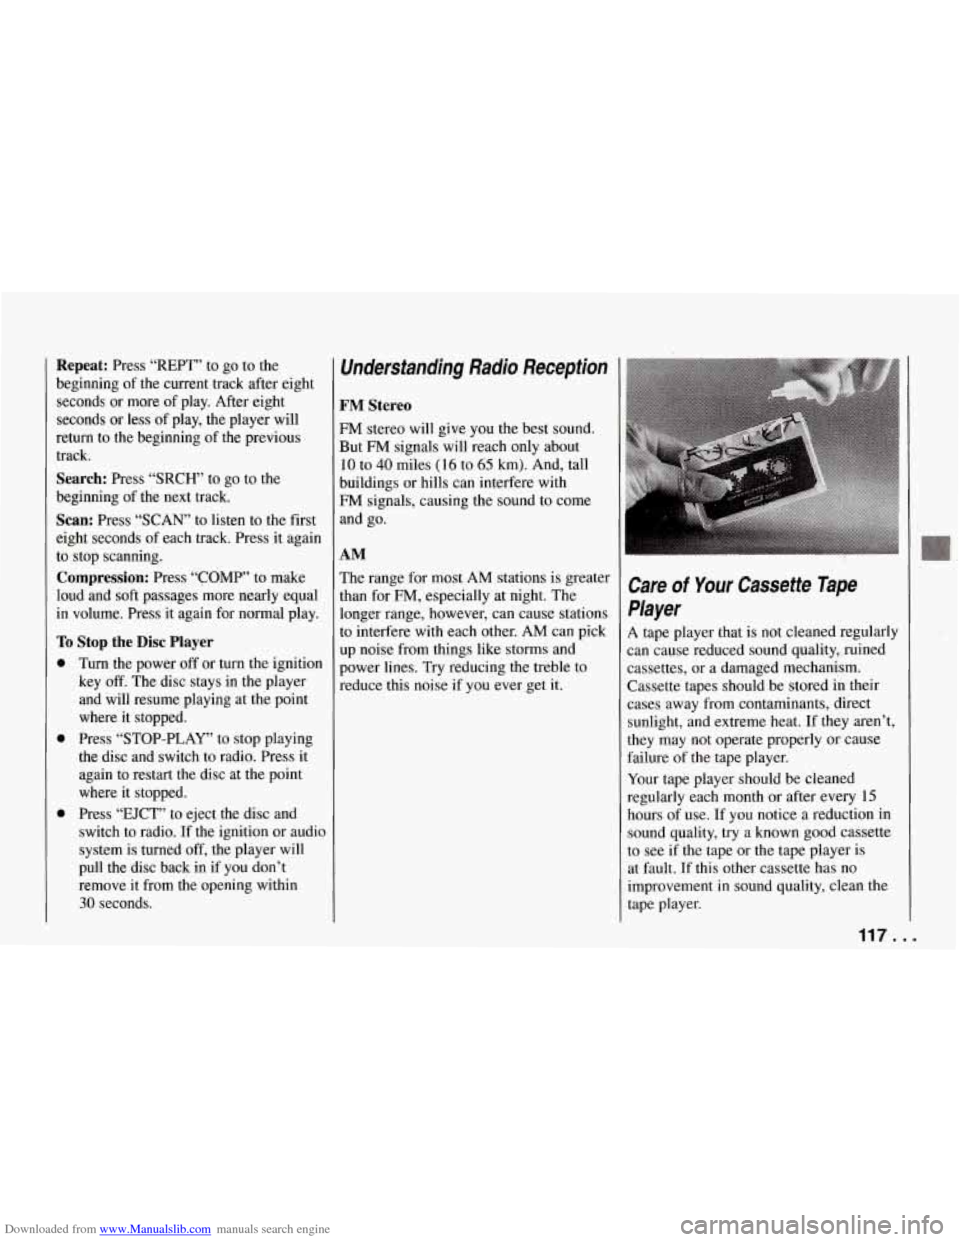
A tape player that is not cleaned regularly
can cause reduced sound quality, ruined
cassettes, or a damaged mechanism.
Cassette tapes should be stored in their
cases away from contaminants, direct
sunlight, and extreme heat. If they aren’t,
they may not operate properly or cause
failure of the tape player.
Your tape player should be cleaned
regularly each month or after every 15
hours of use. If
you notice a reduction in
sound quality, try a known good cassette
to see if the tape or the tape player
is
at fault. If this other cassette has no
improvement in sound quality, clean the
tape player.
117.. .
Page 119 of 274
Downloaded from www.Manualslib.com manuals search engine Comfort Controls and Audio Systems
Clean your tape player with a
wiping-action, non-abrasive cleaning
cassette
(GM Part No. 12344600), and
follow the directions provided with
it.
Cassettes are subject to wear and the
sound quality may degrade over time.
Always make sure that the cassette tape is
in good condition before you have your
tape player serviced.
. . .I18
Care of Your Compact Discs
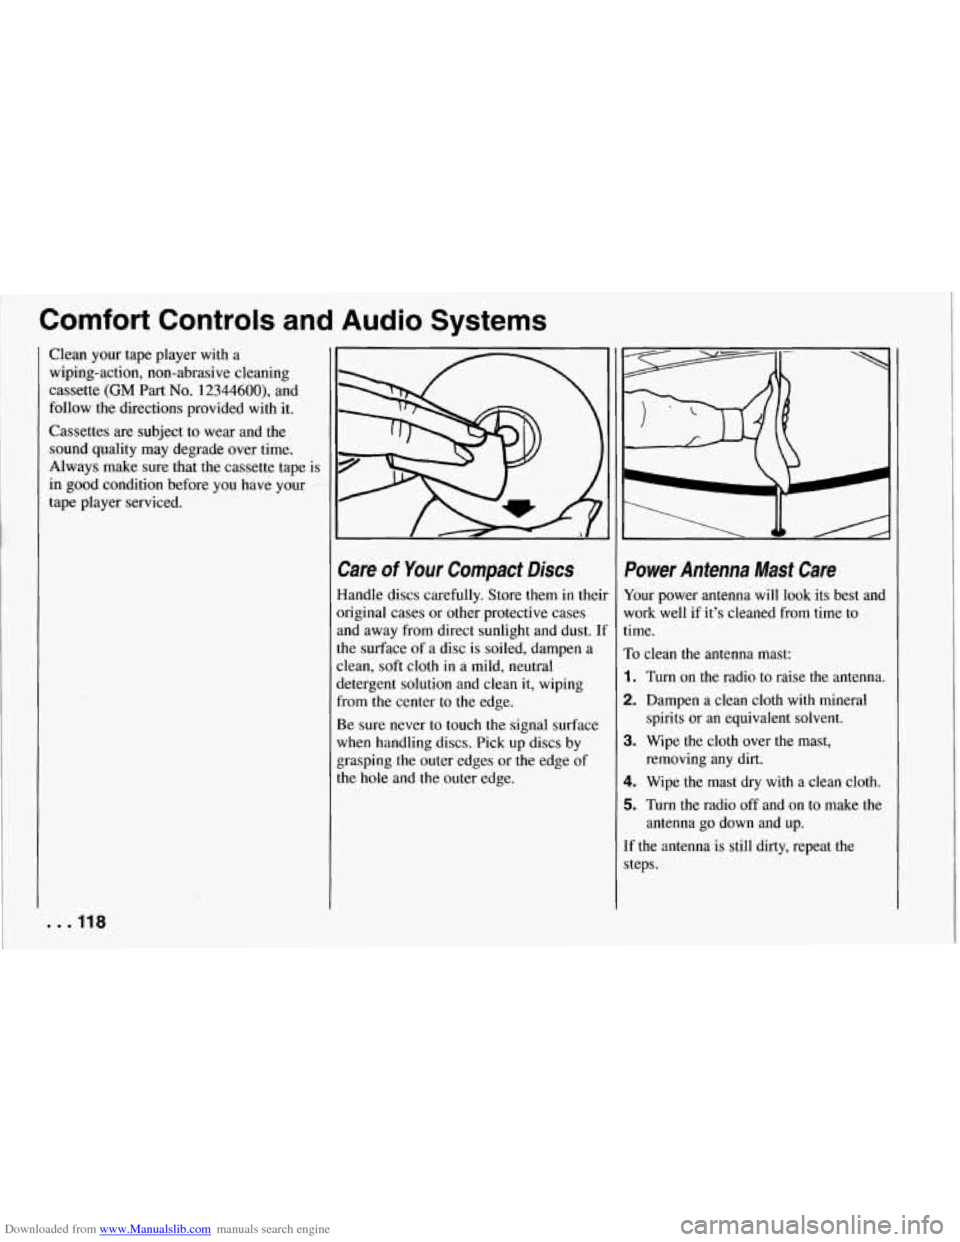
Handle discs carefully. Store them in theil
original cases or other protective cases
and away from direct sunlight and dust.
U
the surface of a disc is soiled, dampen a
clean, soft cloth in a mild, neutral
detergent solution and clean it, wiping
from the center to
the edge.
Be sure never to touch the signal surface
when handling discs. Pick up discs by
grasping the outer edges or the edge of
the
hole and the outer edge.
Power Antenna Mast Care
Your power antenna will look its best and
work well if it’s cleaned from time to
time.
To clean the antenna mast:
1. Turn on the radio to raise the antenna.
2. Dampen a clean cloth with mineral
spirits or an equivalent solvent.
3. Wipe the cloth over the mast, removing any dirt.
4. Wipe the mast dry with a clean cloth.
5. Turn the radio off and on to make the
antenna go down and up.
If the antenna is still dirty, repeat the steps.
Page 131 of 274
Downloaded from www.Manualslib.com manuals search engine Your Driving and the Road
0
0
..
If other cars are lined up to pass a
slow vehicle, wait your turn. But take
care that someone isn’t trying to pass
you as you pull out to pass the slow
vehicle. Remember to glance over
your shoulder and check the blind
spot.
Check your mirrors, glance over your
shoulder, and start your left lane
change signal before moving out of
the right lane to pass. When you are
far enough ahead
of the passed vehicle
to see its front
in your inside mirror,
activate your right lane change signal
and move back into the right lane.
(Remember that your right outside
mirror is convex. The vehicle you just
passed may seem to be farther away
from you than it really is.)
Try not to pass more than one vehicle
at a time on two-lane roads.
Reconsider before passing the next vehicle.
Don’t overtake a slowly moving
vehicle too rapidly. Even though the
brake lights are not flashing, it may be
slowing down or starting
to turn.
If you’re being passed, make it easy
for the following driver to get ahead
of you. Perhaps you can ease a little
to the right.
,130
Loss of Control
Let’s review what driving experts say
about what happens when the three
control systems (brakes, steering and
acceleration) don’t have enough friction
where the tires meet the road to do what
the driver has asked.
In any emergency, don’t give up. Keep
trying to steer and constantly seek an
escape route or area of less danger.
Skidding
In a skid, a driver can lose control of the
vehicle. Defensive drivers avoid most
skids by taking reasonable care suited to
existing conditions, and by not
“overdriving” those conditions. But skids
are always possible.
The three types of skids correspond to
your Corvette’s three control systems.
In the braking skid your wheels aren’t
rolling. In the steering or cornering skid,
too much speed or steering in a curve
causes tires to slip and lose cornering
force. And in the acceleration skid too
much throttle causes the driving wheels
to spin.
A cornering skid
is best handled by
easing your foot
off the accelerator pedal. Remember: Any
ASR system helps avoid
only the acceleration skid. If your ASR
system is
off, then an acceleration skid is
also best handled by easing your foot off
the accelerator pedal.
If your vehicle starts to slide, ease your
foot
off the accelerator pedal and quickly
steer the way you want the vehicle to go.
If you start steering quickly enough, your
vehicle may straighten out. Always be
ready for a second skid if it occurs.
Of course, traction is reduced when water,
snow, ice, gravel, or other material is on
the road. For safety, you’ll want to slow
down and adjust your driving to these
conditions. It is important to slow down
on slippery surfaces because stopping
distance will be longer and vehicle
control more limited.