Wheel Nut CHEVROLET CORVETTE 1996 4.G Owners Manual
[x] Cancel search | Manufacturer: CHEVROLET, Model Year: 1996, Model line: CORVETTE, Model: CHEVROLET CORVETTE 1996 4.GPages: 386, PDF Size: 20.12 MB
Page 33 of 386
Downloaded from www.Manualslib.com manuals search engine Your vehicle is equipped with a diagnostic module,
which records information about the air bag system.
The module records information about the readiness
of the system, when the sensors are activated and
driver’s safety belt usage at deployment.
Let only qualified technicians work on your air
bag system. Improper service can mean that your
air bag system won’t work properly. See your dealer
for service.
NOTICE:
If you damage the cover for the driver’s or the
passenger’s air bag, they may not work properly.
You may have to replace the air bag module in
the steering wheel or both the air bag module and
the instrument panel for the passenger’s air bag.
Do not open or break the air bag covers.
Servicing Your Air Bag-Equipped Corvette
Air bags affect how your Corvette should be serviced.
There are parts of the air bag system in several places
around your vehicle.
You don’t want the system to
inflate while someone is working on your vehicle. Your
Corvette dealer and‘the Corvette Service Manual have
information about servicing your vehicle and the air bag
system. To purchase a service manual, see “Service and
Owner Publications” in the Index.
For up to two minutes after the ignition key is
turned
off and the battery is disconnected, an air
bag can still inflate during improper service.
You
can be injured if you are close to an air bag when
it inflates. Avoid yellow wires, wires wrapped
with yellow tape or yellow connectors. They are
probably part of the air bag system. Be sure to
follow proper service procedures, and make sure
the person performing work for you is qualified
to do
so.
The air bag system does not need regular maintenance.
1-22
Page 60 of 386
Downloaded from www.Manualslib.com manuals search engine Key Release Button
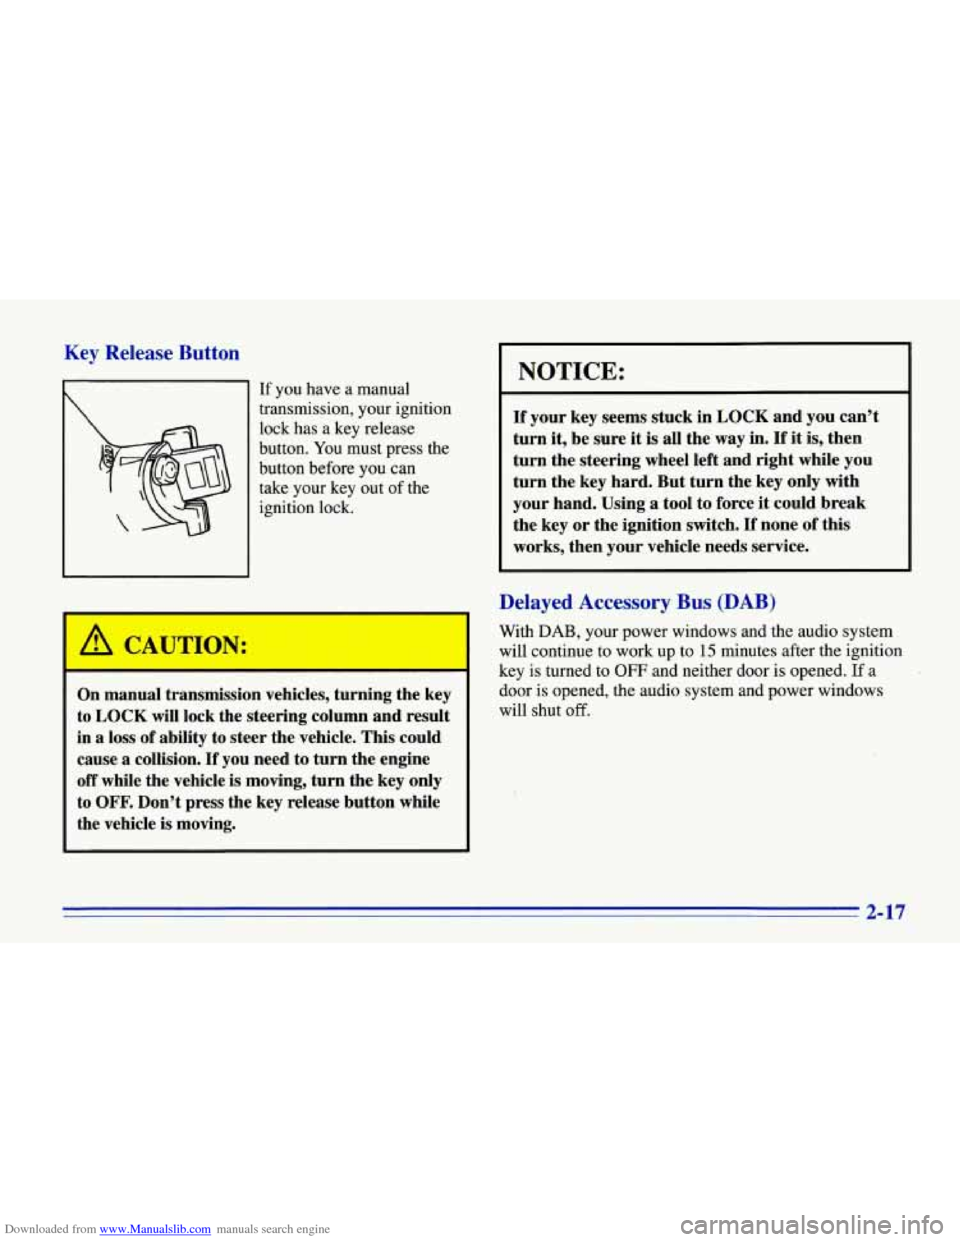
If you have a manual
transmission, your ignition
lock has a key release
button. You must press the
button before you can
take your key out
of the
ignition lock.
CAUTION:
On manual transmission vehicles, turning the key
to LOCK will lock the steering column and result
in a loss of ability to steer the vehicle. This could
cause a colIision.
If you need to turn the engine
off while the vehicle is moving, turn the key only
to
OFF. Don’t press the key release button while
the vehicle
is moving.
I NOTICE:
If your key seems stuck in LOCK and you can’t
turn
it, be sure it is all the way in. If it is, then
turn the steering wheel left and right while you
turn the key hard. But turn the key only with
your hand. Using
a tool to force it could break
the key or the ignition switch.
If none of this
works, then your vehicle needs service.
Delayed Accessory Bus (DAB)
With DAB, your power windows and the audio system
will continue to work up to
15 minutes after the ignition
key is turned to
OFF and neither door is opened. If a
door is opened, the audio system and power windows
will shut
off.
Y
2-17
Page 92 of 386
Downloaded from www.Manualslib.com manuals search engine Rear Storage
V
2. Put the ends of the shade into the slots behind
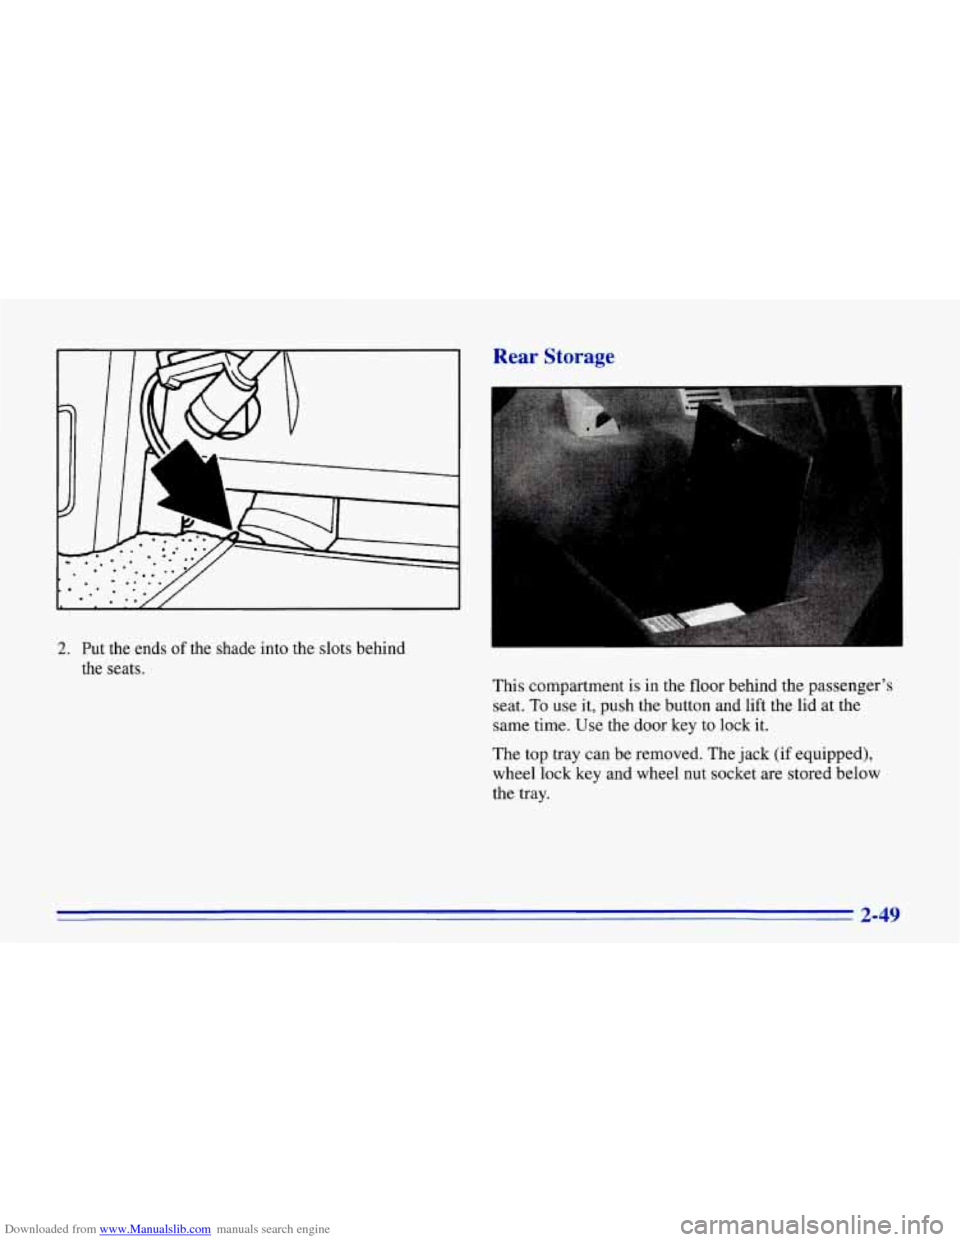
the seats. This compartment is in the floor behind the passenger’s
seat.
To use it, push the button and lift the lid at the
same time. Use the door key to lock it.
The top tray can be removed. The jack (if equipped),
wheel lock key and wheel nut socket are stored below
the tray.
2-49
Page 214 of 386

Downloaded from www.Manualslib.com manuals search engine The following steps will tell you how to use the jack and
change
a tire.
Removing the Spare Tire and Tools
Note that if you've chosen the spare tire delete option,
your vehicle is not equipped with
a jack or wheel
wrench, but does have a wheel lock key and wheel
nut socket.
The wheel wrench is on the
floor behind the driver's
seat. Move the driver's
seat all the way forward and fold
the seatback forward. Loosen the wingnuts and slide the
wheel wrench out
of the clamps.
5-23
Page 215 of 386

Downloaded from www.Manualslib.com manuals search engine The jack, wheel nut socket and wheel lock key are in the
rear storage compartment behind the passenger’s seat.
Open the compartment door and remove the plastic tray.
Lift the jack, wheel nut socket and wheel lock key out of
the foam container.
Your Corvette wheel lock key has a unique registration
number. The registration number is printed on a card
included in your lock nut package.
Also on this card is
lost key replacement information. This number is
not
recorded by GM or your dealer, so be sure not to lose this card.
You will need the information if you ever lose
your wheel lock key.
Always use the wheel nut socket when you use the
wheel wrench provided with your Corvette.
If you have
someone else remove your wheels, make sure you give
them the special wheel nut socket and wheel lock key.
NOTICE:
Your wheels could be damaged if the wheel nut
socket is not used to remove your Corvette’s wheels.
The wheel nut socket can be used with an air wrench or
a torque wrench. The wheel lock key can be used with a
torque wrench, but not with an air or impact wrench.
I NOTICE:
I
~~
Your wheel lock key or lock nuts could be
damaged if an air
or impact wrench is used with
this key.
5-24
Page 216 of 386

Downloaded from www.Manualslib.com manuals search engine t
The tools you’ll be using include the jack (A), wheel
wrench
(B), wheel nut socket (C) and wheel lock
key
(Dl.
The spare tire is on a tire carrier tray under the rear end
of your vehicle. See “Compact Spare Tire” later in this
section for more information about the compact spare.
To lower the tray, position yourself behind the vehicle
facing the front and use the socket end
of the wheel
wrench to turn the latch bolt clockwise. Lower the tray
about
1 inch (25.4 mm). Don’t loosen the latch bolt too
much,
or the tray could fall.
5-25
Page 218 of 386

Downloaded from www.Manualslib.com manuals search engine Removing the Flat Tire and Installing the
Spare Tire
1. Remove the plastic wheel nut caps using the socket
end
of the wheel wrench by turning the wrench in
the direction shown. Store the caps somewhere until
you have the flat tire repaired or replaced.
2. Each wheel will have one locknut. A special wheel
lock key (removal tool)
and instructions are
provided. Attach the wheel lock key to the wheel
wrench. Remove the locking wheel nut by turning
counterclockwise.
5-27
Page 219 of 386

Downloaded from www.Manualslib.com manuals search engine 3. Attach the wheel nut socket to the wheel wrench and
loosen all the wheel nuts
by turning the wrench in
the direction shown. Don't remove them yet.
4. Attach the wheel wrench to the jack. Hold the wheel
wrench handle
so it forms a right angle with the jack,
then turn it clockwise.
5-28
Page 221 of 386

Downloaded from www.Manualslib.com manuals search engine Getting under a vehicle when it is jacked up is
dangerous.
If the vehicle slips off the jack, you
could be badly injured or killed. Never get under
a vehicle when it is supported only by a jack.
NOTICE:
Raising your vehicle with the jack improperly
positioned will damage the vehicle or may allow
the vehicle to fall off the jack. Be sure to fit the
jack lift head into the proper location before
raising your vehicle.
7. Raise the vehicle by turning the wheel wrench
clockwise. Raise the vehicle
far enough off the
ground
so there is enough room for the spare tire
to fit. Remove all the wheel
nuts and take off the
flat tire.
5-30
-
Page 222 of 386
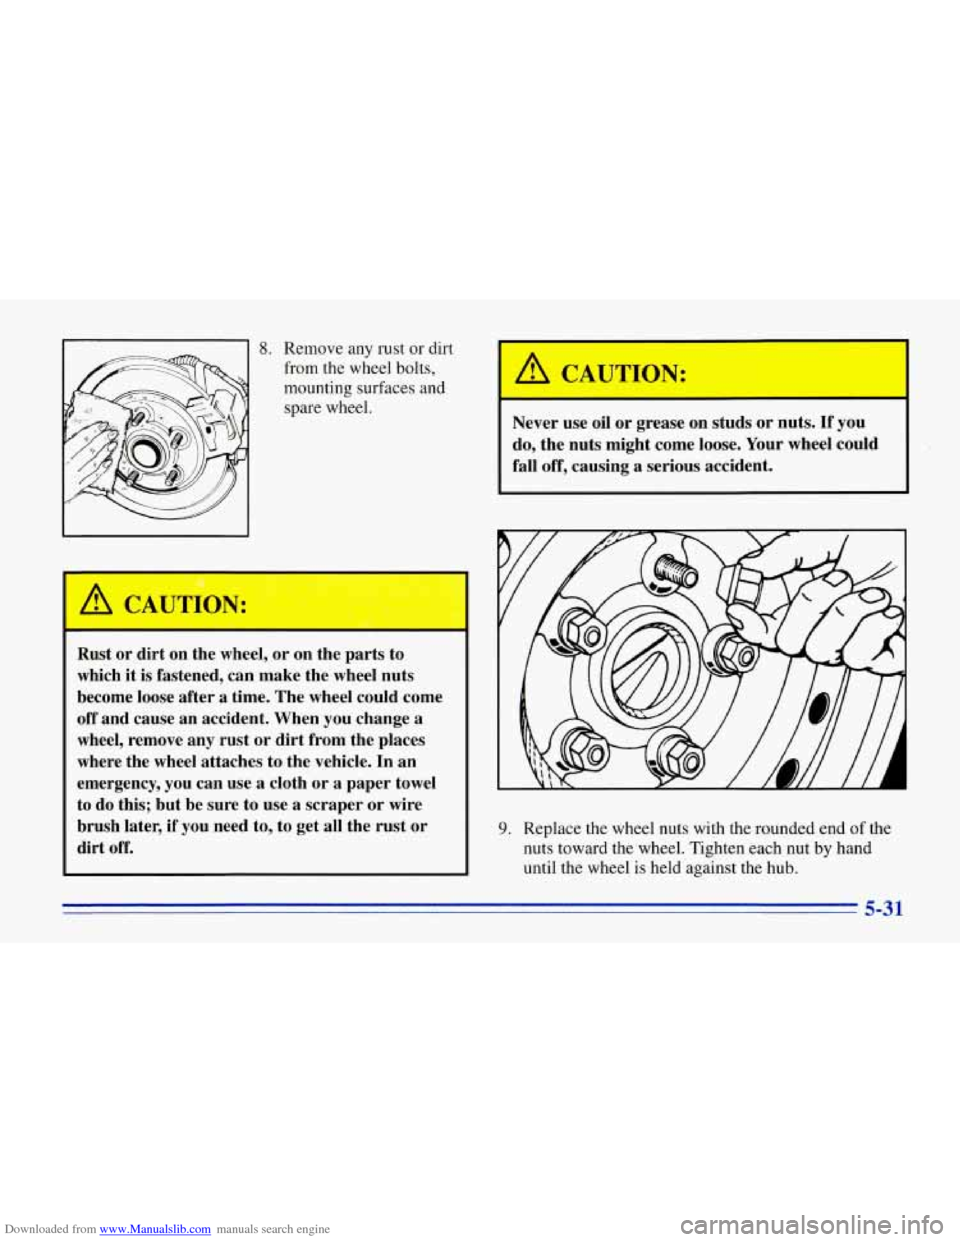
Downloaded from www.Manualslib.com manuals search engine 8. Remove any rust or dirt
from the wheel bolts,
mounting surfaces and
spare wheel.
Rust or dirt on the wheel, or on the parts to
which it is fastened, can make the wheel nuts
become loose after a time. The wheel could come
off and cause an accident. When you change a
wheel, remove any rust or dirt from the places
where the wheel attaches to the vehicle. In an
emergency, you can use
a cloth or a paper towel
to do this; but be sure to use
a scraper or wire
brush later, if you need to, to get all the rust or
dirt off.
A CAUTION.
Never use oil or grease on studs or nuts. If you
do, the nuts might come loose. Your wheel could
fall
off, causing a.serious accident.
9. Replace the wheel nuts with the rounded end of the
nuts toward the wheel. Tighten each nut
by hand
until the wheel
is held against the hub.
5-31