fuel cap CHEVROLET CORVETTE 2003 5.G Owners Manual
[x] Cancel search | Manufacturer: CHEVROLET, Model Year: 2003, Model line: CORVETTE, Model: CHEVROLET CORVETTE 2003 5.GPages: 368, PDF Size: 2.55 MB
Page 1 of 368

Seats and Restraint Systems........................... 1-1
Front Seats
............................................... 1-2
Safety Belts
.............................................. 1-7
Child Restraints
.......................................1-21
Air Bag System
.......................................1-39
Restraint System Check
............................1-48
Features and Controls..................................... 2-1
Keys
........................................................ 2-3
Doors and Locks
....................................... 2-9
Windows
.................................................2-14
Theft-Deterrent Systems
............................2-16
Starting and Operating Your Vehicle
...........2-19
Mirrors
....................................................2-37
Storage Areas
.........................................2-39
Roof Panel
..............................................2-43
Convertible Top
.......................................2-49
Vehicle Personalization
.............................2-55
Instrument Panel............................................. 3-1
Instrument Panel Overview
.......................... 3-2
Climate Controls
......................................3-22
Warning Lights, Gages and Indicators
.........3-29
Driver Information Center (DIC)
..................3-44
Audio System(s)
.......................................3-62Driving Your Vehicle....................................... 4-1
Your Driving, the Road, and Your Vehicle
..... 4-2
Towing
...................................................4-33
Service and Appearance Care.......................... 5-1
Service
..................................................... 5-3
Fuel
......................................................... 5-4
Checking Things Under the Hood
...............5-10
Rear Axle
...............................................5-46
Bulb Replacement
....................................5-47
Windshield Wiper Blade Replacement
.........5-51
Tires
......................................................5-54
Appearance Care
.....................................5-75
Vehicle Identi®cation
.................................5-83
Electrical System
......................................5-84
Capacities and Speci®cations
.....................5-92
Normal Maintenance Replacement Parts
......5-94
Maintenance Schedule..................................... 6-1
Maintenance Schedule
................................ 6-2
Customer Assistance Information.................... 7-1
Customer Assistance Information
.................. 7-2
Reporting Safety Defects
............................ 7-9
INDEX............................................................... 1
2003 Chevrolet Corvette Owner ManualM
Page 138 of 368

You may notice a slight change in engine performance
when the air-conditioning compressor shuts off and
turns on again. This is normal. The system is designed
to make adjustments to help with fuel economy while
still maintaining the selected temperature.
On hot days, open the windows to let hot inside air
escape; then close them. This helps to reduce the time
it takes for your vehicle to cool down. It also helps
the system to operate more efficiently.
For quick cool down on hot days, do the following:
1. Select the vent mode.
2. Select recirculate mode.
3. Select the A/C.
4. Select the coolest temperature.
5. Select the highest fan speed.
Using these settings together for long periods of time
may cause the air inside of your vehicle to become too
dry. To prevent this from happening, after the air in
your vehicle has cooled, turn the recirculation mode off.
The air-conditioning system removes moisture from
the air, so you may sometimes notice a small amount of
water dripping underneath your vehicle while idling or
after turning off the engine. This is normal.Sensors
The solar sensor on your vehicle monitors the solar
radiation and uses the information to maintain the
selected temperature when operating in AUTO mode by
initiating needed adjustments to the temperature, the
fan speed and the air delivery system. The system may
also supply cooler air to the side of the vehicle facing
the sun. The recirculation mode will also be activated, as
necessary. Do not cover the solar sensor located on
the top right side of the instrument panel near the
windshield or the system will not work properly.
There is also a sensor located behind the front bumper.
This sensor reads the outside air temperature and
helps to maintain the temperature inside the vehicle.
Any cover on the front of the vehicle could give a false
reading in the temperature.
If the outside temperature goes up, the displayed
temperature will not change until:
·The vehicle's speed is above 16 mph (26 km/h) for
one and a half minutes.
·The vehicle's speed is above 45 mph (72 km/h) for
one minute.
These delays prevent false readings. If the temperature
goes down, the outside temperature will be shown
when you start the vehicle. If it has been turned off for
less than three hours, the temperature will be recalled
from the previous vehicle operation.
3-26
Page 151 of 368

Notice:Modi®cations made to the engine,
transmission, exhaust, intake or fuel system of your
vehicle or the replacement of the original tires
with other than those of the same Tire Performance
Criteria (TPC) can affect your vehicle's emission
controls and may cause this light to come on.
Modi®cations to these systems could lead to costly
repairs not covered by your warranty. This may
also result in a failure to pass a required Emission
Inspection/Maintenance test.
This light should come on, as a check to show you it is
working, when the ignition is on and the engine is
not running. If the light doesn't come on, have it
repaired. This light will also come on during a
malfunction in one of two ways:
·Light FlashingÐ A mis®re condition has been
detected. A mis®re increases vehicle emissions
and may damage the emission control system on
your vehicle. Diagnosis and service may be
required.
·Light On SteadyÐ An emission control system
malfunction has been detected on your vehicle.
Diagnosis and service may be required.
If the Light Is Flashing
The following may prevent more serious damage to
your vehicle:
·Reducing vehicle speed.
·Avoiding hard accelerations.
·Avoiding steep uphill grades.
If the light stops ¯ashing and remains on steady, see ªIf
the Light Is On Steadyº following.
If the light continues to ¯ash, when it is safe to do so,
stop the vehicle.Find a safe place to park your vehicle.
Turn the key off, wait at least 10 seconds and restart
the engine. If the light remains on steady, see ªIf
the Light Is On Steadyº following. If the light is still
¯ashing, follow the previous steps, and see your dealer
for service as soon as possible.
If the Light Is On Steady
You also may be able to correct the emission system
malfunction by considering the following:
Did you recently put fuel into your vehicle?
If so, reinstall the fuel cap, making sure to fully install
the cap. See
Filling Your Tank on page 5-7. The
diagnostic system can determine if the fuel cap has
been left off or improperly installed. A loose or missing
fuel cap will allow fuel to evaporate into the atmosphere.
A few driving trips with the cap properly installed
should turn the light off.
3-39
Page 155 of 368

Press RESET to acknowledge a DIC message(s).
Pressing RESET will also turn off a DIC message but
the LOW FUEL message will come on again in
10 minutes if you have not added fuel to the vehicle.
Here are ®ve things that some owners ask about.
All these things are normal and do not indicate that
anything is wrong with the fuel gage.
·At the gas station, the gas pump shuts off before
the gage reads F (full).
·It takes more (or less) fuel to ®ll up than the gage
reads. For example, the gage reads half full, but it
took more (or less) than half of the tank's
capacity to ®t it.
·The gage pointer may move while cornering,
braking or speeding up.
·The gage may not indicate E (empty) when the
ignition is turned off.
·The gage reading may change slightly within the
®rst several minutes after starting the vehicle.You can use the Driver Information Center (DIC) to
display more detailed fuel information. Each time you
press FUEL, one of the following will appear in the
Driver Information Center (DIC).
·AVERAGE:The fuel economy calculated for the
current tank of fuel, or since you last reset the
display.
·INST (Instant):The fuel economy calculated for
your current driving conditions.
·RANGE:The distance you can drive before
refueling.
You should reset the fuel information display every time
you refuel. To reset the display, press FUEL until
AVERAGE appears. Then, press RESET on the Driver
Information Center (DIC).
3-43
Page 226 of 368

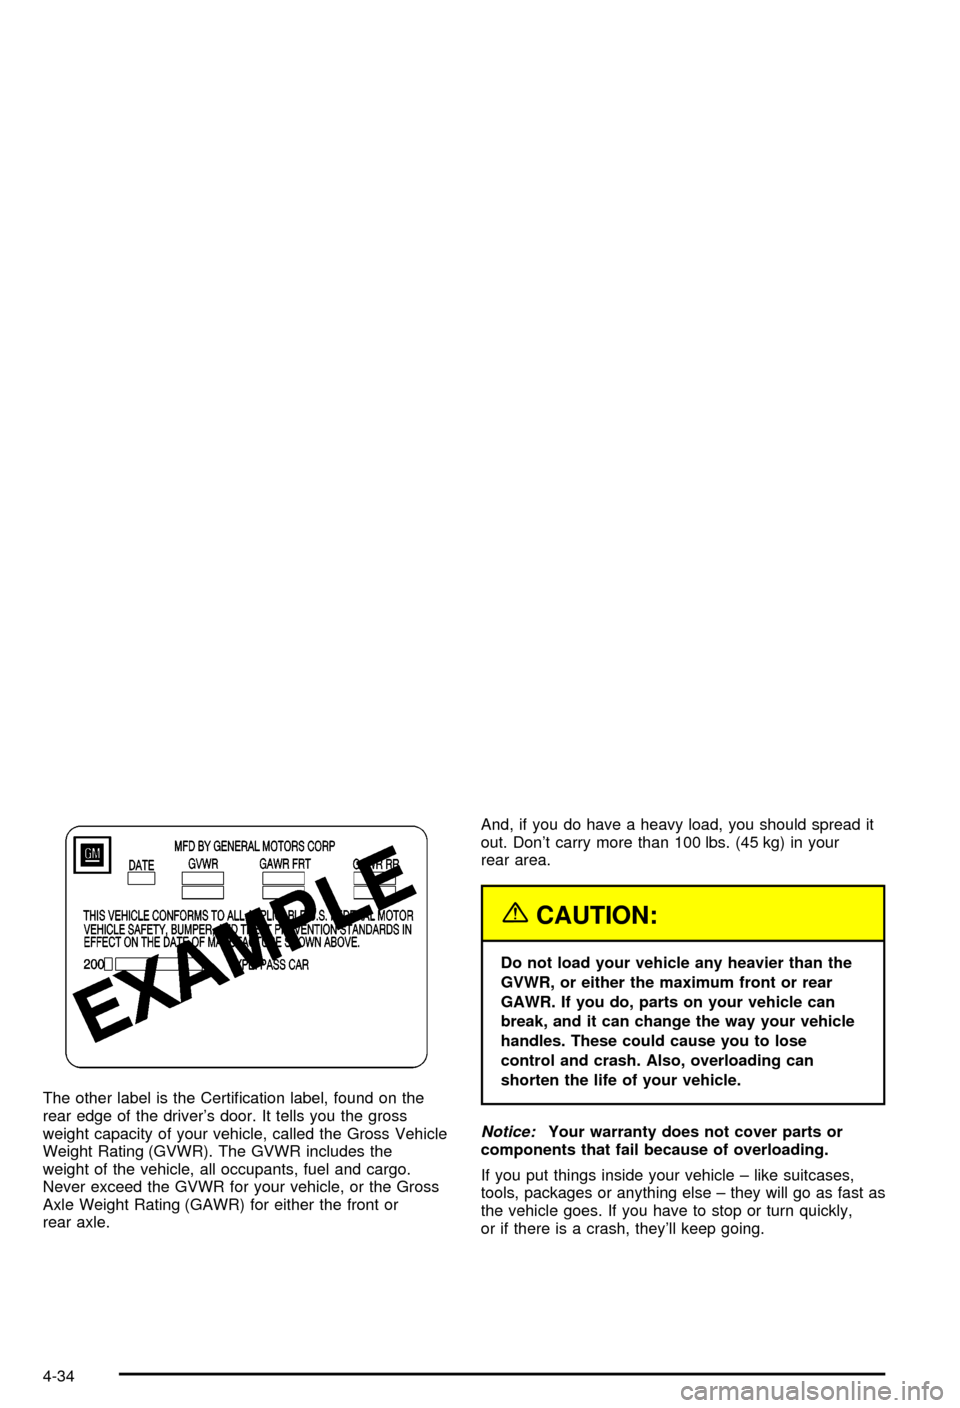
The other label is the Certi®cation label, found on the
rear edge of the driver's door. It tells you the gross
weight capacity of your vehicle, called the Gross Vehicle
Weight Rating (GVWR). The GVWR includes the
weight of the vehicle, all occupants, fuel and cargo.
Never exceed the GVWR for your vehicle, or the Gross
Axle Weight Rating (GAWR) for either the front or
rear axle.And, if you do have a heavy load, you should spread it
out. Don't carry more than 100 lbs. (45 kg) in your
rear area.
{CAUTION:
Do not load your vehicle any heavier than the
GVWR, or either the maximum front or rear
GAWR. If you do, parts on your vehicle can
break, and it can change the way your vehicle
handles. These could cause you to lose
control and crash. Also, overloading can
shorten the life of your vehicle.
Notice:Your warranty does not cover parts or
components that fail because of overloading.
If you put things inside your vehicle ± like suitcases,
tools, packages or anything else ± they will go as fast as
the vehicle goes. If you have to stop or turn quickly,
or if there is a crash, they'll keep going.
4-34
Page 229 of 368

Service............................................................5-3
Doing Your Own Service Work.........................5-3
Adding Equipment to the Outside of Your
Vehicle......................................................5-4
Fuel................................................................5-4
Gasoline Octane............................................5-4
Gasoline Speci®cations....................................5-5
California Fuel...............................................5-5
Additives.......................................................5-6
Fuels in Foreign Countries...............................5-6
Filling Your Tank............................................5-7
Filling a Portable Fuel Container.......................5-9
Checking Things Under
the Hood....................................................5-10
Hood Release..............................................5-11
Engine Compartment Overview.......................5-12
Engine Oil...................................................5-13
Engine Air Cleaner/Filter................................5-18
Automatic Transmission Fluid.........................5-20
Manual Transmission Fluid.............................5-20
Hydraulic Clutch...........................................5-22
Engine Coolant.............................................5-23
Coolant Surge Tank Pressure Cap..................5-26
Engine Overheating.......................................5-26
Cooling System............................................5-29
Power Steering Fluid.....................................5-35Windshield Washer Fluid................................5-36
Brakes........................................................5-37
Battery........................................................5-40
Jump Starting...............................................5-41
Rear Axle.......................................................5-46
Bulb Replacement..........................................5-47
Halogen Bulbs..............................................5-47
Headlamps..................................................5-47
Taillamps and Turn Signal Lamps...................5-49
Back-Up Lamps............................................5-51
Replacement Bulbs.......................................5-51
Windshield Wiper Blade Replacement..............5-51
Tires..............................................................5-54
Extended Mobility Tires (Except Z06)...............5-54
In¯ation -- Tire Pressure................................5-56
Tire Pressure Monitor System (Except Z06)......5-57
Tire Rotation................................................5-58
Buying New Tires.........................................5-59
Uniform Tire Quality Grading..........................5-60
Wheel Alignment and Tire Balance..................5-61
Wheel Replacement......................................5-61
Tire Chains..................................................5-64
Lifting Your Vehicle.......................................5-64
If a Tire Goes Flat........................................5-68
Tire In¯ator Kit (Z06 Only).............................5-70
Section 5 Service and Appearance Care
5-1
Page 235 of 368

Filling Your Tank
{CAUTION:
Fuel vapor is highly ¯ammable. It burns
violently, and that can cause very bad injuries.
Don't smoke if you're near fuel or refueling
your vehicle. Keep sparks, ¯ames and smoking
materials away from fuel.
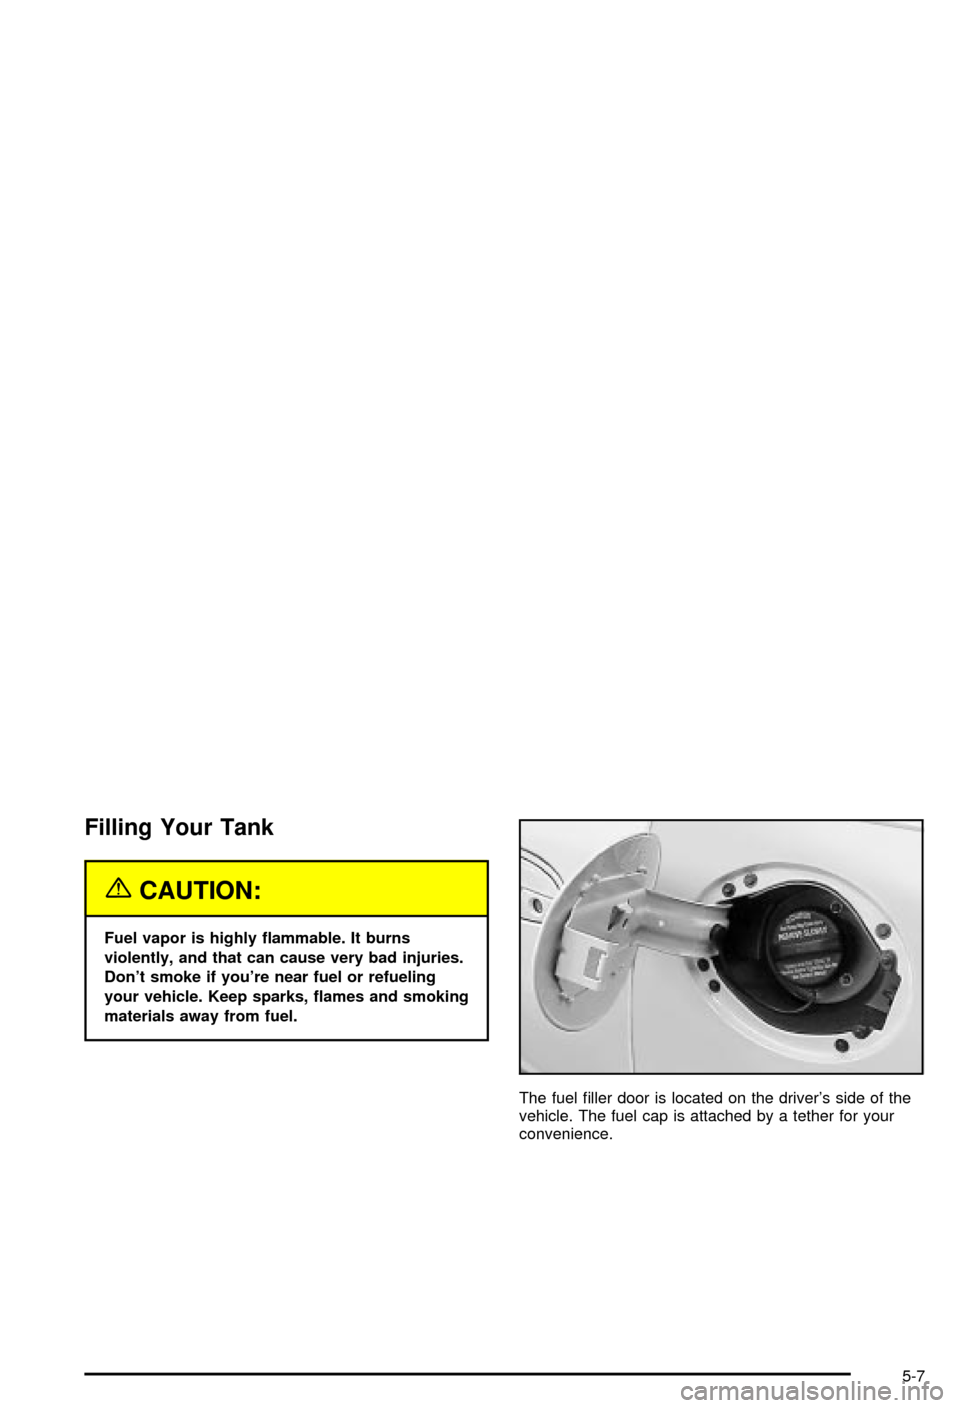
The fuel ®ller door is located on the driver's side of the
vehicle. The fuel cap is attached by a tether for your
convenience.
5-7
Page 236 of 368

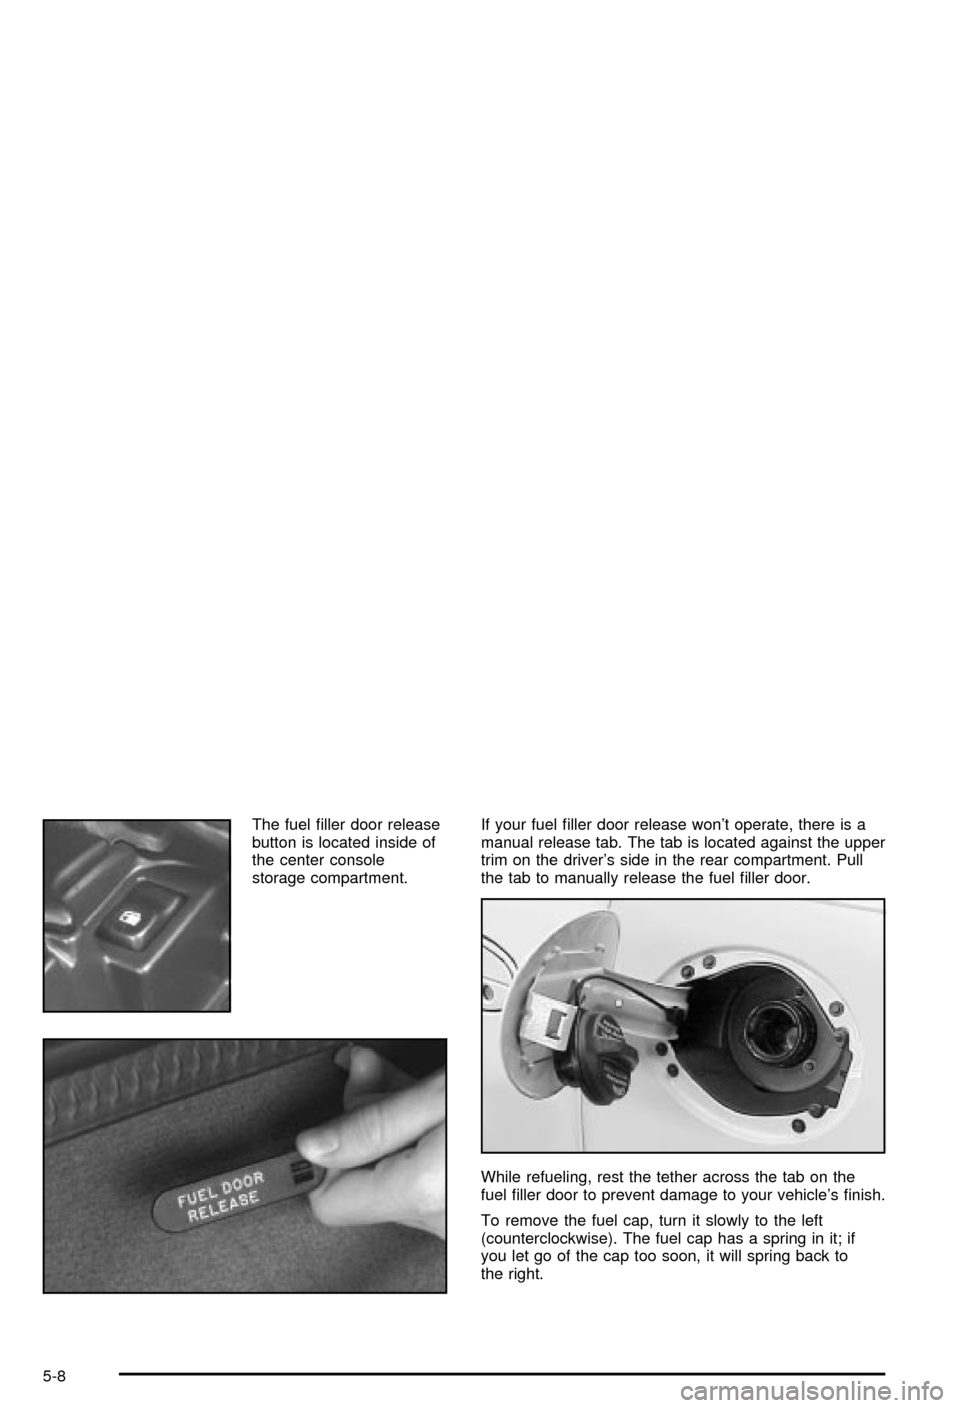
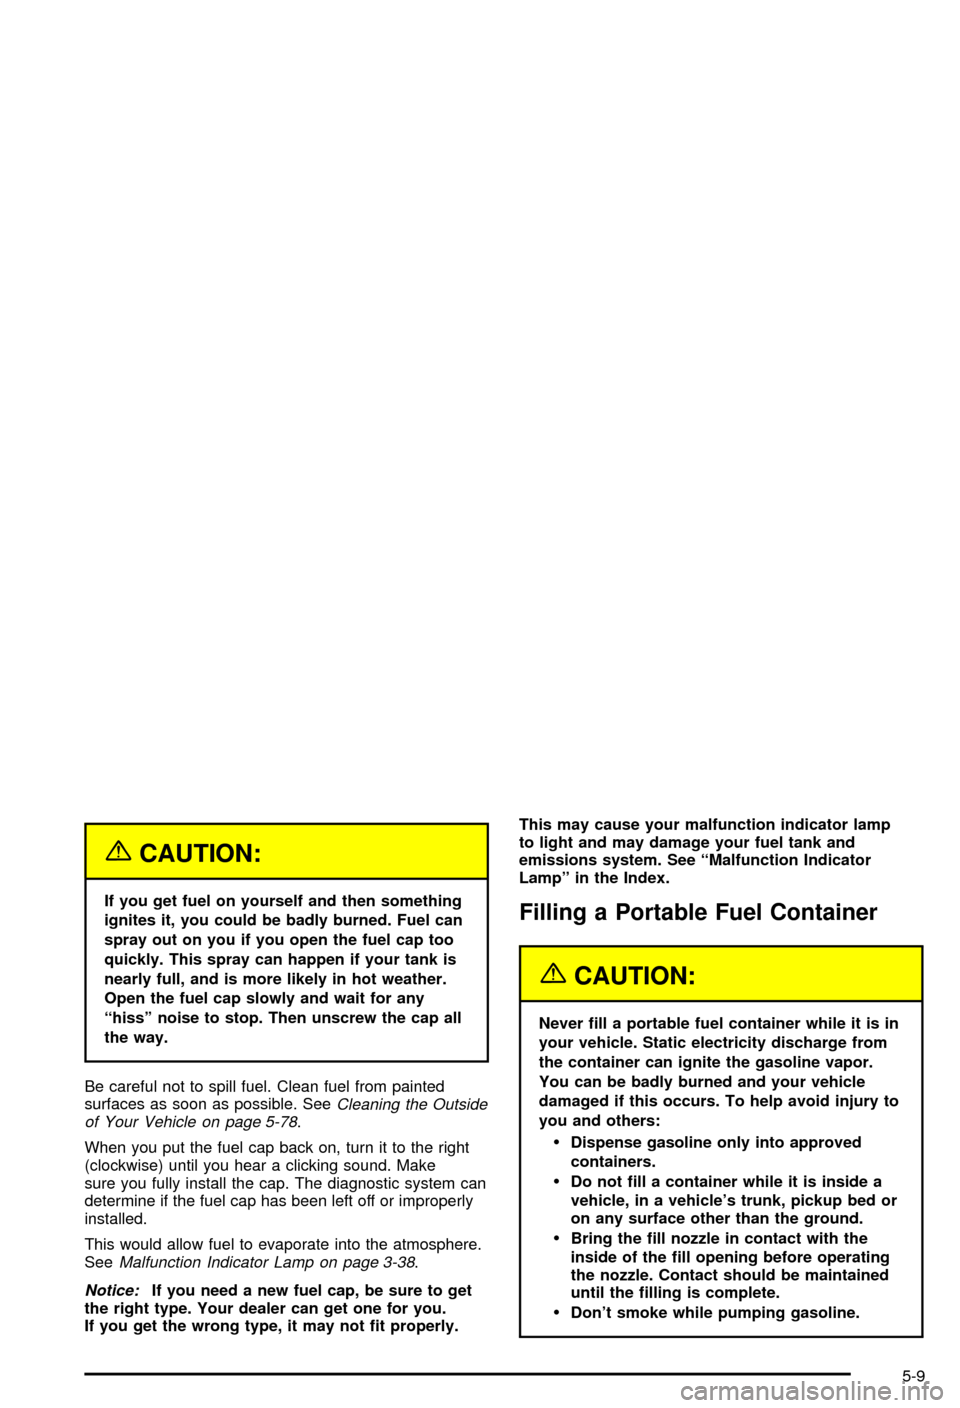
The fuel ®ller door release
button is located inside of
the center console
storage compartment.If your fuel ®ller door release won't operate, there is a
manual release tab. The tab is located against the upper
trim on the driver's side in the rear compartment. Pull
the tab to manually release the fuel ®ller door.
While refueling, rest the tether across the tab on the
fuel ®ller door to prevent damage to your vehicle's ®nish.
To remove the fuel cap, turn it slowly to the left
(counterclockwise). The fuel cap has a spring in it; if
you let go of the cap too soon, it will spring back to
the right.
5-8
Page 237 of 368

{CAUTION:
If you get fuel on yourself and then something
ignites it, you could be badly burned. Fuel can
spray out on you if you open the fuel cap too
quickly. This spray can happen if your tank is
nearly full, and is more likely in hot weather.
Open the fuel cap slowly and wait for any
ªhissº noise to stop. Then unscrew the cap all
the way.
Be careful not to spill fuel. Clean fuel from painted
surfaces as soon as possible. See
Cleaning the Outside
of Your Vehicle on page 5-78.
When you put the fuel cap back on, turn it to the right
(clockwise) until you hear a clicking sound. Make
sure you fully install the cap. The diagnostic system can
determine if the fuel cap has been left off or improperly
installed.
This would allow fuel to evaporate into the atmosphere.
See
Malfunction Indicator Lamp on page 3-38.
Notice:If you need a new fuel cap, be sure to get
the right type. Your dealer can get one for you.
If you get the wrong type, it may not ®t properly.This may cause your malfunction indicator lamp
to light and may damage your fuel tank and
emissions system. See ªMalfunction Indicator
Lampº in the Index.
Filling a Portable Fuel Container
{CAUTION:
Never ®ll a portable fuel container while it is in
your vehicle. Static electricity discharge from
the container can ignite the gasoline vapor.
You can be badly burned and your vehicle
damaged if this occurs. To help avoid injury to
you and others:
·Dispense gasoline only into approved
containers.
·Do not ®ll a container while it is inside a
vehicle, in a vehicle's trunk, pickup bed or
on any surface other than the ground.
·Bring the ®ll nozzle in contact with the
inside of the ®ll opening before operating
the nozzle. Contact should be maintained
until the ®lling is complete.
·Don't smoke while pumping gasoline.
5-9
Page 241 of 368

A. Coolant Surge Tank and Pressure Cap
B. Battery
C. Engine Oil Dipstick
D. Engine Oil Fill Cap
E. Engine Air Cleaner/Filter
F. Power Steering Fluid Reservoir
G. Brake Fluid Reservoir
H. Clutch Master Cylinder Reservoir
I. Windshield Washer Fluid Reservoir
Engine Oil
If the LOW OIL LEVEL message on the Driver
Information Center comes on, it means you need to
check your engine oil level right away. For more
information, see
Driver Information Center (DIC) on
page 3-44.
You should check your engine oil level regularly; this is
an added reminder.
Checking Engine Oil
It's a good idea to check your engine oil level every
time you get fuel. In order to get an accurate reading,
the oil must be warm and the vehicle must be on
level ground.
The engine oil dipstick
handle is a yellow ring
located near the coolant
surge tank. See
Engine
Compartment Overview on
page 5-12
for more
information on location.
Turn off the engine and give the oil a few minutes to
drain back into the oil pan. If you don't, the oil dipstick
might not show the actual level.
Pull out the dipstick and clean it with a paper towel or a
cloth, then push it back in all the way. Remove it
again, keeping the tip down.
5-13