key CHEVROLET CORVETTE 2003 5.G Owners Manual
[x] Cancel search | Manufacturer: CHEVROLET, Model Year: 2003, Model line: CORVETTE, Model: CHEVROLET CORVETTE 2003 5.GPages: 368, PDF Size: 2.55 MB
Page 1 of 368

Seats and Restraint Systems........................... 1-1
Front Seats
............................................... 1-2
Safety Belts
.............................................. 1-7
Child Restraints
.......................................1-21
Air Bag System
.......................................1-39
Restraint System Check
............................1-48
Features and Controls..................................... 2-1
Keys
........................................................ 2-3
Doors and Locks
....................................... 2-9
Windows
.................................................2-14
Theft-Deterrent Systems
............................2-16
Starting and Operating Your Vehicle
...........2-19
Mirrors
....................................................2-37
Storage Areas
.........................................2-39
Roof Panel
..............................................2-43
Convertible Top
.......................................2-49
Vehicle Personalization
.............................2-55
Instrument Panel............................................. 3-1
Instrument Panel Overview
.......................... 3-2
Climate Controls
......................................3-22
Warning Lights, Gages and Indicators
.........3-29
Driver Information Center (DIC)
..................3-44
Audio System(s)
.......................................3-62Driving Your Vehicle....................................... 4-1
Your Driving, the Road, and Your Vehicle
..... 4-2
Towing
...................................................4-33
Service and Appearance Care.......................... 5-1
Service
..................................................... 5-3
Fuel
......................................................... 5-4
Checking Things Under the Hood
...............5-10
Rear Axle
...............................................5-46
Bulb Replacement
....................................5-47
Windshield Wiper Blade Replacement
.........5-51
Tires
......................................................5-54
Appearance Care
.....................................5-75
Vehicle Identi®cation
.................................5-83
Electrical System
......................................5-84
Capacities and Speci®cations
.....................5-92
Normal Maintenance Replacement Parts
......5-94
Maintenance Schedule..................................... 6-1
Maintenance Schedule
................................ 6-2
Customer Assistance Information.................... 7-1
Customer Assistance Information
.................. 7-2
Reporting Safety Defects
............................ 7-9
INDEX............................................................... 1
2003 Chevrolet Corvette Owner ManualM
Page 26 of 368

Safety Belt Use During Pregnancy
Safety belts work for everyone, including pregnant
women. Like all occupants, they are more likely to be
seriously injured if they don't wear safety belts.
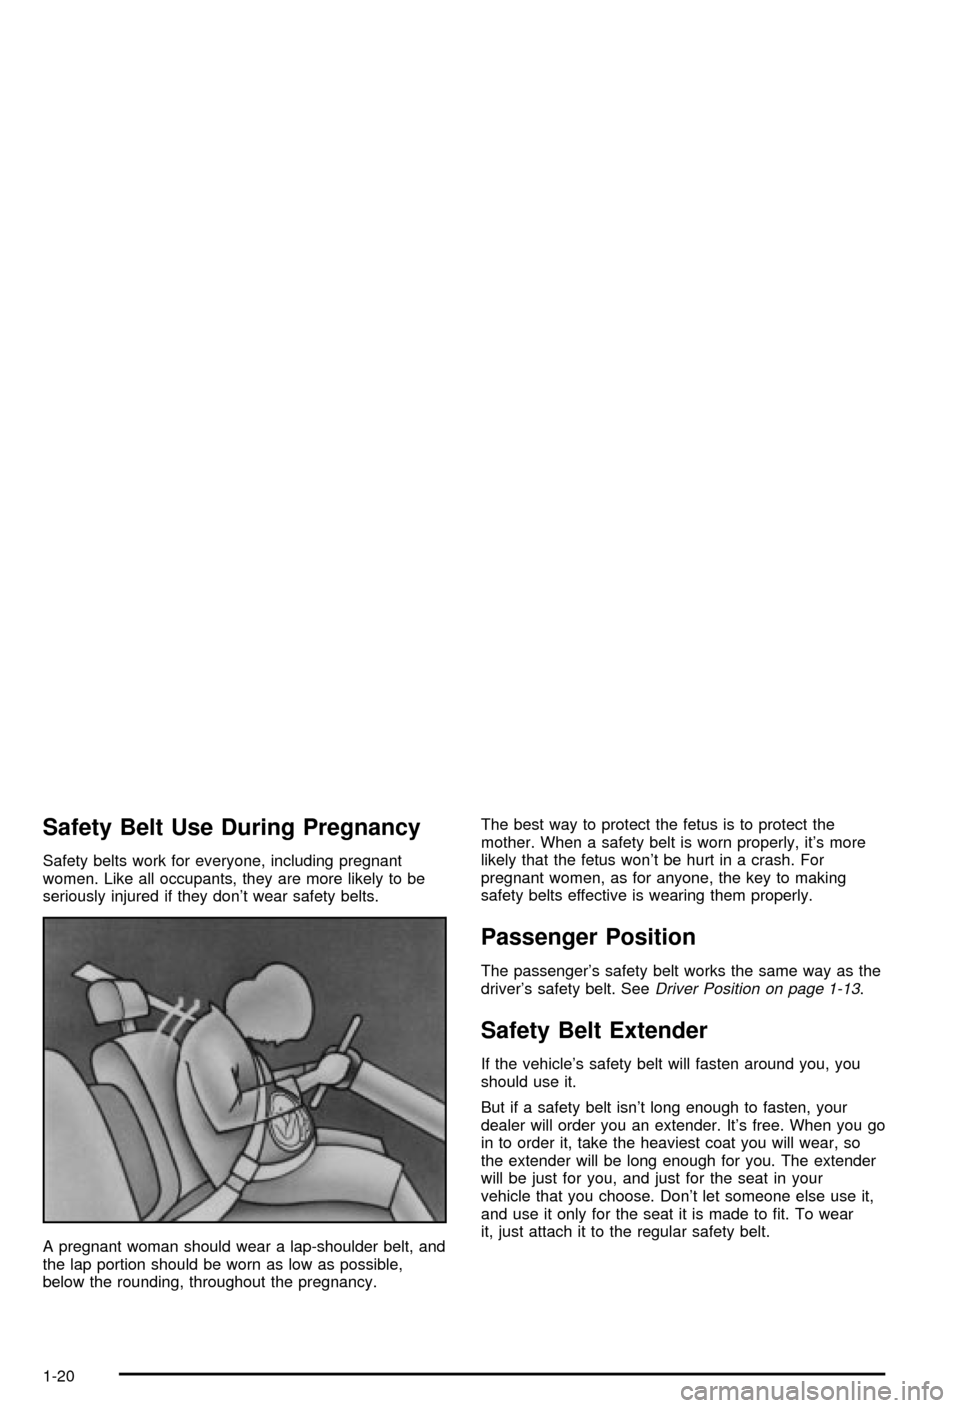
A pregnant woman should wear a lap-shoulder belt, and
the lap portion should be worn as low as possible,
below the rounding, throughout the pregnancy.The best way to protect the fetus is to protect the
mother. When a safety belt is worn properly, it's more
likely that the fetus won't be hurt in a crash. For
pregnant women, as for anyone, the key to making
safety belts effective is wearing them properly.
Passenger Position
The passenger's safety belt works the same way as the
driver's safety belt. SeeDriver Position on page 1-13.
Safety Belt Extender
If the vehicle's safety belt will fasten around you, you
should use it.
But if a safety belt isn't long enough to fasten, your
dealer will order you an extender. It's free. When you go
in to order it, take the heaviest coat you will wear, so
the extender will be long enough for you. The extender
will be just for you, and just for the seat in your
vehicle that you choose. Don't let someone else use it,
and use it only for the seat it is made to ®t. To wear
it, just attach it to the regular safety belt.
1-20
Page 52 of 368

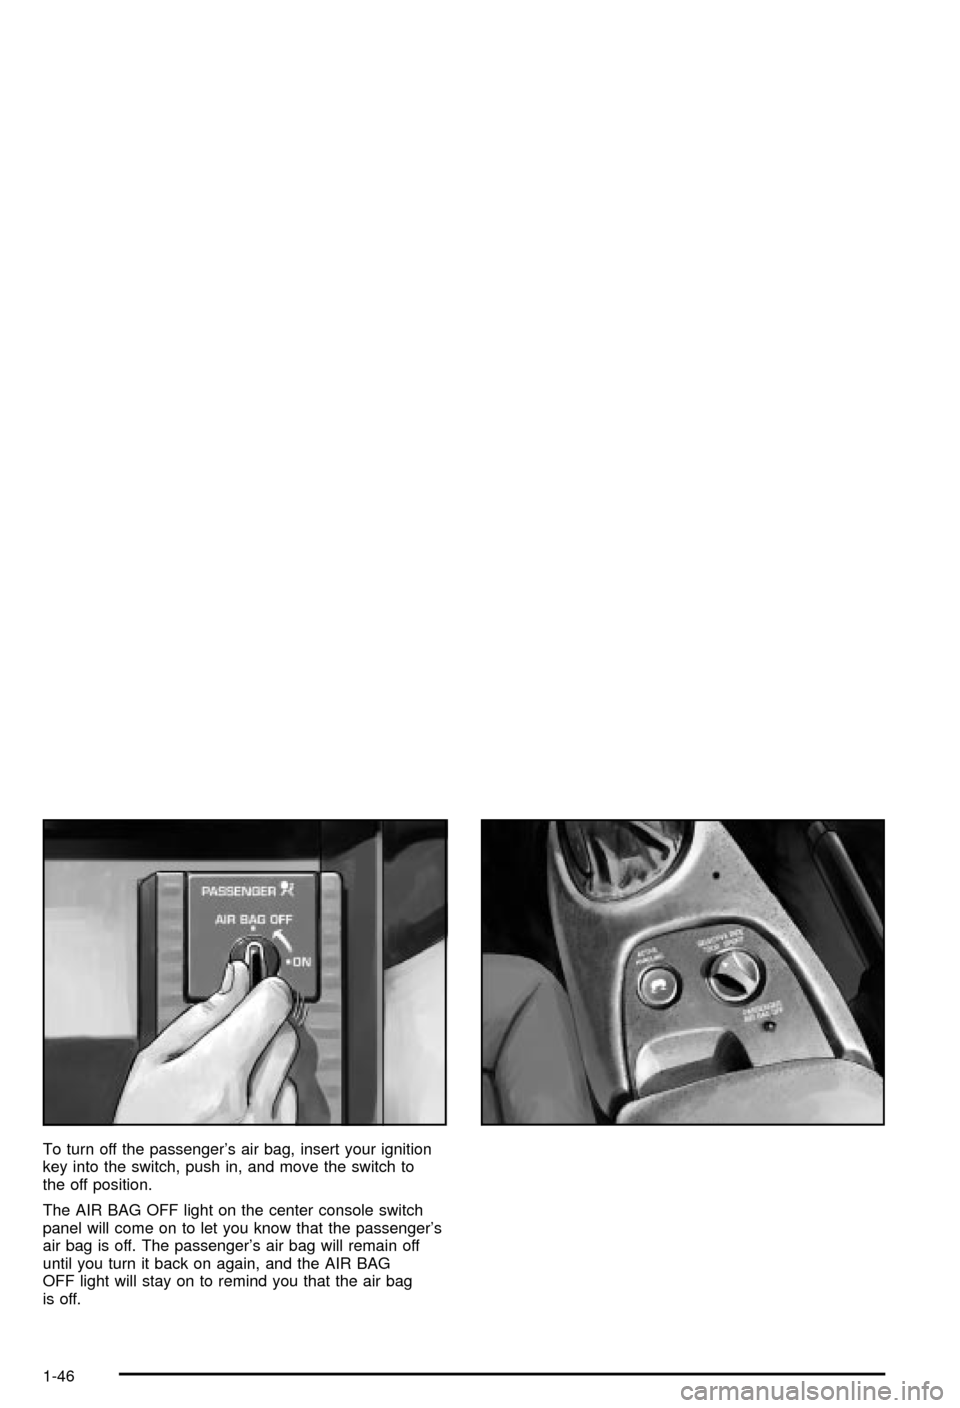
To turn off the passenger's air bag, insert your ignition
key into the switch, push in, and move the switch to
the off position.
The AIR BAG OFF light on the center console switch
panel will come on to let you know that the passenger's
air bag is off. The passenger's air bag will remain off
until you turn it back on again, and the AIR BAG
OFF light will stay on to remind you that the air bag
is off.
1-46
Page 53 of 368

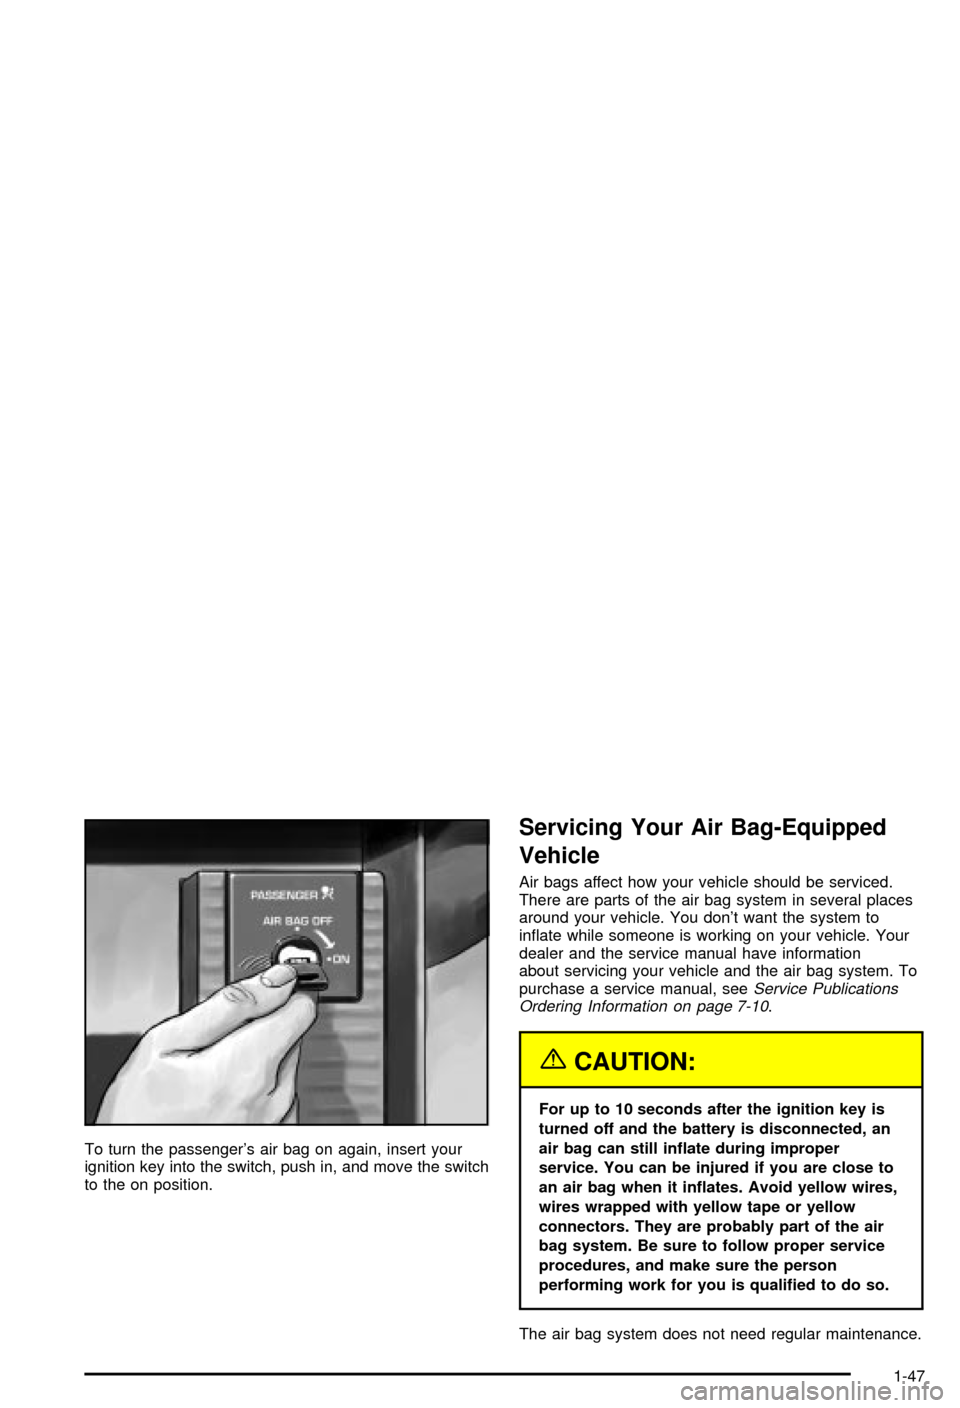
To turn the passenger's air bag on again, insert your
ignition key into the switch, push in, and move the switch
to the on position.
Servicing Your Air Bag-Equipped
Vehicle
Air bags affect how your vehicle should be serviced.
There are parts of the air bag system in several places
around your vehicle. You don't want the system to
in¯ate while someone is working on your vehicle. Your
dealer and the service manual have information
about servicing your vehicle and the air bag system. To
purchase a service manual, see
Service Publications
Ordering Information on page 7-10.
{CAUTION:
For up to 10 seconds after the ignition key is
turned off and the battery is disconnected, an
air bag can still in¯ate during improper
service. You can be injured if you are close to
an air bag when it in¯ates. Avoid yellow wires,
wires wrapped with yellow tape or yellow
connectors. They are probably part of the air
bag system. Be sure to follow proper service
procedures, and make sure the person
performing work for you is quali®ed to do so.
The air bag system does not need regular maintenance.
1-47
Page 57 of 368

Keys...............................................................2-3
Remote Keyless Entry System.........................2-4
Remote Keyless Entry System Operation...........2-5
Doors and Locks.............................................2-9
Door Locks....................................................2-9
Power Door Locks........................................2-10
Lockout Protection........................................2-10
Leaving Your Vehicle....................................2-10
Hatch/Trunk.................................................2-11
Windows........................................................2-14
Power Windows............................................2-15
Sun Visors...................................................2-15
Theft-Deterrent Systems..................................2-16
Theft-Deterrent System..................................2-16
PASS-Key
ž..................................................2-17
Starting and Operating Your Vehicle................2-19
New Vehicle Break-In....................................2-19
Front Air Dam..............................................2-19
Ignition Positions..........................................2-20
Starting Your Engine.....................................2-21
Engine Coolant Heater (Canada Only).............2-23
Automatic Transmission Operation...................2-24
Manual Transmission Operation......................2-27
Parking Brake..............................................2-30Shifting Into Park (P)
(Automatic Transmission)............................2-31
Shifting Out of Park (P)
(Automatic Transmission)............................2-33
Parking Your Vehicle
(Manual Transmission)...............................2-34
Parking Over Things That Burn.......................2-34
Engine Exhaust............................................2-35
Running Your Engine While You Are Parked
(Automatic Transmission)............................2-36
Mirrors...........................................................2-37
Manual Rearview Mirror.................................2-37
Automatic Dimming Rearview Mirror................2-37
Outside Power Heated Mirrors........................2-38
Outside Automatic Dimming Mirror..................2-38
Outside Convex Mirror...................................2-38
Storage Areas................................................2-39
Glove Box...................................................2-39
Cupholder(s)................................................2-39
Center Console Storage Area.........................2-39
Floor Mats...................................................2-40
Rear Storage Area........................................2-41
Convenience Net..........................................2-42
Cargo Cover................................................2-42
Section 2 Features and Controls
2-1
Page 59 of 368

Keys
{CAUTION:
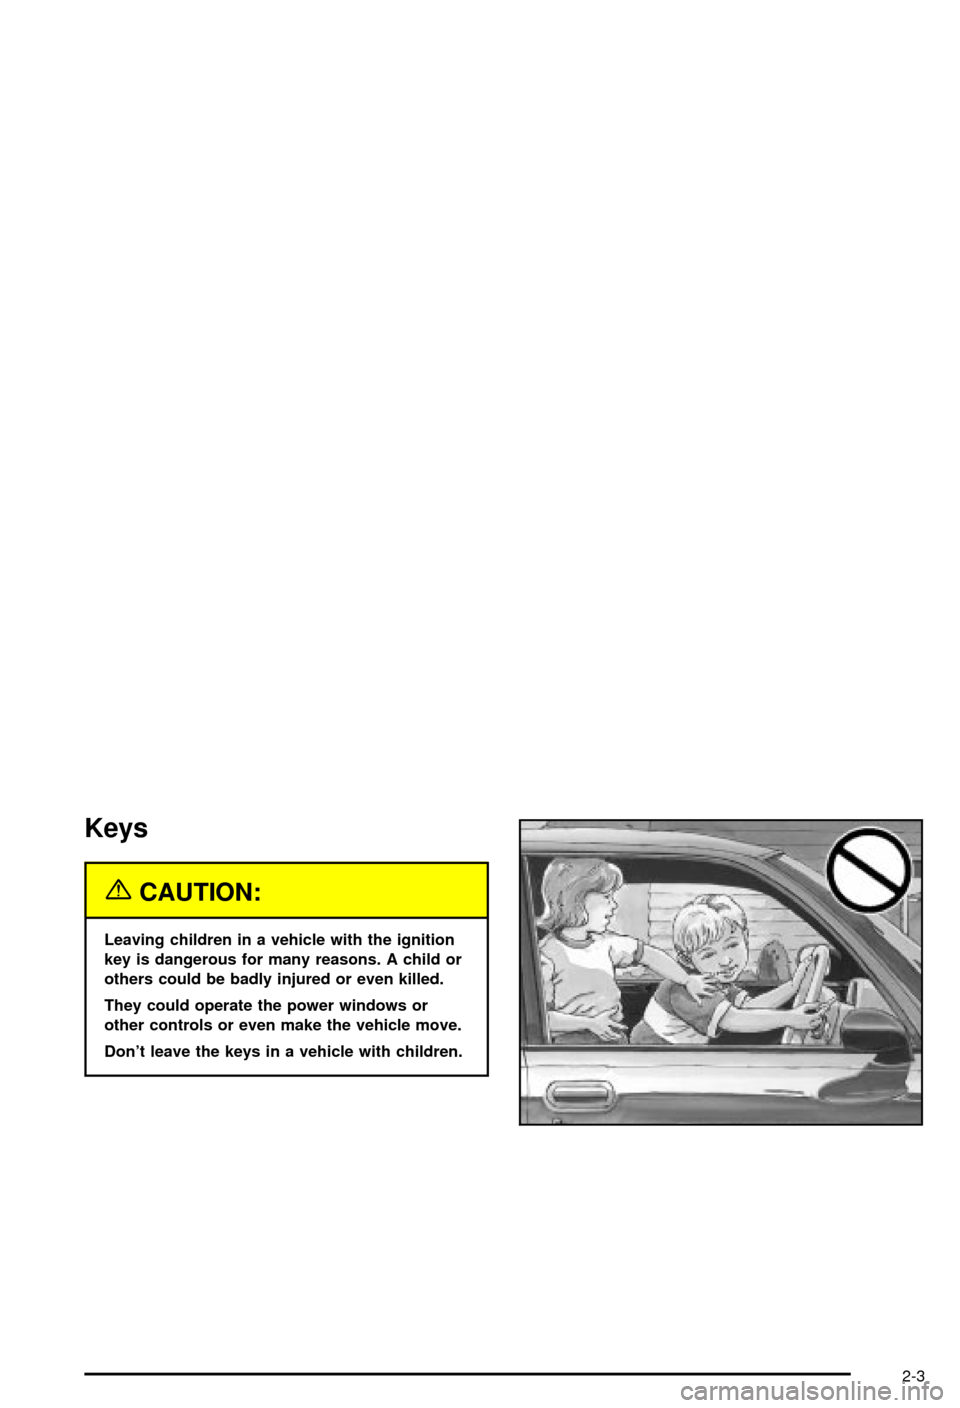
Leaving children in a vehicle with the ignition
key is dangerous for many reasons. A child or
others could be badly injured or even killed.
They could operate the power windows or
other controls or even make the vehicle move.
Don't leave the keys in a vehicle with children.
2-3
Page 60 of 368

One key is used for the
ignition, the driver's door
and all other locks.
When a new vehicle is delivered, the dealer gives the
®rst owner a key and a bar coded tag. Both the key and
the tag are attached to a key ring.
The paper tag has a code on it that tells your dealer or
a quali®ed locksmith how to make an extra key.
Keep the bar-coded tag in a safe place. If you lose your
key, you'll be able to have a new one made easily
using this tag. If your key doesn't have a tag and you
need a new ignition key, go to your dealer for the correct
key code.Notice:Your vehicle has a number of features that
can help prevent theft. You can have a lot of
trouble getting into your vehicle if you ever lock
your keys inside. You may even have to damage
your vehicle to get in. So be sure you have
spare keys.
If you ever do get locked out of your vehicle, call
Chevrolet Roadside Assistance. See
Roadside
Assistance Program on page 7-6for more information.
Remote Keyless Entry System
Your vehicle has a Remote Keyless Entry (RKE) system
that operates on a radio frequency subject to Federal
Communications Commission (FCC) Rules and
with Industry Canada.
This device complies with Part 15 of the FCC Rules.
Operation is subject to the following two conditions:
(1) this device may not cause harmful interference, and
(2) this device must accept any interference received,
including interference that may cause undesired
operation.
This device complies with RSS-210 of Industry Canada.
Operation is subject to the following two conditions:
(1) this device may not cause interference, and
(2) this device must accept any interference received,
including interference that may cause undesired
operation of the device.
2-4
Page 61 of 368

Changes or modi®cations to this system by other than
an authorized service facility could void authorization to
use this equipment.
If you ever notice a decrease in the remote keyless
entry transmitter range, try doing one of the following:
·Check the distance. You may be too far from
your vehicle. You may need to stand closer during
rainy or snowy weather.
·Check the location. Other vehicles or objects may
be blocking the signal. Take a few steps to the
left or right, hold the transmitter higher, and
try again.
·Check to determine if battery replacement is
necessary. See ªBattery Replacementº under
Remote Keyless Entry System Operation on
page 2-5.
·Check to make sure that an electronic device such
as a cellular phone or lap top computer is not
causing interference.
·If you're still having trouble, see your dealer or a
quali®ed technician for service.
Remote Keyless Entry System
Operation
Your vehicle has a Remote Keyless Entry (RKE) system
that allows you to lock and unlock your doors, unlock
your hatch/trunk lid, turn the panic alarm on and off and
disarm or arm your theft-deterrent system. The range
distance is as much as 100 feet (30 m) away.
Your vehicle comes
standard with two
transmitters, and up to
three can be matched to
your vehicle.
See ªMatching Transmitter(s) to Your Vehicleº later in
this section.
2-5
Page 62 of 368

The driver's door will unlock when the unlock button on
the remote keyless entry transmitter is pressed, or
press the unlock button again within ®ve seconds to
unlock both doors. Also, by pressing the unlock button,
it may automatically disarm your theft-deterrent
system, depending on how the theft-deterrent system is
programmed. If it's dark enough outside, your interior
lamps will come on.
Your memory settings will also be recalled when you
press the unlock button on the remote keyless entry
transmitter. See
Memory on page 2-55for more
information.
The hatch/trunk lid will release when the button with the
trunk symbol is pressed, as long as the ignition is
turned to OFF.
The system has a feature that makes it difficult for you
to lock your key in your vehicle. If you leave your
key in the ignitionand attempt to lock the doors, the
vehicle will not lock and a chime will sound to remind
you that the key is in the ignition. If the door lock
is pressed again, within ®ve seconds, the doors will lock
and the keys can be locked in the vehicle. This
system can't guarantee that you will never be locked out
of your vehicle. Always remember to take your key
with you.
Remote Alarm
When you press the horn button on the remote keyless
entry transmitter, the horn will sound. This panic
alarm button will allow you to attract attention, if needed.
If the horn alarm sounds, there are three ways to turn
it off:
·Press the panic alarm button again on the remote
keyless entry transmitter.
·Wait 90 seconds, and the horn will turn off by itself.
·Turn the key to any position in the ignition,
except OFF.
Remote Keyless Entry Settings
You can adjust the settings on the system through the
Driver Information Center (DIC). You can change
the type of alarm used by the theft-deterrent system.
See
DIC Controls and Displays on page 3-45for more
information.
2-6
Page 63 of 368

Matching Transmitter(s) to Your
Vehicle
Each remote keyless entry transmitter is coded to
prevent another transmitter from unlocking your vehicle.
If a transmitter is lost or stolen, a replacement can
be purchased through your dealer. Remember to bring
any remaining transmitters with you when you go to
your dealer. When the dealer matches the replacement
transmitter to your vehicle, any remaining transmitters
must also be matched. Once your dealer has coded the
new transmitter, the lost transmitter will not unlock
your vehicle. Each vehicle can have a maximum of three
transmitters matched to it.
To match transmitters to your vehicle, do the following:
1. Turn the ignition key to ON.
2. Clear any warning messages on the Driver
Information Center (DIC) by pressing the RESET
button.
3. Press the OPTIONS button on the DIC several
times until the blank page is displayed, then
press and hold the RESET button for two seconds.4. When the message FOB TRAINING is displayed,
press the RESET button once. The message
HOLD LK + UNLK 1ST FOB will be displayed in
the DIC.
5. Press and hold the lock and unlock buttons on the
®rst transmitter simultaneously for ®ve seconds.
6. When a transmitter is learned (matched), the DIC
will display FOB LEARNED and then prompt you to
learn the second transmitter.
7. Repeat Steps 5 and 6 for the third transmitter.
8. Remove the key from the ignition.
The programming mode will shut off if any of following
has occurred:
·You don't program any transmitters for two minutes.
·You take the key out of the ignition.
·You have programmed three transmitters.
2-7