alarm CHEVROLET CORVETTE 2004 5.G Owners Manual
[x] Cancel search | Manufacturer: CHEVROLET, Model Year: 2004, Model line: CORVETTE, Model: CHEVROLET CORVETTE 2004 5.GPages: 384, PDF Size: 2.46 MB
Page 62 of 384

Remote Keyless Entry System
Operation
Your vehicle has a Remote Keyless Entry (RKE) system
that allows you to lock and unlock your doors, unlock
your hatch/trunk lid, turn the panic alarm on and off and
disarm or arm your theft-deterrent system. The range
distance is as much as 100 feet (30 m) away.
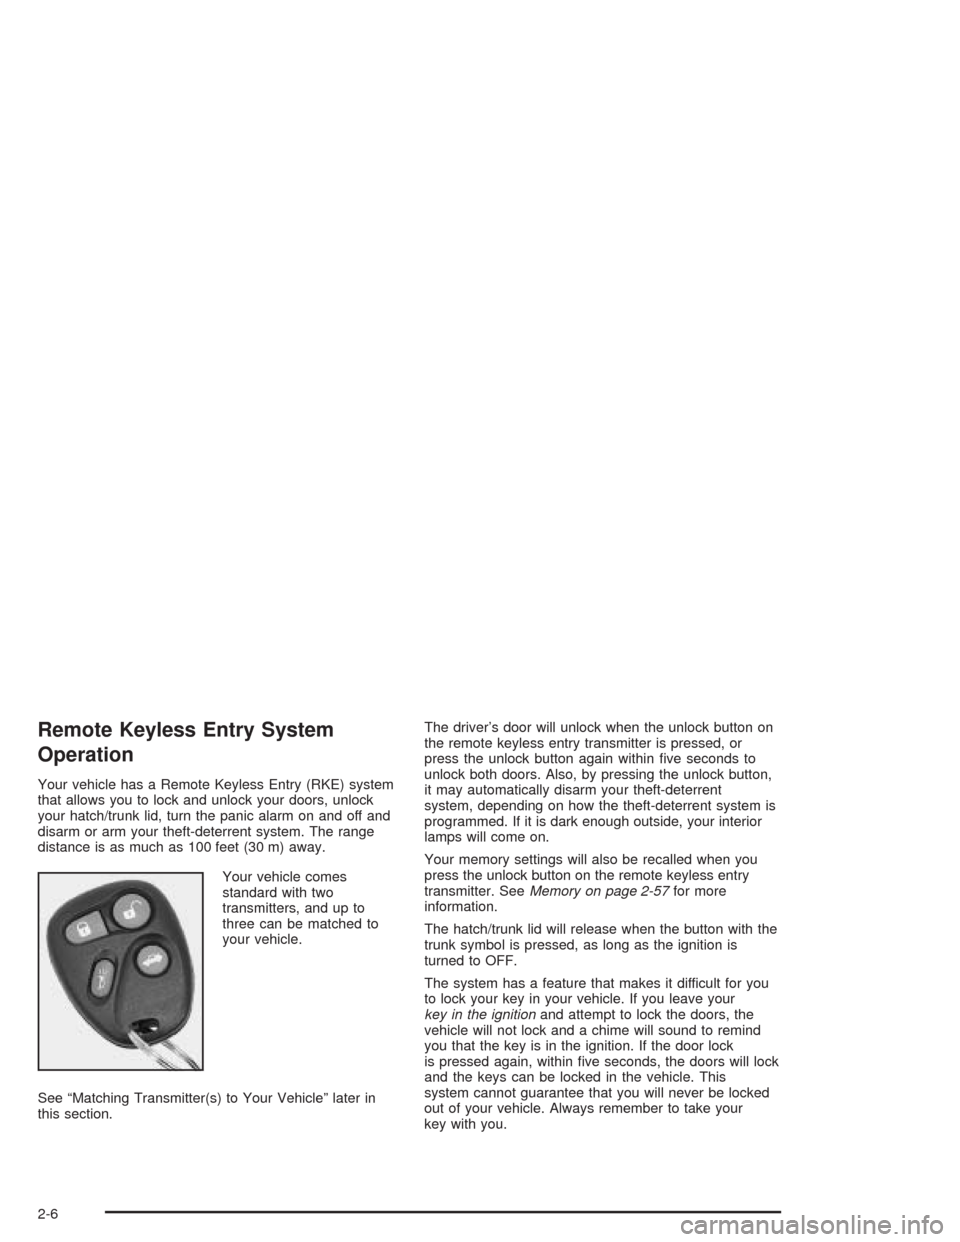
Your vehicle comes
standard with two
transmitters, and up to
three can be matched to
your vehicle.
See “Matching Transmitter(s) to Your Vehicle” later in
this section.The driver’s door will unlock when the unlock button on
the remote keyless entry transmitter is pressed, or
press the unlock button again within five seconds to
unlock both doors. Also, by pressing the unlock button,
it may automatically disarm your theft-deterrent
system, depending on how the theft-deterrent system is
programmed. If it is dark enough outside, your interior
lamps will come on.
Your memory settings will also be recalled when you
press the unlock button on the remote keyless entry
transmitter. SeeMemory on page 2-57for more
information.
The hatch/trunk lid will release when the button with the
trunk symbol is pressed, as long as the ignition is
turned to OFF.
The system has a feature that makes it difficult for you
to lock your key in your vehicle. If you leave your
key in the ignitionand attempt to lock the doors, the
vehicle will not lock and a chime will sound to remind
you that the key is in the ignition. If the door lock
is pressed again, within five seconds, the doors will lock
and the keys can be locked in the vehicle. This
system cannot guarantee that you will never be locked
out of your vehicle. Always remember to take your
key with you.
2-6
Page 63 of 384

Remote Alarm
When you press the horn button on the remote keyless
entry transmitter, the horn will sound. This panic
alarm button will allow you to attract attention, if needed.
If the horn alarm sounds, there are three ways to turn
it off:
•Press the panic alarm button again on the remote
keyless entry transmitter.
•Wait 90 seconds, and the horn will turn off by itself.
•Turn the key to any position in the ignition,
except OFF.
Remote Keyless Entry Settings
You can adjust the settings on the system through the
Driver Information Center (DIC). You can change
the type of alarm used by the theft-deterrent system.
SeeDIC Controls and Displays on page 3-49for more
information.
Matching Transmitter(s) to Your
Vehicle
Each remote keyless entry transmitter is coded to
prevent another transmitter from unlocking your vehicle.
If a transmitter is lost or stolen, a replacement can
be purchased through your dealer. Remember to bring
any remaining transmitters with you when you go to
your dealer. When the dealer matches the replacement
transmitter to your vehicle, any remaining transmitters
must also be matched. Once your dealer has coded the
new transmitter, the lost transmitter will not unlock
your vehicle. Each vehicle can have a maximum of three
transmitters matched to it.
To match transmitters to your vehicle, do the following:
1. Turn the ignition key to ON.
2. Clear any warning messages on the Driver
Information Center (DIC) by pressing the RESET
button.
3. Press the OPTIONS button on the DIC several
times until the blank page is displayed, then
press and hold the RESET button for two seconds.
4. When the message FOB TRAINING is displayed,
press the RESET button once. The message
HOLD LK + UNLK 1ST FOB will be displayed in
the DIC.
2-7
Page 65 of 384

Doors and Locks
Door Locks
{CAUTION:
Unlocked doors can be dangerous.
Passengers — especially children — can
easily open the doors and fall out of a
moving vehicle. When a door is locked, the
handle will not open it. You increase the
chance of being thrown out of the vehicle
in a crash if the doors are not locked. So,
wear safety belts properly and lock the
doors whenever you drive.
Young children who get into unlocked
vehicles may be unable to get out. A child
can be overcome by extreme heat and can
suffer permanent injuries or even death
from heat stroke. Always lock your vehicle
whenever you leave it.
Outsiders can easily enter through an
unlocked door when you slow down or
stop your vehicle. Locking your doors can
help prevent this from happening.There are several ways to lock and unlock your vehicle.
To lock or unlock the door from the outside, use your
door key on the drivers’s side or the remote keyless
entry transmitter.
If your theft-deterrent system is armed, unlock the
driver’s door with the key or by using the remote keyless
entry transmitter to open either door to avoid setting
off the alarm. SeeTheft-Deterrent System on page 2-16.
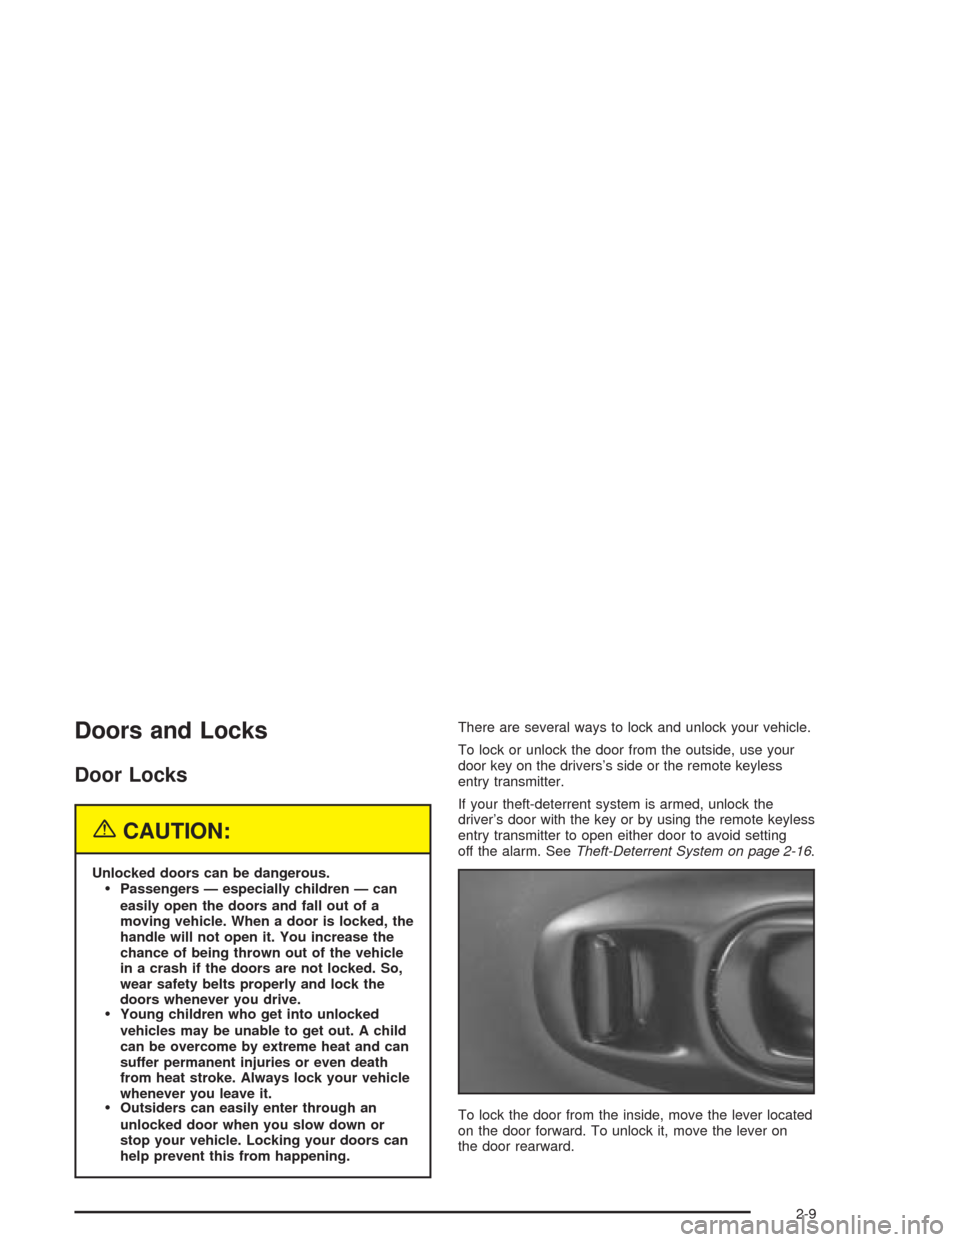
To lock the door from the inside, move the lever located
on the door forward. To unlock it, move the lever on
the door rearward.
2-9
Page 72 of 384

Theft-Deterrent Systems
Vehicle theft is big business, especially in some cities.
Although your vehicle has a number of theft-deterrent
features, we know that nothing we put on it can make it
impossible to steal. However, there are ways you
can help.
Theft-Deterrent System
Your vehicle is equipped with a theft-deterrent alarm
system.
With this system, the
SECURITY light will flash
as you open the door
if your ignition is off. This
light reminds you to
arm the theft-deterent
system.
Arming the System
Use one of the two following items listed here to arm
the system:
•Press the lock button on the remote keyless entry
transmitter.
•Open the door. The SECURITY light should flash.
Lock the door with the power door lock switch.
The SECURITY light will stop flashing and stay on.
Close the door. The security light should go off.
Now, if a door or the hatch/trunk lid is opened without
the key or the remote keyless entry transmitter, the
alarm will go off. Your horn will sound for two minutes,
then it will go off to save battery power. And, your
vehicle will not start.
The theft-deterrent system will not arm if you lock the
driver’s door with a key, the manual door lock, or if you
use the power door lock after the doors are closed.
If your passenger stays in the vehicle when you leave
with the keys, have the passenger lock the vehicle after
the doors are closed. This way the alarm will not arm,
and your passenger will not set it off.
2-16
Page 73 of 384

Testing the Alarm
To test the system, do the following:
1. Make sure the hatch/trunk lid is latched.
2. Lower the window on the driver’s door.
3. Manually arm the system.
4. Close the doors and wait 15 seconds.
5. Reach through the open window and manually
unlock the driver’s door.
6. Open the door. The alarm should sound.
7. Turn off the alarm.
If the alarm is inoperative, check to see if the horn
works. If not, check the horn fuse. SeeFuses and Circuit
Breakers on page 5-93. If the horn works, but the
alarm does not go off, see your dealer.
Disarming the System
Always use your key or the remote keyless entry
transmitter to unlock a door. Unlocking a door any other
way will set off the alarm. If your alarm sounds, listed
below are the ways you can disarm it.
•Unlock the driver’s door with your key.
•Put the key in the ignition.
•Press the unlock button on the remote keyless
entry transmitter.
2-17
Page 109 of 384

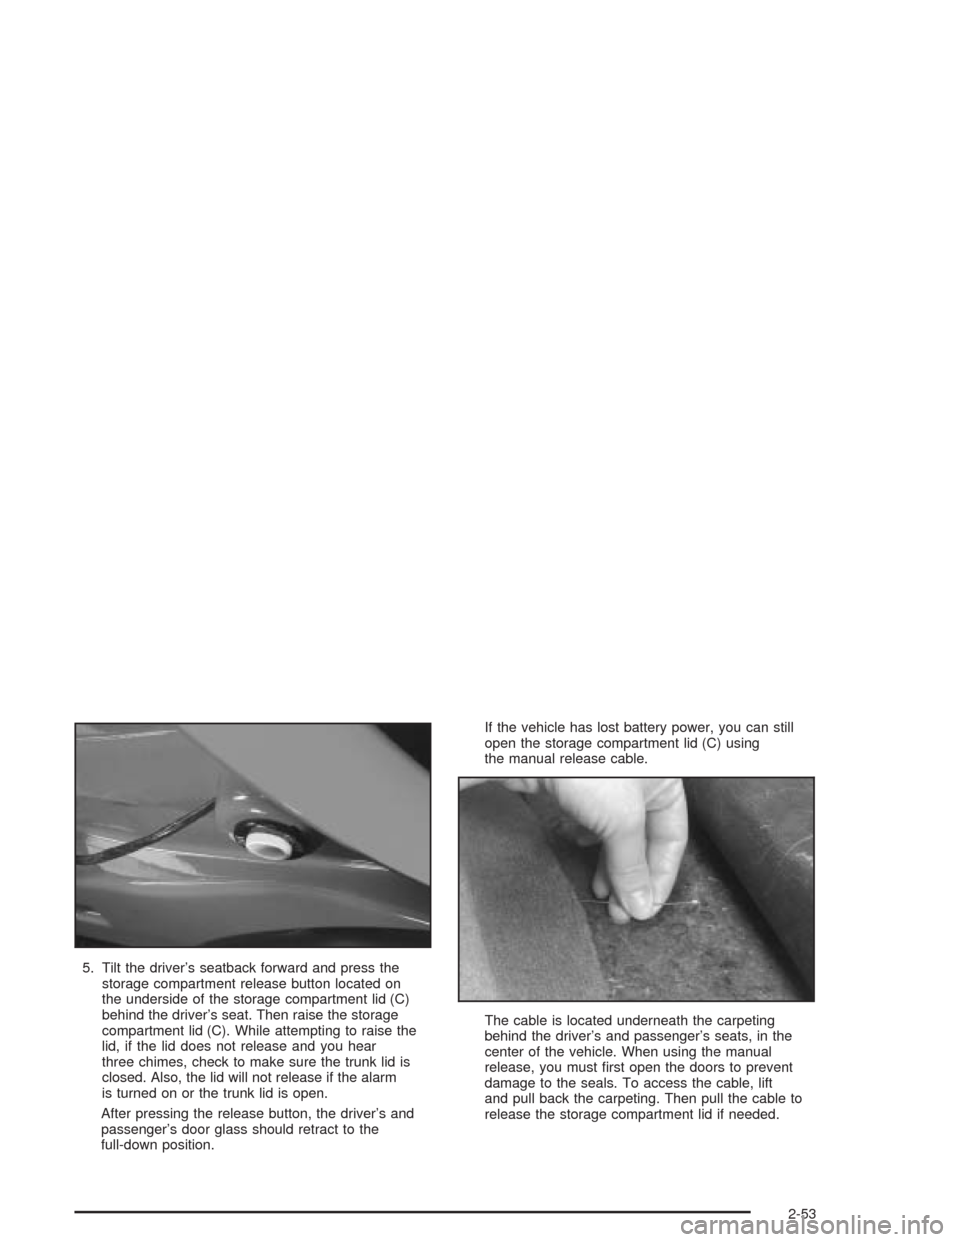
5. Tilt the driver’s seatback forward and press the
storage compartment release button located on
the underside of the storage compartment lid (C)
behind the driver’s seat. Then raise the storage
compartment lid (C). While attempting to raise the
lid, if the lid does not release and you hear
three chimes, check to make sure the trunk lid is
closed. Also, the lid will not release if the alarm
is turned on or the trunk lid is open.
After pressing the release button, the driver’s and
passenger’s door glass should retract to the
full-down position.If the vehicle has lost battery power, you can still
open the storage compartment lid (C) using
the manual release cable.
The cable is located underneath the carpeting
behind the driver’s and passenger’s seats, in the
center of the vehicle. When using the manual
release, you must first open the doors to prevent
damage to the seals. To access the cable, lift
and pull back the carpeting. Then pull the cable to
release the storage compartment lid if needed.
2-53
Page 146 of 384

Warning Lights, Gages, and
Indicators
This part describes the warning lights and gages that
may be on your vehicle. The pictures will help you
locate them.
Warning lights and gages can signal that something is
wrong before it becomes serious enough to cause
an expensive repair or replacement. Paying attention to
your warning lights and gages could also save you
or others from injury.
Warning lights come on when there may be or is a
problem with one of your vehicle’s functions. As you will
see in the details on the next few pages, some
warning lights come on briefly when you start the
engine just to let you know they are working. If you are
familiar with this section, you should not be alarmed
when this happens.Gages can indicate when there may be or is a problem
with one of your vehicle’s functions. Often gages
and warning lights work together to let you know when
there is a problem with your vehicle.
When one of the warning lights comes on and stays on
when you are driving, or when one of the gages
shows there may be a problem, check the section that
tells you what to do about it. Please follow this
manual’s advice. Waiting to do repairs can be
costly — and even dangerous. So please get to know
your warning lights and gages. They are a big help.
Your vehicle may also have a Driver Information Center
that works along with the warning lights and gages.
SeeDriver Information Center (DIC) on page 3-48.
3-32
Page 169 of 384

Lock and Arm
Press the OPTIONS button until LOCK & ARM appears
on the display, then use the RESET button to page
through the following selections:
•LOCK & ARM – OFF
•LOCK & ARM – HORN ONLY
•LOCK & ARM – LIGHTS ONLY
•LOCK & ARM – HORN & LIGHTS
If you choose LOCK & ARM – OFF, you will receive no
security feedback when locking or unlocking your
vehicle.
If you choose LOCK & ARM – HORN ONLY, only the
horn will chirp to let you know when your alarm system
has armed when locking your vehicle.
If you choose LOCK & ARM – LIGHTS ONLY, only your
exterior lamps will flash to let you know when your
alarm system has armed when locking your vehicle.
If you choose LOCK & ARM – HORN & LIGHTS,
the horn will chirp and the exterior lamps will flash briefly
to let you know the system has armed when locking
your vehicle.
Alarm
Press the OPTIONS button until ALARM appears on the
display, then use the RESET button to page through
the following selections:
•ALARM-HORN
•ALARM HORN & LIGHTS
If you choose ALARM-HORN, the horn will sound during
an alarm.
If you choose ALARM HORN & LIGHTS, the horn will
sound and the interior and exterior lamps will flash
during an alarm.
Approach Lights
Press the OPTIONS button until APPROACH LIGHTS
appears on the display, then use the RESET button
to page through the following choices:
•APPROACH LIGHTS ON
•APPROACH LIGHTS OFF
If you choose APPROACH LIGHTS ON, the fog lamps,
front turn signal, rear back-up and courtesy lamps
will come on for 30 seconds when you press UNLOCK
on the remote keyless entry transmitter. This will
occur only when it is dark outside.
APPROACH LIGHTS OFF turns off this option.
SeeRemote Keyless Entry System on page 2-5for
more information.
3-55
Page 382 of 384

Steering Wheel, Tilt Wheel................................. 3-5
Storage Areas
Center Console Storage Area........................2-40
Convenience Net.........................................2-43
Cupholder(s)...............................................2-40
Glove Box..................................................2-40
Rear Storage Area.......................................2-42
Storing the Roof Panel....................................2-47
Stuck in Sand, Mud, Ice or Snow......................4-32
Sun Visors.....................................................2-15
T
Tachometer....................................................3-34
Taillamps
Turn Signal Lamps......................................5-50
TCS Warning Light..........................................3-39
Telescopic Steering Column............................... 3-6
Testing the Alarm............................................2-17
Theft-Deterrent, Radio.....................................3-86
Theft-Deterrent System....................................2-16
Theft-Deterrent Systems...................................2-16
PASS-Key
®.................................................2-18
Tilt Wheel........................................................ 3-5
Tire Inflator Kit Storage....................................5-81
Tire Inspection and Inflation Check...................... 6-9
Tire Sealant...................................................5-78
Tire Sidewall Labeling......................................5-55
Tire Size Codes..............................................5-57Tire Terminology and Definitions........................5-58
Tires.............................................................5-55
Buying New Tires........................................5-66
Chains.......................................................5-71
Extended Mobility........................................5-61
If a Tire Goes Flat.......................................5-75
Inflation - Tire Pressure................................5-62
Lifting Your Vehicle......................................5-71
Pressure Monitor Operation...........................5-64
Rotation.....................................................5-65
Tire Inflator Kit............................................5-77
Uniform Tire Quality Grading.........................5-67
Wheel Alignment and Tire Balance.................5-68
Wheel Replacement.....................................5-68
When It Is Time for New Tires......................5-65
To Use The Engine Coolant Heater...................2-24
Top Strap......................................................1-28
Top Strap Anchor Location...............................1-30
Torque Lock (Automatic Transmission)...............2-34
Towing
Recreational Vehicle.....................................4-33
Towing a Trailer..........................................4-38
Your Vehicle...............................................4-33
Traction
Active Handling System................................4-10
Control System (TCS).................................... 4-9
Control System Warning Light.......................3-39
Limited-Slip Rear Axle..................................4-12
Selective Ride Control..................................4-12
12