stop start CHEVROLET CORVETTE C6 2012 User Guide
[x] Cancel search | Manufacturer: CHEVROLET, Model Year: 2012, Model line: CORVETTE C6, Model: CHEVROLET CORVETTE C6 2012Pages: 432, PDF Size: 5.73 MB
Page 136 of 432
Black plate (22,1)Chevrolet Corvette Owner Manual - 2012
5-22 Instruments and Controls
If the light comes on while driving
and a CHECK BRAKE FLUID
message shows on the DIC, pull off
the road and stop carefully. The
pedal may be harder to push or the
pedal may go closer to the floor.
It may take longer to stop. If the
light is still on, have the vehicle
towed for service. SeeTowing the
Vehicle on page 10‑82 andBrake
System Messages on page 5‑36 for
more information.
Antilock Brake System
(ABS) Warning Light
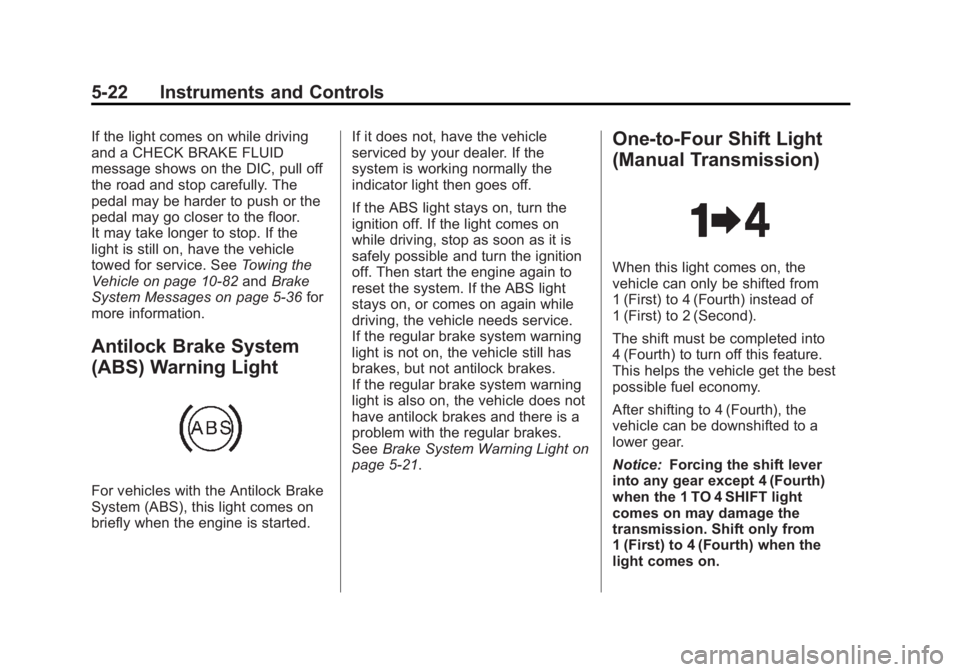
For vehicles with the Antilock Brake
System (ABS), this light comes on
briefly when the engine is started. If it does not, have the vehicle
serviced by your dealer. If the
system is working normally the
indicator light then goes off.
If the ABS light stays on, turn the
ignition off. If the light comes on
while driving, stop as soon as it is
safely possible and turn the ignition
off. Then start the engine again to
reset the system. If the ABS light
stays on, or comes on again while
driving, the vehicle needs service.
If the regular brake system warning
light is not on, the vehicle still has
brakes, but not antilock brakes.
If the regular brake system warning
light is also on, the vehicle does not
have antilock brakes and there is a
problem with the regular brakes.
See
Brake System Warning Light on
page 5‑21.
One-to-Four Shift Light
(Manual Transmission)
When this light comes on, the
vehicle can only be shifted from
1 (First) to 4 (Fourth) instead of
1 (First) to 2 (Second).
The shift must be completed into
4 (Fourth) to turn off this feature.
This helps the vehicle get the best
possible fuel economy.
After shifting to 4 (Fourth), the
vehicle can be downshifted to a
lower gear.
Notice: Forcing the shift lever
into any gear except 4 (Fourth)
when the 1 TO 4 SHIFT light
comes on may damage the
transmission. Shift only from
1 (First) to 4 (Fourth) when the
light comes on.
Page 138 of 432
Black plate (24,1)Chevrolet Corvette Owner Manual - 2012
5-24 Instruments and Controls
Active Handling System
Light
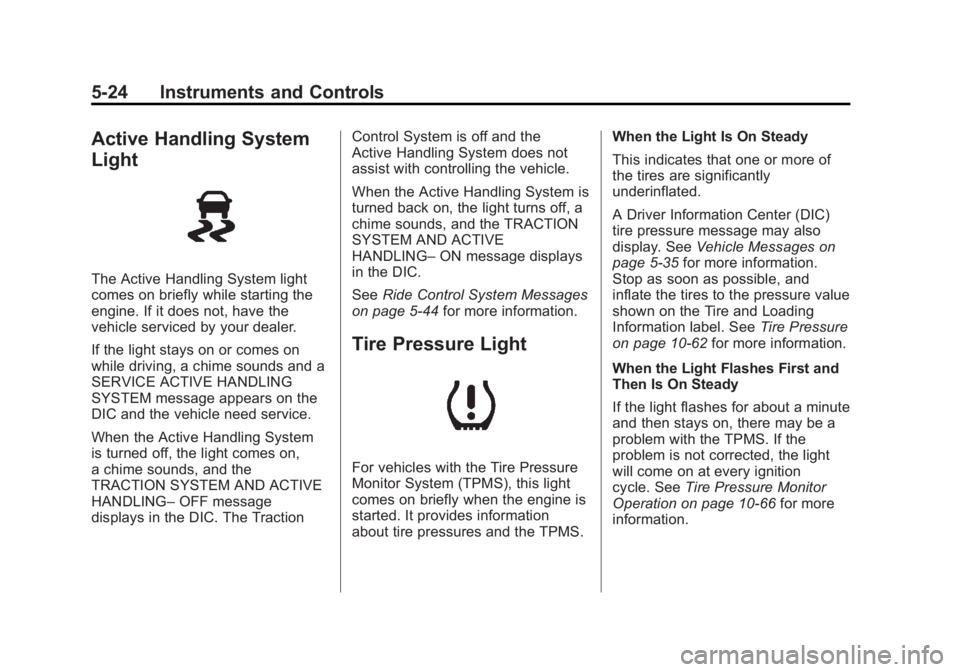
The Active Handling System light
comes on briefly while starting the
engine. If it does not, have the
vehicle serviced by your dealer.
If the light stays on or comes on
while driving, a chime sounds and a
SERVICE ACTIVE HANDLING
SYSTEM message appears on the
DIC and the vehicle need service.
When the Active Handling System
is turned off, the light comes on,
a chime sounds, and the
TRACTION SYSTEM AND ACTIVE
HANDLING–OFF message
displays in the DIC. The Traction Control System is off and the
Active Handling System does not
assist with controlling the vehicle.
When the Active Handling System is
turned back on, the light turns off, a
chime sounds, and the TRACTION
SYSTEM AND ACTIVE
HANDLING–
ON message displays
in the DIC.
See Ride Control System Messages
on page 5‑44 for more information.
Tire Pressure Light
For vehicles with the Tire Pressure
Monitor System (TPMS), this light
comes on briefly when the engine is
started. It provides information
about tire pressures and the TPMS. When the Light Is On Steady
This indicates that one or more of
the tires are significantly
underinflated.
A Driver Information Center (DIC)
tire pressure message may also
display. See
Vehicle Messages on
page 5‑35 for more information.
Stop as soon as possible, and
inflate the tires to the pressure value
shown on the Tire and Loading
Information label. See Tire Pressure
on page 10‑62 for more information.
When the Light Flashes First and
Then Is On Steady
If the light flashes for about a minute
and then stays on, there may be a
problem with the TPMS. If the
problem is not corrected, the light
will come on at every ignition
cycle. See Tire Pressure Monitor
Operation on page 10‑66 for more
information.
Page 143 of 432
Black plate (29,1)Chevrolet Corvette Owner Manual - 2012
Instruments and Controls 5-29
Tire Pressure:This display shows
the tire pressure for each tire.
Press the gauges button again to
display the tire pressure for the front
tires, such as:
.FRONT TIRE PRESSURES
L 234 kPa R 228 kPa or
.FRONT TIRE PRESSURES
L 34 PSI R 33 PSI
Press the gauges button again to
display the tire pressure for the rear
tires, such as:
.REAR TIRE PRESSURES
L 234 kPa R 228 kPa or
.REAR TIRE PRESSURES
L 34 PSI R 33 PSI
TRIP Button
The TRIP button displays the
odometer, trip distance, elapsed
time, average speed, and oil life
remaining information. Odometer:
The odometer shows
how far your vehicle has been
driven in either kilometers or miles.
Press the TRIP button to display
odometer readings, such as:
.ODOMETER 20008 km or
.ODOMETER 12345 MI
You can also display the odometer
by turning on the parking lamps.
Trip Odometers: There are two trip
odometers. Press the TRIP button
to display TRIP ODOMETER A
readings and press the button again
to display TRIP ODOMETER B
readings, such as:
.TRIP ODOMETER A 209.9 km or
.TRIP ODOMETER A 130.5 MI
.TRIP ODOMETER B 483.5 km or
.TRIP ODOMETER B 300.5 MI
Both of the trip odometers can be
used simultaneously. The trip
odometers can be reset by pressing
the RESET button on the DIC. The trip odometers are able to
display up to 3217.9 km (1999.9 mi).
This display will roll over to 0.0
if the maximum displayed miles or
kilometers are reached.
There is also a miles since last
ignition feature that displays the
number of kilometers (miles) driven
since you last started the vehicle.
Press and hold the RESET button
for three seconds, then release it.
The kilometers (miles) since the last
ignition cycle will be set into the trip
odometer.
Elapsed Timer:
Press the
TRIP button until ELAPSED
TIMER is displayed, such as
ELAPSED TIMER .00.
When the ignition is in on, the
DIC can be used as a stopwatch.
The display can show hours,
minutes, and seconds.
Page 144 of 432
Black plate (30,1)Chevrolet Corvette Owner Manual - 2012
5-30 Instruments and Controls
The elapsed time indicator will
record up to 23 hours, 59 minutes,
and 59 seconds, then it will reset
to zero and continue counting.
The display appears as ELAPSED
TIMER .00 in the elapsed time
function.
You can start or stop the elapsed
time by pressing the RESET button.
To reset the elapsed time to zero,
press the RESET button for
three seconds while the timer is
displayed.
Pressing and holding the RESET
button for at least 10 seconds will
reset the timer display to the time
since last ignition cycle.
Average Speed:Press the TRIP
button until the average speed is
displayed, such as:
.AVERAGE SPEED 100 km/h or
.AVERAGE SPEED 62 MPH
Press and hold the RESET button to
reset to 0.0 km/h (mph). Engine Oil Life:
Press the TRIP
button until the engine oil life is
displayed, such as OIL LIFE
REMAINING 89%.
This is an estimate of the engine
oil's remaining useful life. It will
show 100% when the system is
reset after an oil change. It will
alert you to change the oil on a
schedule consistent with your
driving conditions.
When the remaining oil life is low,
the system will alert you with the
message CHANGE ENGINE OIL.
Remember, you must reset the
engine oil life system yourself after
each oil change. It will not reset
itself. To reset the system, see
Engine Oil Life System on
page 10‑19. Be careful not to
reset the engine oil life system
accidentally at any time other than
when the oil has just been changed.
It cannot be reset accurately until
the next oil change. See
Maintenance Schedule on
page 11‑3 andEngine Oil on
page 10‑14 for more information.
OPTION Button
The OPTION button allows you
to access the PERSONAL
OPTIONS menu and customize
the personalization settings on
your vehicle. See Vehicle
Personalization on page 5‑54 for
more information.
RESET Button
The RESET button, used along
with other buttons, will reset
system functions and turn off or
acknowledge messages on
the DIC.
Page 150 of 432
Black plate (36,1)Chevrolet Corvette Owner Manual - 2012
5-36 Instruments and Controls
SERVICE CHARGING SYSTEM
If this message displays while you
are driving, there may be a problem
with the electrical charging system.
It could mean that there is a loose
or broken drive belt or that there is
another electrical problem. Have the
vehicle checked right away by your
dealer. Driving while this message is
on could drain the battery.
If you must drive a short distance
with the message on, be certain to
turn off the vehicle's accessories,
such as the radio and air
conditioner.
Multiple chimes sound when this
message is displayed.
To acknowledge the message, press
the RESET button. The message
reappears every 10 minutes until
this condition changes.
Brake System Messages
ABS (Antilock Brake System)
ACTIVE
This message displays when the
Antilock Brake System (ABS) is
adjusting brake pressure to help
avoid a braking skid.
Slippery road conditions may exist if
this message is displayed, so adjust
your driving accordingly. The
message stays on for a few
seconds after the system stops
adjusting brake pressure. See
Antilock Brake System (ABS) on
page 9‑35for more information.
CHANGE BRAKE PADS
On vehicles with electronic brake
pad wear sensors, this message will
be displayed when the pads are
worn. See your dealer for service.
CHECK BRAKE FLUID
This message displays, a sound
will be heard, and the brake
system warning light on the
instrument panel cluster turns on
if the ignition is on to inform the
driver that the brake fluid level is
low. SeeBrake System Warning
Light on page 5‑21. Have the brake
system serviced by your dealer as
soon as possible. See Brakes on
page 10‑34.
SERVICE ANTILOCK BRAKES
If this message displays while you
are driving, stop as soon as
possible and turn the ignition off.
Then start the engine again to reset
the system. If the message stays
on, or comes back on again while
you are driving, the vehicle is in
need of service. See your dealer.
If the antilock brake system (ABS)
warning light is on and the regular
brake system warning light is not
on, you still have brakes, but do not
Page 154 of 432
Black plate (40,1)Chevrolet Corvette Owner Manual - 2012
5-40 Instruments and Controls
ENGINE PROTECTION
REDUCE ENGINE RPM
This message displays if the engine
oil temperature exceeds 160°C
(320°F). Check the engine coolant
temperature and engine oil level.
If the engine is too hot, seeEngine
Overheating on page 10‑30.
The vehicle may need service, so
see your dealer.
You can monitor the oil temperature
with the gauges button on the DIC.
See Driver Information Center (DIC)
on page 5‑26.
Multiple chimes sound when
this message is displayed. This
message remains displayed and
active until the issue is resolved.
HOT ENGINE AIR
CONDITIONING OFF
This message displays when the
engine coolant becomes hotter than
the normal operating temperature. To avoid added strain on a hot
engine, the air conditioning
compressor is automatically turned
off. When the coolant temperature
returns to normal, the A/C operation
automatically resumes. You can
continue to drive the vehicle. If this
message continues to appear, have
the system repaired by your dealer
as soon as possible to avoid
compressor damage.
Engine Oil Messages
CHANGE ENGINE OIL
This message displays when the
life of the engine oil has expired.
See
Maintenance Schedule on
page 11‑3. After an oil change, the
engine oil life system must be reset.
See “Engine Oil Life” underDriver
Information Center (DIC) on
page 5‑26. Also, see Engine Oil on
page 10‑14 andEngine Oil Life
System on page 10‑19 for more
information.
CHECK OIL LEVEL
On some vehicles, this message
displays and two chimes sound if
the oil level in the vehicle is low.
Once the vehicle senses a change
in the engine oil level, the light
remains off.
If this message appears after
starting the engine, the engine oil
level may be too low. You may need
to add oil. See Engine Overheating
on page 10‑30.
To acknowledge the message, press
the RESET button. The message
reappears every 10 minutes until
this condition changes.
LOW OIL PRESSURE
This message displays if low oil
pressure levels occur. If this
message appears while the engine
is running, stop the engine and do
not operate it until the cause of low
oil pressure is corrected. Severe
damage to the engine can result.
Page 177 of 432
Black plate (63,1)Chevrolet Corvette Owner Manual - 2012
Instruments and Controls 5-63
Universal Remote System
Programming
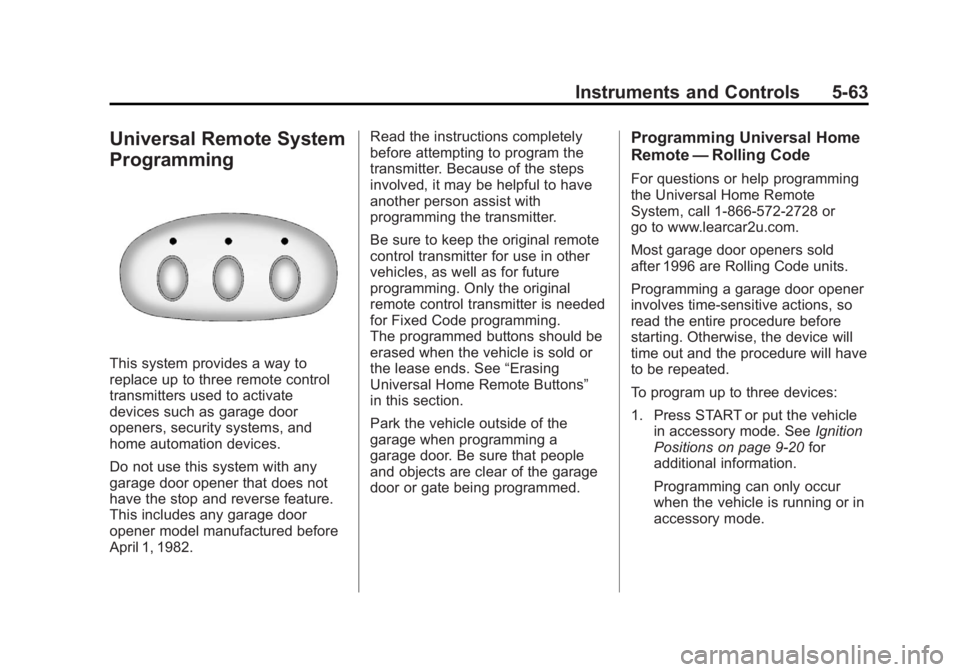
This system provides a way to
replace up to three remote control
transmitters used to activate
devices such as garage door
openers, security systems, and
home automation devices.
Do not use this system with any
garage door opener that does not
have the stop and reverse feature.
This includes any garage door
opener model manufactured before
April 1, 1982.Read the instructions completely
before attempting to program the
transmitter. Because of the steps
involved, it may be helpful to have
another person assist with
programming the transmitter.
Be sure to keep the original remote
control transmitter for use in other
vehicles, as well as for future
programming. Only the original
remote control transmitter is needed
for Fixed Code programming.
The programmed buttons should be
erased when the vehicle is sold or
the lease ends. See
“Erasing
Universal Home Remote Buttons”
in this section.
Park the vehicle outside of the
garage when programming a
garage door. Be sure that people
and objects are clear of the garage
door or gate being programmed.
Programming Universal Home
Remote —Rolling Code
For questions or help programming
the Universal Home Remote
System, call 1-866-572-2728 or
go to www.learcar2u.com.
Most garage door openers sold
after 1996 are Rolling Code units.
Programming a garage door opener
involves time-sensitive actions, so
read the entire procedure before
starting. Otherwise, the device will
time out and the procedure will have
to be repeated.
To program up to three devices:
1. Press START or put the vehicle
in accessory mode. See Ignition
Positions on page 9‑20 for
additional information.
Programming can only occur
when the vehicle is running or in
accessory mode.
Page 202 of 432
Black plate (12,1)Chevrolet Corvette Owner Manual - 2012
7-12 Infotainment System
A CD in the player stays in the
player when the ignition is turned
off. When the ignition or radio is
turned on, the CD starts to play
where it stopped, if it was the last
selected audio source.
Loading a CD
Insert the CD partway into the slot,
label side up, until the player pulls
the CD in. The CD begins playing
automatically.
The CD symbol displays when a CD
is inserted, and the track number
displays when each new track starts
to play.
M(Load):Press to load CD into
the CD player.
To insert CD:
1. Press
M.
2. Load a CD and insert the CD partway into the slot, label side
up when INSERT CD displays.
The player pulls the CD in.
Playing a CD
O/e(Tune): Turn to go to the
next or previous track.
{(Reverse): Press and hold to
reverse within the current track.
|(Fast Forward): Press and hold
to fast forward through the current
track.
tSEEKu: Press the left arrow
to go to the start of the current track
if more than eight seconds have
played. Press the right arrow to go
to the start of the next track. If either
arrow is held or pressed more than
once, the player continues moving
backward or forward through
the CD.
tSCANu: To scan one CD,
press and hold either arrow for
more than two seconds until SCAN
displays and a beep sounds.
The radio goes to the next track,
plays for 10 seconds, then goes to
the next track. Press either arrow
again to stop scanning. AUTO EQ (Automatic
Equalization):
Press to select the
equalization setting while playing a
CD. The equalization is stored
when a CD is played. For more
information on AUTO EQ, see
“AUTO EQ” listed previously in this
section.
BAND: Press to listen to the radio
when a CD is playing. The inactive
CD remains inside the radio for
future listening.
CD AUX (Auxiliary): Press to play
a CD when listening to the radio.
CD displays when a CD is in the
player. If your system has a remote
playback device, pressing this
button a second time allows the
remote device to play.
X(Eject): Press to eject a CD
from the CD Radio.
CD Radio: Press
Xto eject a CD.
RPT (Repeat): Press to hear a
track or an entire CD over again.
Page 204 of 432
Black plate (14,1)Chevrolet Corvette Owner Manual - 2012
7-14 Infotainment System
MP3 Format
Radios with the MP3 feature can
only play CD-R discs. Do not mix
standard audio and MP3 files on the
same disc.
Supported File Structure
Radios with the MP3 feature support
up to:
.50 folders
.11 folders in depth
.50 playlists
.255 files
.10 sessions
Root Directory:
The root directory is treated as a
folder. Files are stored in the root
directory when the disc or storage
device does not contain folders.
Files accessed from the root
directory display as F1 ROOT. Empty Folder:
Folders that do not contain files are
skipped, and the player advances to
the next folder that contains files.
Supported Bit Rates
The following bit rates are
supported: 32 kbps, 40 kbps,
56 kbps, 64 kbps, 80 kbps, 96 kbps,
112 kbps, 128 kbps, 160 kbps,
192 kbps, 224 kbps, 256 kbps, and
320 kbps or a variable bit rate.
File Naming
ID3v1 and ID3v2 tags are
supported. The track name
contained in the ID3 tag is shown
on the display. The display only
shows up to 32 characters for track
and file names.
If the track name is not contained in
the ID3 tag, the display shows the
file name without the file extension.
Playlists
Playlists that do not have a .m3u
or .wpl extension may not work.
Preprogrammed playlists created by
WinAmp™, MusicMatch™, or Real
Jukebox™
software are supported
and cannot be edited using the
radio.
Playing an MP3
Insert a CD partway into the slot,
label side up. The player pulls it in,
and READING displays. The CD
should begin playing and the CD
symbol displays.
If the ignition or radio is turned off
with a CD-R in the player, it stays
in the player. When the ignition or
radio is turned on, the CD-R starts
to play where it stopped, if it was
the last selected audio source.
As each new track starts to play,
the track number displays.
Page 228 of 432
Black plate (6,1)Chevrolet Corvette Owner Manual - 2012
9-6 Driving and Operating
Defensive drivers avoid most skids
by taking reasonable care suited to
existing conditions, and by not
overdriving those conditions.
But skids are always possible.
If the vehicle starts to slide,
follow these suggestions:
.Ease your foot off the
accelerator pedal and quickly
steer the way you want the
vehicle to go. The vehicle may
straighten out. Be ready for a
second skid if it occurs.
.Slow down and adjust your
driving according to weather
conditions. Stopping distance
can be longer and vehicle
control can be affected when
traction is reduced by water,
snow, ice, gravel, or other
material on the road. Learn to
recognize warning clues—such
as enough water, ice, or packed
snow on the road to make a
mirrored surface —and slow
down when you have any doubt.
.Try to avoid sudden steering,
acceleration, or braking,
including reducing vehicle speed
by shifting to a lower gear.
Any sudden changes could
cause the tires to slide.
Remember: Antilock brakes help
avoid only the braking skid.
Racing or Other
Competitive Driving
Racing or competitive driving
may affect the vehicle warranty.
See the warranty book before
using the vehicle for racing or other
competitive driving.
Notice: If you use the vehicle
for racing or other competitive
driving, the engine may use more
oil than it would with normal use.
Low oil levels can damage the
engine. For information on how
to add oil, see Engine Oil on
page 10‑14. Z06, ZR1, and Grand Sport
Coupe manual transmission only:
Be sure to check the oil level
often during racing or other
competitive driving and keep the
level at or near the upper mark
that shows the proper operating
range on the engine oil dipstick.
Except Z06, ZR1, and Grand
Sport Coupe manual
transmission: Be sure to check
the oil level often during racing or
other competitive driving and
keep the level at or near 1 L (1 qt)
above the upper mark that shows
the proper operating range on
the engine oil dipstick. After the
competitive driving, remove
excess oil so that the level on the
dipstick is not above the upper
mark that shows the proper
operating range.