tow CHEVROLET CRUZE 2011 1.G User Guide
[x] Cancel search | Manufacturer: CHEVROLET, Model Year: 2011, Model line: CRUZE, Model: CHEVROLET CRUZE 2011 1.GPages: 394, PDF Size: 6.89 MB
Page 100 of 394
Black plate (52,1)Chevrolet Cruze Owner Manual - 2011
3-52 Seats and Restraints
Securing a Child Restraint
Designed for the LATCH
System
{WARNING
If a LATCH-type child restraint is
not attached to anchors, the child
restraint will not be able to protect
the child correctly. In a crash, the
child could be seriously injured or
killed. Install a LATCH-type child
restraint properly using the
anchors, or use the vehicle safety
belts to secure the restraint,
following the instructions that
came with the child restraint and
the instructions in this manual.
{WARNING
Do not attach more than one child
restraint to a single anchor.
Attaching more than one child(Continued)
WARNING (Continued)
restraint to a single anchor could
cause the anchor or attachment
to come loose or even break
during a crash. A child or others
could be injured. To reduce the
risk of serious or fatal injuries
during a crash, attach only one
child restraint per anchor.
{WARNING
Children can be seriously injured
or strangled if a shoulder belt is
wrapped around their neck and
the safety belt continues to
tighten. Buckle any unused safety
belts behind the child restraint so
children cannot reach them. Pull
the shoulder belt all the way out
of the retractor to set the lock,
if your vehicle has one, after the
child restraint has been installed. Notice:
Do not let the LATCH
attachments rub against the
vehicle’ s safety belts. This may
damage these parts. If necessary,
move buckled safety belts to
avoid rubbing the LATCH
attachments.
Do not fold the empty rear seat
with a safety belt buckled. This
could damage the safety belt or
the seat. Unbuckle and return the
safety belt to its stowed position,
before folding the seat.
If you need to secure more than one
child restraint in the rear seat, see
Where to Put the Restraint on
page 3‑47 for additional information.
Make sure to attach the child
restraint at the proper anchor
location.
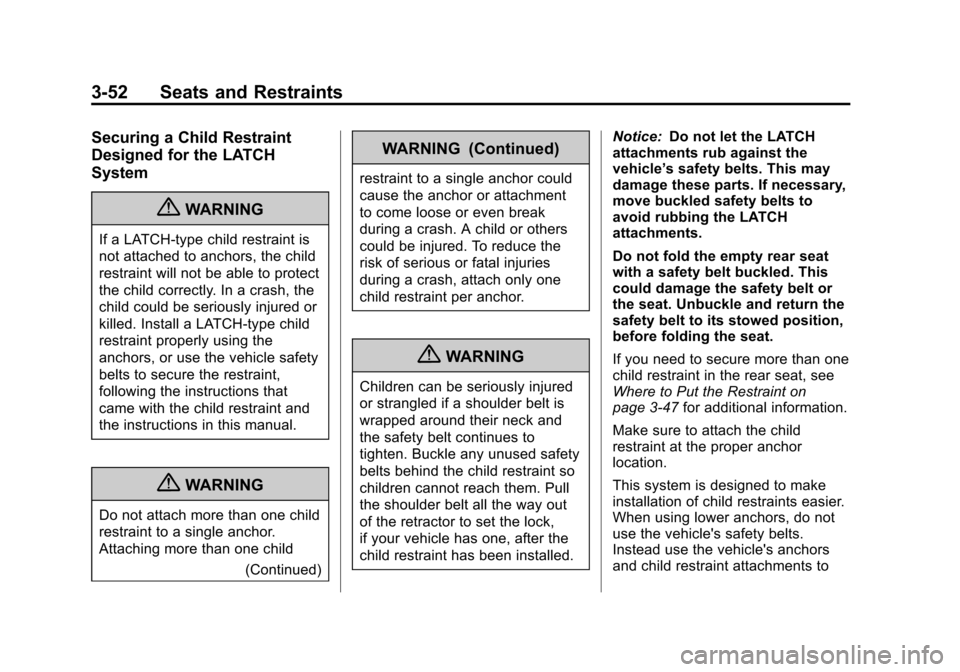
This system is designed to make
installation of child restraints easier.
When using lower anchors, do not
use the vehicle's safety belts.
Instead use the vehicle's anchors
and child restraint attachments to
Page 106 of 394
Black plate (58,1)Chevrolet Cruze Owner Manual - 2011
3-58 Seats and Restraints
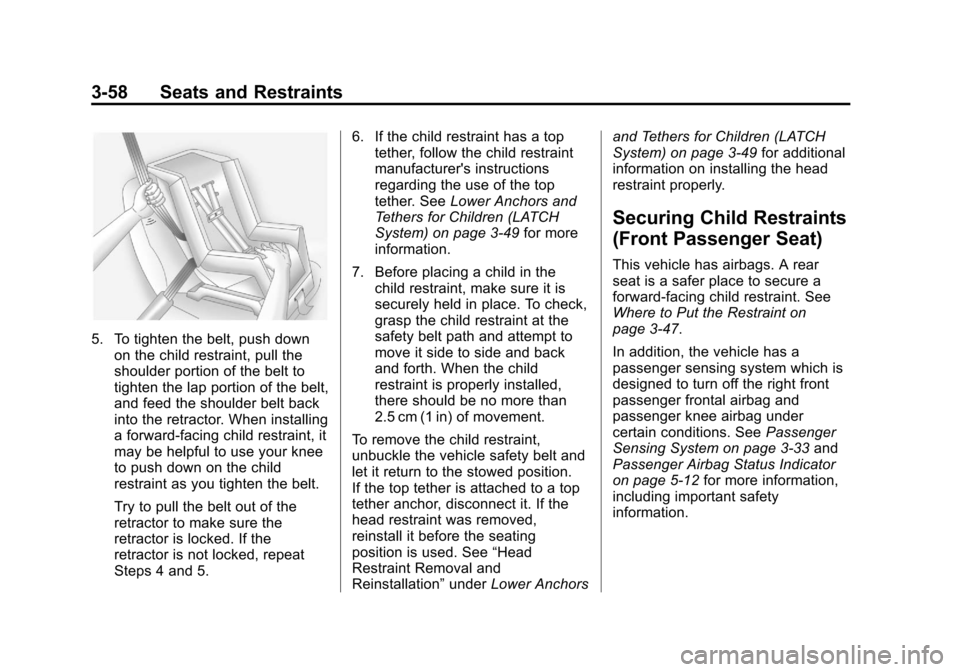
5. To tighten the belt, push downon the child restraint, pull the
shoulder portion of the belt to
tighten the lap portion of the belt,
and feed the shoulder belt back
into the retractor. When installing
a forward-facing child restraint, it
may be helpful to use your knee
to push down on the child
restraint as you tighten the belt.
Try to pull the belt out of the
retractor to make sure the
retractor is locked. If the
retractor is not locked, repeat
Steps 4 and 5. 6. If the child restraint has a top
tether, follow the child restraint
manufacturer's instructions
regarding the use of the top
tether. See Lower Anchors and
Tethers for Children (LATCH
System) on page 3‑49 for more
information.
7. Before placing a child in the child restraint, make sure it is
securely held in place. To check,
grasp the child restraint at the
safety belt path and attempt to
move it side to side and back
and forth. When the child
restraint is properly installed,
there should be no more than
2.5 cm (1 in) of movement.
To remove the child restraint,
unbuckle the vehicle safety belt and
let it return to the stowed position.
If the top tether is attached to a top
tether anchor, disconnect it. If the
head restraint was removed,
reinstall it before the seating
position is used. See “Head
Restraint Removal and
Reinstallation” underLower Anchors and Tethers for Children (LATCH
System) on page 3‑49
for additional
information on installing the head
restraint properly.
Securing Child Restraints
(Front Passenger Seat)
This vehicle has airbags. A rear
seat is a safer place to secure a
forward-facing child restraint. See
Where to Put the Restraint on
page 3‑47.
In addition, the vehicle has a
passenger sensing system which is
designed to turn off the right front
passenger frontal airbag and
passenger knee airbag under
certain conditions. See Passenger
Sensing System on page 3‑33 and
Passenger Airbag Status Indicator
on page 5‑12 for more information,
including important safety
information.
Page 109 of 394
Black plate (61,1)Chevrolet Cruze Owner Manual - 2011
Seats and Restraints 3-61
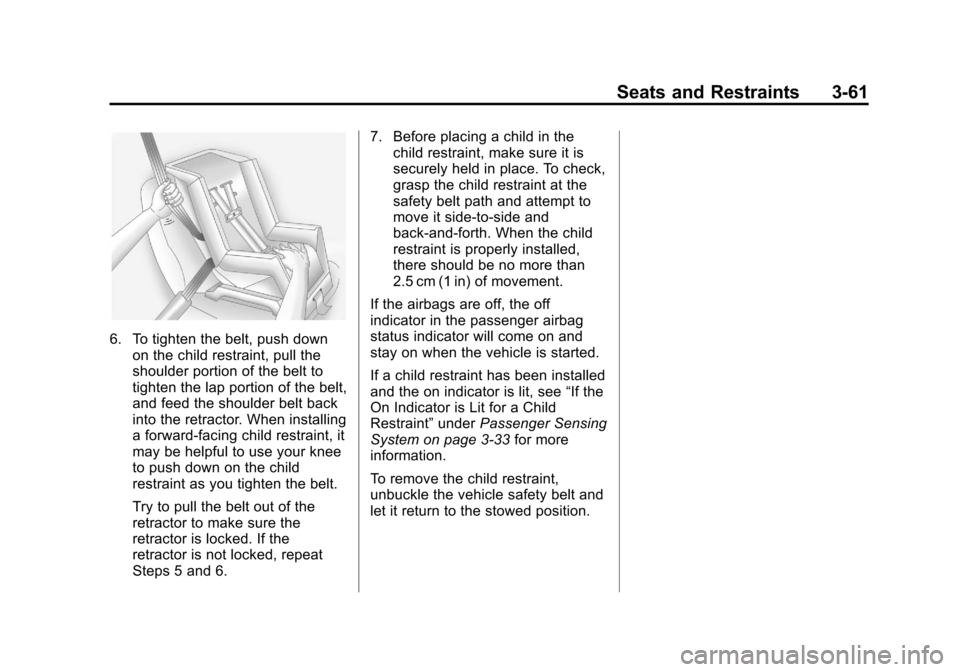
6. To tighten the belt, push downon the child restraint, pull the
shoulder portion of the belt to
tighten the lap portion of the belt,
and feed the shoulder belt back
into the retractor. When installing
a forward-facing child restraint, it
may be helpful to use your knee
to push down on the child
restraint as you tighten the belt.
Try to pull the belt out of the
retractor to make sure the
retractor is locked. If the
retractor is not locked, repeat
Steps 5 and 6. 7. Before placing a child in the
child restraint, make sure it is
securely held in place. To check,
grasp the child restraint at the
safety belt path and attempt to
move it side‐to‐side and
back‐and‐forth. When the child
restraint is properly installed,
there should be no more than
2.5 cm (1 in) of movement.
If the airbags are off, the off
indicator in the passenger airbag
status indicator will come on and
stay on when the vehicle is started.
If a child restraint has been installed
and the on indicator is lit, see “If the
On Indicator is Lit for a Child
Restraint” underPassenger Sensing
System on page 3‑33 for more
information.
To remove the child restraint,
unbuckle the vehicle safety belt and
let it return to the stowed position.
Page 116 of 394
Black plate (4,1)Chevrolet Cruze Owner Manual - 2011
5-4 Instruments and Controls
Wipe Parking
If the ignition is turned to LOCK/
OFF while the wipers are on 1, 2,
or
&, they will immediately stop.
If the windshield wiper lever is then
moved to OFF before the driver
door is opened, or within
10 minutes, the wipers will restart
and move to the base of the
windshield.
If the ignition is turned to LOCK/
OFF during a windshield wash, the
wipers will stop when they reach the
base of the windshield.
Windshield Washer
Pull the windshield wiper lever
toward you to spray windshield
washer fluid and activate the wipers.
The wipers will continue until the
lever is released or the maximum
wash time is reached.
When the windshield wiper lever is
released, additional wipes may
occur depending on how long the
windshield washer had been
activated. See Washer Fluid on
page 10‑22 for information on filling
the windshield washer fluid
reservoir.
{WARNING
In freezing weather, do not use
your washer until the windshield
is warmed. Otherwise the washer
fluid can form ice on the
windshield, blocking your vision.
Compass
The vehicle may have a compass
display in the Driver Information
Center (DIC). The compass receives
its heading and other information
from the Global Positioning
System (GPS) antenna, StabiliTrak,
and vehicle speed information.
Avoid covering the GPS antenna
located on the roof, for long periods
of time with objects that may
interfere with the antenna's ability to
receive a satellite signal. The
compass system is designed to
operate for a certain number of
miles or degrees of turn before
needing a signal from the GPS
satellites. When the compass
display shows CAL, drive the
vehicle for a short distance in an
open area where it can receive a
GPS signal. The compass system
will automatically determine when
the GPS signal is restored and
provide a heading again. See
Compass Messages on page 5‑29
Page 122 of 394
Black plate (10,1)Chevrolet Cruze Owner Manual - 2011
5-10 Instruments and Controls
Here are four things that some
owners ask about. None of these
show a problem with your fuel
gauge:
.At the service station, the fuel
pump shuts off before the gauge
reads full.
.It takes a little more or less fuel
to fill up than the gauge
indicated. For example, the
gauge may have indicated the
tank was half full, but it actually
took a little more or less than
half the tank's capacity to fill
the tank.
.The gauge moves a little while
turning a corner or speeding up.
.The gauge takes a few seconds
to stabilize after the ignition is
turned on, and will go back to
empty when the ignition is
turned off.
Engine Coolant
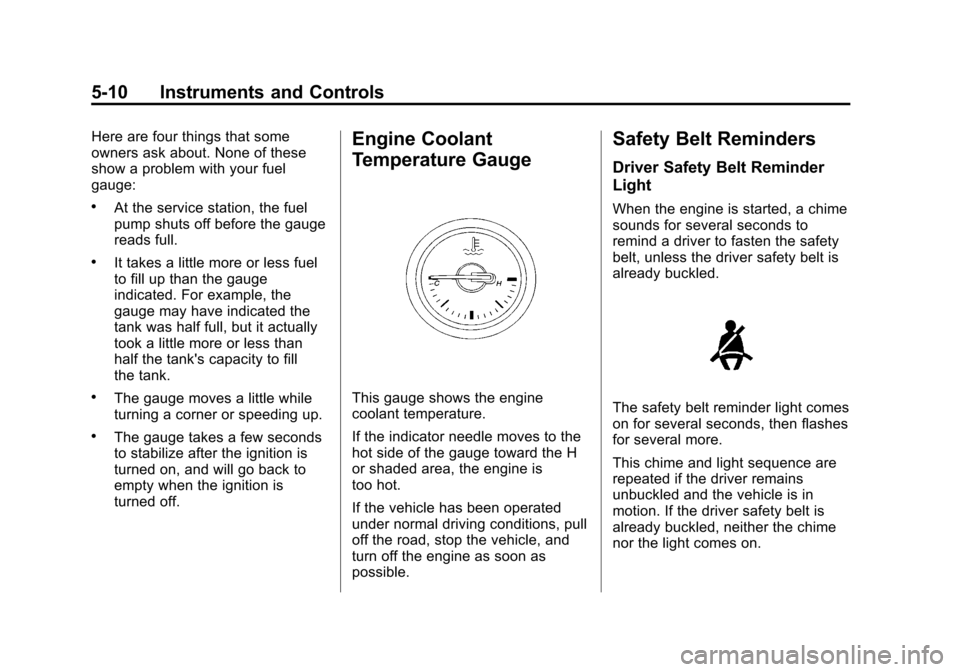
Temperature Gauge
This gauge shows the engine
coolant temperature.
If the indicator needle moves to the
hot side of the gauge toward the H
or shaded area, the engine is
too hot.
If the vehicle has been operated
under normal driving conditions, pull
off the road, stop the vehicle, and
turn off the engine as soon as
possible.
Safety Belt Reminders
Driver Safety Belt Reminder
Light
When the engine is started, a chime
sounds for several seconds to
remind a driver to fasten the safety
belt, unless the driver safety belt is
already buckled.
The safety belt reminder light comes
on for several seconds, then flashes
for several more.
This chime and light sequence are
repeated if the driver remains
unbuckled and the vehicle is in
motion. If the driver safety belt is
already buckled, neither the chime
nor the light comes on.
Page 126 of 394
Black plate (14,1)Chevrolet Cruze Owner Manual - 2011
5-14 Instruments and Controls
Malfunctions often are indicated by
the system before any problem is
apparent. Being aware of the light
can prevent more serious damage
to the vehicle. This system assists
the service technician in correctly
diagnosing any malfunction.
Notice:If the vehicle is
continually driven with this light
on, after a while, the emission
controls might not work as well,
the vehicle fuel economy might
not be as good, and the engine
might not run as smoothly. This
could lead to costly repairs that
might not be covered by the
vehicle warranty.
Notice: Modifications made
to the engine, transmission,
exhaust, intake, or fuel system of
the vehicle or the replacement of
the original tires with other
than those of the same Tire
Performance Criteria (TPC) can
affect the vehicle's emission
controls and can cause this light
to come on. Modifications to
these systems could lead to costly repairs not covered by the
vehicle warranty. This could also
result in a failure to pass a
required Emission Inspection/
Maintenance test. See
Accessories and Modifications on
page 10‑3.
This light comes on during a
malfunction in one of two ways:
Light Flashing:
A misfire condition
has been detected. A misfire
increases vehicle emissions and
could damage the emission control
system on the vehicle. Diagnosis
and service might be required.
To prevent more serious damage to
the vehicle:
.Reduce vehicle speed.
.Avoid hard accelerations.
.Avoid steep uphill grades.
.If towing a trailer, reduce the
amount of cargo being hauled as
soon as it is possible. If the light continues to flash, when
it is safe to do so, stop the vehicle.
Find a safe place to park the
vehicle. Turn the vehicle off, wait at
least 10 seconds, and restart the
engine. If the light is still flashing,
follow the previous steps and see
your dealer for service as soon as
possible.
Light On Steady:
An emission
control system malfunction has
been detected on the vehicle.
Diagnosis and service might be
required.
The following may correct an
emissions system malfunction:
.Make sure the fuel cap is fully
installed. See Filling the Tank on
page 9‑43. The diagnostic
system can determine if the fuel
cap has been left off or
improperly installed. A loose or
missing fuel cap allows fuel to
evaporate into the atmosphere.
A few driving trips with the cap
properly installed should turn the
light off.
Page 129 of 394
Black plate (17,1)Chevrolet Cruze Owner Manual - 2011
Instruments and Controls 5-17
{WARNING
The brake system might not be
working properly if the brake
system warning light is on.
Driving with the brake system
warning light on can lead to a
crash. If the light is still on after
the vehicle has been pulled off
the road and carefully stopped,
have the vehicle towed for
service.
If the light comes on while driving, a
chime sounds. Pull off the road and
stop. The pedal might be harder to
push or go closer to the floor.
It might also take longer to stop.
If the light is still on, have the
vehicle towed for service. See
Towing the Vehicle on page 10‑87.
Antilock Brake System
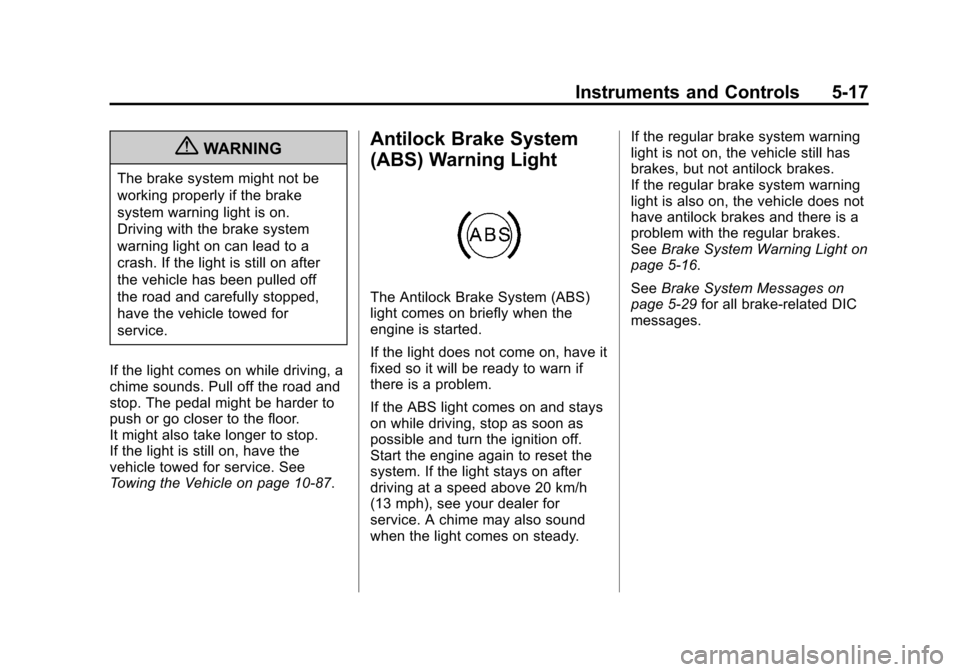
(ABS) Warning Light
The Antilock Brake System (ABS)
light comes on briefly when the
engine is started.
If the light does not come on, have it
fixed so it will be ready to warn if
there is a problem.
If the ABS light comes on and stays
on while driving, stop as soon as
possible and turn the ignition off.
Start the engine again to reset the
system. If the light stays on after
driving at a speed above 20 km/h
(13 mph), see your dealer for
service. A chime may also sound
when the light comes on steady. If the regular brake system warning
light is not on, the vehicle still has
brakes, but not antilock brakes.
If the regular brake system warning
light is also on, the vehicle does not
have antilock brakes and there is a
problem with the regular brakes.
See
Brake System Warning Light on
page 5‑16.
See Brake System Messages on
page 5‑29 for all brake‐related DIC
messages.
Page 154 of 394
Black plate (2,1)Chevrolet Cruze Owner Manual - 2011
6-2 Lighting
5(Headlamps):Turns the
headlamps on together with the
lamps listed below. A warning chime
sounds if the driver door is opened
when the ignition switch is off and
the headlamps are on.
.Parking Lamps
.Taillamps
.License Plate Lamps
.Instrument Panel Lights
.Side Marker Lamps
#(Front Fog Lamps): For
vehicles with fog lamps, press to
turn the lamps on or off.
See Front Fog Lamps on page 6‑4.
When the lights are on,
;will be
lit. See Lamps On Reminder on
page 5‑23.
Headlamp High/
Low-Beam Changer
2 3Headlamp High/Low‐Beam
Changer: Push the turn signal/lane
change lever away from you to turn
the high beams on.
Pull the lever toward you to return to
low beams.
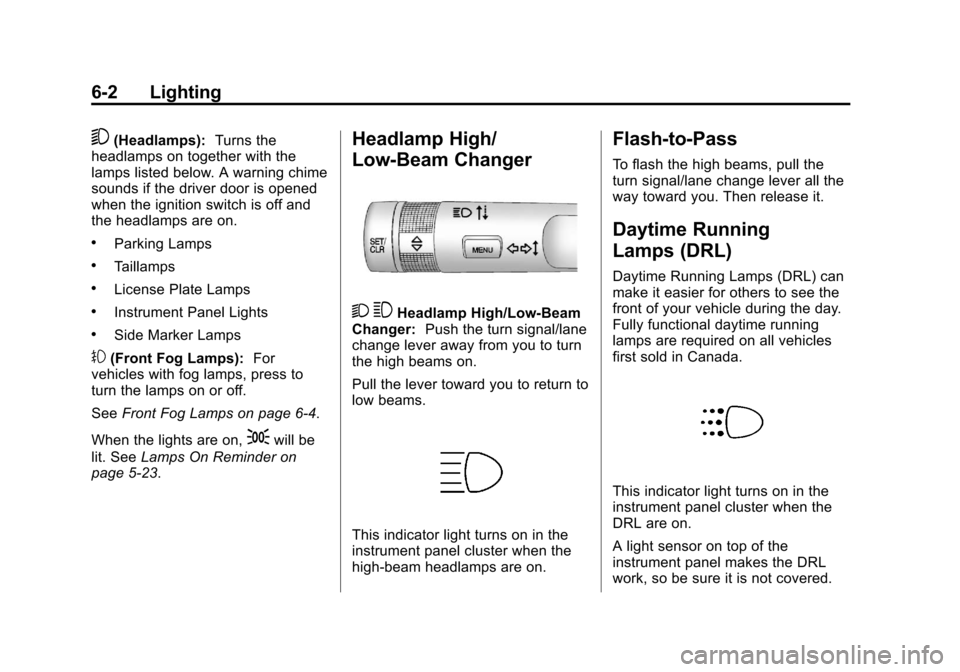
This indicator light turns on in the
instrument panel cluster when the
high‐beam headlamps are on.
Flash-to-Pass
To flash the high beams, pull the
turn signal/lane change lever all the
way toward you. Then release it.
Daytime Running
Lamps (DRL)
Daytime Running Lamps (DRL) can
make it easier for others to see the
front of your vehicle during the day.
Fully functional daytime running
lamps are required on all vehicles
first sold in Canada.
This indicator light turns on in the
instrument panel cluster when the
DRL are on.
A light sensor on top of the
instrument panel makes the DRL
work, so be sure it is not covered.
Page 201 of 394
Black plate (1,1)Chevrolet Cruze Owner Manual - 2011
Driving and Operating 9-1
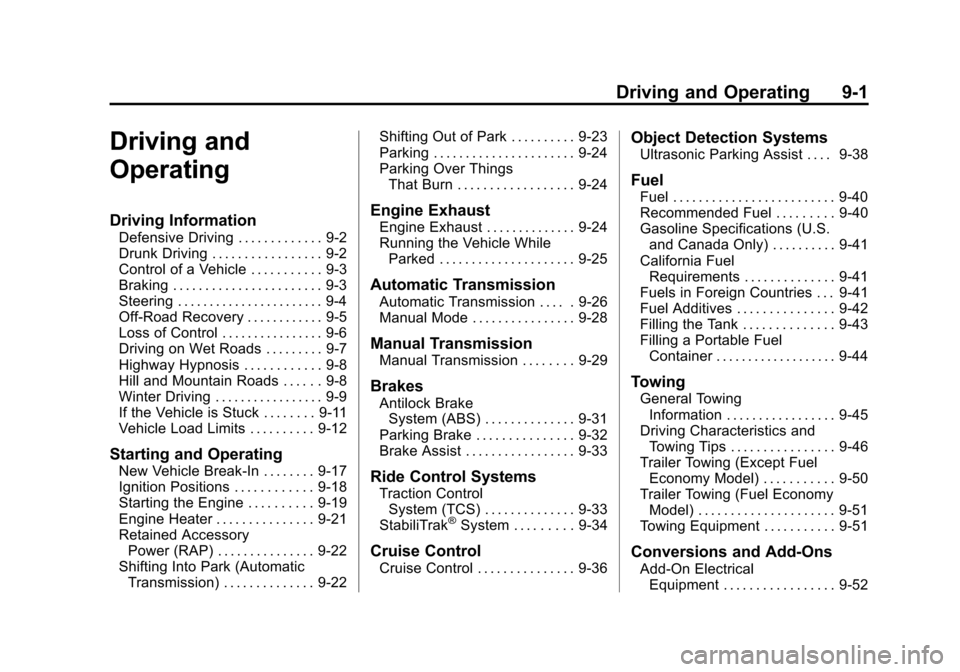
Driving and
Operating
Driving Information
Defensive Driving . . . . . . . . . . . . . 9-2
Drunk Driving . . . . . . . . . . . . . . . . . 9-2
Control of a Vehicle . . . . . . . . . . . 9-3
Braking . . . . . . . . . . . . . . . . . . . . . . . 9-3
Steering . . . . . . . . . . . . . . . . . . . . . . . 9-4
Off-Road Recovery . . . . . . . . . . . . 9-5
Loss of Control . . . . . . . . . . . . . . . . 9-6
Driving on Wet Roads . . . . . . . . . 9-7
Highway Hypnosis . . . . . . . . . . . . 9-8
Hill and Mountain Roads . . . . . . 9-8
Winter Driving . . . . . . . . . . . . . . . . . 9-9
If the Vehicle is Stuck . . . . . . . . 9-11
Vehicle Load Limits . . . . . . . . . . 9-12
Starting and Operating
New Vehicle Break-In . . . . . . . . 9-17
Ignition Positions . . . . . . . . . . . . 9-18
Starting the Engine . . . . . . . . . . 9-19
Engine Heater . . . . . . . . . . . . . . . 9-21
Retained AccessoryPower (RAP) . . . . . . . . . . . . . . . 9-22
Shifting Into Park (Automatic Transmission) . . . . . . . . . . . . . . 9-22 Shifting Out of Park . . . . . . . . . . 9-23
Parking . . . . . . . . . . . . . . . . . . . . . . 9-24
Parking Over Things
That Burn . . . . . . . . . . . . . . . . . . 9-24
Engine Exhaust
Engine Exhaust . . . . . . . . . . . . . . 9-24
Running the Vehicle WhileParked . . . . . . . . . . . . . . . . . . . . . 9-25
Automatic Transmission
Automatic Transmission . . . . . 9-26
Manual Mode . . . . . . . . . . . . . . . . 9-28
Manual Transmission
Manual Transmission . . . . . . . . 9-29
Brakes
Antilock BrakeSystem (ABS) . . . . . . . . . . . . . . 9-31
Parking Brake . . . . . . . . . . . . . . . 9-32
Brake Assist . . . . . . . . . . . . . . . . . 9-33
Ride Control Systems
Traction Control System (TCS) . . . . . . . . . . . . . . 9-33
StabiliTrak
®System . . . . . . . . . 9-34
Cruise Control
Cruise Control . . . . . . . . . . . . . . . 9-36
Object Detection Systems
Ultrasonic Parking Assist . . . . 9-38
Fuel
Fuel . . . . . . . . . . . . . . . . . . . . . . . . . 9-40
Recommended Fuel . . . . . . . . . 9-40
Gasoline Specifications (U.S. and Canada Only) . . . . . . . . . . 9-41
California Fuel Requirements . . . . . . . . . . . . . . 9-41
Fuels in Foreign Countries . . . 9-41
Fuel Additives . . . . . . . . . . . . . . . 9-42
Filling the Tank . . . . . . . . . . . . . . 9-43
Filling a Portable Fuel Container . . . . . . . . . . . . . . . . . . . 9-44
Towing
General TowingInformation . . . . . . . . . . . . . . . . . 9-45
Driving Characteristics and Towing Tips . . . . . . . . . . . . . . . . 9-46
Trailer Towing (Except Fuel Economy Model) . . . . . . . . . . . 9-50
Trailer Towing (Fuel Economy Model) . . . . . . . . . . . . . . . . . . . . . 9-51
Towing Equipment . . . . . . . . . . . 9-51
Conversions and Add-Ons
Add-On Electrical Equipment . . . . . . . . . . . . . . . . . 9-52
Page 212 of 394
Black plate (12,1)Chevrolet Cruze Owner Manual - 2011
9-12 Driving and Operating
Rocking the Vehicle to Get
it Out
Turn the steering wheel left and
right to clear the area around the
front wheels. Turn off any traction
system. Shift back and forth
between R (Reverse) and a forward
gear, or with a manual transmission,
between 1 (First) or 2 (Second) and
R (Reverse), spinning the wheels as
little as possible. To prevent
transmission wear, wait until the
wheels stop spinning before shifting
gears. Release the accelerator
pedal while shifting, and press
lightly on the accelerator pedal
when the transmission is in gear.
Slowly spinning the wheels in the
forward and reverse directions
causes a rocking motion that could
free the vehicle. If that does not get
the vehicle out after a few tries, it
might need to be towed out. If the
vehicle does need to be towed out,
seeTowing the Vehicle on
page 10‑87.
Vehicle Load Limits
It is very important to know how
much weight the vehicle can
carry. This weight is called the
vehicle capacity weight and
includes the weight of all
occupants, cargo and all
nonfactory‐installed options.
Two labels on the vehicle show
how much weight it may
properly carry, the Tire and
Loading Information label and
the Certification label.{WARNING
Do not load the vehicle any
heavier than the Gross
Vehicle Weight Rating
(GVWR), or either the
maximum front or rear Gross
Axle Weight Rating (GAWR).
If you do, parts on the vehicle
can break, and it can change
the way the vehicle handles.
These could cause you to lose
control and crash. Also,
overloading can shorten the
life of the vehicle.