CHEVROLET EPICA 2006 1.G Owners Manual
Manufacturer: CHEVROLET, Model Year: 2006, Model line: EPICA, Model: CHEVROLET EPICA 2006 1.GPages: 368, PDF Size: 2.24 MB
Page 181 of 368
CD Messages
CHECK CD:If this message appears on the display
and/or the CD comes out, it could be for one of the
following reasons:
•It is very hot. When the temperature returns to
normal, the CD should play.
•You are driving on a very rough road. When the
road becomes smoother, the CD should play.
•The CD is dirty, scratched, wet, or upside down.
•The air is very humid. If so, wait about an hour
and try again.
•The format of the CD may not be compatible.
See “MP3 Format” earlier in this section.
•There may have been a problem while burning
the CD.
•The label may be caught in the CD player.
If the CD is not playing correctly, for any other reason,
try a known good CD.
If any error occurs repeatedly or if an error cannot be
corrected, contact your dealer. If the radio displays
an error message, write it down and provide it to your
dealer when reporting the problem.
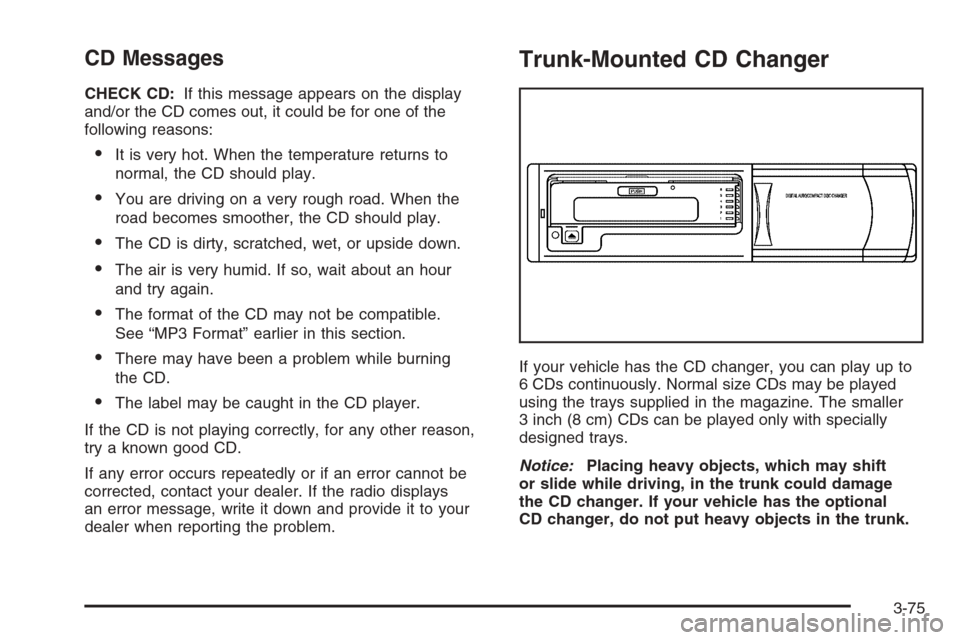
Trunk-Mounted CD Changer
If your vehicle has the CD changer, you can play up to
6 CDs continuously. Normal size CDs may be played
using the trays supplied in the magazine. The smaller
3 inch (8 cm) CDs can be played only with specially
designed trays.
Notice:Placing heavy objects, which may shift
or slide while driving, in the trunk could damage
the CD changer. If your vehicle has the optional
CD changer, do not put heavy objects in the trunk.
3-75
Page 182 of 368
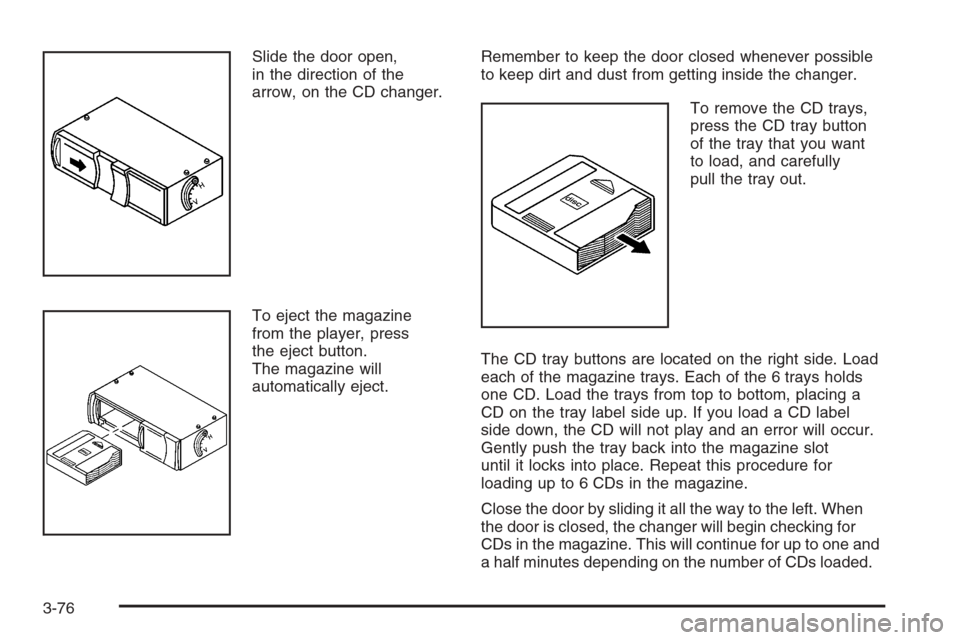
Slide the door open,
in the direction of the
arrow, on the CD changer.
To eject the magazine
from the player, press
the eject button.
The magazine will
automatically eject.Remember to keep the door closed whenever possible
to keep dirt and dust from getting inside the changer.
To remove the CD trays,
press the CD tray button
of the tray that you want
to load, and carefully
pull the tray out.
The CD tray buttons are located on the right side. Load
each of the magazine trays. Each of the 6 trays holds
one CD. Load the trays from top to bottom, placing a
CD on the tray label side up. If you load a CD label
side down, the CD will not play and an error will occur.
Gently push the tray back into the magazine slot
until it locks into place. Repeat this procedure for
loading up to 6 CDs in the magazine.
Close the door by sliding it all the way to the left. When
the door is closed, the changer will begin checking for
CDs in the magazine. This will continue for up to one and
a half minutes depending on the number of CDs loaded.
3-76
Page 183 of 368
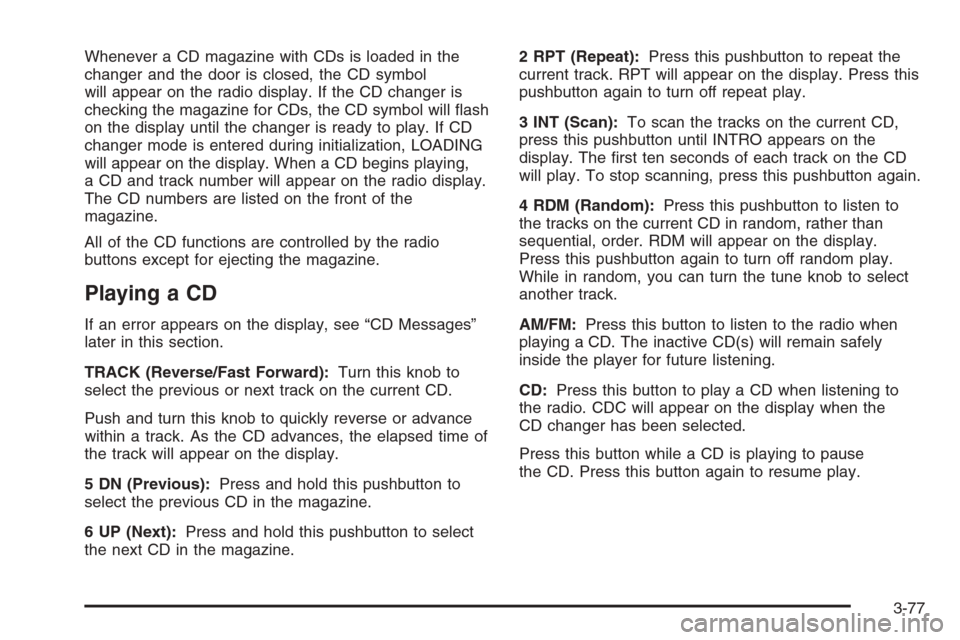
Whenever a CD magazine with CDs is loaded in the
changer and the door is closed, the CD symbol
will appear on the radio display. If the CD changer is
checking the magazine for CDs, the CD symbol will flash
on the display until the changer is ready to play. If CD
changer mode is entered during initialization, LOADING
will appear on the display. When a CD begins playing,
a CD and track number will appear on the radio display.
The CD numbers are listed on the front of the
magazine.
All of the CD functions are controlled by the radio
buttons except for ejecting the magazine.
Playing a CD
If an error appears on the display, see “CD Messages”
later in this section.
TRACK (Reverse/Fast Forward):Turn this knob to
select the previous or next track on the current CD.
Push and turn this knob to quickly reverse or advance
within a track. As the CD advances, the elapsed time of
the track will appear on the display.
5 DN (Previous):Press and hold this pushbutton to
select the previous CD in the magazine.
6 UP (Next):Press and hold this pushbutton to select
the next CD in the magazine.2 RPT (Repeat):Press this pushbutton to repeat the
current track. RPT will appear on the display. Press this
pushbutton again to turn off repeat play.
3 INT (Scan):To scan the tracks on the current CD,
press this pushbutton until INTRO appears on the
display. The first ten seconds of each track on the CD
will play. To stop scanning, press this pushbutton again.
4 RDM (Random):Press this pushbutton to listen to
the tracks on the current CD in random, rather than
sequential, order. RDM will appear on the display.
Press this pushbutton again to turn off random play.
While in random, you can turn the tune knob to select
another track.
AM/FM:Press this button to listen to the radio when
playing a CD. The inactive CD(s) will remain safely
inside the player for future listening.
CD:Press this button to play a CD when listening to
the radio. CDC will appear on the display when the
CD changer has been selected.
Press this button while a CD is playing to pause
the CD. Press this button again to resume play.
3-77
Page 184 of 368
CD Messages
No Maga:An empty magazine is inserted in the CD
changer. Try the magazine again with a CD loaded
in one of the trays.
Notice:If you add any label to a CD, insert more
than one CD into the slot at a time, or attempt
to play scratched or damaged CDs, you could
damage the CD player. When using the CD player,
use only CDs in good condition without any
label, load one CD at a time, and keep the CD player
and the loading slot free of foreign materials,
liquids, and debris.
If the CD is not playing correctly, for any other reason,
try a known good CD.
If any error occurs repeatedly or if an error cannot be
corrected, contact your dealer. If the radio displays
an error message, write it down and provide it to your
dealer when reporting the problem.
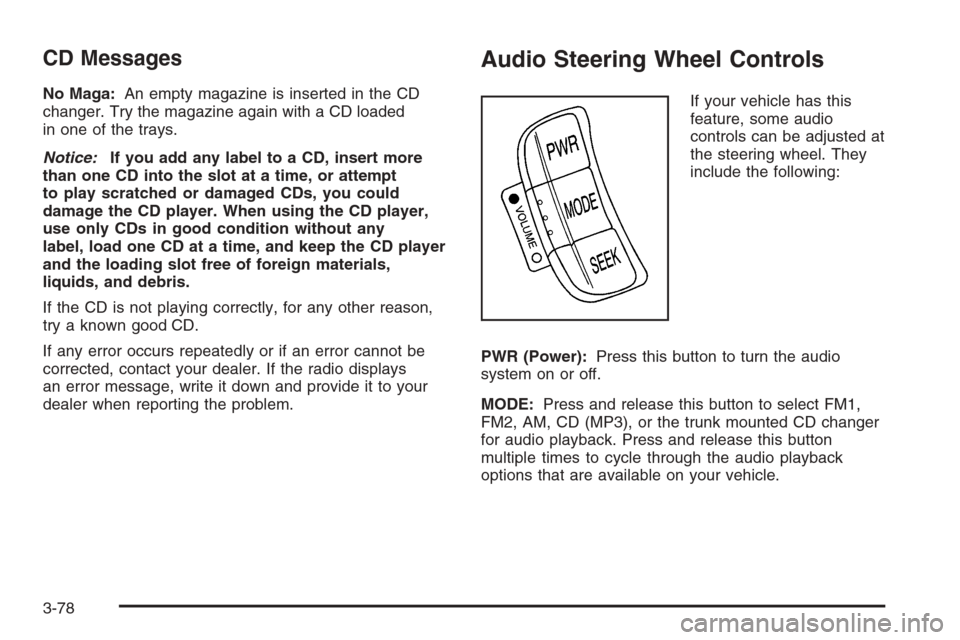
Audio Steering Wheel Controls
If your vehicle has this
feature, some audio
controls can be adjusted at
the steering wheel. They
include the following:
PWR (Power):Press this button to turn the audio
system on or off.
MODE:Press and release this button to select FM1,
FM2, AM, CD (MP3), or the trunk mounted CD changer
for audio playback. Press and release this button
multiple times to cycle through the audio playback
options that are available on your vehicle.
3-78
Page 185 of 368
SEEK:Press and release this button within 0.5 seconds
to go to the next preset station.
Press and hold this button for longer than 0.5 seconds
to go to the next radio station. The radio will only
seek stations with a strong signal that are in the
selected band.
When playing a CD, press and release this button within
0.5 seconds to go to the next track. Press and hold
this button for longer than 0.5 seconds to fast forward
through the tracks.
)VOLUME(:Press the solid circle on the left-side
of VOLUME to increase the volume. Press the open
circle on the right-side of VOLUME to decrease
the volume.
Radio Reception
You may experience frequency interference and
static during normal radio reception if items such as
cellphone chargers, vehicle convenience accessories,
and external electronic devices are plugged into
the accessory power outlet. If there is interference or
static, unplug the item from the accessory power outlet.
AM
The range for most AM stations is greater than for
FM, especially at night. The longer range can cause
station frequencies to interfere with each other.
For better radio reception, most AM radio stations will
boost the power levels during the day, and then reduce
these levels during the night. Static can also occur
when things like storms and power lines interfere with
radio reception. When this happens, try reducing
the treble on your radio.
FM Stereo
FM stereo will give the best sound, but FM signals
will reach only about 10 to 40 miles (16 to 65 km).
Tall buildings or hills can interfere with FM signals,
causing the sound to fade in and out.
3-79
Page 186 of 368
Care of Your CDs
Handle CDs carefully. Store them in their original
cases or other protective cases and away from direct
sunlight and dust. The CD player scans the bottom
surface of the disc. If the surface of a CD is damaged,
such as cracked, broken, or scratched, the CD will
not play properly or not at all. If the surface of a CD is
soiled, take a soft, lint free cloth or dampen a clean,
soft cloth in a mild, neutral detergent solution mixed with
water, and clean it. Make sure the wiping process
starts from the center to the edge.
Do not touch the bottom side of a CD while handling
it; this could damage the surface. Pick up CDs by
grasping the outer edges or the edge of the hole and
the outer edge.
Care of the CD Player
The use of CD lens cleaners for CD players is not
advised, due to the risk of contaminating the internal
lens of the CD optics with lubricants.
Backglass Antenna (Sedan Models)
For the Sedan models, the antenna is integrated
with the rear window defogger, located in the rear
window.
Make sure the inside surface of the rear window glass
is not scratched and that the lines on the glass are
not damaged. If the inside surface is damaged, it
could interfere with radio reception. For proper radio
reception, the antenna connector at the top-center of
the rear window glass needs to be properly attached to
the post on the glass.
Notice:Using a razor blade or sharp object to
clear the inside rear window may damage the rear
window antenna and/or the rear window defogger.
Repairs would not be covered by your warranty.
Do not clear the inside rear window with sharp
objects.
3-80
Page 187 of 368
Notice:Do not apply aftermarket glass tinting
with metallic �lm. The metallic �lm in some tinting
materials will interfere with or distort the incoming
radio reception. Any damage caused to your
backglass antenna due to metallic tinting materials
will not be covered by your warranty.
Do not apply aftermarket glass tinting to the back
glass. The metallic film in some tinting materials will
interfere with or distort the incoming radio reception.
Care must be taken when cleaning the rear window
because it breaks in the resistive material heating
element and will adversely affect radio and defogger
performance. See your dealer for details.Integrated Windshield Antenna
(Hatchback and Wagon Models)
For the Hatchback and Wagon models, the antenna is
located in the windshield.
The antenna on your vehicle is a very thin metal
layer that outlines near the edges of the windshield.
The connector is at the top of the windshield, where
the headliner ends. For proper radio reception, the
antenna connector at the top of the windshield needs
to be properly attached to the post on the glass.
If difficulty with remote transmitters is experienced,
such as a garage door opener, try pointing the device
through the very top of the windshield.
Notice:Using a razor blade or sharp object to clear
the inside windshield may damage the antenna.
Repairs would not be covered by your warranty.
Do not clear the inside windshield with sharp
objects.
Make sure the inside surface of the windshield is not
scratched and that the lines on the glass are not
damaged. If the inside surface is damaged, it could
interfere with radio reception.
3-81
Page 188 of 368
✍NOTES
3-82
Page 189 of 368
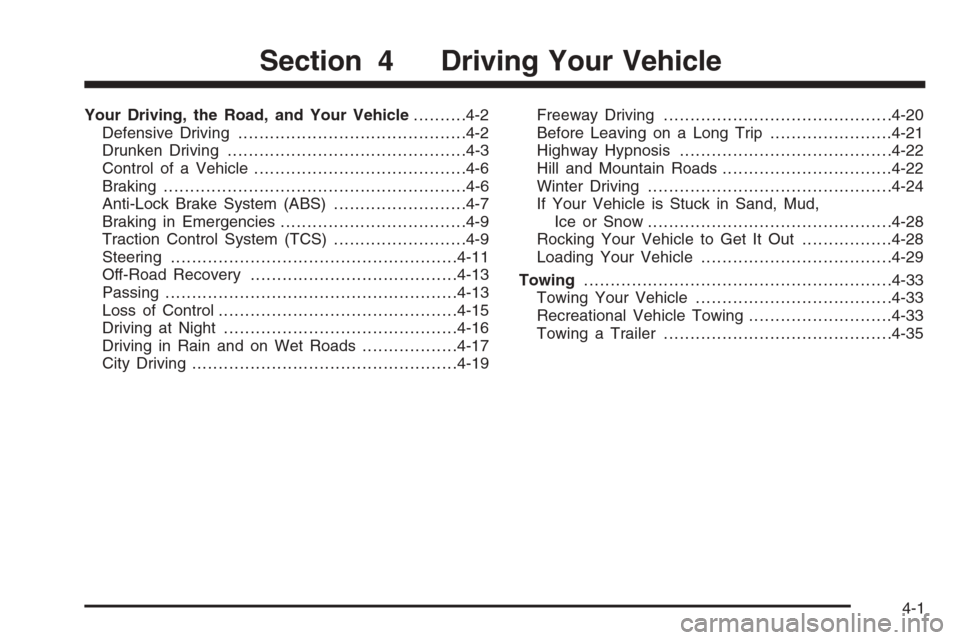
Your Driving, the Road, and Your Vehicle..........4-2
Defensive Driving...........................................4-2
Drunken Driving.............................................4-3
Control of a Vehicle........................................4-6
Braking.........................................................4-6
Anti-Lock Brake System (ABS).........................4-7
Braking in Emergencies...................................4-9
Traction Control System (TCS).........................4-9
Steering......................................................4-11
Off-Road Recovery.......................................4-13
Passing.......................................................4-13
Loss of Control.............................................4-15
Driving at Night............................................4-16
Driving in Rain and on Wet Roads..................4-17
City Driving..................................................4-19Freeway Driving...........................................4-20
Before Leaving on a Long Trip.......................4-21
Highway Hypnosis........................................4-22
Hill and Mountain Roads................................4-22
Winter Driving..............................................4-24
If Your Vehicle is Stuck in Sand, Mud,
Ice or Snow..............................................4-28
Rocking Your Vehicle to Get It Out.................4-28
Loading Your Vehicle....................................4-29
Towing..........................................................4-33
Towing Your Vehicle.....................................4-33
Recreational Vehicle Towing...........................4-33
Towing a Trailer...........................................4-35
Section 4 Driving Your Vehicle
4-1
Page 190 of 368
Your Driving, the Road,
and Your Vehicle
Defensive Driving
The best advice anyone can give about driving is: Drive
defensively.
Please start with a very important safety device in your
vehicle: Buckle up. SeeSafety Belts: They Are for
Everyone on page 1-10.
{CAUTION:
Defensive driving really means “Be ready for
anything.” On city streets, rural roads, or
expressways, it means “Always expect the
unexpected.” Assume that pedestrians or other
drivers are going to be careless and make
mistakes. Anticipate what they might do and
be ready. Rear-end collisions are about the
most preventable of accidents. Yet they are
common. Allow enough following distance.
Defensive driving requires that a driver
concentrate on the driving task. Anything
that distracts from the driving task makes
proper defensive driving more difficult and can
even cause a collision, with resulting injury.
Ask a passenger to help do these things, or
pull off the road in a safe place to do them.
These simple defensive driving techniques
could save your life.
4-2