center console CHEVROLET EQUINOX 2007 1.G Owners Manual
[x] Cancel search | Manufacturer: CHEVROLET, Model Year: 2007, Model line: EQUINOX, Model: CHEVROLET EQUINOX 2007 1.GPages: 492, PDF Size: 2.62 MB
Page 10 of 492
Manual Lumbar
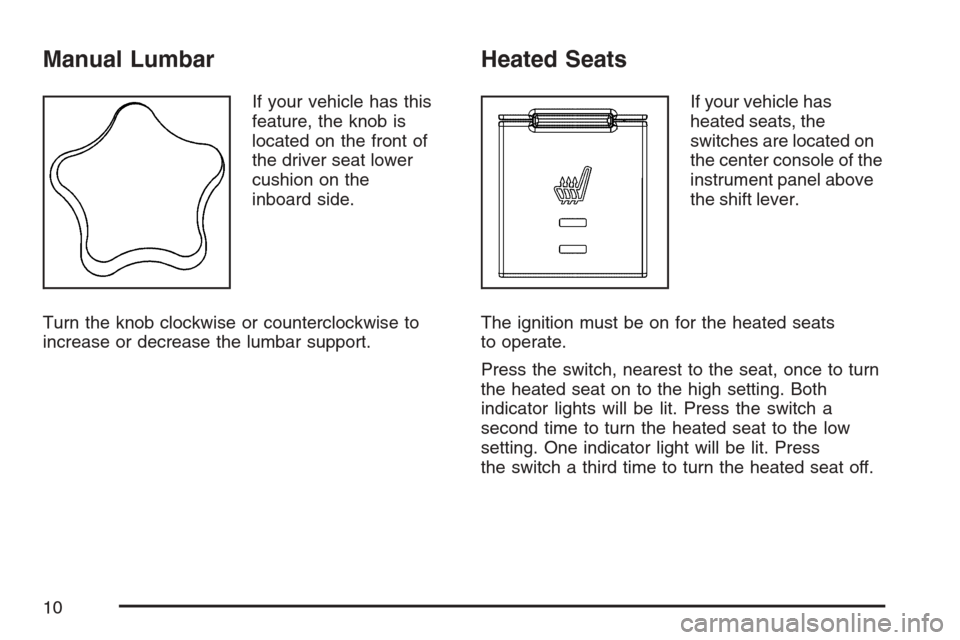
If your vehicle has this
feature, the knob is
located on the front of
the driver seat lower
cushion on the
inboard side.
Turn the knob clockwise or counterclockwise to
increase or decrease the lumbar support.
Heated Seats
If your vehicle has
heated seats, the
switches are located on
the center console of the
instrument panel above
the shift lever.
The ignition must be on for the heated seats
to operate.
Press the switch, nearest to the seat, once to turn
the heated seat on to the high setting. Both
indicator lights will be lit. Press the switch a
second time to turn the heated seat to the low
setting. One indicator light will be lit. Press
the switch a third time to turn the heated seat off.
10
Page 94 of 492
Mirrors......................................................... 129
Manual Rearview Mirror............................. 129
Manual Rearview Mirror with OnStar
®.......... 129
Automatic Dimming Rearview Mirror
with OnStar
®and Compass................... 129
Automatic Dimming Rearview Mirror
with Compass........................................ 131
Outside Power Mirrors............................... 132
Outside Convex Mirrors............................. 132
OnStar
®System.......................................... 133Storage Areas............................................. 137
Glove Box................................................. 137
Cupholder(s).............................................. 137
Center Console Storage Area.................... 137
Garment Hooks......................................... 137
Luggage Carrier........................................ 138
Rear Compartment Storage Panel/Cover..... 140
Rear Seat Armrest.................................... 142
Table........................................................ 142
Convenience Net....................................... 143
Cargo Tie Downs...................................... 143
Sunroof....................................................... 144
Section 2 Features and Controls
94
Page 110 of 492
Power Windows
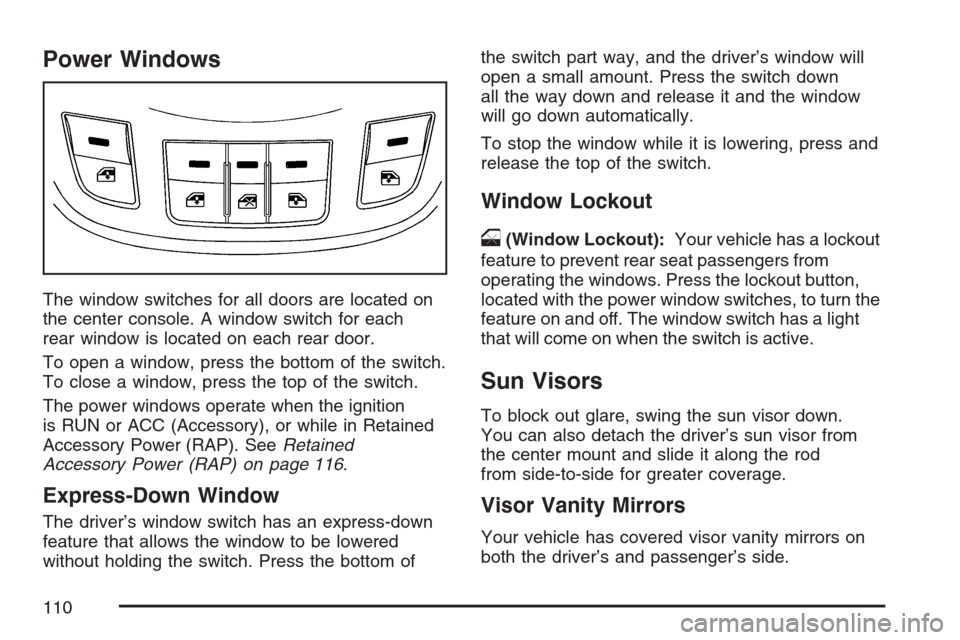
The window switches for all doors are located on
the center console. A window switch for each
rear window is located on each rear door.
To open a window, press the bottom of the switch.
To close a window, press the top of the switch.
The power windows operate when the ignition
is RUN or ACC (Accessory), or while in Retained
Accessory Power (RAP). SeeRetained
Accessory Power (RAP) on page 116.
Express-Down Window
The driver’s window switch has an express-down
feature that allows the window to be lowered
without holding the switch. Press the bottom ofthe switch part way, and the driver’s window will
open a small amount. Press the switch down
all the way down and release it and the window
will go down automatically.
To stop the window while it is lowering, press and
release the top of the switch.
Window Lockout
o
(Window Lockout):Your vehicle has a lockout
feature to prevent rear seat passengers from
operating the windows. Press the lockout button,
located with the power window switches, to turn the
feature on and off. The window switch has a light
that will come on when the switch is active.
Sun Visors
To block out glare, swing the sun visor down.
You can also detach the driver’s sun visor from
the center mount and slide it along the rod
from side-to-side for greater coverage.
Visor Vanity Mirrors
Your vehicle has covered visor vanity mirrors on
both the driver’s and passenger’s side.
110
Page 119 of 492
Automatic Transaxle Operation
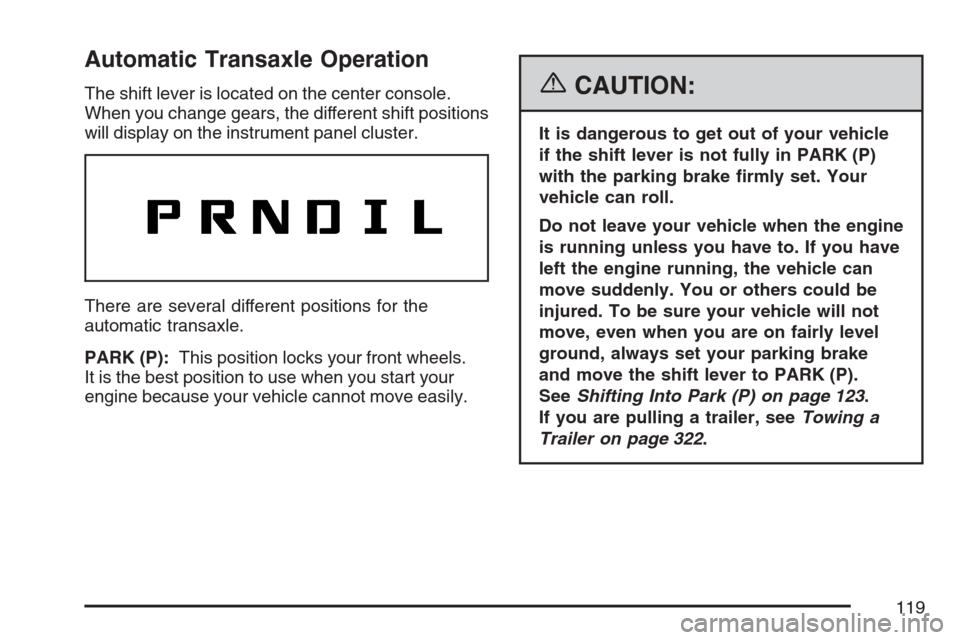
The shift lever is located on the center console.
When you change gears, the different shift positions
will display on the instrument panel cluster.
There are several different positions for the
automatic transaxle.
PARK (P):This position locks your front wheels.
It is the best position to use when you start your
engine because your vehicle cannot move easily.{CAUTION:
It is dangerous to get out of your vehicle
if the shift lever is not fully in PARK (P)
with the parking brake �rmly set. Your
vehicle can roll.
Do not leave your vehicle when the engine
is running unless you have to. If you have
left the engine running, the vehicle can
move suddenly. You or others could be
injured. To be sure your vehicle will not
move, even when you are on fairly level
ground, always set your parking brake
and move the shift lever to PARK (P).
SeeShifting Into Park (P) on page 123.
If you are pulling a trailer, seeTowing a
Trailer on page 322.
119
Page 137 of 492
Storage Areas
Glove Box
To open the glove box, pull the handle to the
left and pull the glove box door down until it
stops and is fully open.
Cupholder(s)
There are two cupholders located at the lower
front of the center console armrest and a molded
cupholder on the �oor of the center console.
To use the cupholders on the armrest, pull the
tray forward. There are two cupholders located at
the rear of the center console. Pull downward
on the lid to use the cupholders.
Center Console Storage Area
Your vehicle may have a center console armrest
with storage area. Use the lever on the front of
the console to open it.
Garment Hooks
Your vehicle has a garment hook located on
the rear headliner of the vehicle.
137
Page 160 of 492
When you turn the exterior lamp band to the
headlamp position, your low-beam headlamps will
come on. The other lamps that come on with
your headlamps will also come on.
When you turn off the headlamps, the regular
lamps will go off, and your low-beam headlamps
will come on to the reduced brightness.
To idle your vehicle with the DRL off, move the
shift lever to PARK (P). The DRL will stay off until
you move the shift lever out of PARK (P).
As with any vehicle, you should turn on the regular
headlamp system when you need it.
Automatic Headlamp System
When it is dark enough outside and the exterior
lamps control is in the automatic position, the
headlamps will come on automatically. See
Headlamps on page 158.
Your vehicle has a light sensor located on top of
the instrument panel. Make sure it is not covered,
or the headlamps will be on when you do not
need them.
The system may also turn on the headlamps when
driving through a parking garage or tunnel.
Fog Lamps
If your vehicle has this feature, use your fog lamps
for better visibility in foggy or misty conditions.
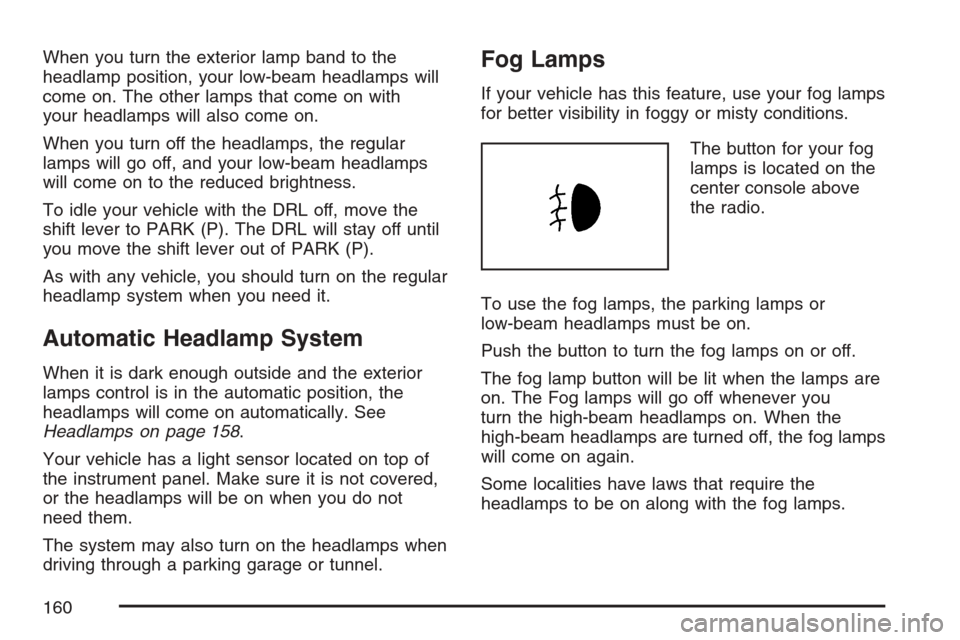
The button for your fog
lamps is located on the
center console above
the radio.
To use the fog lamps, the parking lamps or
low-beam headlamps must be on.
Push the button to turn the fog lamps on or off.
The fog lamp button will be lit when the lamps are
on. The Fog lamps will go off whenever you
turn the high-beam headlamps on. When the
high-beam headlamps are turned off, the fog lamps
will come on again.
Some localities have laws that require the
headlamps to be on along with the fog lamps.
160
Page 164 of 492
Accessory Power Outlet(s)
The accessory power outlets can be used to
connect electrical equipment such as a cellular
phone or CB radio.
The accessory power outlets located in front of
the center console storage area, at the rear of
the center console, and the vehicle may have
one located in the rear cargo area.
To use the outlets, remove the cover. When not in
use, always cover the outlet with the protective cap.
Notice:If electrical devices are left plugged
into a power outlet, the battery may drain
causing your vehicle not to start or damage
to the battery. This would not be covered
by the warranty. Always unplug all electrical
devices when turning off your vehicle.
Certain electrical accessories may not be
compatible with the accessory power outlets and
could result in blown vehicle or adapter fuses.
If you experience a problem, see your dealer
for additional information on the accessory
power outlet.Notice:Adding any electrical equipment to
your vehicle may damage it or keep other
components from working as they should. The
repairs would not be covered by your warranty.
Do not use equipment exceeding maximum
amperage rating of 20 amperes. Check with
your dealer before adding electrical equipment.
When adding electrical equipment, be sure to
follow the installation instructions included with
the equipment.
Notice:Improper use of the power outlet can
cause damage not covered by your warranty.
Do not hang any type of accessory or
accessory bracket from the plug because the
power outlets are designed for accessory
power plugs only.
164
Page 165 of 492
Ashtray(s) and Cigarette Lighter
Your vehicle may have a removable ashtray and
cigarette lighter. The ashtray can be placed
into the front console cupholders.
To use the lighter, push it in all the way and let
go. When it is ready, it will pop back out by itself.
Notice:Holding a cigarette lighter in while it is
heating will not allow the lighter to back away
from the heating element when it is hot. Damage
from overheating may occur to the lighter or
heating element, or a fuse could be blown. Do
not hold a cigarette lighter in while it is heating.
Do not use equipment exceeding maximum
amperage rating of 15 amperes.
Notice:If you put papers, pins, or other
�ammable items in the ashtray, hot cigarettes
or other smoking materials could ignite
them and possibly damage your vehicle.
Never put �ammable items in the ashtray.
Climate Controls
Climate Control System
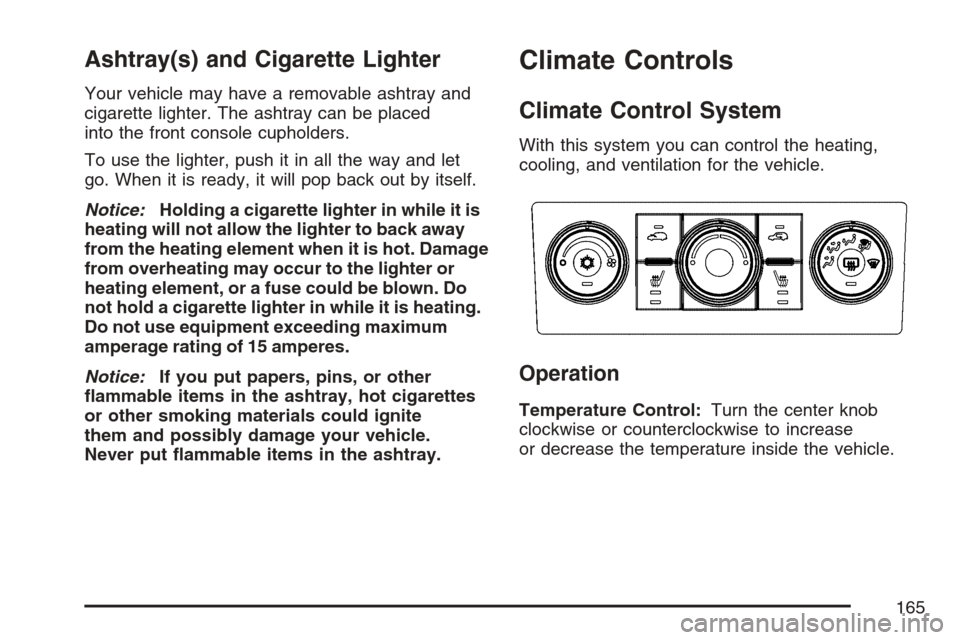
With this system you can control the heating,
cooling, and ventilation for the vehicle.
Operation
Temperature Control:Turn the center knob
clockwise or counterclockwise to increase
or decrease the temperature inside the vehicle.
165
Page 429 of 492
Windshield Wiper Fuses
The windshield wiper motor is protected by a
circuit breaker and a fuse. If the motor overheats
due to heavy snow or ice, the wiper will stop
until the motor cools. If the overload is caused by
some electrical problem, have it �xed.
Fuses and Circuit Breakers
The wiring circuits in your vehicle are protected
from short circuits by fuses and circuit breakers.
This greatly reduces the chance of circuit overload
and �re caused by electrical problems.
Your vehicle has an underhood fuse block and an
instrument panel fuse block.
To identify and check fuses, circuit breakers, and
relays, refer to the Fuse Usage Chart on the
inside surface of the fuse panel door.
Instrument Panel Fuse Block
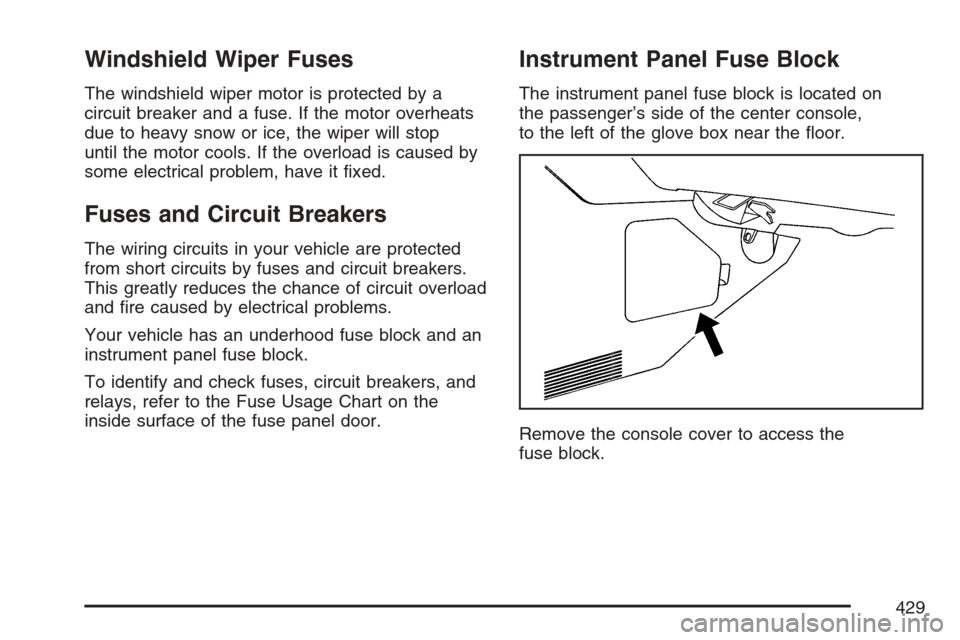
The instrument panel fuse block is located on
the passenger’s side of the center console,
to the left of the glove box near the �oor.
Remove the console cover to access the
fuse block.
429
Page 479 of 492
C
Calibration..........................................129, 131
California Fuel............................................. 336
California Proposition 65 Warning................ 334
Canadian Owners........................................... 3
Capacities and Speci�cations...................... 434
Carbon Monoxide..............107, 127, 310, 322
Care of
Safety Belts............................................. 421
Your CD and DVD Player........................ 282
Your CDs and DVDs................................ 282
Cargo Lamp................................................ 162
Cargo Tie Downs........................................ 143
CD, MP3 ............................................253, 260
Center Console Storage Area...................... 137
Chains, Tire................................................. 403
Check
Engine Light............................................ 183
Checking Things Under the Hood................ 340
Chemical Paint Spotting.............................. 426
Child Restraints
Child Restraint Systems............................. 49
Infants and Young Children........................ 46Child Restraints (cont.)
Lower Anchors and Tethers for Children..... 57
Older Children........................................... 43
Securing a Child Restraint in a Rear
Seat Position.......................................... 64
Securing a Child Restraint in the Right
Front Seat Position................................. 66
Where to Put the Restraint........................ 53
Cigarette Lighter.......................................... 165
Cleaning
Aluminum or Chrome-Plated Wheels........ 424
Exterior Lamps/Lenses............................. 422
Fabric/Carpet........................................... 418
Finish Care.............................................. 422
Inside of Your Vehicle .............................. 417
Instrument Panel, Vinyl, and Other
Plastic Surfaces.................................... 421
Leather.................................................... 420
Tires........................................................ 425
Underbody Maintenance........................... 425
Washing Your Vehicle .............................. 422
Weatherstrips........................................... 421
Windshield and Wiper Blades................... 423
479