oil change CHEVROLET EQUINOX 2008 1.G Owners Manual
[x] Cancel search | Manufacturer: CHEVROLET, Model Year: 2008, Model line: EQUINOX, Model: CHEVROLET EQUINOX 2008 1.GPages: 436, PDF Size: 2.42 MB
Page 101 of 436

Notice:The engine is designed to work with the
electronics in your vehicle. If you add electrical parts
or accessories, you could change the way the engine
operates. Before adding electrical equipment, check
with your dealer/retailer. If you do not, your engine
might not perform properly. Any resulting damage
would not be covered by your vehicle’s warranty.
Engine Coolant Heater
The engine coolant heater, if available, can help in cold
weather conditions at or below 0°F (−18°C) for easier
starting and better fuel economy during engine warm-up.
Plug in the coolant heater at least four hours before
starting your vehicle. An internal thermostat in the
plug-end of the cord may exist which will prevent
engine coolant heater operation at temperatures.
To Use the Engine Coolant Heater
1. Turn off the engine.
2. Open the hood and unwrap the electrical cord.
The cord is located on the passenger’s side of
the engine compartment, near the radiator.
3. Plug it into a normal, grounded 110-volt AC outlet.
{CAUTION:
Plugging the cord into an ungrounded outlet
could cause an electrical shock. Also, the
wrong kind of extension cord could overheat
and cause a �re. You could be seriously
injured. Plug the cord into a properly grounded
three-prong 110-volt AC outlet. If the cord
will not reach, use a heavy-duty three-prong
extension cord rated for at least 15 amps.
4. Before starting the engine, be sure to unplug and
store the cord as it was before to keep it away
from moving engine parts. If you do not, it could
be damaged.
How long should you keep the coolant heater plugged
in? The answer depends on the outside temperature,
the kind of oil you have, and some other things.
Instead of trying to list everything here, we ask that
you contact your dealer/retailer in the area where you
will be parking your vehicle. The dealer/retailer can
give you the best advice for that particular area.
2-23
Page 129 of 436
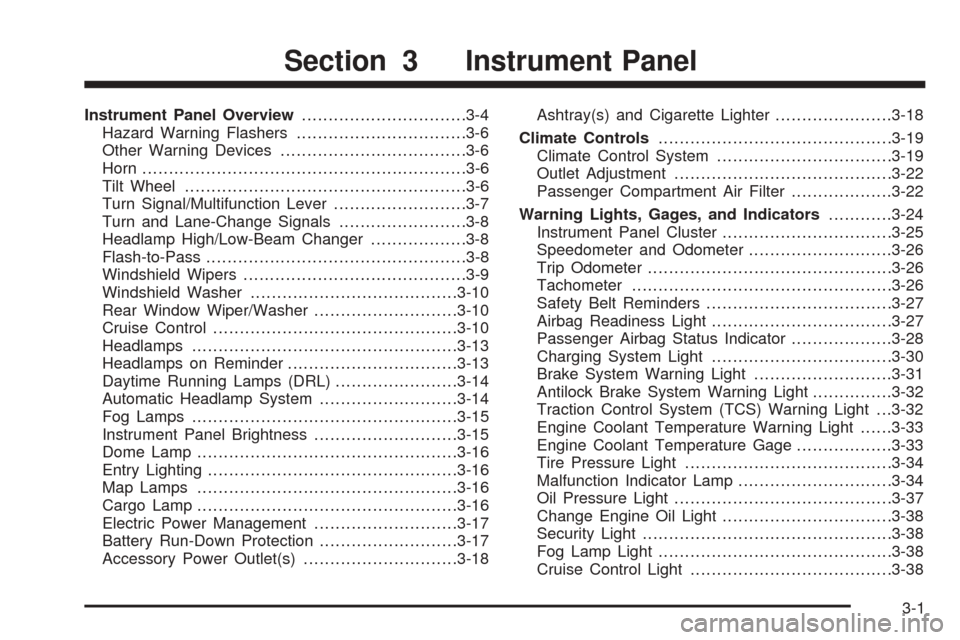
Instrument Panel Overview...............................3-4
Hazard Warning Flashers................................3-6
Other Warning Devices...................................3-6
Horn.............................................................3-6
Tilt Wheel.....................................................3-6
Turn Signal/Multifunction Lever.........................3-7
Turn and Lane-Change Signals........................3-8
Headlamp High/Low-Beam Changer..................3-8
Flash-to-Pass.................................................3-8
Windshield Wipers..........................................3-9
Windshield Washer.......................................3-10
Rear Window Wiper/Washer...........................3-10
Cruise Control..............................................3-10
Headlamps..................................................3-13
Headlamps on Reminder................................3-13
Daytime Running Lamps (DRL).......................3-14
Automatic Headlamp System..........................3-14
Fog Lamps..................................................3-15
Instrument Panel Brightness...........................3-15
Dome Lamp.................................................3-16
Entry Lighting...............................................3-16
Map Lamps.................................................3-16
Cargo Lamp.................................................3-16
Electric Power Management...........................3-17
Battery Run-Down Protection..........................3-17
Accessory Power Outlet(s).............................3-18Ashtray(s) and Cigarette Lighter......................3-18
Climate Controls............................................3-19
Climate Control System.................................3-19
Outlet Adjustment.........................................3-22
Passenger Compartment Air Filter...................3-22
Warning Lights, Gages, and Indicators............3-24
Instrument Panel Cluster................................3-25
Speedometer and Odometer...........................3-26
Trip Odometer..............................................3-26
Tachometer.................................................3-26
Safety Belt Reminders...................................3-27
Airbag Readiness Light..................................3-27
Passenger Airbag Status Indicator...................3-28
Charging System Light..................................3-30
Brake System Warning Light..........................3-31
Antilock Brake System Warning Light...............3-32
Traction Control System (TCS) Warning Light . . .3-32
Engine Coolant Temperature Warning Light......3-33
Engine Coolant Temperature Gage..................3-33
Tire Pressure Light.......................................3-34
Malfunction Indicator Lamp.............................3-34
Oil Pressure Light.........................................3-37
Change Engine Oil Light................................3-38
Security Light...............................................3-38
Fog Lamp Light............................................3-38
Cruise Control Light......................................3-38
Section 3 Instrument Panel
3-1
Page 166 of 436
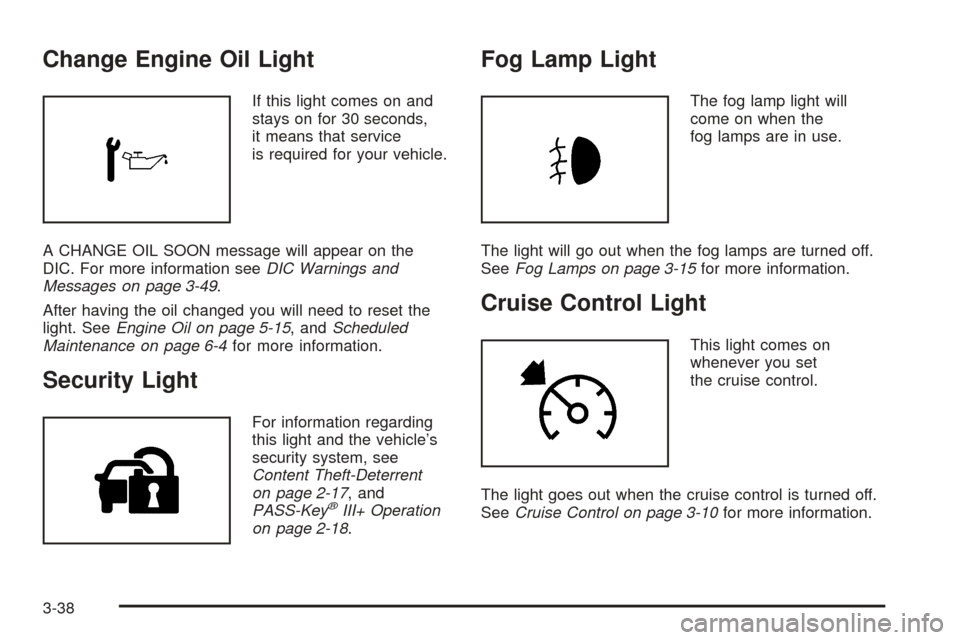
Change Engine Oil Light
If this light comes on and
stays on for 30 seconds,
it means that service
is required for your vehicle.
A CHANGE OIL SOON message will appear on the
DIC. For more information seeDIC Warnings and
Messages on page 3-49.
After having the oil changed you will need to reset the
light. SeeEngine Oil on page 5-15, andScheduled
Maintenance on page 6-4for more information.
Security Light
For information regarding
this light and the vehicle’s
security system, see
Content Theft-Deterrent
on page 2-17, and
PASS-Key
®III+ Operation
on page 2-18.
Fog Lamp Light
The fog lamp light will
come on when the
fog lamps are in use.
The light will go out when the fog lamps are turned off.
SeeFog Lamps on page 3-15for more information.
Cruise Control Light
This light comes on
whenever you set
the cruise control.
The light goes out when the cruise control is turned off.
SeeCruise Control on page 3-10for more information.
3-38
Page 172 of 436

AVG (Average) SPD (Speed)
Press the trip/fuel button until AVG (Average) SPD
(Speed) displays. This display shows the average speed
of the vehicle in miles per hour (mph) or kilometers
per hour (km/h). This average is calculated based on
the various vehicle speeds recorded since the last reset
of this value. To reset the value, press and hold the
set/reset button. The display will return to zero.
AVG (Average) ECON (Economy)
Press the trip/fuel button until AVG (Average)
ECON (Economy) displays. This display shows the
approximate average miles per gallon (mpg) or liters per
100 kilometers (L/100 km). This number is calculated
based on the number of mpg (L/100 km) recorded
since the last time this menu item was reset. To reset
this display, press and hold the set/reset button.
The display will return to zero.
RANGE
Press the trip/fuel button until RANGE displays. This
display shows the approximate number of remaining
miles (mi) or kilometers (km) the vehicle can be
driven without refueling.
The fuel range estimate is based on an average of
the vehicle’s fuel economy over recent driving history
and the amount of fuel remaining in the fuel tank.
This estimate will change if driving conditions change.
For example, if driving in traffic and making frequentstops, this display may read one number, but if the
vehicle is driven on a freeway, the number may change
even though the same amount of fuel is in the fuel
tank. This is because different driving conditions produce
different fuel economies. Generally, freeway driving
produces better fuel economy than city driving.
If your vehicle is low on fuel, the FUEL LEVEL LOW
message will be displayed. See “FUEL LEVEL
LOW” underDIC Warnings and Messages on page 3-49
for more information.
Blank Display
This display shows no information.
Vehicle Information Menu Items
T
(Vehicle Information):Press this button to scroll
through the following displays:
OIL LIFE
Press the vehicle information button until OIL LIFE
REMAINING displays. This display shows an estimate
of the oil’s remaining useful life. If you see 99% OIL LIFE
REMAINING on the display, that means 99% of the
current oil life remains. The engine oil life system
will alert you to change the oil on a schedule consistent
with your driving conditions.
3-44
Page 173 of 436
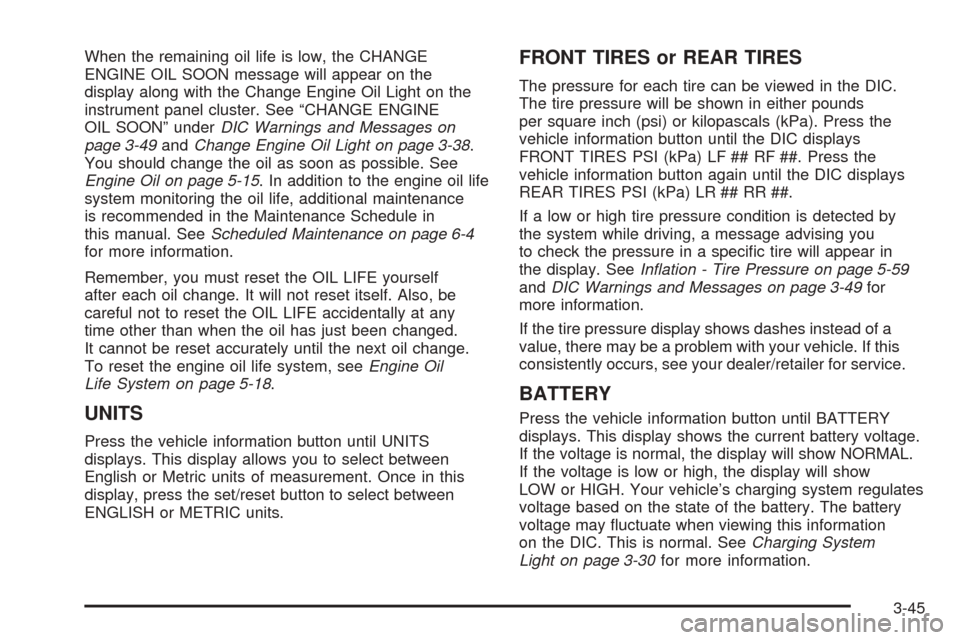
When the remaining oil life is low, the CHANGE
ENGINE OIL SOON message will appear on the
display along with the Change Engine Oil Light on the
instrument panel cluster. See “CHANGE ENGINE
OIL SOON” underDIC Warnings and Messages on
page 3-49andChange Engine Oil Light on page 3-38.
You should change the oil as soon as possible. See
Engine Oil on page 5-15. In addition to the engine oil life
system monitoring the oil life, additional maintenance
is recommended in the Maintenance Schedule in
this manual. SeeScheduled Maintenance on page 6-4
for more information.
Remember, you must reset the OIL LIFE yourself
after each oil change. It will not reset itself. Also, be
careful not to reset the OIL LIFE accidentally at any
time other than when the oil has just been changed.
It cannot be reset accurately until the next oil change.
To reset the engine oil life system, seeEngine Oil
Life System on page 5-18.
UNITS
Press the vehicle information button until UNITS
displays. This display allows you to select between
English or Metric units of measurement. Once in this
display, press the set/reset button to select between
ENGLISH or METRIC units.
FRONT TIRES or REAR TIRES
The pressure for each tire can be viewed in the DIC.
The tire pressure will be shown in either pounds
per square inch (psi) or kilopascals (kPa). Press the
vehicle information button until the DIC displays
FRONT TIRES PSI (kPa) LF ## RF ##. Press the
vehicle information button again until the DIC displays
REAR TIRES PSI (kPa) LR ## RR ##.
If a low or high tire pressure condition is detected by
the system while driving, a message advising you
to check the pressure in a speci�c tire will appear in
the display. SeeInflation - Tire Pressure on page 5-59
andDIC Warnings and Messages on page 3-49for
more information.
If the tire pressure display shows dashes instead of a
value, there may be a problem with your vehicle. If this
consistently occurs, see your dealer/retailer for service.
BATTERY
Press the vehicle information button until BATTERY
displays. This display shows the current battery voltage.
If the voltage is normal, the display will show NORMAL.
If the voltage is low or high, the display will show
LOW or HIGH. Your vehicle’s charging system regulates
voltage based on the state of the battery. The battery
voltage may �uctuate when viewing this information
on the DIC. This is normal. SeeCharging System
Light on page 3-30for more information.
3-45
Page 178 of 436
BUCKLE PASSENGER SEATBELT
This message reminds you to buckle the passenger’s
safety belt. SeePassenger Sensing System on
page 1-65.
This message displays and a chime sounds when the
ignition is on, the driver’s safety belt is buckled, the
passenger’s safety belt is unbuckled with the passenger
airbag enabled, and the vehicle is in motion. You
should have the passenger buckle their safety belt.
This reminder will be repeated if the ignition is on,
the vehicle is in motion, the driver is buckled and the
passenger is still unbuckled, and the passenger airbag
is enabled. If the passenger’s safety belt is already
buckled, this message and chime will not come on.
BUCKLE SEATBELT
This message reminds you to buckle the driver’s
safety belt.
This message displays and a chime sounds when
the ignition is on, the driver’s safety belt is unbuckled,
and the vehicle is in motion. You should buckle
your safety belt.
If the driver remains unbuckled when the ignition is
on and the vehicle is in motion, the reminder will
be repeated. If the driver’s safety belt is already
buckled, this message and chime will not come on.This message is an additional reminder to the Safety
Belt Reminder Light in the instrument panel cluster.
SeeSafety Belt Reminders on page 3-27.
CALIBRATING: DRIVE IN CIRCLES
This message displays when calibrating the compass.
Drive the vehicle in circles at less than 5 mph (8 km/h)
to complete the calibration. SeeDIC Compass on
page 3-46for more information.
CALIBRATION COMPLETE
This message displays when the compass calibration
is complete. SeeDIC Compass on page 3-46for
more information.
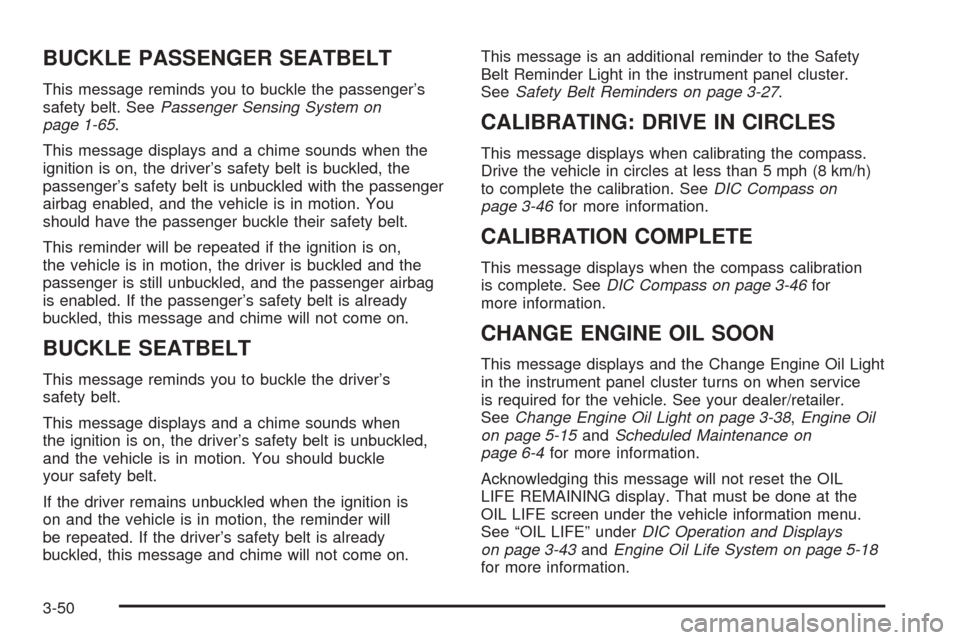
CHANGE ENGINE OIL SOON
This message displays and the Change Engine Oil Light
in the instrument panel cluster turns on when service
is required for the vehicle. See your dealer/retailer.
SeeChange Engine Oil Light on page 3-38,Engine Oil
on page 5-15andScheduled Maintenance on
page 6-4for more information.
Acknowledging this message will not reset the OIL
LIFE REMAINING display. That must be done at the
OIL LIFE screen under the vehicle information menu.
See “OIL LIFE” underDIC Operation and Displays
on page 3-43andEngine Oil Life System on page 5-18
for more information.
3-50
Page 296 of 436

Engine Oil Additives
Do not add anything to the oil. The recommended
oils with the starburst symbol that meet
GM Standard GM6094M are all you need for
good performance and engine protection.
Engine Oil Life System
When to Change Engine Oil
Your vehicle has a computer system that lets you know
when to change the engine oil and �lter. This is based
on engine revolutions and engine temperature, and not
on mileage. Based on driving conditions, the mileage at
which an oil change will be indicated can vary
considerably. For the oil life system to work properly, you
must reset the system every time the oil is changed.
When the system has calculated that oil life has
been diminished, it will indicate that an oil change is
necessary. A change engine oil light and a CHANGE
ENGINE OIL SOON message will come on. Change
the oil as soon as possible within the next 600 miles
(1 000 km). It is possible that, if you are driving under
the best conditions, the oil life system might not indicate
that an oil change is necessary for over a year. However,
the engine oil and �lter must be changed at least
once a year and at this time the system must be reset.Your dealer/retailer has trained service people who will
perform this work using genuine parts and reset the
system. It is also important to check the oil regularly and
keep it at the proper level.
If the system is ever reset accidentally, you must
change the oil at 3,000 miles (5 000 km) since the last
oil change. Remember to reset the oil life system
whenever the oil is changed.
How to Reset the Engine Oil Life
System
The Engine Oil Life System calculates when to change
the engine oil and �lter based on vehicle use. Whenever
the oil is changed, reset the system so it can calculate
when the next oil change is required. If a situation occurs
where you change the oil prior to a change engine oil light
or CHANGE ENGINE OIL SOON message being turned
on, reset the system.
1. Turn the ignition key to ON/RUN with the
engine off.
2. Fully press and release the accelerator pedal three
times within �ve seconds.
The change engine oil light will �ash while the
system is resetting.
3. When the light stops �ashing, turn the key to
LOCK/OFF.
5-18
Page 297 of 436
If the light or message comes back on and stays on
when you start your vehicle, the engine oil life system
has not reset. Repeat the procedure.
What to Do with Used Oil
Used engine oil contains certain elements that can be
unhealthy for your skin and could even cause cancer.
Do not let used oil stay on your skin for very long. Clean
your skin and nails with soap and water, or a good hand
cleaner. Wash or properly dispose of clothing or rags
containing used engine oil. See the manufacturer’s
warnings about the use and disposal of oil products.
Used oil can be a threat to the environment. If you
change your own oil, be sure to drain all the oil from the
�lter before disposal. Never dispose of oil by putting it
in the trash, pouring it on the ground, into sewers, or into
streams or bodies of water. Instead, recycle it by taking
it to a place that collects used oil. If you have a problem
properly disposing of used oil, ask your dealer/retailer,
a service station, or a local recycling center for help.
Engine Air Cleaner/Filter
The engine air cleaner/�lter is located in the engine
compartment on the passenger’s side of the vehicle.
SeeEngine Compartment Overview on page 5-12
for more information on location.
When to Inspect the Engine Air
Cleaner/Filter
Inspect the air cleaner/�lter at the MaintenanceII
intervals and replace it at the �rst oil change after each
50,000 mile (80 000 km) interval. SeeScheduled
Maintenance on page 6-4for more information. If you
are driving in dusty/dirty conditions, inspect the �lter
at each engine oil change.
5-19
Page 304 of 436

Overheated Engine Protection
Operating Mode
This emergency operating mode lets your vehicle be
driven to a safe place in an emergency situation. If an
overheated engine condition exists, an overheat
protection mode which alternates �ring groups of
cylinders helps prevent engine damage. In this mode,
there is a signi�cant loss in power and engine
performance. The temperature gage indicates an
overheat condition exists. Driving extended distances
and/or towing a trailer in the overheat protection
mode should be avoided.
Notice:After driving in the overheated engine
protection operating mode, to avoid engine damage,
allow the engine to cool before attempting any
repair. The engine oil will be severely degraded.
Repair the cause of coolant loss, change the oil
and reset the oil life system. SeeEngine Oil
on page 5-15.
Cooling System
When you decide it is safe to lift the hood, here is what
you will see:
A. Electric Engine Cooling Fans
B. Coolant Surge Tank
5-26
Page 368 of 436

Do not clean your vehicle using the following cleaners
or techniques:
Never use a knife or any other sharp object to
remove a soil from any interior surface.
Never use a stiff brush. It can cause damage to
your vehicle’s interior surfaces.
Never apply heavy pressure or rub aggressively
with a cleaning cloth. Use of heavy pressure can
damage your interior and does not improve the
effectiveness of soil removal.
Use only mild, neutral-pH soaps. Avoid laundry
detergents or dishwashing soaps with degreasers.
Using too much soap will leave a residue that leaves
streaks and attracts dirt. For liquid cleaners, about 20
drops per gallon (3.78 L) of water is a good guide.
Do not heavily saturate your upholstery while
cleaning.
Damage to your vehicle’s interior may result from the
use of many organic solvents such as naptha,
alcohol, etc.
Fabric/Carpet
Cleaning Fabric/Carpet
Use a vacuum cleaner often to get rid of dust and loose
dirt. Wipe vinyl, leather, plastic, and painted surfaces
with a clean, damp cloth.
Your dealer/retailer has cleaners for the cleaning of
fabric and carpet. They will clean normal spots and
stains very well.
If the vehicle has the Ultra Lux
®suede fabric, follow the
listed procedures except do not use any solvents or
dry cleaning products.
Here are some cleaning tips:
Always read the instructions on the cleaner label.
Clean up stains as soon as you can, before
they set.
Carefully scrape off any excess stain.
Use a clean cloth or sponge, and change to a clean
area often. A soft brush may be used if stains are
stubborn.
To avoid forming a ring on fabric after spot cleaning,
clean the entire area immediately or it will set.
5-90