towing CHEVROLET EQUINOX 2009 1.G Owners Manual
[x] Cancel search | Manufacturer: CHEVROLET, Model Year: 2009, Model line: EQUINOX, Model: CHEVROLET EQUINOX 2009 1.GPages: 442, PDF Size: 2.46 MB
Page 1 of 442
Seats and Restraint System............................. 1-1
Front Seats
............................................... 1-2
Rear Seats
..............................................1-10
Safety Belts
.............................................1-12
Child Restraints
.......................................1-32
Airbag System
.........................................1-58
Restraint System Check
............................1-74
Features and Controls..................................... 2-1
Keys
........................................................ 2-3
Doors and Locks
......................................2-10
Windows
.................................................2-14
Theft-Deterrent Systems
............................2-16
Starting and Operating Your Vehicle
...........2-19
Mirrors
....................................................2-36
OnStar
®System
......................................2-37
Storage Areas
.........................................2-41
Sunroof
..................................................2-47
Instrument Panel............................................. 3-1
Instrument Panel Overview
.......................... 3-4
Climate Controls
......................................3-18
Warning Lights, Gages, and Indicators
........3-23
Driver Information Center (DIC)
..................3-42
Audio System(s)
.......................................3-64Driving Your Vehicle....................................... 4-1
Your Driving, the Road, and the Vehicle
....... 4-2
Towing
...................................................4-26
Service and Appearance Care.......................... 5-1
Service
..................................................... 5-3
Fuel
......................................................... 5-5
Checking Things Under the Hood
...............5-10
All-Wheel Drive
........................................5-42
Headlamp Aiming
.....................................5-44
Bulb Replacement
....................................5-45
Windshield Wiper Blade Replacement
.........5-51
Tires
......................................................5-52
Appearance Care
.....................................5-88
Vehicle Identi�cation
.................................5-96
Electrical System
......................................5-97
Capacities and Speci�cations
...................5-104
Maintenance Schedule..................................... 6-1
Maintenance Schedule
................................ 6-2
Customer Assistance Information.................... 7-1
Customer Assistance and Information
........... 7-2
Reporting Safety Defects
...........................7-14
Vehicle Data Recording and Privacy
...........7-16
Index................................................................ 1
2009 Chevrolet Equinox Owner ManualM
Page 75 of 442
If this happens, use the following steps to allow the
system to detect that person and enable the right front
passenger frontal airbag:
1. Turn the vehicle off.
2. Remove any additional material from the seat, such
as blankets, cushions, seat covers, seat heaters, or
seat massagers.
3. Place the seatback in the fully upright position.
4. Have the person sit upright in the seat, centered on
the seat cushion, with legs comfortably extended.
5. Restart the vehicle and have the person remain in
this position for two to three minutes after the on
indicator is lit.Additional Factors Affecting System
Operation
Safety belts help keep the passenger in position on the
seat during vehicle maneuvers and braking, which helps
the passenger sensing system maintain the passenger
airbag status. See “Safety Belts” and “Child Restraints” in
the Index for additional information about the importance
of proper restraint use.
A thick layer of additional material, such as a blanket or
cushion, or aftermarket equipment such as seat covers,
seat heaters, and seat massagers can affect how well the
passenger sensing system operates. We recommend
that you not use seat covers or other aftermarket
equipment except when approved by GM for your speci�c
vehicle. SeeAdding Equipment to Your Airbag-Equipped
Vehicle on page 1-72for more information about
modi�cations that can affect how the system operates.
{CAUTION:
Stowing of articles under the passenger seat or
between the passenger seat cushion and seatback
may interfere with the proper operation of the
passenger sensing system.
1-71
Page 99 of 442
To program the new additional key:
1. Verify that the new key has a
1stamped on it.
2. Insert the original, already programmed, key in the
ignition and start the engine. If the engine will not
start, see your dealer/retailer for service.
3. After the engine has started, turn the key to
LOCK/OFF, and remove the key.
4. Insert the new key to be programmed and turn it to
the ON/RUN position within �ve seconds of
removing the original key.
The security light will turn off once the key has
been programmed.
5. Repeat Steps 1 through 4 if additional keys are to
be programmed.
If you lose or damage your PASS-Key
®III+ key, see
your dealer/retailer or a locksmith who can service
PASS-Key
®III+ to have a new key made.
Do not leave the key or device that disarms or
deactivates the theft deterrent system in the vehicle.
Starting and Operating Your
Vehicle
New Vehicle Break-In
Notice:The vehicle does not need an elaborate
break-in. But it will perform better in the long run if
you follow these guidelines:
Do not drive at any one constant speed, fast or
slow, for the �rst 500 miles (805 km). Do not
make full-throttle starts. Avoid downshifting to
brake or slow the vehicle.
Avoid making hard stops for the �rst 200 miles
(322 km) or so. During this time the new brake
linings are not yet broken in. Hard stops with
new linings can mean premature wear and
earlier replacement. Follow this breaking-in
guideline every time you get new brake linings.
Do not tow a trailer during break-in. SeeTowing
a Trailer on page 4-32for the trailer towing
capabilities of your vehicle and more
information.
Following break-in, engine speed and load can be
gradually increased.
2-19
Page 104 of 442
Automatic Transmission Operation
(3.4L V6 with 5-Speed)
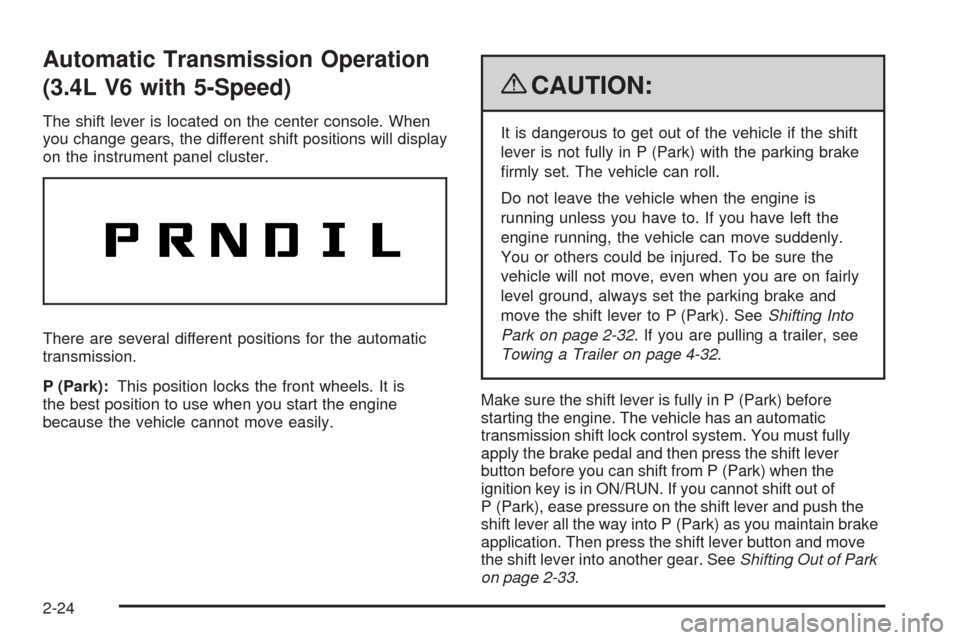
The shift lever is located on the center console. When
you change gears, the different shift positions will display
on the instrument panel cluster.
There are several different positions for the automatic
transmission.
P (Park):This position locks the front wheels. It is
the best position to use when you start the engine
because the vehicle cannot move easily.
{CAUTION:
It is dangerous to get out of the vehicle if the shift
lever is not fully in P (Park) with the parking brake
�rmly set. The vehicle can roll.
Do not leave the vehicle when the engine is
running unless you have to. If you have left the
engine running, the vehicle can move suddenly.
You or others could be injured. To be sure the
vehicle will not move, even when you are on fairly
level ground, always set the parking brake and
move the shift lever to P (Park). SeeShifting Into
Park on page 2-32. If you are pulling a trailer, see
Towing a Trailer on page 4-32.
Make sure the shift lever is fully in P (Park) before
starting the engine. The vehicle has an automatic
transmission shift lock control system. You must fully
apply the brake pedal and then press the shift lever
button before you can shift from P (Park) when the
ignition key is in ON/RUN. If you cannot shift out of
P (Park), ease pressure on the shift lever and push the
shift lever all the way into P (Park) as you maintain brake
application. Then press the shift lever button and move
the shift lever into another gear. SeeShifting Out of Park
on page 2-33.
2-24
Page 106 of 442
I (Intermediate):This position is also used for normal
driving. However, it reduces vehicle speed without using
the brakes for slight downgrades where the vehicle
would otherwise accelerate due to steepness of grade.
If constant upshifting or downshifting occurs while
driving up steep hills, this position can be used to
prevent repetitive types of shifts. You might choose
I (Intermediate) instead of D (Drive) when driving
on hilly, winding roads and when towing a trailer,
so that there is less shifting between gears.
L (Low):This position reduces vehicle speed more than
I (Intermediate) without actually using the brakes. You
can use it on very steep hills, or in deep snow or mud.
If the shift lever is placed in L (Low), the transmission
will not shift into L (Low) until the vehicle is going slowly
enough.
Notice:Spinning the tires or holding the vehicle in
one place on a hill using only the accelerator pedal
may damage the transmission. The repair will not be
covered by the vehicle warranty. If you are stuck, do
not spin the tires. When stopping on a hill, use the
brakes to hold the vehicle in place.Transmission Overheating
If the transmission �uid temperature rises above
284°F (140°C) or rises rapidly, the Engine Coolant
Temperature Warning Light will �ash. SeeEngine
Coolant Temperature Warning Light on page 3-31for
more information. When the transmission overheats
it will go into a protection mode and will default shift into
�fth gear if in the D (Drive) position, or second gear if
in the L (Low) position. Continue driving the vehicle
in either position depending on the required vehicle
speed and load. Once the �uid temperature lowers to
the normal temperature range, the transmission will
return to the normal shift patterns. Towing or driving on
long hills can cause the transmission �uid temperature
to be higher than normal. If the transmission �uid
temperature will not cool, you may need to pull over and
check the transmission �uid level. You should also
check the engine coolant temperature. If it is hot, see
Engine Overheating on page 5-28.
2-26
Page 107 of 442
Automatic Transmission Operation
(3.6L V6 with 6-Speed)
The shift lever for the automatic transmission is located
on the console between the seats.
Maximum engine speed is limited when the vehicle is in
P (Park) or N (Neutral) to protect driveline components
from improper operation.
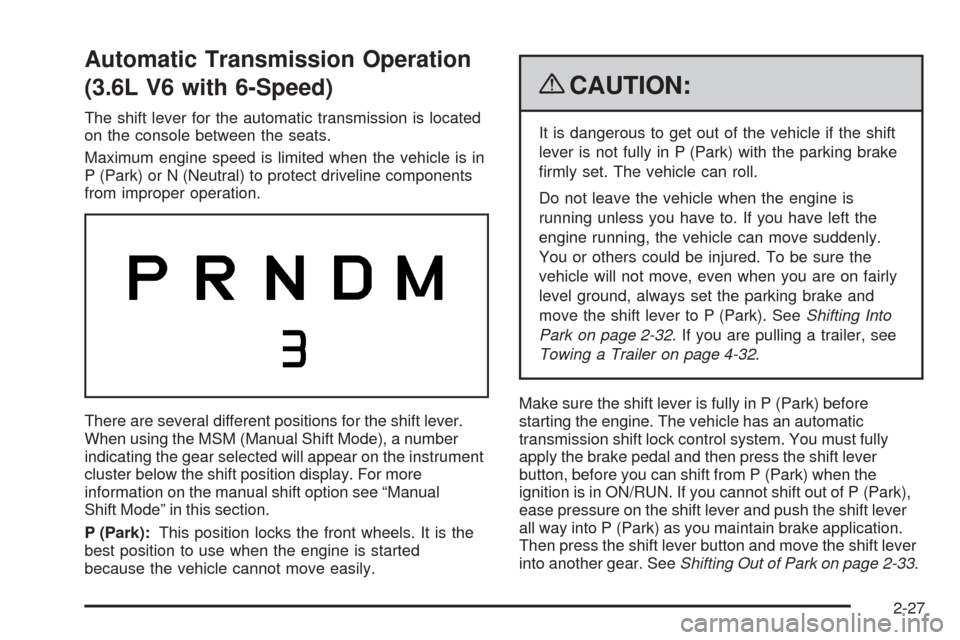
There are several different positions for the shift lever.
When using the MSM (Manual Shift Mode), a number
indicating the gear selected will appear on the instrument
cluster below the shift position display. For more
information on the manual shift option see “Manual
Shift Mode” in this section.
P (Park):This position locks the front wheels. It is the
best position to use when the engine is started
because the vehicle cannot move easily.
{CAUTION:
It is dangerous to get out of the vehicle if the shift
lever is not fully in P (Park) with the parking brake
�rmly set. The vehicle can roll.
Do not leave the vehicle when the engine is
running unless you have to. If you have left the
engine running, the vehicle can move suddenly.
You or others could be injured. To be sure the
vehicle will not move, even when you are on fairly
level ground, always set the parking brake and
move the shift lever to P (Park). SeeShifting Into
Park on page 2-32. If you are pulling a trailer, see
Towing a Trailer on page 4-32.
Make sure the shift lever is fully in P (Park) before
starting the engine. The vehicle has an automatic
transmission shift lock control system. You must fully
apply the brake pedal and then press the shift lever
button, before you can shift from P (Park) when the
ignition is in ON/RUN. If you cannot shift out of P (Park),
ease pressure on the shift lever and push the shift lever
all way into P (Park) as you maintain brake application.
Then press the shift lever button and move the shift lever
into another gear. SeeShifting Out of Park on page 2-33.
2-27
Page 110 of 442
Transmission Overheating
If the transmission �uid temperature rises above
270°F (132°C) or rises rapidly, the Engine Coolant
Temperature Warning Light will �ash. SeeEngine
Coolant Temperature Warning Light on page 3-31for
more information. When the transmission overheats
it will go into a protection mode and will default into a
different shift sequence to help cool the transmission
�uid. This shift sequence is the same for both D (Drive)
position and manual mode. Continue driving the
vehicle in either position depending on the required
vehicle speed and load. Once the �uid temperature
lowers to the normal temperature range, the
transmission will return to the normal shift patterns.
Towing or driving on long hills can cause the
transmission �uid temperature to be higher than normal.
If the transmission �uid temperature will not cool, you
may need to pull over and check the transmission
�uid level. You should also check the engine coolant
temperature. If it is hot, seeEngine Overheating
on page 5-28.
2 (Second) and 3 (Third) Gear Start
Feature
When accelerating the vehicle from a stop in snowy
and icy conditions, you may want to select 2 (Second)
and 3 (Third) gear. A higher gear, and light application of
the gas pedal, may allow you to gain more traction on
slippery surfaces.
With the MSM (Manual Shift Mode), the vehicle can
accelerate from a stop in 2 (Second) or 3 (Third).
1. Move the shift lever from D (Drive) into the
manual gate.
2. With the vehicle stopped, move the shift lever
forward to select 2 (Second) or 3 (Third).
The vehicle will start from a stop position in
2 (Second) or 3 (Third).
3. Once the vehicle is moving select the desired drive
gear or move the shift lever to the D (Drive) position.
2-30
Page 112 of 442
Shifting Into Park
{CAUTION:
It can be dangerous to get out of the vehicle if the
shift lever is not fully in P (Park) with the parking
brake �rmly set. The vehicle can roll. If you have
left the engine running, the vehicle can move
suddenly. You or others could be injured. To be
sure the vehicle will not move, even when you are
on fairly level ground, use the steps that follow.
If you are pulling a trailer, seeTowing a Trailer on
page 4-32.
1. Hold the brake pedal down and set the parking
brake. SeeParking Brake on page 2-31for more
information.
2. Move the shift lever into P (Park) by pressing the
button on the shift lever and pushing the lever all
the way toward the front of the vehicle.
3. Turn the ignition key to LOCK/OFF.
4. Remove the key and take it with you. If you can
leave the vehicle with the key, the vehicle is in
P (Park).
Leaving the Vehicle With the Engine
Running
{CAUTION:
It can be dangerous to leave the vehicle with the
engine running. The vehicle could move suddenly if
the shift lever is not fully in P (Park) with the parking
brake �rmly set. And, if you leave the vehicle with
the engine running, it could overheat and even
catch �re. You or others could be injured. Do not
leave the vehicle with the engine running.
If you have to leave the vehicle with the engine running,
be sure the vehicle is in P (Park) and the parking
brake is �rmly set before you leave it. After you have
moved the shift lever into P (Park), hold the regular
brake pedal down. Then, see if you can move the shift
lever away from P (Park) without �rst pressing the
button on the console shift lever. If you can, it means
that the shift lever was not fully locked into P (Park).
2-32
Page 115 of 442
Running the Vehicle While Parked
It is better not to park with the engine running. But if you
ever have to, here are some things to know.
{CAUTION:
Idling a vehicle in an enclosed area with poor
ventilation is dangerous. Engine exhaust may
enter the vehicle. Engine exhaust contains Carbon
Monoxide (CO) which cannot be seen or smelled.
It can cause unconsciousness and even death.
Never run the engine in an enclosed area that has
no fresh air ventilation. For more information, see
Engine Exhaust on page 2-34.
{CAUTION:
It can be dangerous to get out of the vehicle if the
automatic transmission shift lever is not fully in
P (Park) with the parking brake �rmly set. The
vehicle can roll. Do not leave the vehicle when the
engine is running unless you have to. If you have
left the engine running, the vehicle can move
suddenly. You or others could be injured. To be
sure the vehicle will not move, even when you are
on fairly level ground, always set the parking
brake and move the shift lever to P (Park).
Follow the proper steps to be sure the vehicle will not
move. SeeShifting Into Park on page 2-32.
If parking on a hill and pulling a trailer, seeTowing a
Trailer on page 4-32.
2-35
Page 158 of 442
When the ignition is on, the brake light will come on
when you set your parking brake. The light will stay on
if your parking brake does not release fully. A chime
will also sound if the parking brake is not fully released
and the vehicle is moving. If it stays on after your
parking brake is fully released, it means you have a
brake problem.
The brake light will also come on to indicate a low brake
�uid level. SeeBrakes on page 5-33for more information.
If the light comes on while you are driving, pull off the
road and stop carefully. You may notice that the pedal is
harder to push or the pedal may go closer to the �oor.
It may take longer to stop. If the light is still on, have
the vehicle towed for service. SeeTowing Your Vehicle
on page 4-26.
{CAUTION:
The brake system might not be working properly if
the brake system warning light is on. Driving with
the brake system warning light on can lead to a
crash. If the light is still on after the vehicle has
been pulled off the road and carefully stopped,
have the vehicle towed for service.
Antilock Brake System (ABS)
Warning Light
For vehicles with the
Antilock Brake System
(ABS), this light comes on
brie�y when the engine
is started.
If it does not, have the vehicle serviced by your
dealer/retailer. If the system is working normally the
indicator light then goes off.
If the ABS light stays on, turn the ignition off. If the light
comes on while driving, stop as soon as it is safely
possible and turn the ignition off. Then start the engine
again to reset the system. If the ABS light stays on,
or comes on again while driving, the vehicle needs
service. If the regular brake system warning light is
not on, the vehicle still has brakes, but not antilock
brakes. If the regular brake system warning light is also
on, the vehicle does not have antilock brakes and
there is a problem with the regular brakes. SeeBrake
System Warning Light on page 3-29.
For vehicles with a Driver Information Center (DIC),
seeDIC Warnings and Messages on page 3-49for all
brake related DIC messages.
3-30