set time CHEVROLET EQUINOX 2013 2.G Owners Manual
[x] Cancel search | Manufacturer: CHEVROLET, Model Year: 2013, Model line: EQUINOX, Model: CHEVROLET EQUINOX 2013 2.GPages: 388, PDF Size: 6.53 MB
Page 17 of 388
Black plate (11,1)Chevrolet Equinox Owner Manual - 2013 - CRC - 5/21/12
In Brief 1-11
3. Return the selector switch to themiddle position.
See Power Mirrors on page 2‑14.
Interior
Vehicles with an automatic dimming
inside rearview mirror can
automatically reduce the glare from
the headlamps of the vehicle behind
you. The dimming feature comes on
and the indicator light comes on
each time the vehicle is started.
SeeAutomatic Dimming Rearview
Mirror on page 2‑16.
Steering Wheel
Adjustment
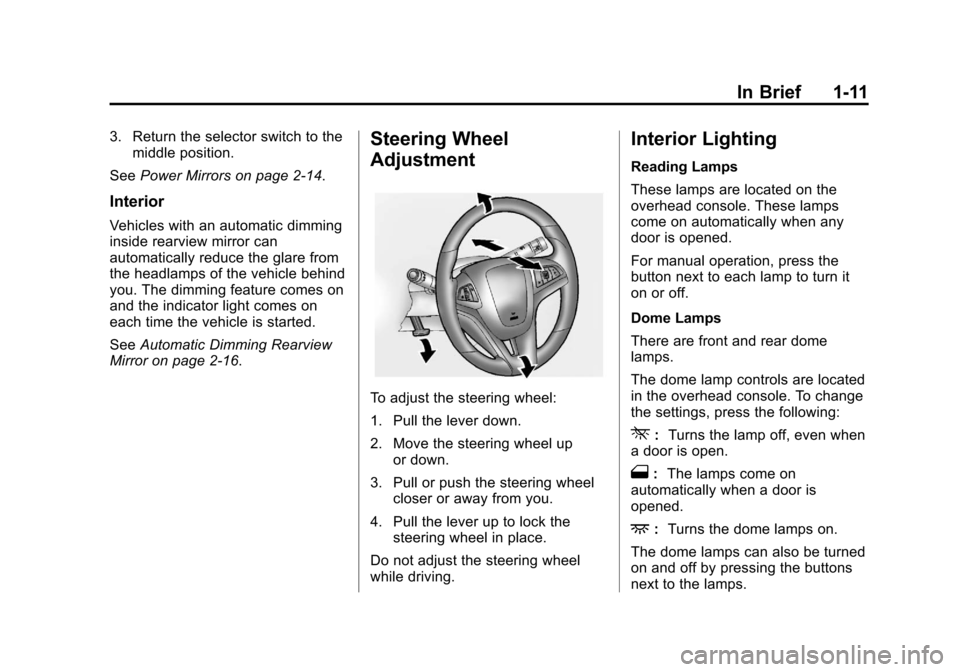
To adjust the steering wheel:
1. Pull the lever down.
2. Move the steering wheel up or down.
3. Pull or push the steering wheel closer or away from you.
4. Pull the lever up to lock the steering wheel in place.
Do not adjust the steering wheel
while driving.
Interior Lighting
Reading Lamps
These lamps are located on the
overhead console. These lamps
come on automatically when any
door is opened.
For manual operation, press the
button next to each lamp to turn it
on or off.
Dome Lamps
There are front and rear dome
lamps.
The dome lamp controls are located
in the overhead console. To change
the settings, press the following:
*: Turns the lamp off, even when
a door is open.
1: The lamps come on
automatically when a door is
opened.
+: Turns the dome lamps on.
The dome lamps can also be turned
on and off by pressing the buttons
next to the lamps.
Page 22 of 388
Black plate (16,1)Chevrolet Equinox Owner Manual - 2013 - CRC - 5/21/12
1-16 In Brief
Storing a Favorite Station
Stations from all bands can be
stored in the favorite lists in any
order. Up to six stations can be
stored in each favorite page and the
number of available favorite pages
can be set.
To store the station to a position in
the list, press the corresponding
numeric button 1-6 until the station
can be heard again.
For more information, see“Storing
and Retrieving Favorites” inAM-FM
Radio on page 7‑7.
Setting the Clock
For detailed instructions on setting
either clock, see Clock on page 5‑5.
To set the time:
1. Press
Hto enter the menu
options. Turn the MENU/SEL
knob to scroll through the
available setup features.
2. Press + or −to decrease or
increase the Hours and Minutes
displayed on the clock. 12/24 HR Format:
Press the 12 HR
screen button for standard time;
press the 24 HR screen button for
military time.
Day + or Day −:Press the Day +
and Day −display buttons to
increase or decrease the day.
Display: Press the Display to turn
the display of the time on the screen
on or off.
Satellite Radio
Vehicles with a SiriusXM® satellite
radio tuner and a valid SiriusXM
satellite radio subscription can
receive SiriusXM programming.
SiriusXM Satellite Radio
Service
SiriusXM is a satellite radio service
based in the 48 contiguous United
States and 10 Canadian provinces.
SiriusXM satellite radio has a wide
variety of programming and
commercial-free music, coast to coast, and in digital-quality sound.
A fee is required to receive the
SiriusXM service.
Refer to:
.www.siriusxm.com or call
1-866-635-2349 (U.S.).
.www.xmradio.ca or call
1-877-209-0079 (Canada).
See Satellite Radio on page 7‑9.
Portable Audio Devices
Some vehicles have a 3.5 mm
(1/8 in) auxiliary input and a USB
port in the center console bin.
External devices such as iPods®,
laptop computers, MP3 players, CD
changers, and USB drives may be
connected, depending on the audio
system.
SeeAuxiliary Devices on page 7‑17.
Page 28 of 388
Black plate (22,1)Chevrolet Equinox Owner Manual - 2013 - CRC - 5/21/12
1-22 In Brief
Tire Pressure Monitor
This vehicle may have a Tire
Pressure Monitor System (TPMS).
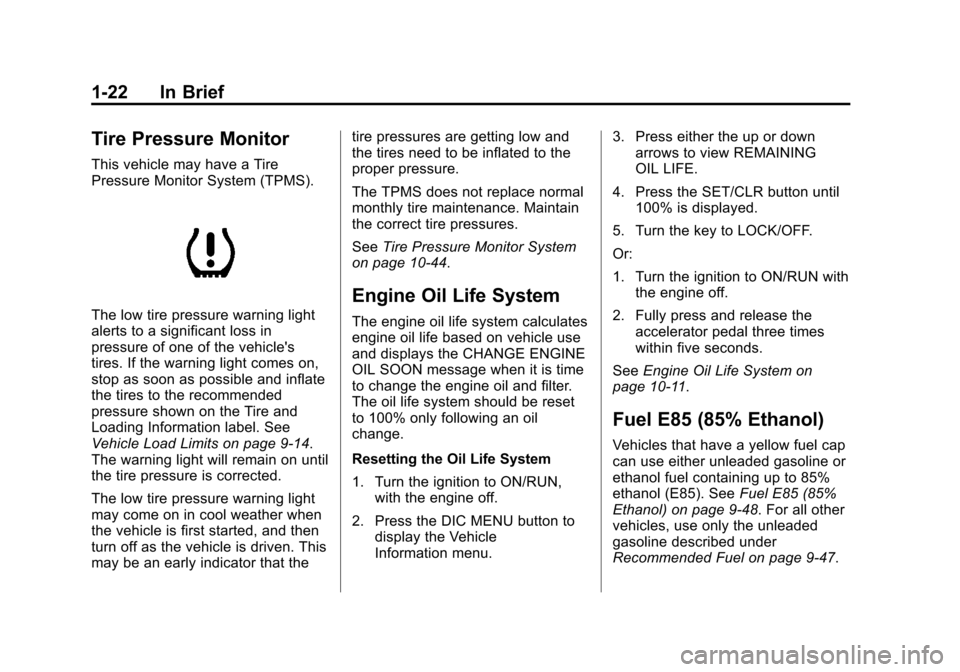
The low tire pressure warning light
alerts to a significant loss in
pressure of one of the vehicle's
tires. If the warning light comes on,
stop as soon as possible and inflate
the tires to the recommended
pressure shown on the Tire and
Loading Information label. See
Vehicle Load Limits on page 9‑14.
The warning light will remain on until
the tire pressure is corrected.
The low tire pressure warning light
may come on in cool weather when
the vehicle is first started, and then
turn off as the vehicle is driven. This
may be an early indicator that thetire pressures are getting low and
the tires need to be inflated to the
proper pressure.
The TPMS does not replace normal
monthly tire maintenance. Maintain
the correct tire pressures.
See
Tire Pressure Monitor System
on page 10‑44.
Engine Oil Life System
The engine oil life system calculates
engine oil life based on vehicle use
and displays the CHANGE ENGINE
OIL SOON message when it is time
to change the engine oil and filter.
The oil life system should be reset
to 100% only following an oil
change.
Resetting the Oil Life System
1. Turn the ignition to ON/RUN, with the engine off.
2. Press the DIC MENU button to display the Vehicle
Information menu. 3. Press either the up or down
arrows to view REMAINING
OIL LIFE.
4. Press the SET/CLR button until 100% is displayed.
5. Turn the key to LOCK/OFF.
Or:
1. Turn the ignition to ON/RUN with the engine off.
2. Fully press and release the accelerator pedal three times
within five seconds.
See Engine Oil Life System on
page 10‑11.
Fuel E85 (85% Ethanol)
Vehicles that have a yellow fuel cap
can use either unleaded gasoline or
ethanol fuel containing up to 85%
ethanol (E85). See Fuel E85 (85%
Ethanol) on page 9‑48. For all other
vehicles, use only the unleaded
gasoline described under
Recommended Fuel on page 9‑47.
Page 34 of 388
Black plate (4,1)Chevrolet Equinox Owner Manual - 2013 - CRC - 5/21/12
2-4 Keys, Doors, and Windows
7(Vehicle Locator/Panic
Alarm): Press and release one
time to initiate vehicle locator. The
exterior lamps flash and the horn
chirps three times. Press and hold
7for at least three seconds to
sound the panic alarm. The horn
sounds and the turn signals flash
until
7is pressed again or the key
is placed in the ignition and turned
to ON/RUN.
/(Remote Vehicle Start): For
vehicles with this feature, first press
Qthen press and hold/to start
the engine from outside the vehicle
using the RKE transmitter. See
Remote Vehicle Start on page 2‑4
for additional information.
The buttons on the keys are
disabled when there is a key in the
ignition.
Programming Transmitters to
the Vehicle
Only RKE transmitters programmed
to this vehicle will work. If a
transmitter is lost or stolen, a replacement can be purchased and
programmed through your dealer.
When the replacement transmitter is
programmed to this vehicle, all
remaining transmitters must also be
reprogrammed. Any lost or stolen
transmitters will no longer work
once the new transmitter is
programmed.
Battery Replacement
Replace the battery if the REPLACE
BATTERY IN REMOTE KEY
message displays in the DIC. See
“Replace Battery in Remote Key”
under
Key and Lock Messages on
page 5‑28.
The battery is not rechargeable. To
replace the battery:
1. Push the button on the transmitter to extend the key.
2. Remove the battery cover by prying with a finger.
3. Remove the battery by pushing on the battery and sliding it
toward the key blade. 4. Insert the new battery, positive
side facing up. Push the battery
down until it is held in place.
Replace with a CR2032 or
equivalent battery.
5. Snap the battery cover back on to the transmitter.
Remote Vehicle Start
The vehicle may have this feature
that allows you to start the engine
from outside the vehicle.
/(Remote Vehicle Start): This
button will be on the RKE
transmitter if the vehicle has remote
start.
The climate control system will use
the previous settings during a
remote start. The rear defog may
come on during remote start based
on cold ambient conditions. The
rear defog indicator light does not
come on during remote start.
Page 43 of 388
Black plate (13,1)Chevrolet Equinox Owner Manual - 2013 - CRC - 5/21/12
Keys, Doors, and Windows 2-13
Disarming the System
To disarm the system, do one of the
following:
.PressKon the RKE transmitter.
.Turn the ignition to ON/RUN.
.Allow the alarm to time out after
about 30 seconds and reset
itself.
If the system is armed and any door
is unlocked without pressing
Kon
the RKE transmitter, the alarm
sounds.
How to Detect a Tamper
Condition
IfKis pressed and the horn
sounds, an attempted break-in has
occurred while the system was
armed. If the alarm has been activated, the
THEFT ATTEMPTED message will
appear on the DIC. See
Key and
Lock Messages on page 5‑28 for
additional information.
Immobilizer
See Radio Frequency Statement on
page 13‑15 for information
regarding Part 15 of the Federal
Communications Commission (FCC)
rules and Industry Canada
Standards RSS-GEN/210/220/310.
Immobilizer Operation
This vehicle has a passive
theft-deterrent system.
The system does not have to be
manually armed or disarmed.
The vehicle is automatically
immobilized when the key is
removed from the ignition. The system is automatically
disarmed when the vehicle is
started with the correct key. The key
uses a transponder that matches an
immobilizer control unit in the
vehicle and automatically disarms
the system. Only an authorized key
starts the vehicle. The vehicle may
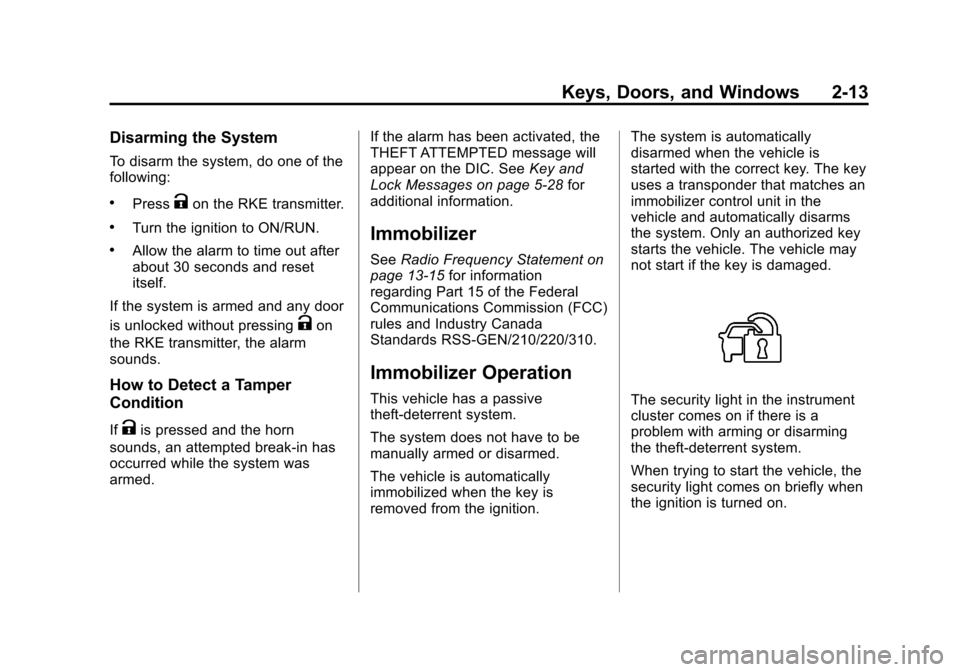
not start if the key is damaged.The security light in the instrument
cluster comes on if there is a
problem with arming or disarming
the theft-deterrent system.
When trying to start the vehicle, the
security light comes on briefly when
the ignition is turned on.
Page 58 of 388
Black plate (8,1)Chevrolet Equinox Owner Manual - 2013 - CRC - 5/21/12
3-8 Seats and Restraints
pressing the RKEKbutton. If the
memory position is still not recalling,
see your dealer for service.
Easy Exit Driver Seat
This feature moves the seat
rearward allowing the driver more
room to exit the vehicle.
To activate, turn the ignition off and
open the driver door. If the driver
door is already open, turning the
ignition off will activate the recall.
This feature can be turned on or off
using the vehicle personalization
menu. See Vehicle Personalization
on page 5‑32.
To stop recall movement, press one
of the memory or power seat
controls.
If something has blocked the driver
seat while recalling the exit position,
the recall may stop. Remove the
obstruction; then press and hold the
power seat control rearward for
two seconds. Try recalling the exit position again. If the exit position is
still not recalling, see your dealer for
service.
Heated Front Seats
{WARNING
If you cannot feel temperature
change or pain to the skin, the
seat heater may cause burns. To
reduce the risk of burns, people
with such a condition should use
care when using the seat heater,
especially for long periods of
time. Do not place anything on
the seat that insulates against
heat, such as a blanket, cushion,
cover, or similar item. This may
cause the seat heater to
overheat. An overheated seat
heater may cause a burn or may
damage the seat.
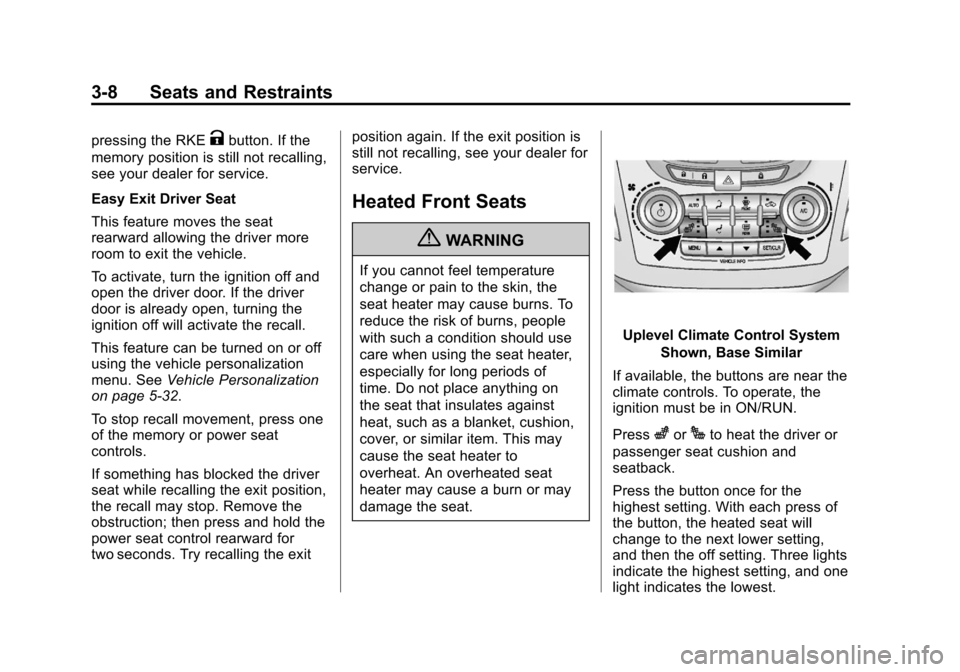
Uplevel Climate Control System
Shown, Base Similar
If available, the buttons are near the
climate controls. To operate, the
ignition must be in ON/RUN.
Press
zorJto heat the driver or
passenger seat cushion and
seatback.
Press the button once for the
highest setting. With each press of
the button, the heated seat will
change to the next lower setting,
and then the off setting. Three lights
indicate the highest setting, and one
light indicates the lowest.
Page 110 of 388
Black plate (4,1)Chevrolet Equinox Owner Manual - 2013 - CRC - 5/21/12
5-4 Instruments and Controls
thaw them. Damaged blades should
be replaced. SeeWiper Blade
Replacement on page 10‑25.
Heavy snow or ice can overload the
wiper motor.
Wipe Parking
If the ignition is turned to LOCK/
OFF while the wipers are on LO, HI,
or INT, they will immediately stop.
If the windshield wiper lever is then
moved to off before the driver door
is opened or within 10 minutes, the
wipers will restart and move to the
base of the windshield.
If the ignition is turned to LOCK/
OFF while the wipers are performing
wipes due to windshield washing,
the wipers continue to run until they
reach the base of the windshield.
Rear Window Wiper/
Washer
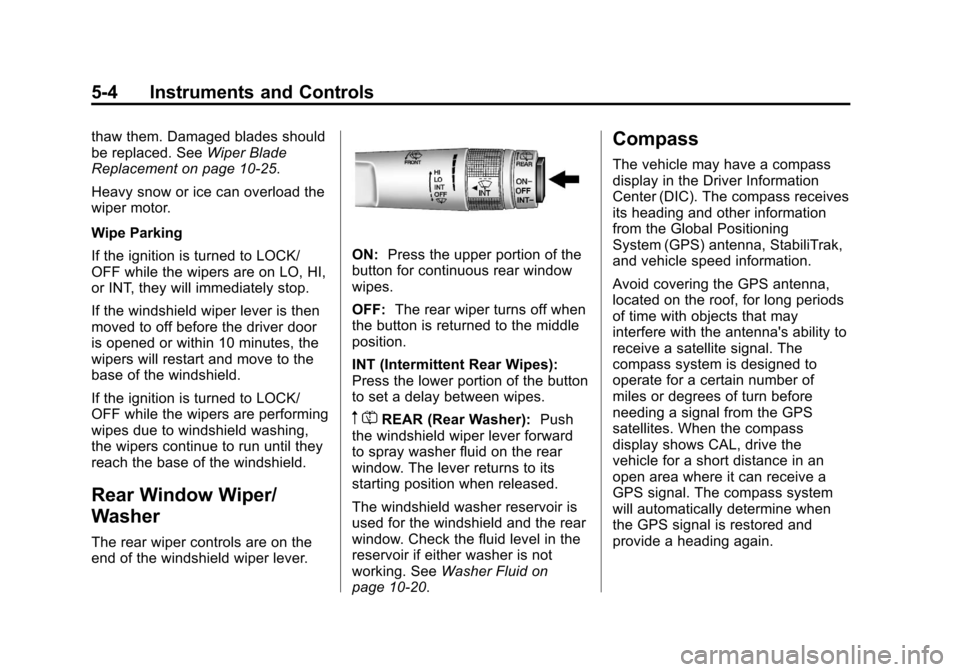
The rear wiper controls are on the
end of the windshield wiper lever.
ON: Press the upper portion of the
button for continuous rear window
wipes.
OFF: The rear wiper turns off when
the button is returned to the middle
position.
INT (Intermittent Rear Wipes):
Press the lower portion of the button
to set a delay between wipes.
m =REAR (Rear Washer): Push
the windshield wiper lever forward
to spray washer fluid on the rear
window. The lever returns to its
starting position when released.
The windshield washer reservoir is
used for the windshield and the rear
window. Check the fluid level in the
reservoir if either washer is not
working. See Washer Fluid on
page 10‑20.
Compass
The vehicle may have a compass
display in the Driver Information
Center (DIC). The compass receives
its heading and other information
from the Global Positioning
System (GPS) antenna, StabiliTrak,
and vehicle speed information.
Avoid covering the GPS antenna,
located on the roof, for long periods
of time with objects that may
interfere with the antenna's ability to
receive a satellite signal. The
compass system is designed to
operate for a certain number of
miles or degrees of turn before
needing a signal from the GPS
satellites. When the compass
display shows CAL, drive the
vehicle for a short distance in an
open area where it can receive a
GPS signal. The compass system
will automatically determine when
the GPS signal is restored and
provide a heading again.
Page 111 of 388
Black plate (5,1)Chevrolet Equinox Owner Manual - 2013 - CRC - 5/21/12
Instruments and Controls 5-5
Clock
The infotainment system controls,
located on the instrument panel, are
used to access the time and date
settings through the menu system.
SeeOperation on page 7‑4 for
information about how to use the
menu system.
Setting the Clock with Date
Display
To set the Time and Date:
1. Turn the infotainment system on.
2. Press the CONFIG button and select Time and Date Settings.
3. Select Set Time or Set Date.
4. Turn the MENU/SEL knob to adjust the highlighted value.
5. Press the MENU/SEL knob to select the next value.
6. To save the time or date and return to the Time and Date
Settings menu, press the
E
BACK button at any time or
press the MENU/SEL knob after
adjusting the minutes or year.
To set the 12/24 hour format:
1. Turn the infotainment system on.
2. Press the CONFIG button and select Time and Date Settings.
3. Highlight 12/24 Hour Format.
4. Press the MENU/SEL knob to select the 12 hour or 24 hour
display format.
To set the month and day format:
1. Turn the infotainment system on.
2. Press the CONFIG button and select Time and Date Settings.
3. Highlight Month and Day Format.
4. Press the MENU/SEL knob to select MM/DD (month/day) or
DD/MM (day/month).
To set the auto time adjust:
1. Turn the infotainment system on. 2. Press the CONFIG button and
select Time and Date Settings.
3. Highlight Auto Time Adjust.
4. Press the MENU/SEL knob to turn Auto Time Adjust on or off.
5. Press the MENU/SEL knob to select Time Zone, and then
select the time zone.
6. Press the MENU/SEL knob to turn Daylight Savings on or off.
Setting the Clock Without Date
Display
To set the Time and Date:
1. Turn the infotainment system on.
2. Press the CONFIG button andselect Time Settings, or press
the
Hbutton.
3. Select Set Time.
4. Turn the MENU/SEL knob to adjust the highlighted value.
5. Press the MENU/SEL knob to select the next value.
Page 112 of 388
Black plate (6,1)Chevrolet Equinox Owner Manual - 2013 - CRC - 5/21/12
5-6 Instruments and Controls
6. To save the time and return tothe Time Settings menu, press
the
EBACK button at any
time or press the MENU/SEL
knob after adjusting the minutes.
To set the 12/24 hour format:
1. Turn the infotainment system on.
2. Press the CONFIG button and select Time Settings, or press
the
Hbutton.
3. Highlight 12/24 Hour Format.
4. Press the MENU/SEL knob to select the 12 hour or 24 hour
display format.
Setting the Clock (Radio with
CD and Touchscreen)
To set the time:
1. Press the CONFIG button toenter the menu options. Turn the
TUNE/MENU knob to scroll
through the available setup
features. Press the TUNE/MENU knob or press the Time screen
button to display other options
within that feature.
2. Press + or −to decrease or
increase the Hours and Minutes
displayed on the clock.
12/24 HR Format: Press the 12 HR
screen button for standard time;
press the 24 HR screen button for
military time.
Day + or Day −:Press the Day +
or Day −display buttons to increase
or decrease the day.
Display: Press Display to turn the
display of the time on the screen on
or off.
Power Outlets
The accessory power outlets can be
used to connect electrical
equipment, such as a cell phone or
MP3 player. There are four accessory power
outlets in the following locations:
below the CD slot, inside the center
console storage, on the rear of the
center console storage, and in the
rear cargo compartment.
To use the outlets, remove the cover
and close when not in use.
Notice:
Leaving electrical
equipment plugged in for an
extended period of time while the
vehicle is off will drain the
battery. Always unplug electrical
equipment when not in use and
do not plug in equipment that
exceeds the maximum 20 ampere
rating.
Certain accessory plugs may not be
compatible with the accessory
power outlets and could overload
vehicle and adapter fuses. If a
problem is experienced, see your
dealer.
Page 128 of 388
Black plate (22,1)Chevrolet Equinox Owner Manual - 2013 - CRC - 5/21/12
5-22 Instruments and Controls
Information Displays
Driver Information
Center (DIC)
The vehicle may have a Driver
Information Center (DIC). It displays
information about the vehicle and
warning messages if there is a
system problem detected. DIC
messages display in the center of
the instrument panel cluster. See
Vehicle Messages on page 5‑25for
more information.
The vehicle may also have features
that can be customized through the
controls on the radio. See Vehicle
Personalization on page 5‑32 for
more information.
DIC Operation and Displays
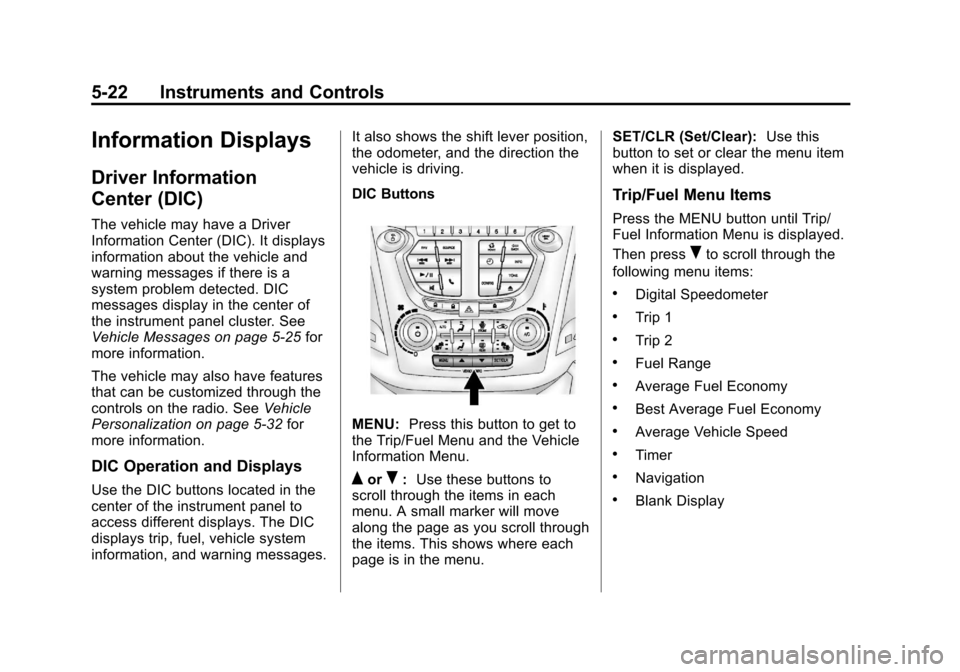
Use the DIC buttons located in the
center of the instrument panel to
access different displays. The DIC
displays trip, fuel, vehicle system
information, and warning messages. It also shows the shift lever position,
the odometer, and the direction the
vehicle is driving.
DIC Buttons
MENU:
Press this button to get to
the Trip/Fuel Menu and the Vehicle
Information Menu.
QorR: Use these buttons to
scroll through the items in each
menu. A small marker will move
along the page as you scroll through
the items. This shows where each
page is in the menu. SET/CLR (Set/Clear):
Use this
button to set or clear the menu item
when it is displayed.
Trip/Fuel Menu Items
Press the MENU button until Trip/
Fuel Information Menu is displayed.
Then press
Rto scroll through the
following menu items:
.Digital Speedometer
.Trip 1
.Trip 2
.Fuel Range
.Average Fuel Economy
.Best Average Fuel Economy
.Average Vehicle Speed
.Timer
.Navigation
.Blank Display