automatic transmission CHEVROLET EXPRESS 1996 1.G Owners Manual
[x] Cancel search | Manufacturer: CHEVROLET, Model Year: 1996, Model line: EXPRESS, Model: CHEVROLET EXPRESS 1996 1.GPages: 376, PDF Size: 18.83 MB
Page 79 of 376
Downloaded from www.Manualslib.com manuals search engine Automatic Transmission Operation
There are several different positions for your shift lever.
If your vehicle is equipped with an automatic
transmission,
it now features an electronic shift position
indicator within the instrument cluster. This display
must be powered anytime the shift lever is capable
of
being moved out of the PARK (P) position. This means
that if your
key is in the OFF position, but not locked,
there will be a small current drain on your battery which
could discharge
your battery over a period of time. If
you have
a need to leave your key in the ignition in the
OFF position for an extended period for any reason, it is
recommended that
you disconnect the battery cable from
the battery to prevent discharging your battery.
PARK (P): This locks your rear wheels. It’s the best
position to use when
you start your engine because your
vehicle can’t move easily.
A CAUTIO :
It is dangerous to get out of your vehicle if the
shift lever
is not fully in PARK (P) with the
parking brake firmly set. Your vehicle can roll.
Don’t leave your vehicle when the engine
is
running unless you have to. If you have left the
engine running, the vehicle can move suddenly.
You or others could be injured. To be sure your
vehicle won’t move, even when you’re on fairly
level ground, always set your parking brake and
move the shift lever to
PARK (P).
See “Shifting Into PARK (P)” in the Index. If
you’re pulling
a trailer, see “Towing a Trailer’’
in the Index.
Your vehicle has a brake-transmission shift interlock.
With the ignition
in the RUN position, you must fully
apply your regular brakes before you can shift from
PARK (P).
2-17
Page 85 of 376
Downloaded from www.Manualslib.com manuals search engine Leaving Your Vehicle With the
Engine Running
A CAUTION:
It can be dangerous to leave your vehicle with
the engine running. Your vehicle could move
suddenly if the shift lever is not fully in
PARK (P)
with the parking brake firmly set. And, if you
leave the vehicle with the engine running, it could
overheat and even catch fire. You or others could
be injured. Don’t leave your vehicle with the
engine running unless you have to.
Torque Lock
If you are parking on a hill and you don’t shift your
transmission
into PARK (P) properly, the weight of the
vehicle may put too much force
on the parking pawl in
the transmission. You may find it difficult to pull the
shift lever
out of PARK (P). This is called “torque lock.”
To prevent torque lock, set the parking brake and then
shift
into PARK (P) properly before you leave the
driver’s seat. To find
out how, see “Shifting Into
PARK
(P)” in the Index. When
you are
ready to drive, move the shift lever out of
PARK (P) before you release the parking brake.
If torque lock does occur,
you may need to have another
vehicle push yours a little uphill
to take some of the
pressure from the transmission, so you can pull the shift
lever out
of PARK (P).
Shifting Out of PARK (P)
Your vehicle has a brake-transmission shift interlock
system. You have to fully apply your regular brakes
before you can shift from PARK (P). See “Automatic
Transmission”
in the Index.
If you cannot shift
out of PARK (P), ease pressure on
the shift lever and push the shift lever all the way up
into PARK (P) as you maintain brake application. Then,
move the shift lever into
the gear you want.
If
you ever hold the brake pedal down but still can’t
shift out
of PARK (P), try this:
1. Turn the key to OFF.
2. Apply and hold the brake until the end of Step 4.
3. Shift to NEUTRAL (N).
4. Start the vehicle and then shift to the drive gear you
5. Have the brake-transmission shift interlock system
want.
fixed
as soon as you can.
2-23
Page 188 of 376
Downloaded from www.Manualslib.com manuals search engine Driving On Grades
Reduce speed and shift to a lower gear before you start
down
a long or steep downgrade. If you don’t shift
down, you might have to use your brakes
so much that
they would get hot and
no longer work well.
On a long uphill grade, shift down and reduce
your
speed to around 45 mph (70 kdh) to reduce the
possibility
of engine and transmission overheating.
When towing at high altitude
on steep uphill grades,
consider the following: Engine coolant will boil
at a
lower temperature than at normal altitudes.
If you turn
your engine off immediately after towing at high altitude
on steep uphill grades, your vehicle may show signs
similar
to engine overheating. To avoid this, let the
engine run while parked (preferably on level ground)
with the automatic transmission
in PARK (P) for a few
minutes before turning the engine off. If you do get the
overheat warning, see “Engine Overheating”
in the Index.
Parking on Hills
You really should not park your vehicle, with a trailer
attached, on a hill. If something goes wrong, your rig
could start to move. People can be injured, and both
your vehicle and the trailer can be damaged.
But if you ever have to park your rig
on a hill, here’s
how to do it:
1. ’ Apply your regular brakes, but don’t shift into
PARK (P) yet. Then turn your wheels into the curb
if facing downhill or into traffic if facing uphill.
2. Have someone place chocks under the trailer wheels.
3. When the wheel chocks are in place, release the
regular brakes until the chocks absorb the load.
4. Re-apply the regular brakes. Then apply your
parking brake and then shift
to PARK (P).
5. Release the regular brakes.
4-36
Page 189 of 376
Downloaded from www.Manualslib.com manuals search engine When You Are Ready to Leave After
Parking on a
Hill
1. Apply your regular brakes and hold the pedal down
while you:
Start your engine;
Shift into a gear; and
Release the parking brake.
2. Let up on the brake pedal.
3. Drive slowly until the trailer is clear of the chocks.
4. Stop and have someone pick up and store the chocks.
Main ~ mr ~ ce When Trailer Towing
Your vehicle will need service more often when you’re
pulling a trailer. See the Maintenance Schedule for more
on this. Things that are especially important in trailer
operation are automatic transmission fluid (don’t
overfill), engine oil, axle lubricant, belt, cooling system
and brake adjustment. Each
of these is covered in this
manual, and the Index will help you find them quickly.
If you’re trailering, it’s a good idea
to review these
sections before
you start your trip.
Check periodically to see that all hitch nuts and bolts
are tight.
Trailer Wiring Harness
The eight-wire harness, if you have one, is stored under
your vehicle along the rear frame crossmember. It is
wrapped and bound with a plastic strap. The harness has
a 30-amp battery feed and no connector, and
you should
have a qualified electrical service person wire your
harness for
you. Attach the harness to the trailer, then
tape or strap
it to your vehicle’s frame rail. Be sure you
leave it loose enough so the wiring doesn’t bend or
break, but not
so loose that it drags on the ground.
Store the harness in its original place. Wrap the harness
together and tie it neatly
so it won’t be damaged.
The five-wire harness, if you have one, is stored inside
the vehicle at
the passenger side rear corner, behind the
jack. This should be wired by a qualified electrical
service person.
It must be routed out of your vehicle
between the rear door and the floor, with enough of the
harness left on both sides
so that the trailer or the body
won’t pull
it.
Store the harness in its original place. Wrap the harness
together and tie it neatly
so it won’t be damaged.
4-37
Page 195 of 376
Downloaded from www.Manualslib.com manuals search engine If your vehicle has more than one battery, use the
battery that is under the hood
of the vehicle -- this
will reduce the electrical resistance.
2. Get the vehicles close enough so the jumper cables
can reach, but be sure the vehicles aren’t touching
each other.
If they are, it could cause a ground
connection you don’t want. You wouldn’t be able to
start your vehicle, and the bad grounding could
damage the electrical systems.
Set the parking brake firmly
on each vehicle. Put an
automatic transmission in
PARK (P) or a manual
transmission
in NEUTRAL (N).
3. Turn off the ignition on both vehicles. Turn off all
lamps that aren’t needed, and radios. This will avoid
sparks and help save both batteries, and could save
your radio!
NOTICE:
If you leave your radio on, it could be badly
damaged. The repairs would not be covered by
your warranty.
4. Open the hoods and locate the batteries. Find
the positive
(+) and negative (-) terminals on
each battery.
A CAUTION:
Using a match near a battery can cause battery
gas to explode. People have been hurt doing this,
and some have been blinded. Use a flashlight if
you need more light.
Be sure the battery (or batteries) has enough
water. You don’t need to add water to the Delco
Freedom@ battery (or batteries) installed in
every new
GM vehicle. But if a battery has filler
caps, be sure the right amount of fluid is there.
If
it is low, add water to take care of that first. If
you don’t, explosive gas could be present.
Battery fluid contains acid that can burn you.
Don’t get it on you.
If you accidentally get it in
your eyes or on your skin, flush the place with
water and get medical help immediately.
Page 244 of 376
Downloaded from www.Manualslib.com manuals search engine Automatic Transmission Fluid
When to Check and Change
A good time to check your automatic transmission fluid
level is when the engine oil is changed.
Change both the fluid and filter every
50,000 miles
(83
000 km) if the vehicle’s GVWR is over 8,600 or
if
the vehicle is mainly driven under one or more of
these conditions:
0 In heavy city traffic where the outside temperature
0 In hilly or mountainous terrain.
regularly reaches
90°F (32°C) or
higher.
0 When doing frequent trailer towing.
0 Uses such as found in taxi, police or delivery service.
If your vehicle’s
GVWR is not over 8,600 and you do
not use your vehicle under any
of these conditions, the
fluid and filter do
not require changing.
See “Scheduled Maintenance Services” in the Index.
How to Check
.Because this operation can be a little difficult, you
may choose to have this done at your GM dealer
Service Department.
If you do it yourself, be sure
to follow all the
instructions here, or you could get a false reading
on
the dipstick.
NOTICE:
Too much or too little fluid can damage your
transmission. Too much can mean that some of
the
fluid could come out and fall on hot engine
parts or exhaust system parts, starting a fire. Be
sure to get an accurate reading if you check your
transmission
fluid.
6-16
-
Page 247 of 376
Downloaded from www.Manualslib.com manuals search engine How to Add Fluid Rear Axle
Refer to the Maintenance Schedule to determine what
kind
of transmission fluid to use. See “Recommended
Fluids and Lubricants” in the Index.
Add fluid only after checking the transmission fluid
HOT. (A COLD check is used only as a reference.) If
the fluid level is low, add only enough
of the proper
fluid to bring the
level up to the HOT area for a hot
check.
It doesn’t take much fluid, generally less than a
pint (0.5 L). Don ’t overjX. We recommend you use only
fluid labeled DEXRON@-111, because fluid with that
label is made especially for your automatic transmission.
Damage caused by fluid other than DEXRON-I11 is not
covered by your new vehicle warranty.
After adding fluid, recheck the fluid level as
described under
“How to Check.”
When to Check and Change Lubricant
Refer to the Maintenance Schedule to determine how
often to check
the lubricant and when to change it. See
“Scheduled Maintenance Services” in
the Index.
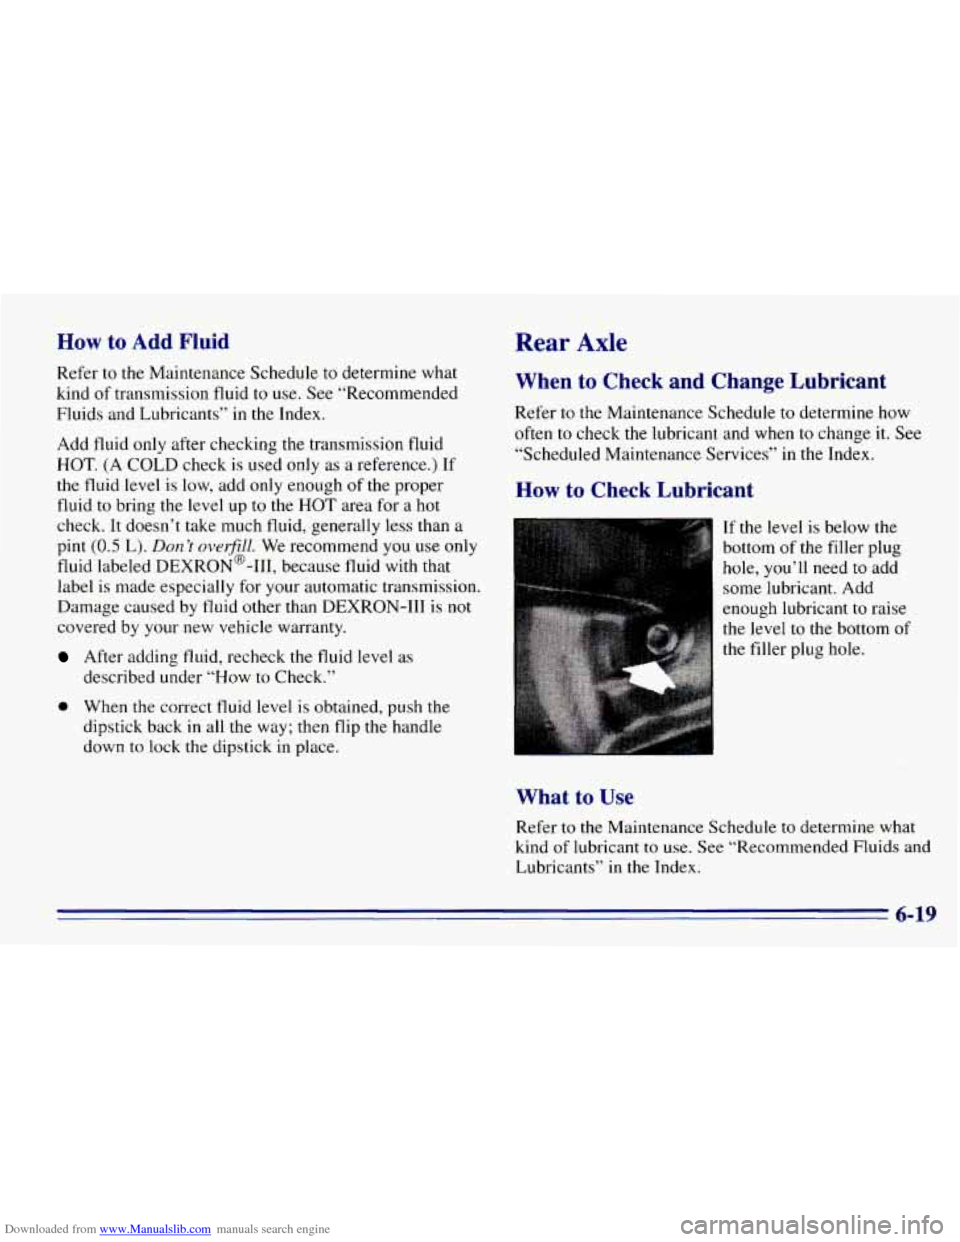
How to Check Lubricant
If the level is below the
bottom
of the filler plug
hole, you’ll need to add
some lubricant. Add
enough lubricant
to raise
the level to the bottom of
the filler plug hole.
0 When the correct fluid level is obtained, push the
dipstick back
in all the way; then flip the handle
down to lock the dipstick in place.
What to Use
Refer to the Maintenance Schedule to determine what
kind
of lubricant to use. See “Recommended Fluids and
Lubricants” in the Index.
6-19
Page 292 of 376
Downloaded from www.Manualslib.com manuals search engine POSITION
16.
17.
18.
19.
20.
21.
22.
23.
24.
A.7-
€3.7
NAME
TURN B/U
RADIO-
1
BRAKE
RADIO-B
TRANS RR
FOG
Not Used
Not Used
RR
HVAC
PWR ACCY
PWR WDO
CIRCUITS PROTECTED
Front Turn, RR Turn, Back-up Lamps, BTSI Solenoid
Radio (Ign, Accy)
4WAL PCM,
ABS, Cruise Control
Radio (Battery), Power Antenna
PRNDL, Automatic Transmission
Rear Window Defog
RR HVAC Controls,
HIGH, MED, LOW Relays
Power Door Lock, Six-Way Power Seat, Keyless Entry
Illumination Module
Power Windows
?Circuit Breaker Do
not use fuses of higher amperage than those recommended above. Fuse amperage levels are also imprinted on the
fuse panel under the dash.
6-64
Page 304 of 376
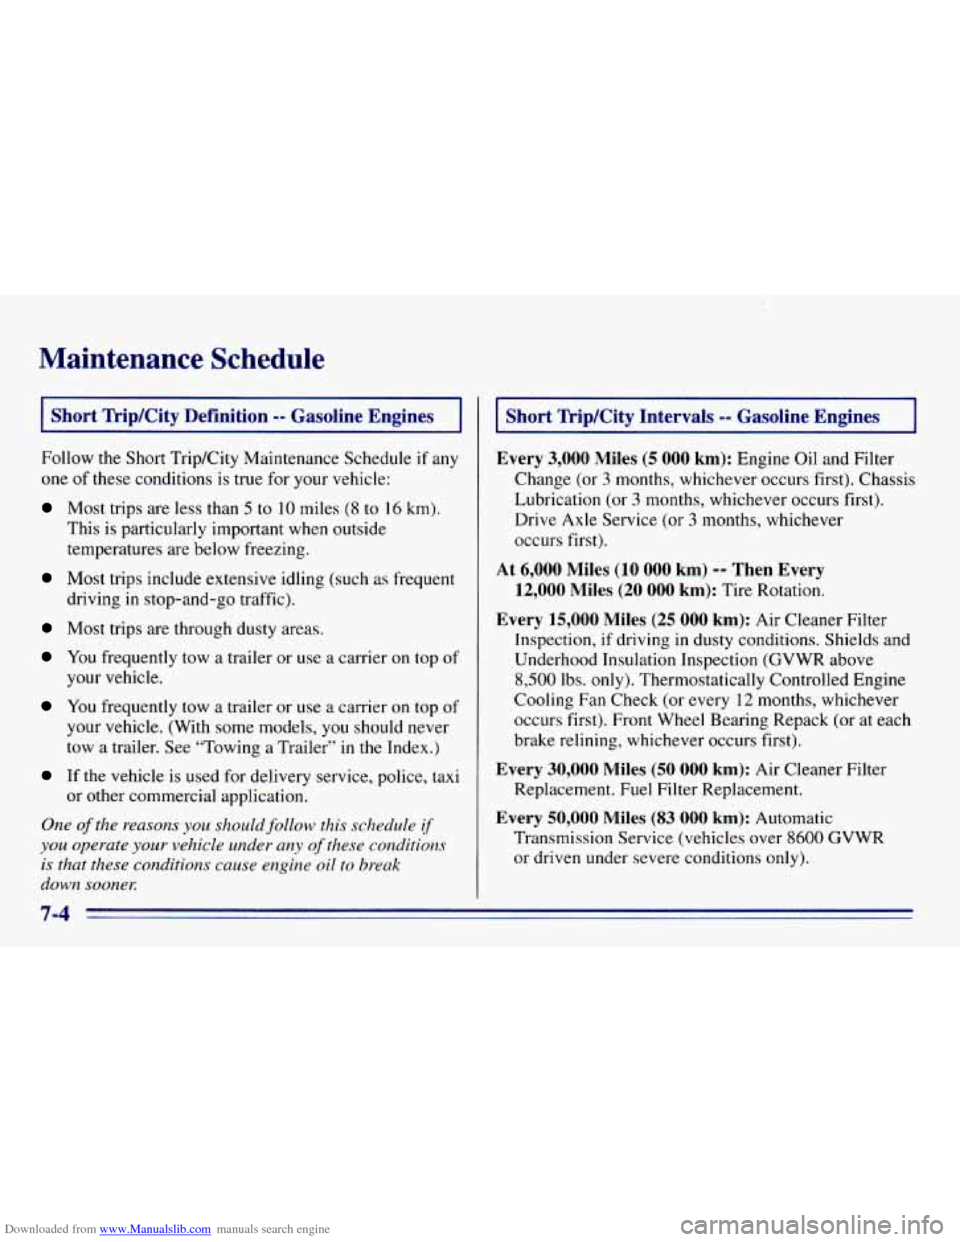
Downloaded from www.Manualslib.com manuals search engine Maintenance Schedule
I Short Trip/City Definition -- Gasoline Engines
Follow the Short TripKity Maintenance Schedule if any
one of these conditions is true for your vehicle:
Most trips are less than 5 to 10 miles (8 to 16 km).
I
This is particularly important when outside
temperatures are below freezing.
Most trips include extensive idling (such as frequent
driving in stop-and-go traffic).
Most trips are through dusty areas.
You frequently tow a trailer or use a carrier on top of
You frequently tow a trailer or use a carrier on top of
your vehicle. (With some models, you should never
tow a trailer. See “Towing a Trailer” in
the Index.)
If the vehicle is used for delivery service, police, taxi
or other commercial application.
your vehicle.
One of the reasons you should
follow this schedule (f
you operate your vehicle under any of these conditions
is that these conditions cuuse engine oil to break
down soonex
Short Trip/City Intervals -- Gasoline Engines
Every
3,000 Miles (5 000 km): Engine Oil and Filter
Change (or
3 months, whichever occurs first). Chassis
Lubrication (or
3 months, whichever occurs first).
Drive
Axle Service (or 3 months, whichever
occurs first).
1
At 6,000 Miles (10 000 km) -- Then Every
12,000 Miles
(20 000 km): Tire Rotation.
Every 15,000 Miles (25 000 km): Air Cleaner Filter
Inspection,
if driving in dusty conditions. Shields and
Underhood Insulation Inspection (GVWR above
8,500 Ibs. only). Thermostatically Controlled Engine
Cooling Fan Check (or every
12 months, whichever
occurs first). Front Wheel Bearing Repack (or at each
brake relining, whichever occurs first).
Every 30,000 Miles (50 000 km): Air Cleaner Filter
Replacement. Fuel Filter Replacement.
Every 50,000 Miles (83 000 km): Automatic
Transmission Service (vehicles over
8600 GVWR
or driven under severe conditions only).
Page 306 of 376
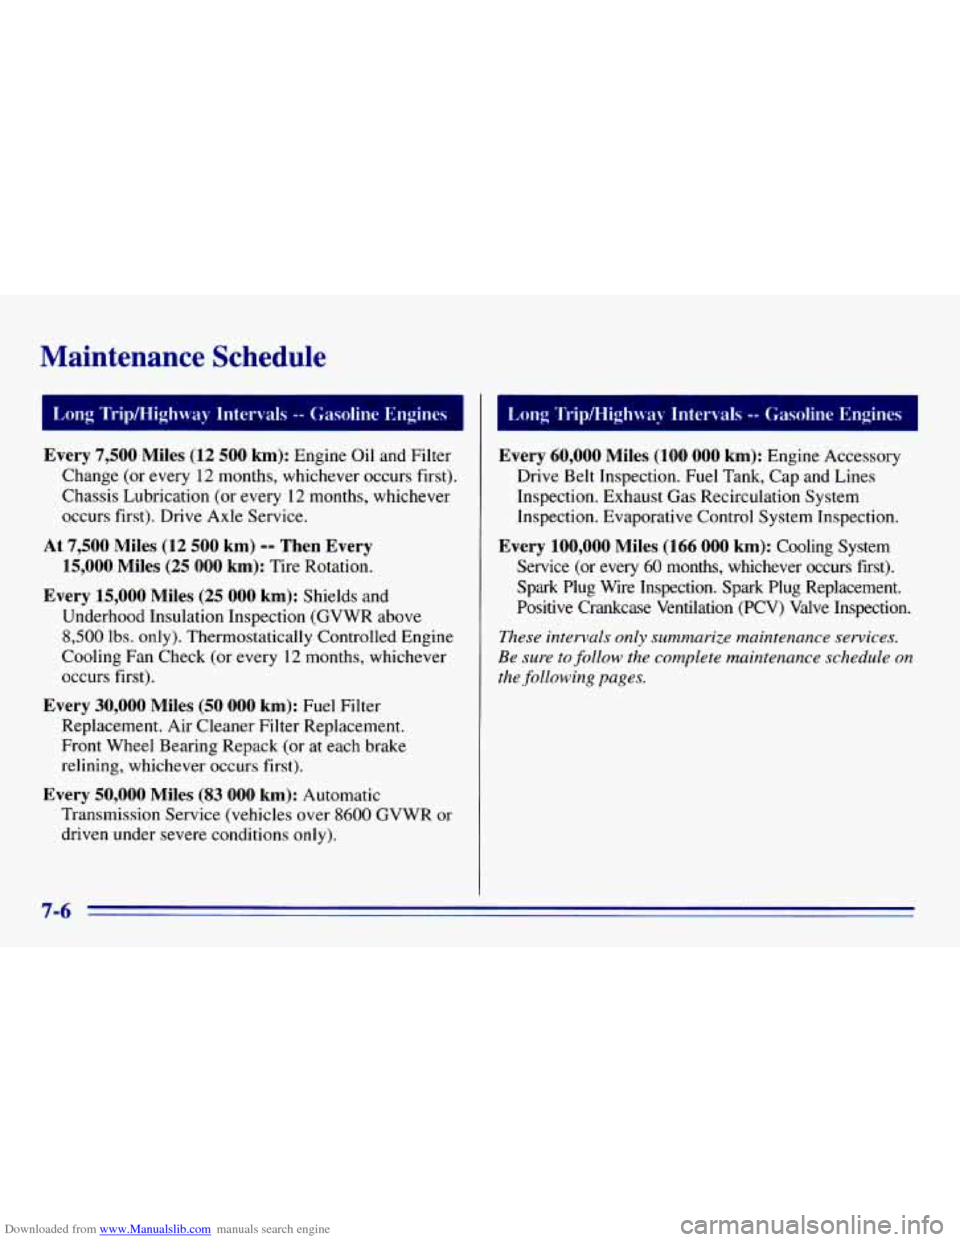
Downloaded from www.Manualslib.com manuals search engine Maintenance Schedule
-
I Long TripMighway Intervals -- Gasoline En 1,ong ‘lrip/Highn.ay Intervals -- Gasoline Engines
Every
7,500 Miles (12 500 km): Engine Oil and Filter
Change (or every
12 months, whichever occurs first).
Chassis Lubrication (or every
12 months, whichever
occurs first). Drive Axle Service.
At 7,500 Miles (12 500 km) -- Then Every
15,000 Miles (25
000 km): Tire Rotation.
Every 15,000 Miles (25 000 km): Shields and
Underhood Insulation Inspection (GVWR above
8,500 lbs. only). Thermostatically Controlled Engine
Cooling Fan Check (or every
12 months, whichever
occurs first).
Every 30,000 Miles (50 000 km): Fuel Filter
Replacement. Air Cleaner Filter Replacement.
Front Wheel Bearing Repack (or at each brake
relining, whichever occurs first).
Every 50,000 Miles (83 000 km): Automatic
Transmission Service (vehicles over
8600 GVWR or
driven under severe conditions only).
Every 60,000 Miles (100 000 km): Engine Accessory
Drive Belt Inspection. Fuel Tank, Cap and Lines
Inspection. Exhaust Gas Recirculation System
Inspection. Evaporative Control System Inspection.
Every 100,000 Miles (166 000 km): Cooling System
Service (or every
60 months, whichever occurs first).
Spark Plug Wire Inspection. Spark Plug Replacement.
Positive Crankcase Ventilation
(PCV) Valve Inspection.
These intervals only summarize maintenance services.
Be sure to follow the complete maintenance schedule on
the following pages.