turn signal CHEVROLET EXPRESS 1996 1.G Owners Manual
[x] Cancel search | Manufacturer: CHEVROLET, Model Year: 1996, Model line: EXPRESS, Model: CHEVROLET EXPRESS 1996 1.GPages: 376, PDF Size: 18.83 MB
Page 11 of 376
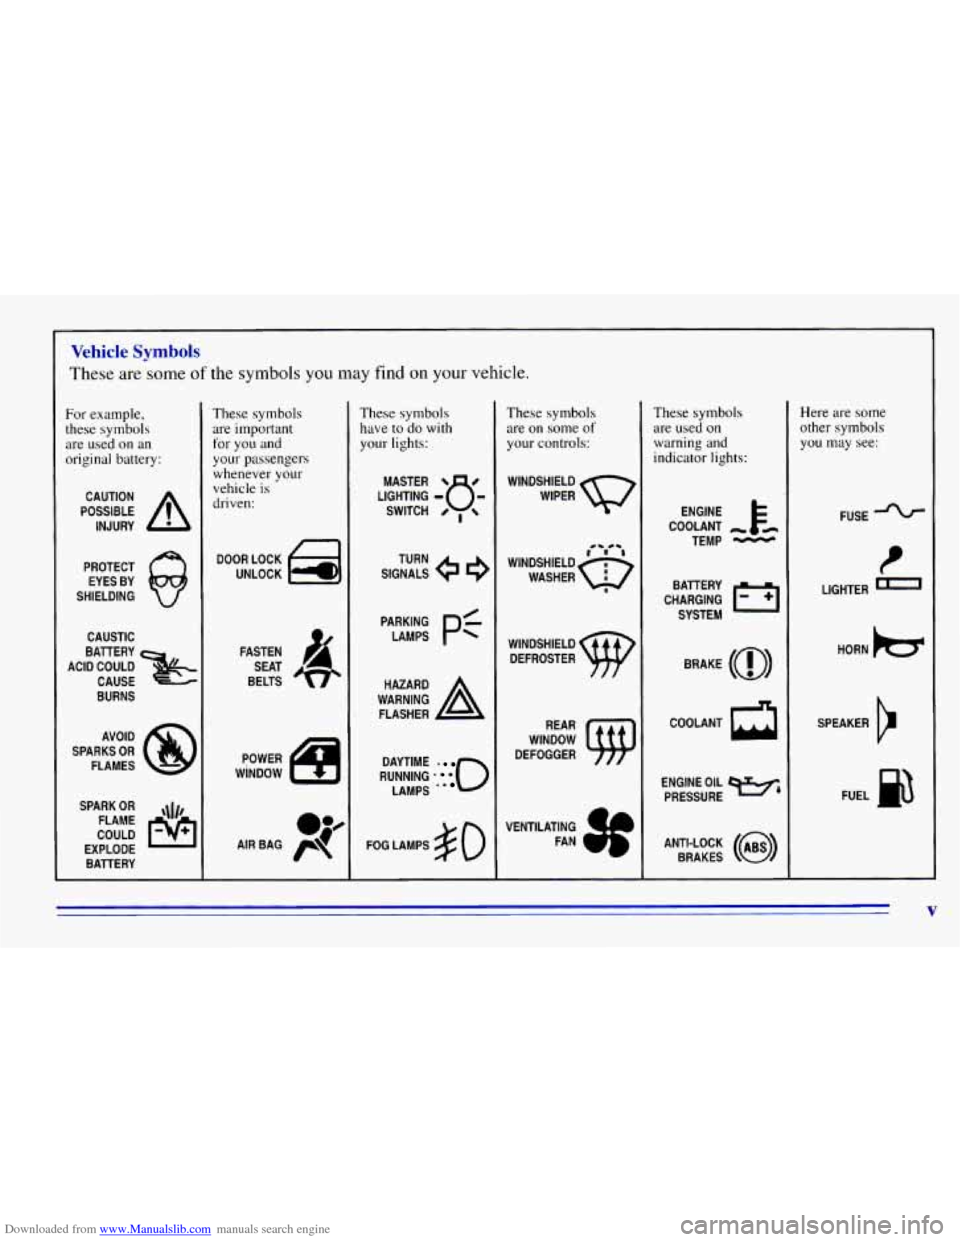
Downloaded from www.Manualslib.com manuals search engine Vehicle Symbols
These are some of the symbols you may find on your vehicle.
For example,
these symbols
are used
on an
original battery:
POSSIBLE A
CAUTION
INJURY
PROTECT EYES BY
SHIELDING
CAUSTIC
ACID COULD BATTERY
CAUSE
BURNS
SPARK
OR ,\I/,
COULD FLAME
EXPLODE BATTERY
These symbols
are important
for
you and
your passengers
whenever your
vehicle
is
driven:
DOOR LOCK
UNLOCK
FASTEN SEAT
BELTS
These symbols have to do with
your lights:
SIGNALS e e
TURN
RUNNING
-0
DAYTIME
LAMPS -*
FOG LAMPS # 0
These symbols
are on some of
your controls:
WINDSHIELD
DEFROSTER
VENTILATING FAN
These symbols
are used on
warning and
indicator lights:
COOLANT -
TEMP -
CHARGING BATTERY
SYSTEM
BRAKE
(0)
COOLANT a
ENGINE OIL e,
PRESSURE
ANTI-LOCK
(@)
BRAKES
Here are some
other symbols
you may see:
FUSE
t
LIGHTER -
HORN )tr
SPEAKER
b
FUEL m
V
Page 67 of 376
Downloaded from www.Manualslib.com manuals search engine Keyless Entry SysteeJ
If your vehicle has this option, you can lock and unlock
your doors from up
to 30 feet (9 m) away using the key
chain transmitter supplied with your vehicle.
Your Keyless Entry System operates
on a radio
frequency subject to Federal Communications
Commission (FCC) Rules.
This device complies with Part
15 of the FCC Rules.
Operation is subject to the following two conditions:
( 1) This device may not cause harmful interference,
and
(2) This device must accept any interference
received, including interference that may cause
undesired operation.
Should interference to this system occur, try this:
0
0
0
0
Check to determine if battery replacement is
necessary. See the instructions
on battery
replacement.
Check the distance.
You may be too far from your
vehicle. This product has a maximum range.
Check the location. Other vehicles or objects may
be blocking the signal.
See your
GM dealer or a qualified technician
for service. Changes
or modifications to this system
by other than an
authorized service facility could void authorization
to
use this equipment.
Operation
BfF
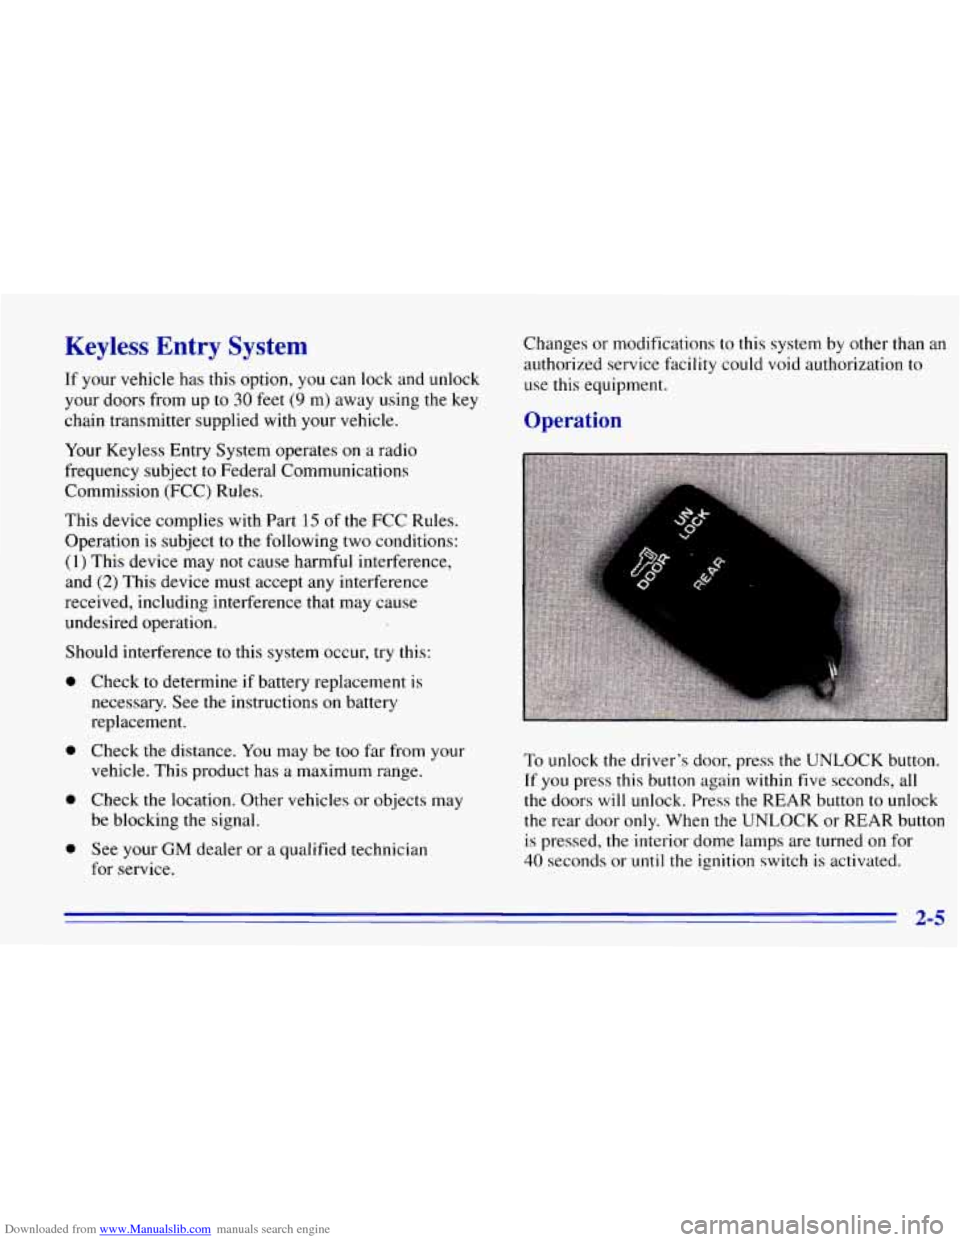
To unlock the driver’s door, press the UNLOCK button.
If you press this button again within five seconds, all
the doors will unlock. Press the REAR button to unlock
the rear door
only. When the UNLOCK or REAR button
is pressed, the interior dome lamps are turned on for
40 seconds or until the ignition switch is activated.
2-5
Page 91 of 376
Downloaded from www.Manualslib.com manuals search engine Tilt Wheel (Option)
A tilt steering wheel allows you to adjust the steering
wheel before you drive. You can also raise
it to the
highest level to give your legs more room when you
enter and exit the vehicle.
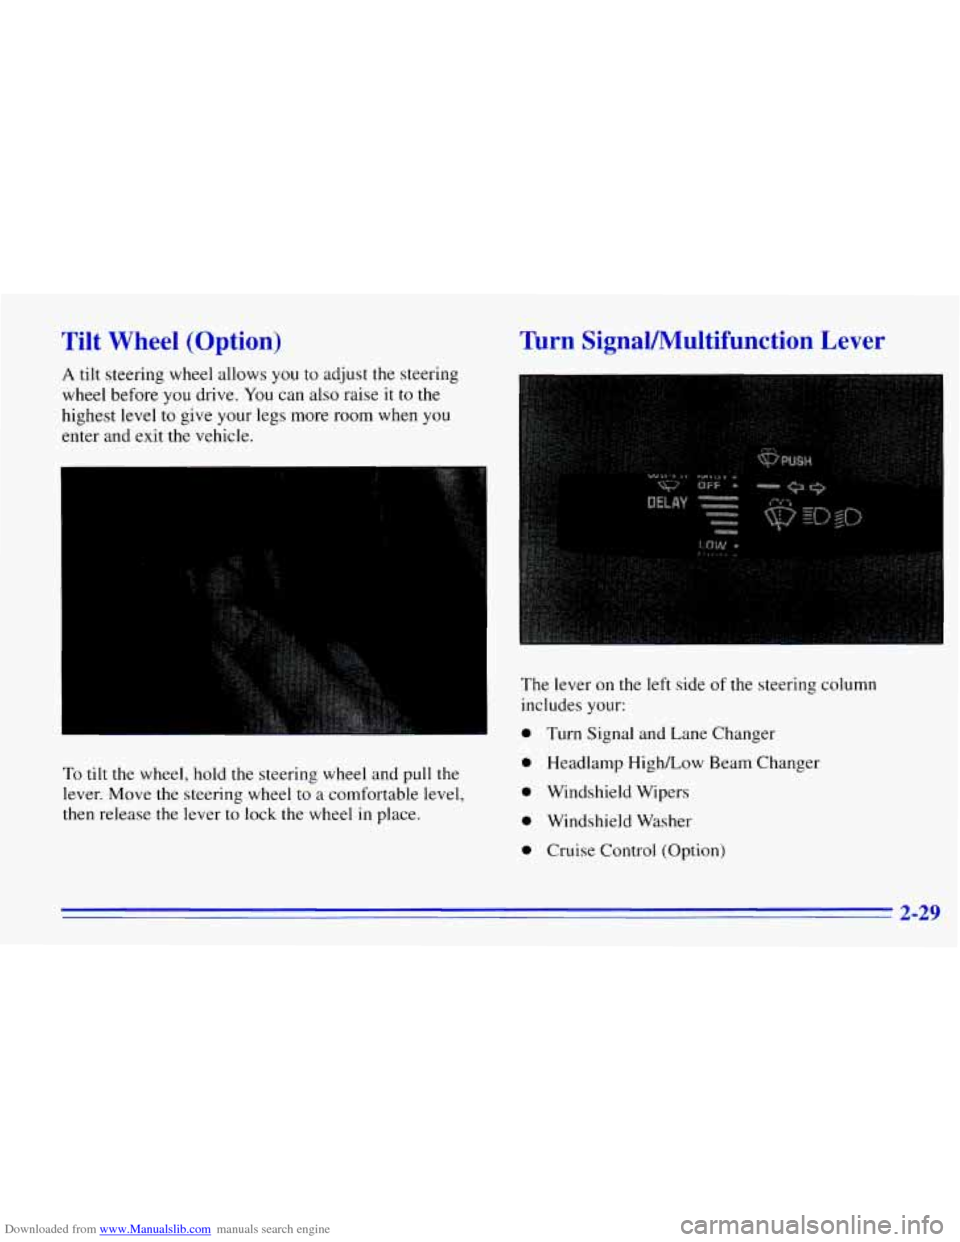
To tilt the wheel, hold the steering wheel and pull the
lever. Move the steering wheel
to a comfortable level,
then release the lever to lock the wheel
in place.
Turn SignaVMultifunction Lever
The lever on the left side of the steering column
includes your:
0 Turn Signal and Lane Changer
0 Headlamp High/Low Beam Changer
0 Windshield Wipers
0 Windshield Washer
0 Cruise Control (Option)
2-29
Page 92 of 376
Downloaded from www.Manualslib.com manuals search engine ’hrn Signal and Lane Change Signals
The turn signal has two upward (for right) and two
downward (for left) positions. These positions allow
you
to signal a turn or a lane change.
To signal
a turn, move the lever all the way up or down.
When the turn is finished, the lever will return
automatically.
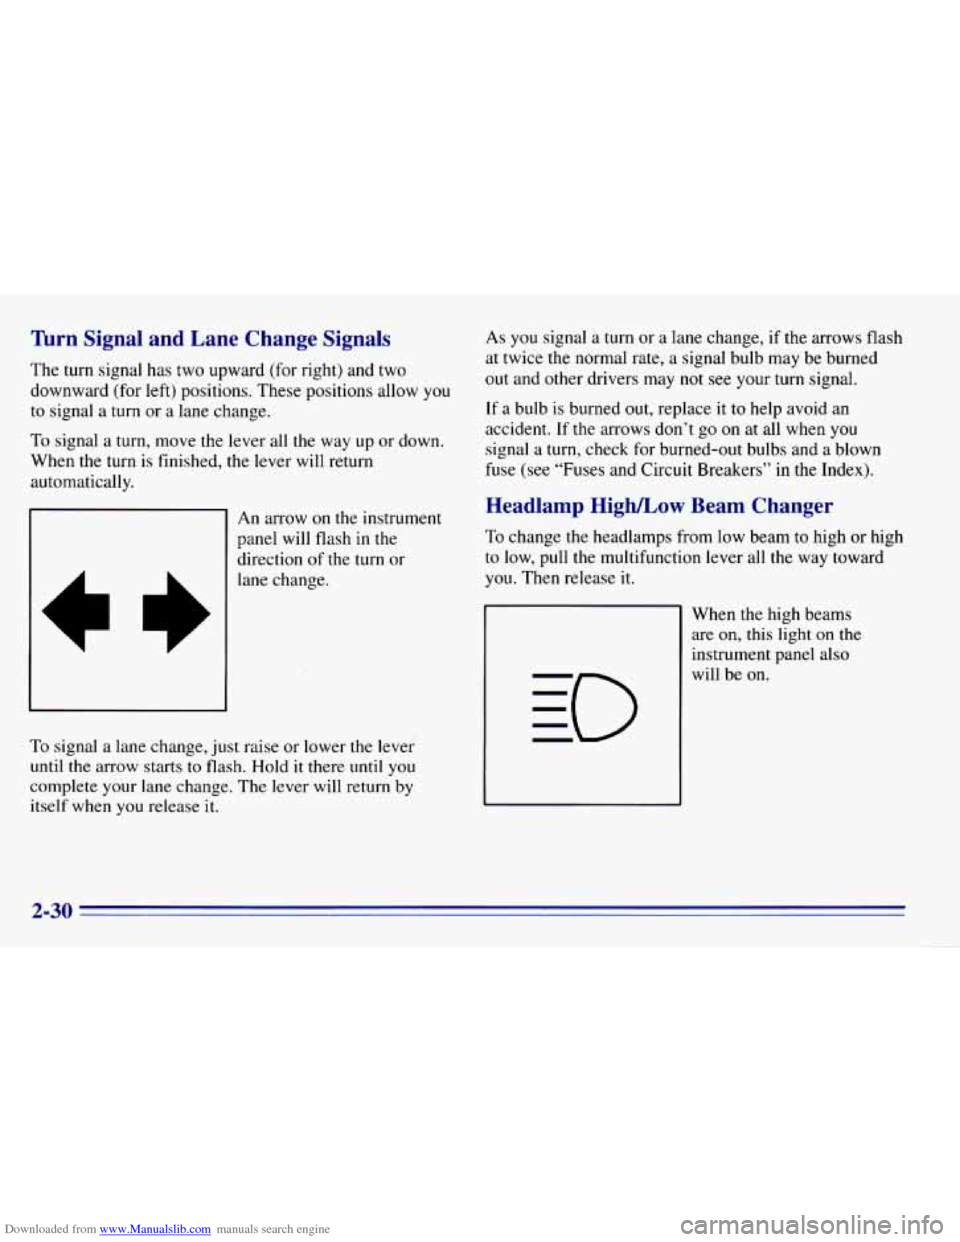
An arrow on the instrument
panel will flash in the
direction of the turn or
lane change.
To signal a lane change, just raise or lower the lever
until
the arrow starts to flash. Hold it there until you
complete your lane change. The lever will return by
itself when
you release it. As
you signal
a turn or a lane change, if the arrows flash
at twice the normal rate, a signal bulb may be burned
out and other drivers may not see your turn signal.
If a bulb is burned out, replace it to help avoid an
accident. If.the arrows don’t go on at all when
you
signal a turn, check for burned-out bulbs and a blown
fuse (see “Fuses and Circuit Breakers” in the Index).
Headlamp High/Low Beam Changer
To change the headlamps from low beam to high or high
to low, pull the multifunction lever all the way toward
you. Then release it.
When the high beams are
on, this light on the
instrument panel also
will be on.
2-30
.-
Page 98 of 376
Downloaded from www.Manualslib.com manuals search engine Rotate the switch knob clockwise again to the master
lighting symbol
to turn on all the lamps listed as well as
the headlamps.
Rotate the switch counterclockwise to
OFF to turn off
your lamps.
Rotate the thumb wheel next
to the switch knob up to
adjust instrument panel lights. Rotate the thumb wheel up
to the first notch to return the radio display and gearshift
indicator display
to full intensity when the headlamps or
parking lamps are
on.
Rotate the thumb wheel up to the second notch to
activate the interior dome lamps.
You can switch your headlamps from high to low beam
by pulling
on the turn signalhigh beam lever.
A circuit breaker protects your headlamps. If you have
an electrical overload, your headlamps will flicker on
and off. Have your headlamp wiring checked right away
if this happens.
Headlamps On Reminder
A buzzer will sound when your headlamps are turned on
and your ignition is in OFF, LOCK or ACCESSORY.
If
you need to use your headlamps when the ignition
switch is in
OFF, LOCK or ACCESSORY, the buzzer
can be turned off by turning the thumb wheel next to the
parking lampheadlamp switch all the way down.
Daytime Running Lamps (If Equipped)
Daytime Running Lamps (DRL) can make it easier for
others
to see the front of your vehicle during the day.
DRL can be helpful in many different driving
conditions, but they can be especially helpful in the
short periods after dawn and before sunset.
The DRL system will make your headlamps come
on at
a reduced brightness when:
0 The ignition is on,
The headlamp switch is off and
0 The parking brake is released.
If your vehicle was first sold, when new, in Canada,
your headlamps will come
on at reduced brightness.
2-36
Page 105 of 376
Downloaded from www.Manualslib.com manuals search engine Instrument Panel
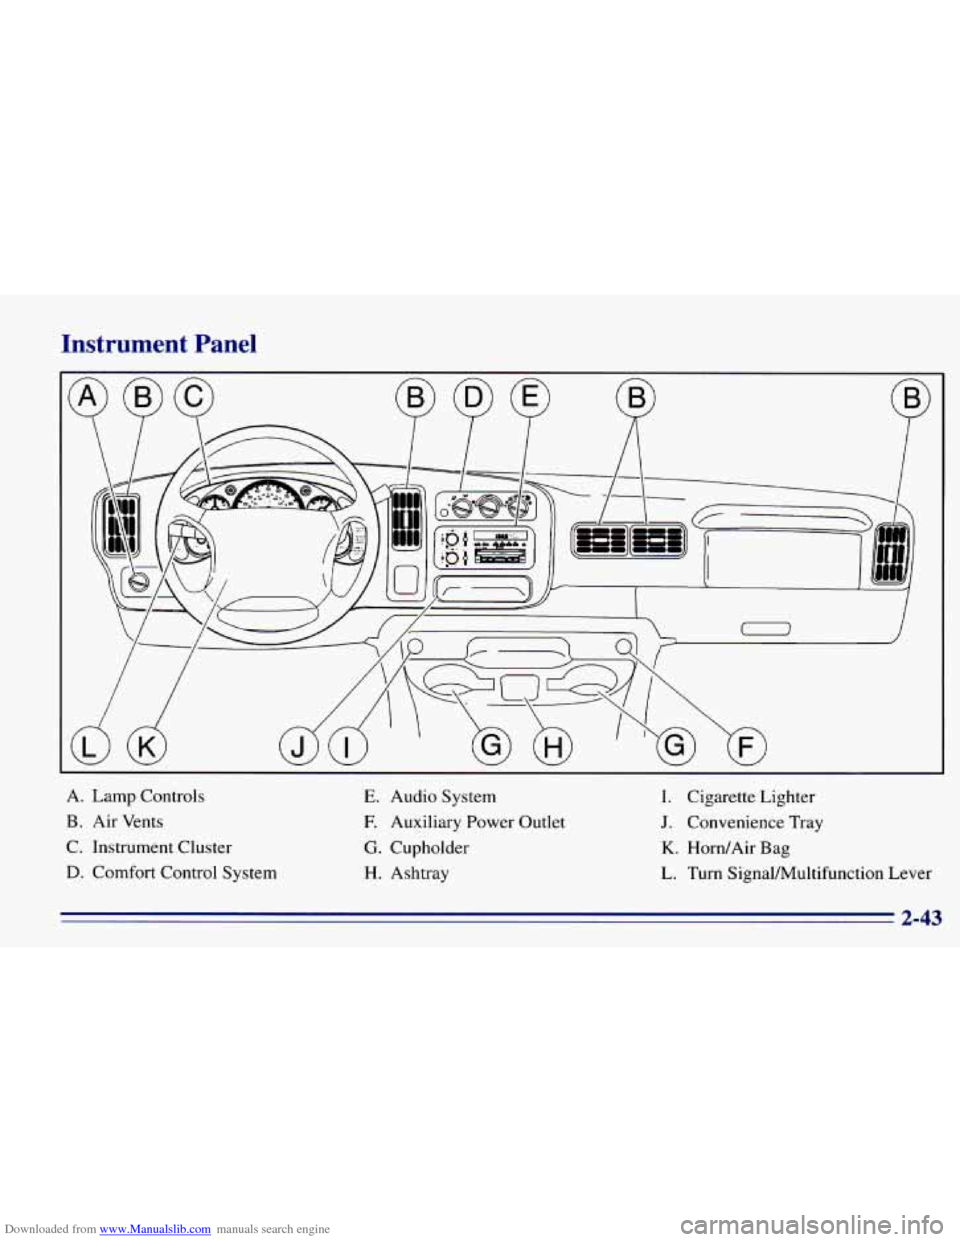
A. Lamp Controls
B. Air Vents
C, Instrument Cluster
D. Comfort Control System
E. Audio System
E Auxiliary Power Outlet
G. Cupholder
H. Ashtray
I. Cigarette Lighter
J. Convenience Tray
K. Horn/Air Bag
L. Turn SignalAhltifunction Lever
2-43
Page 108 of 376
Downloaded from www.Manualslib.com manuals search engine Warning Lights, Gages and Indicators
This part describes the warning lights and gages that
may be on your vehicle. The pictures will help
you
locate them.
Warning lights and gages can signal that something
is
wrong before it becomes serious enough to cause an
expensive repair or replacement. Paying attention to
your warning lights and gages could also save
you or
others from injury.
Warning lights come on when there may be or is a
problem with one
of your vehicle’s functions. As you
will see in the details on the next few pages, some
warning lights come on briefly when
you start the
engine just to let
you know they’re working. If you are
familiar with this section,
you should not be alarmed
when this happens.
Gages can indicate when there may be or is a problem
with one
of your vehicle’s functions. Often gages and
warning lights work together
to let you know when
there’s a problem with your vehicle.
When one of the warning lights comes
on and stays on
when
you are driving, or when one of the gages shows
there may
be a problem, check the section that tells you
what to do about it. Please follow this manual’s advice. Waiting
to do
repairs can be costly -- and even dangerous.
So please get to know your warning lights and gages.
They’re a big help.
Safety Belt Reminder Light
When the key is turned to RUN or START, a tone will
come on for about eight seconds
to remind people to
fasten their safety belts, unless the driver’s safety belt is
already buckled.
The safety belt light will
also come on and stay
on
for about 20 seconds, then
it will flash for about
55 seconds. If the driver’s
belt is already buckled,
neither the tone nor the
light will come
on.
Page 117 of 376
Downloaded from www.Manualslib.com manuals search engine Voltmeter
W
VOLTS
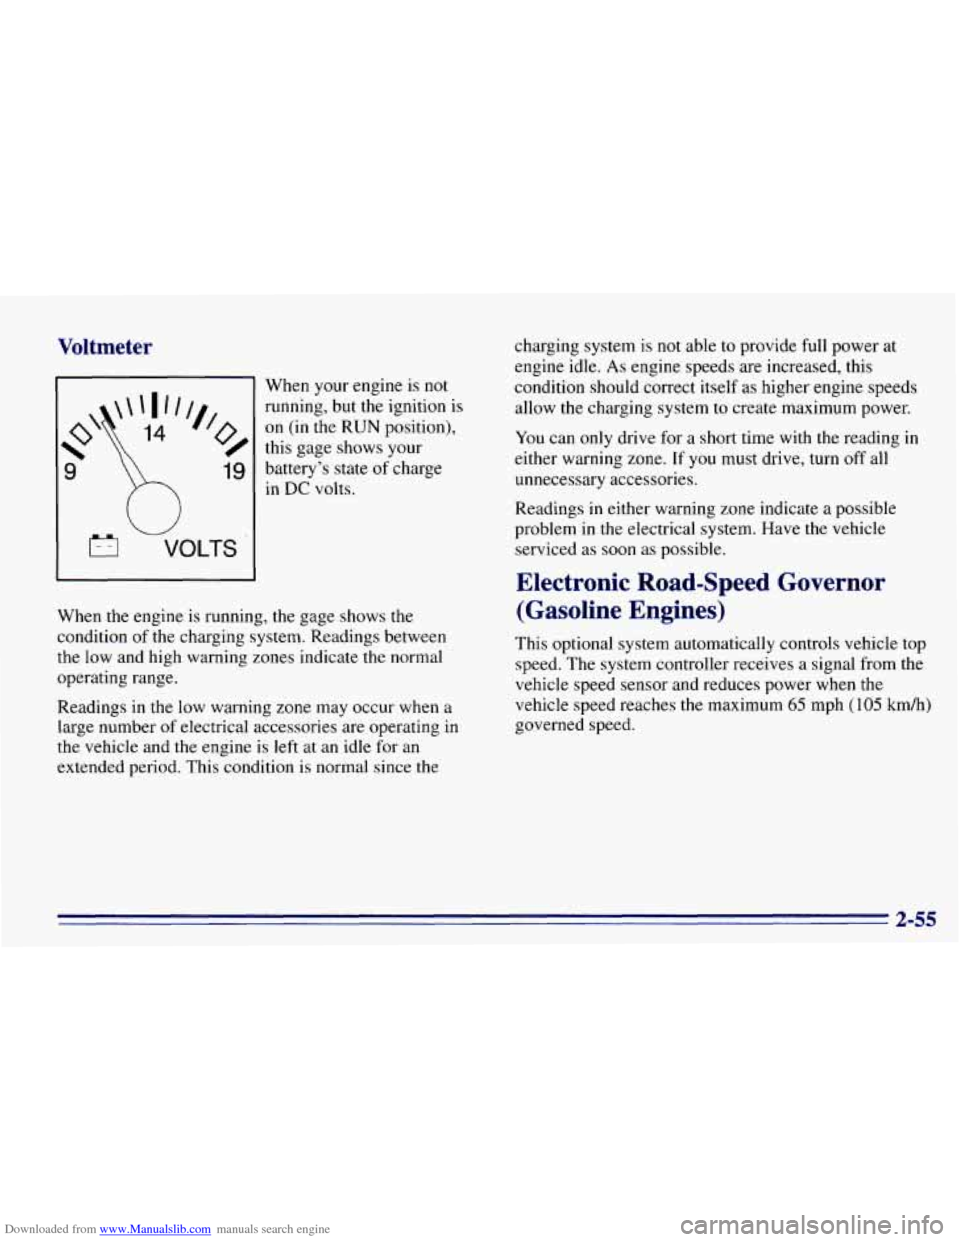
When your engine is not
running, but the ignition is
on (in the RUN position),
this gage shows your
battery’s state of charge
in DC volts.
When the engine is running, the gage shows the
condition of the charging system. Readings between
the low and high warning zones indicate the normal
operating range.
Readings in the low warning zone may occur when a
large number
of electrical accessories are operating in
the vehicle and the engine is left at an idle for an
extended period. This condition is normal since the charging
system is not able to provide full power at
engine idle.
As engine speeds are increased, this
condition should correct itself as higher engine speeds
allow the charging system to create maximum power.
You can only drive for a short time with the reading in
either warning zone.
If you must drive, turn off all
unnecessary accessories.
Readings in either warning zone indicate a possible
problem in the electrical system. Have the vehicle
serviced as
soon as possible.
Electronic Road-Speed Governor
(Gasoline Engines)
This optional system automatically controls vehicle top
speed. The system controller receives a signal from the
vehicle speed sensor and reduces power when
the
vehicle speed reaches the maximum 65 mph (105 km/h)
governed speed.
2-55
Page 146 of 376
Downloaded from www.Manualslib.com manuals search engine If the code entered is incorrect, SEC will appear on the
display. The radio will remain secured
until the correct
code is entered.
When battery power is disconnected from a secured
radio, the radio won’t
turn on and LOC will appear on
the display.
To unlock a secured radio, see “Unlocking the
Theft-Deterrent Feature After
a Power Loss” earlier in
this section.
Understanding Radio Reception
FM Stereo
FM stereo will give you the best sound. But FM signals
will reach only about 10 to 40 miles (16 to 65 km). Tall
buildings or hills can interfere with FM signals, causing
the sound to come and
go.
AM
The range for most AM stations is greater than for FM,
especially at night. The longer range, however, can
cause stations to interfere
with each other. AM can pick
up noise from things like storms and power lines. Try
reducing the treble
to reduce this noise if you ever get it.
3-26
Page 148 of 376
Downloaded from www.Manualslib.com manuals search engine Care of Your Cassette Tape Player
A tape player that is not cleaned regularly can cause
reduced sound quality, ruined cassettes or a damaged
mechanism. Cassette tapes should be stored in their
cases away from contaminants, direct sunlight and
extreme heat. If they aren’t, they may
not operate
properly or may cause failure of the tape player.
Your tape player should be cleaned regularly after every
50 hours of use. Your radio may display CLN to indicate
that
you have used your tape player for 50 hours without
resetting the tape clean timer.
If you notice a reduction in
sound quality, try a known good cassette to see if the tape
or the tape player is at fault. If this other cassette has no
improvement
in sound quality, clean the tape player.
Cleaning may be done with a scrubbing action,
non-abrasive cleaning cassette with pads which scrub
the tape head as the hubs
of the cleaner cassette turn. It
is normal for the cassette to eject while cleaning. Insert
the cassette at least three times to ensure thorough
cleaning.
A scrubbing action cleaning cassette is
available through your
GM dealer You
may
also choose a non-scrubbing action, wet-type
cleaner which uses a cassette with
a fabric belt to clean
the tape head. This type
of cleaning cassette will not
eject, It may not clean as thoroughly as the scrubbing
type cleaner.
Cassettes are subject
to wear and the sound quality may
degrade over time. Always make sure that the cassette
tape is
in good condition before you have your tape
player serviced.
Care of Your Compact Discs
Handle discs carefully. Store them in their original cases
or other protective cases and away from direct sunlight
and dust.
If the surface of a disc is soiled, dampen a
clean, soft cloth in a mild, neutral detergent solution and
clean it, wiping from
the center to the edge.
Be sure never to touch
the signal surface when handling
discs. Pick up discs by grasping the outer edges
or the
edge
of the hole and the outer edge.
3-28