wiring CHEVROLET EXPRESS 1997 1.G Owners Manual
[x] Cancel search | Manufacturer: CHEVROLET, Model Year: 1997, Model line: EXPRESS, Model: CHEVROLET EXPRESS 1997 1.GPages: 386, PDF Size: 20.32 MB
Page 75 of 386
Downloaded from www.Manualslib.com manuals search engine Both rear doors can be opened past 90 degrees by
opening the doors past the first detent
(90 degrees open),
then opening fully.
To close the rear doors, close the driver side rear door
first. Then, close the passenger side rear door. Check
to
make sure both doors are completely closed.
I-
It can be dangerous to drive with the rear doors
open because carbon monoxide (CO) gas can
come into your vehicle. You can’t see or smell
CO.
It can cause unconsciousness and even death.
CAUTION: (Continued) CAUTION:
(Continued)
I
If you must drive with the rear doors open or if
electrical wiring or other cable connections must
pass through the seal between the body and the
rear doors:
Make sure all windows are shut.
lbrn the fan on your heating or cooling
system to its highest speed with the setting
on VENT, HEAT, BLEND or DEF.
Additionally, on vehicles with heatingair
conditioning systems, NORM A/C or
BI-LEV A/C can
be used. That will force
outside air into your vehicle. See “Comfort
Controls” in the Index.
instrument panel, open them all the way.
If you have air outlets on or under the
See “Engine Exhaust” in the Index.
Page 92 of 386

Downloaded from www.Manualslib.com manuals search engine Rear Swing-Out Window
To close the window, pull the latch toward you and push
down
on the latch to lock it. Your rear swing-out
windows
work the same way, but the latch is at the
bottom edge of the window.
It can be dangerous to drive with the rear
swing-out windows or rear door@) open because
carbon monoxide
(CO) gas can come into your
vehicle. You can’t see
or smell CO. It can cause
unconsciousness and even death.
If you must drive with the rear swing-out
windows or rear door(s) open or if electrical
wiring or other cable connections must pass
through the seal between the body and the rear
swing-out windows or rear door(s):
0 Make sure all windows are shut.
Thrn the fan on your heating or cooling
system to its highest speed with the setting on
VENT,
HEAT, BLEND or DEE Additionally,
on vehicles with heatingair conditioning
systems,
NORM A/C or BI-LEV A/C can be
used. That will force outside air into your
vehicle. See “Comfort Controls’’ in the Index.
instrument panel, open them
all the way.
0 If you have air outlets on or under the
See “Engine Exhaust” in the Index.
2-31
Page 100 of 386
Downloaded from www.Manualslib.com manuals search engine When the wheel is turned to full brilliance, and then into
the first detent position, the radio display and PRNDL
display will go to the day mode (full intensity).
This is
known as “parade” mode. The rest
of the I/P
illumination will stay
in the maximum dimming state
(full brilliance dimming). Turning the wheel up one
more detent will activate the interior dome light circuit
(with slightly higher effort).
The dome lights cannot be turned
on by depressing the
dome light switch button, located below the parWhead
lamp switch knob. This switch is a dome lamp off
switch and will only interrupt inputs from the door jamb
switches, inhibiting interior light operation when
depressed. It will not inhibit the light function from
the
I/P dimmer switch.
The delayed entry will allow
you to enter or exit your
vehicle with the lights staying on for about
20 seconds
after the door
is closed or ignition is cycled.
Rotate
the switch knob clockwise to the parking lamp
symbol
to turn on:
0 Parking Lamps
0 Sidemarker Lamps
Taillamps
0 License Plate Lamps
0 Instrument Panel Lights
Ashtray Lamp
0 Glove Box Lamp
Rotate
the switch knob clockwise again to the master
lighting symbol to turn
on all the lamps listed above as
well as the headlamps.
Rotate the switch counterclockwise to OFF to
turn off
your lamps and lights.
Rotate the thumb wheel
next to the switch knob up to
adjust instrument panel lights. Rotate the thumb wheel
up to
the first notch to return the radio display and
gearshift indicator Vacuum Fluorescence
(VF) display
to full intensity when the headlamps or parking lamps
are
on.
Rotate the thumb wheel up to the second notch to
activate the interior dome lamps.
You can switch your headlamps from high to low beam
by pulling on the turn signalhigh beam lever.
A circuit breaker protects your headlamps. If you have
an electrical overload, your headlamps will flicker
on
and off. Have your headlamp wiring checked right away
if this happens.
Page 112 of 386
Downloaded from www.Manualslib.com manuals search engine Air Bag Readiness Light
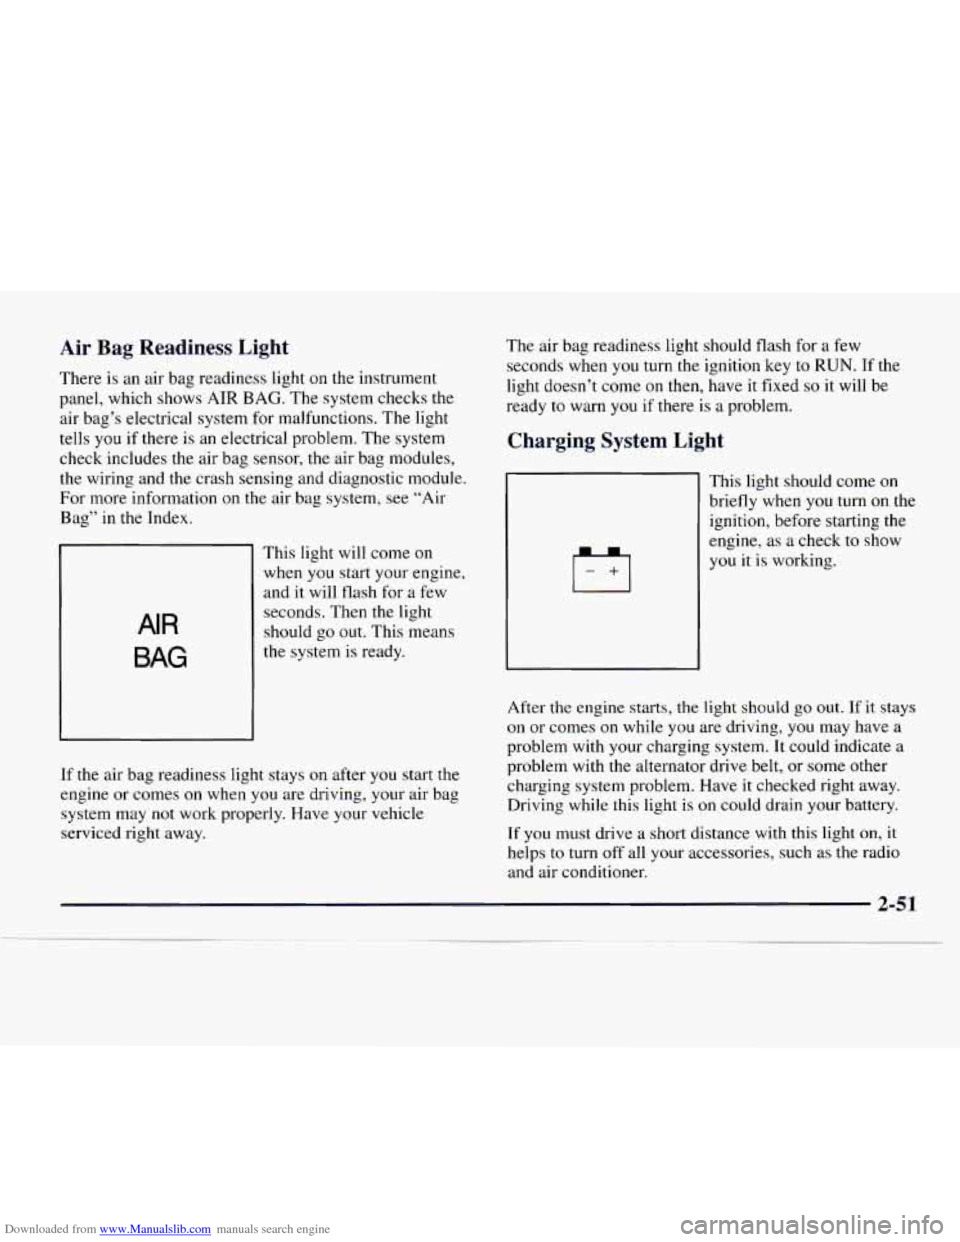
There is an air bag readiness light on the instrument
panel, which shows
AIR BAG. The system checks the
air bag’s electrical system for malfunctions. The light
tells you
if there is an electrical problem. The system
check includes the air bag sensor,
the air bag modules,
the wiring and the crash sensing and diagnostic module.
For more information on the air bag system, see “Air
Bag” in the Index.
AIR
BAG
This light will come on
when
you start your engine,
and it will
flash for a few
seconds. Then
the light
should go out. This means
the system is ready.
If the air bag readiness light stays on after
you start the
engine or comes on when you are driving, your air bag
system may not work properly. Have your vehicle
serviced right away. The air
bag readiness light should flash for a few
seconds when you turn the ignition key to
RUN. If the
light doesn’t come on then, have it fixed
so it will be
ready to warn
you if there is a problem.
Charging System Light
This light should come on
briefly when
you turn on the
ignition, before starting the
engine, as a check to show
you it is working.
After the engine starts,
the light should go out. If it stays
on or comes on while you are driving, you may have a
problem with your charging system. It could indicate a
problem with
the alternator drive belt, or some other
charging system problem. Have
it checked right away.
Driving while this light
is on could drain your battery.
If
you must drive a short distance with this light on, it
helps to turn off all your accessories, such as the radio
and air conditioner.
2-51
Page 186 of 386
Downloaded from www.Manualslib.com manuals search engine Total Weight on Your Vehicle’s Tires
Be sure your vehicle’s tires are inflated to the upper
limit for cold tires. You’ll find these numbers
on the
Certification label at
the rear edge of the driver’s door or
see “Tire Loading” in the Index. Then be sure
you don’t
go over the
GVW limit for your vehicle, including the
weight
of the trailer tongue.
Hitches
It’s important to have the correct hitch equipment.
Crosswinds, large trucks going by and rough roads are a
few reasons why you’ll need the right hitch. Here are
some rules to follow:
0 The bumpers on your vehicle are not intended for
hitches.
Do not attach rental hitches or other
bumper-type hitches
to them. Use only a
frame-mounted hitch that does not attach
to the
bumper. Do not use a ball hitch, because it could pull
the bumper
loose.
If you’ll be pulling a trailer that, when loaded, will
weigh more than
4,000 lbs. (1 800 kg), be sure to use
a properly mounted, weight-distributing hitch and
sway control
of the proper size. This equipment is
very important for proper vehicle loading and good
handling when you’re driving.
0 Will you have to make any holes in the body of your
vehicle when you install a trailer hitch?
If you’re using the wiring provided by the
factory-installed hitch,
you should not need to make
any holes in the body
of your vehicle. However, if
you have an aftermarket hitch installed, you may
need
to make holes in the body.
If you do, then be sure to seal the holes later when
you remove the hitch. If you don’t seal them, deadly
carbon monoxide (CO) from your exhaust can get
into your vehicle (see “Carbon Monoxide” in the
Index). Dirt and water can,
too.
Page 189 of 386
Downloaded from www.Manualslib.com manuals search engine Making ’hrns
NOTICE:
Making very sharp turns while trailering could
cause the trailer to come in contact with the
vehicle. Your vehicle could be damaged. Avoid
making very sharp turns while trailering.
When you’re turning with a trailer, make wider turns
than normal.
Do this so your trailer won’t strike soft
shoulders, curbs, road signs, trees or other objects.
Avoid jerky or sudden maneuvers. Signal well
in advance.
’hrn Signals When Towing a Trailer
When you tow a trailer, your vehicle has to have extra
wiring and a heavy-duty turn signal flasher (included in
the optional trailering package).
The arrows on your instrument panel will flash
whenever you signal a turn or lane change. Properly
hooked up, the trailer lamps will also flash, telling other
drivers you’re about to
turn, change lanes or stop. When
towing a trailer, the arrows
on your instrument
panel will flash for turns even if the bulbs
on the trailer
are burned out. Thus, you may think drivers behind
you
are seeing your signal when they are not. It’s important
to check occasionally to be sure the trailer bulbs are
still working.
Driving On Grades
Reduce speed and shift to a lower gear before you
start down a long or steep downgrade. If you don’t shift
down, you might have to use your brakes
so much that
they would get
hot and no longer work well.
On a long uphill grade, shift down and reduce your
speed
to around 45 mph (70 kmh) to reduce the
possibility of engine and transmission overheating.
When towing at high altitude on steep uphill grades,
consider
the following: Engine coolant will boil at a
lower temperature than at normal altitudes. If you turn
your engine off immediately after towing at high altitude
on steep uphill grades, your vehicle may show signs
similar
to engine overheating. To avoid this, let the
engine run while parked (preferably on level ground)
with the automatic transmission in
PARK (P) for a
few minutes before turning the engine off. If you do
get the overheat warning, see “Engine Overheating”
in
the Index.
4-36
Page 191 of 386
Downloaded from www.Manualslib.com manuals search engine Trailer Wiring Harness
The light-duty trailer wiring harness is a six-wire
harness assembly. The optional heavy-duty trailer
wiring package is an eight-wire harness assembly. The
harness is stored under the vehicle, along the driver’s
side rear corner of the frame rail.
The heavy-duty trailer
wiring harness has a 30-amp feed wire. Both harnesses
come without connectors and should be wired by a
qualified electrical technician. The technician can use
the following color code chart when connecting the
wiring harness to your trailer.
0
0
0
0
0
0
0
0
Dark Blue: Use for electric trailer brakes (eight-wire
harness only)
Orange: Trailer accessory (eight-wire harness only)
Light Green: Back-up lamps
Brown: Parking lamps
Yellow: Left stoplamp and turn signal
Dark Green: Right stoplamp and turn signal
White (heavy gage): Ground wire
White (light gage): Center high-mounted stoplamp
Securely attach the harness to the trailer, then tape or
strap it
to your vehicle’s frame rail. Be sure you leave it
loose enough
so the wiring doesn’t bend or break, but
not
so loose that it drags on the ground. Store the
harness in its original place. Wrap
the harness together
and
tie it neatly so it won’t be damaged.
Page 292 of 386
Downloaded from www.Manualslib.com manuals search engine Electrical System
Add-on Electrical Equipment
I NOTICE:
Don’t add anything electrical to your vehicle
unless you check with your dealer first. Some
electrical equipment can damage your vehicle
and the damage wouldn’t be covered
by your
warranty. Some add-on electrical equipment
can keep other components from working as
they should.
Your vehicle has an air bag system. Before attempting to
add anything electrical to your vehicle, see “Servicing
Your Air Bag-Equipped Vehicle”
in the Index.
Headlamp Wiring
The headlamp wiring is protected by a circuit breaker in
the lamp switch. An electrical overload will cause the
lamps to flicker on and
off, or in some cases to remain
off. If this happens, have your headlamp wiring checked
right away.
Windshield Wiper Fuses
The windshield wiper motor is protected by a circuit
breaker and a fuse.
If the motor overheats due to heavy
snow, etc., the wiper will stop until the motor cools.
Although the circuit is protected from electrical
overload, overload due
to heavy snow, etc., may cause
wiper linkage damage. Always clear ice and heavy snow
from the the windshield before using the windshield
wipers.
If the overload is caused by some electrical
problem and
not snow, etc., be sure to get it fixed.
Page 378 of 386
Downloaded from www.Manualslib.com manuals search engine Halogen Bulbs ................................ 6-32
Hazard Warning Flashers
.......................... 5-2
Head Restraints
................................. 1-5
Bulb Replacement ............................ 6-33
High/Low Beam Changer ...................... 2-34
OnReminder
................................ 2-40
Hearing Impaired. Customer Assistance
.............. 8-4
Heating
........................................ 3-7
High-Beam Headlamps
.......................... 2-34
Highway Hypnosis
.............................. 4-22
Hill and Mountain Roads
......................... 4-22
Hitches. Trailer
................................. 4-33
Hood
Checking Things Under
......................... 6-7
Prop
........................................ 6-8
Release
...................................... 6-7
Horn
......................................... 2-32
Hydroplaning
.................................. 4- 18
Headlamps .................................... 2-39
Wiring
..................................... 6-59
Ignition Switch
................................ 2- 16
Inflation. Tire .................................. 6-42
Inside Daymight Rearview Mirror
................. 2-43
Inspections
.................................... 7-49
Brakesystem
................................ 7-50
Exhaust Systems
............................. 7-49
Radiator and Heater Hose
...................... 7-49
RearAxle
................................... 7-50
Ignition Transmission
Lock Check
................. 7-47 Steering
.................................... 7-49
Suspension
.................................. 7-49
Throttle Linkage
.............................. 7-49
Cleaning
.................................... 6-52
Cluster
..................................... 2-48
FuseBlock
.................................. 6-60
Interior Lamps
................................. 2-40
Brightness Control
............................ 2-38
.................................... J ack. . Tire 5-25
Jump Starting ................................... 5-3
Keyless Entry System
........................... 2-6
Keys
.......................................... 2-2
Labels 4-27
Certification
................................. 4-27
Certification/Tire
............................. 4-27
Service Parts Identification
..................... 6-58
Tire-Loading Information
...................... 4-27
Vehicle Identification Number
................... 6-58
Dome
...................................... 2-40
Interior
..................................... 2-40
OnReminder
................................ 2-40
Panel
....................................... 2-40
Underhood
.................................. 2-42
Lalnps
........................................ 2-38
Leaving
Your Vehicle with the Engine Running ....... 2-26
Lighter
....................................... 2-45
Page 383 of 386
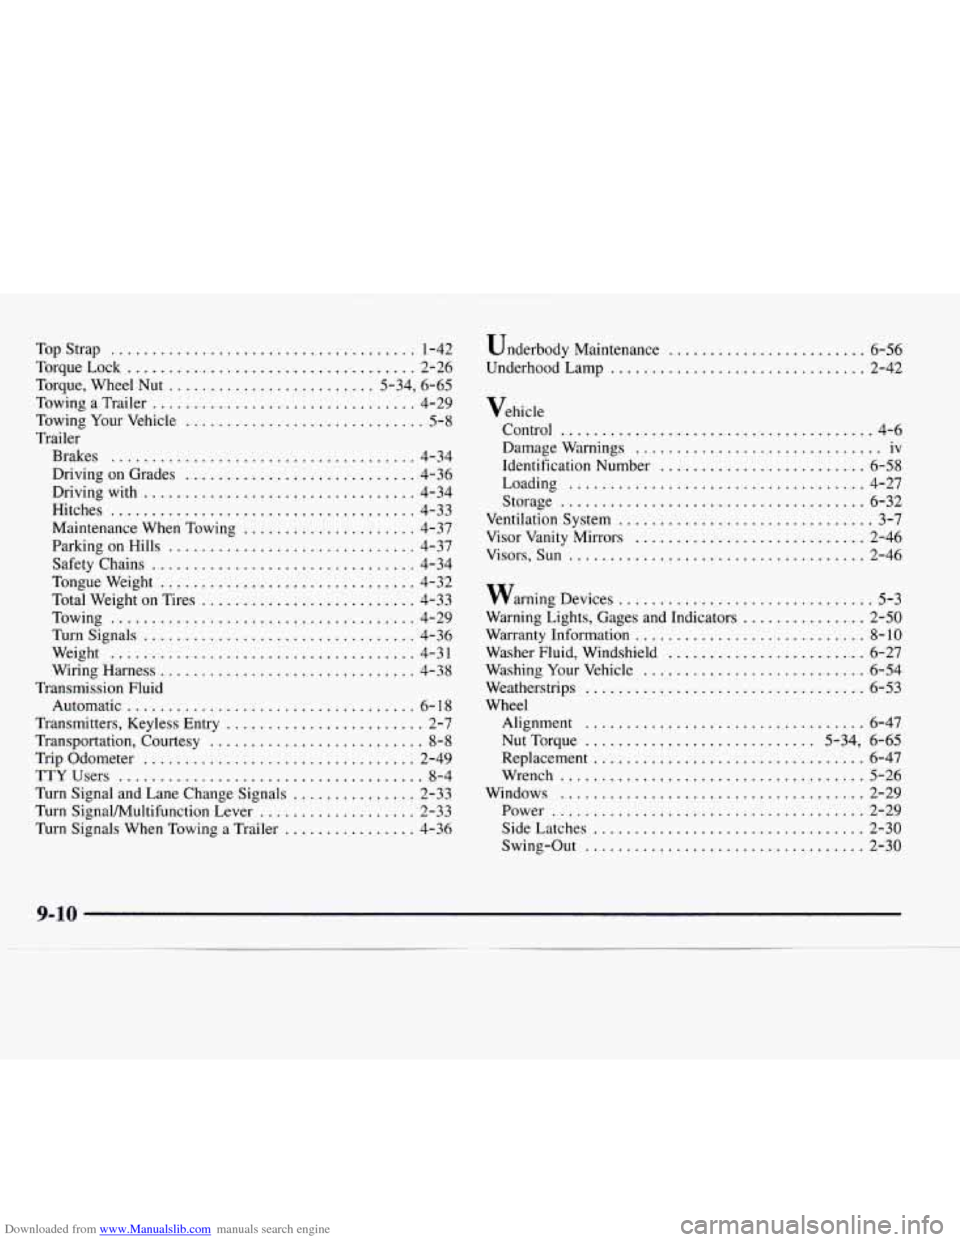
Downloaded from www.Manualslib.com manuals search engine TopStrap ..................................... 1-42
TorqueLock
................................... 2-26
Torque. Wheel Nut
......................... 5-34. 6-65
Towing a Trailer
................................ 4-29
Towing Your Vehicle
............................. 5-8
Trailer
Brakes
..................................... 4-34
Driving on Grades
............................ 4-36
Drivingwith
................................. 4-34
Hitches
..................................... 4-33
Maintenance When Towing
..................... 4-37
Parking on Hills
.............................. 4-37
Safety Chains
................................ 4-34
Tongueweight
............................... 4-32
Total Weight on Tires
.......................... 4-33
Towing
..................................... 4-29
Turnsignals
................................. 4-36
Wiring Harness
............................... 4-38
Transmission Fluid
Automatic
................................... 6- 1 8
Transmitters. Keyless Entry
........................ 2-7
Transportation. Courtesy .......................... 8-8
Trip Odometer
................................. 2-49
TTYUsers
..................................... 8-4
Turn Signal and Lane Change Signals
............... 2-33
Turn SignalMultifunction Lever
................... 2-33
Turn Signals When Towing a Trailer
................ 4-36
Weight
..................................... 4-31 Underbody
Maintenance
........................ 6-56
UnderhoodLamp
............................... 2-42
Vehicle Control
...................................... 4-6
Damage Warnings
.............................. iv
Identification Number
......................... 6-58
Loading
.................................... 4-27
Storage
..................................... 6-32
Ventilation System
............................... 3-7
Visor Vanity Mirrors
............................ 2-46
Visors. Sun .................................... 2-46
warning Devices
............................... 5-3
Warning Lights. Gages and Indicators
............... 2-50
Warranty Information ............................ 8-10
Washer Fluid. Windshield
........................ 6-27
Washing Your Vehicle
........................... 6-54
Weatherstrips
.................................. 6-53
Wheel
Alignment
.................................. 6-47
Nut Torque ............................ 5-34. 6-65
Replacement
................................. 6-47
Wrench
..................................... 5-26
Windows
..................................... 2-29
Power
...................................... 2-29
Side Latches
................................. 2-30
Swing-Out .................................. 2-30