belt CHEVROLET EXPRESS 2008 Repair Manual
[x] Cancel search | Manufacturer: CHEVROLET, Model Year: 2008, Model line: EXPRESS, Model: CHEVROLET EXPRESS 2008Pages: 440, PDF Size: 2.42 MB
Page 121 of 440
Rear Doors
{WARNING:
Unlocked doors can be dangerous.
•Passengers, especially children, can easily
open the doors and fall out of a moving
vehicle. When a door is locked, the handle
will not open it. The chance of being thrown
out of the vehicle in a crash is increased if the
doors are not locked. So, all passengers
should wear safety belts properly and the
doors should be locked whenever the vehicle
is driven.
•Young children who get into unlocked vehicles
may be unable to get out. A child can be
overcome by extreme heat and can suffer
permanent injuries or even death from heat
stroke. Always lock the vehicle whenever
leaving it.
•Outsiders can easily enter through an
unlocked door when you slow down or stop
your vehicle. Locking your doors can help
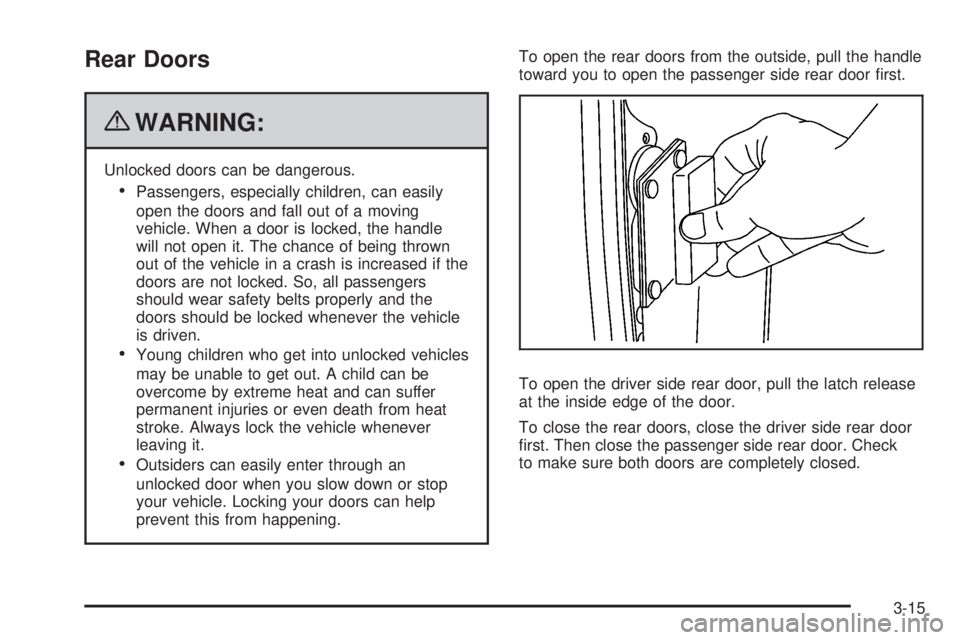
prevent this from happening.To open the rear doors from the outside, pull the handle
toward you to open the passenger side rear door first.
To open the driver side rear door, pull the latch release
at the inside edge of the door.
To close the rear doors, close the driver side rear door
first. Then close the passenger side rear door. Check
to make sure both doors are completely closed.
3-15
Page 125 of 440
Enhanced Technology Glass
The vehicle may be equipped with Enhanced
Technology Glass (ETG). ETG is part of the overall
occupant protection system on passenger vans. ETG
may help to keep passengers sitting next to these fixed
windows from being ejected through the glass in
some, but not in all crashes. Even with this glass, safety
belts must still be worn at all times. For passenger
vans, use only ETG glass approved for your vehicle for
replacement when damaged.
The following table shows laminated glass location,
based on vehicle model and options.
Vehicle Con�guration ETG Locations
Eight Seat
Passenger VansSliding door forward
window
Twelve and Fifteen Seat
Passenger VansSliding door forward
window and rear-most
side windows
Long Wheelbase
Cargo VansRear-most side windows
Sun Visors
To block out glare, swing down the sun visors. You can
also swing them to the side.
Visor Vanity Mirror
The vehicle may have visor vanity mirrors, with or
without lamps. Lift the mirror cover to turn the lamps on,
if equipped.
Theft-Deterrent Systems
Vehicle theft is big business, especially in some cities.
This vehicle has theft-deterrent features, however,
they do not make it impossible to steal.
3-19
Page 151 of 440
Instrument Panel Overview...............................4-3
Hazard Warning Flashers................................4-3
Horn .............................................................4-3
Tilt Wheel.....................................................4-3
Turn Signal/Multifunction Lever.........................4-4
Turn and Lane-Change Signals........................4-4
Headlamp High/Low-Beam Changer..................4-5
Flash-to-Pass.................................................4-5
Windshield Wipers..........................................4-5
Windshield Washer.........................................4-6
Cruise Control................................................4-6
Exterior Lamps...............................................4-9
Headlamps on Reminder................................4-10
Daytime Running Lamps (DRL).......................4-10
Automatic Headlamp System..........................4-11
Instrument Panel Brightness...........................4-11
Dome Lamps ...............................................4-12
Dome Lamp Override....................................4-12
Entry/Exit Lighting.........................................4-13
Reading Lamps............................................4-13
Electric Power Management...........................4-13
Battery Run-Down Protection..........................4-14
Accessory Power Outlet(s).............................4-14
Ashtray(s) and Cigarette Lighter......................4-15Climate Controls............................................4-15
Climate Control System.................................4-15
Outlet Adjustment.........................................4-17
Rear Heating System....................................4-18
Rear Air Conditioning and Heating System.......4-18
Warning Lights, Gages, and Indicators............4-20
Instrument Panel Cluster................................4-21
Speedometer and Odometer...........................4-22
Trip Odometer..............................................4-22
Safety Belt Reminders...................................4-22
Airbag Readiness Light
..................................4-23
Airbag Off Light............................................4-24
Passenger Airbag Status Indicator...................4-25
Charging System Light..................................4-26
Voltmeter Gage............................................4-27
Brake System Warning Light..........................4-27
Antilock Brake System (ABS) Warning Light.....4-28
StabiliTrak
®Indicator Light.............................4-29
Engine Coolant Temperature Gage..................4-29
Tire Pressure Light.......................................4-30
Malfunction Indicator Lamp.............................4-30
Oil Pressure Gage........................................4-33
Oil Pressure Light.........................................4-34
Section 4 Instrument Panel
4-1
Page 172 of 440
Speedometer and Odometer
The speedometer shows the vehicle speed in both miles
per hour (mph) and kilometers per hour (km/h).
The odometer shows how far the vehicle has been
driven, in either miles (used in the United States)
or kilometers (used in Canada).
This vehicle has a tamper resistant odometer. The
digital odometer will read 999,999 if it is turned back.
If the vehicle needs a new odometer installed, it must be
set to the mileage total of the old odometer. If that is
not possible, then it must be set at zero and a label must
be put on the driver door to show the old mileage
reading when the new odometer was installed.
Trip Odometer
The trip odometer can show how far the vehicle has
been driven since the trip odometer was last set to zero.
Press the Trip/Fuel button on the Driver Information
Center (DIC) switch to display the trip odometer and the
regular odometer information.
SeeDIC Operation and Displays on page 4-37for more
information on resetting the trip odometer.
To display the odometer reading with the ignition off,
press the Trip/Fuel button on the Driver Information
Center (DIC) switch.
Safety Belt Reminders
Safety Belt Reminder Light
When the engine is started, a chime sounds for several
seconds to remind a driver to fasten the safety belt,
unless the driver safety belt is already buckled.
The safety belt light comes
on and stays on for
several seconds, then
flashes for several more.
This chime and light are repeated if the driver remains
unbuckled and the vehicle is in motion. If the driver
safety belt is already buckled, neither the chime nor the
light comes on.
Passenger Safety Belt Reminder Light
Several seconds after the engine is started, a chime
sounds for several seconds to remind the front
passenger to buckle their safety belt. The passenger
safety belt light, located on the instrument panel, comes
on and stays on for several seconds and then flashes
for several more.
4-22
Page 173 of 440
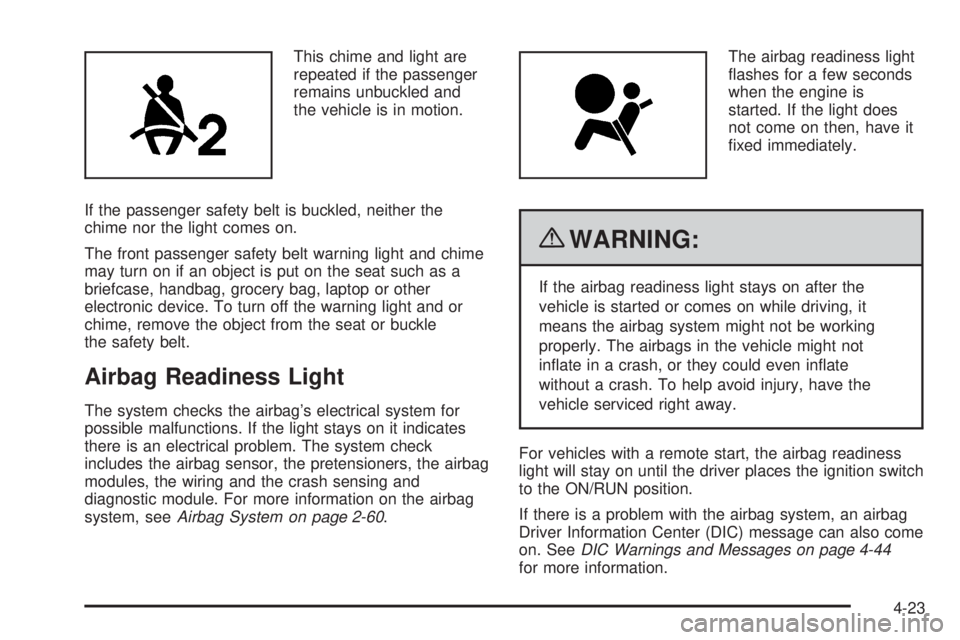
This chime and light are
repeated if the passenger
remains unbuckled and
the vehicle is in motion.
If the passenger safety belt is buckled, neither the
chime nor the light comes on.
The front passenger safety belt warning light and chime
may turn on if an object is put on the seat such as a
briefcase, handbag, grocery bag, laptop or other
electronic device. To turn off the warning light and or
chime, remove the object from the seat or buckle
the safety belt.
Airbag Readiness Light
The system checks the airbag’s electrical system for
possible malfunctions. If the light stays on it indicates
there is an electrical problem. The system check
includes the airbag sensor, the pretensioners, the airbag
modules, the wiring and the crash sensing and
diagnostic module. For more information on the airbag
system, seeAirbag System on page 2-60.The airbag readiness light
flashes for a few seconds
when the engine is
started. If the light does
not come on then, have it
fixed immediately.
{WARNING:
If the airbag readiness light stays on after the
vehicle is started or comes on while driving, it
means the airbag system might not be working
properly. The airbags in the vehicle might not
inflate in a crash, or they could even inflate
without a crash. To help avoid injury, have the
vehicle serviced right away.
For vehicles with a remote start, the airbag readiness
light will stay on until the driver places the ignition switch
to the ON/RUN position.
If there is a problem with the airbag system, an airbag
Driver Information Center (DIC) message can also come
on. SeeDIC Warnings and Messages on page 4-44
for more information.
4-23
Page 176 of 440
If the word OFF or the off symbol is lit on the airbag
status indicator, it means that the passenger sensing
system has turned off the right front passenger
frontal airbag.
If, after several seconds, both status indicator lights
remain on, or if there are no lights at all, there may be a
problem with the lights or the passenger sensing
system. See your dealer/retailer for service.
{WARNING:
If the airbag readiness light ever comes on and
stays on, it means that something may be wrong
with the airbag system. To help avoid injury to
yourself or others, have the vehicle serviced right
away. SeeAirbag Readiness Light on page 4-23
for more information, including important safety
information.
Charging System Light
This light comes on briefly
when the ignition key is
turned to START, but
the engine is not running,
as a check to show it
is working.
If it does not, have the vehicle serviced by your
dealer/retailer.
The light should go out once the engine starts. If it stays
on, or comes on while driving, there could be a
problem with the charging system. A charging system
message in the Driver Information Center (DIC) can also
appear. SeeDIC Warnings and Messages on page 4-44
for more information. This light could indicate that
there are problems with a generator drive belt, or that
there is an electrical problem. Have it checked right
away. If the vehicle must be driven a short distance with
the light on, turn off accessories, such as the radio
and air conditioner.
4-26
Page 209 of 440
Audio System(s)
If the vehicle came without a radio, the wiring provisions
for a radio and an antenna were installed at the
assembly plant, so that if you want, a radio can be
installed at the dealer/retailer.
Determine which radio the vehicle has and read the
following pages to become familiar with its features.
{WARNING:
Taking your eyes off the road for extended periods
could cause a crash resulting in injury or death to
you or others. Do not give extended attention to
entertainment tasks while driving.
This system provides access to many audio and non
audio listings.
To minimize taking your eyes off the road while driving,
do the following while the vehicle is parked:
•Become familiar with the operation and controls of
the audio system.
•Set up the tone, speaker adjustments, and preset
radio stations.For more information, seeDefensive Driving on
page 5-2.
Notice:Contact your dealer/retailer before adding
any equipment.
Adding audio or communication equipment could
interfere with the operation of the vehicle’s engine,
radio, or other systems, and could damage them.
Follow federal rules covering mobile radio and
telephone equipment.
Notice:The chime signals related to safety belts,
parking brake, and other functions of your vehicle
operate through the radio/entertainment system.
If that equipment is replaced or additional equipment
is added to your vehicle, the chimes may not
work. Make sure that replacement or additional
equipment is compatible with your vehicle before
installing it. SeeAccessories and Modifications
on page 6-3.
The vehicle has Retained Accessory Power (RAP).
With RAP, the audio system can be played even after
the ignition is turned off. SeeRetained Accessory
Power (RAP) on page 3-23for more information.
4-59
Page 230 of 440
Your Driving, the Road, and
the Vehicle
Defensive Driving
Defensive driving means “always expect the
unexpected.” The first step in driving defensively is to
wear your safety belt — SeeSafety Belts: They Are for
Everyone on page 2-10.
{WARNING:
Assume that other road users (pedestrians,
bicyclists, and other drivers) are going to be
careless and make mistakes. Anticipate what they
might do and be ready. In addition:
•Allow enough following distance between you
and the driver in front of you.
•Focus on the task of driving.
Driver distraction can cause collisions resulting in
injury or possible death. These simple defensive
driving techniques could save your life.
Drunk Driving
{WARNING:
Drinking and then driving is very dangerous. Your
reflexes, perceptions, attentiveness, and judgment
can be affected by even a small amount of alcohol.
You can have a serious — or even fatal — collision
if you drive after drinking. Do not drink and drive or
ride with a driver who has been drinking. Ride home
in a cab; or if you are with a group, designate a
driver who will not drink.
Death and injury associated with drinking and driving is
a global tragedy.
Alcohol affects four things that anyone needs to drive a
vehicle: judgment, muscular coordination, vision, and
attentiveness.
Police records show that almost 40 percent of all motor
vehicle-related deaths involve alcohol. In most cases,
these deaths are the result of someone who was drinking
and driving. In recent years, more than 17,000 annual
motor vehicle-related deaths have been associated with
the use of alcohol, with about 250,000 people injured.
5-2
Page 237 of 440
Steering in Emergencies
There are times when steering can be more effective
than braking. For example, you come over a hill and find
a truck stopped in your lane, or a car suddenly pulls
out from nowhere, or a child darts out from between
parked cars and stops right in front of you. These
problems can be avoided by braking — if you can stop
in time. But sometimes you cannot stop in time
because there is no room. That is the time for evasive
action — steering around the problem.
The vehicle can perform very well in emergencies like
these. First apply the brakes. SeeBraking on page 5-3.
It is better to remove as much speed as possible
from a collision. Then steer around the problem, to the
left or right depending on the space available.
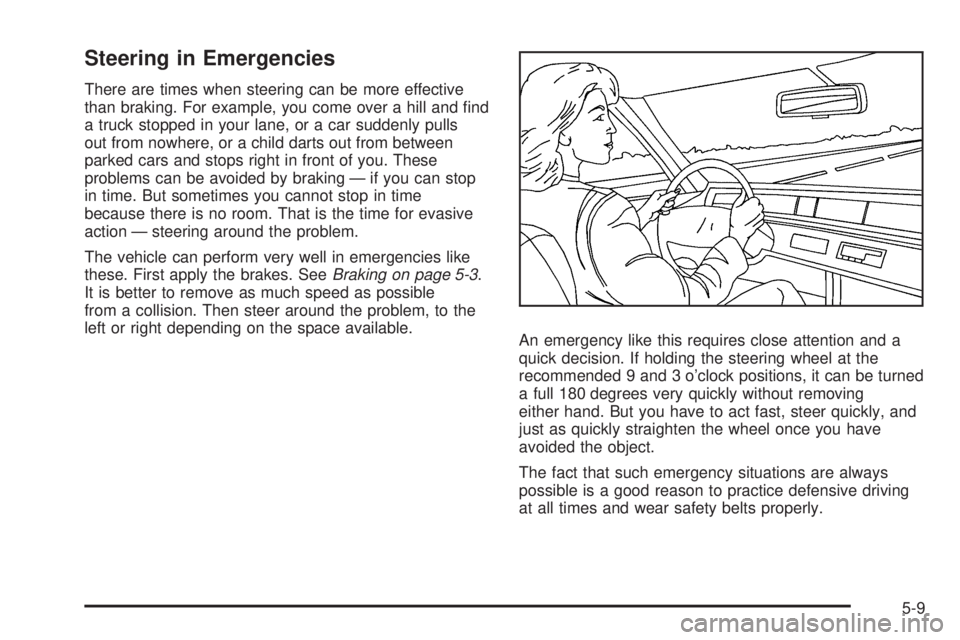
An emergency like this requires close attention and a
quick decision. If holding the steering wheel at the
recommended 9 and 3 o’clock positions, it can be turned
a full 180 degrees very quickly without removing
either hand. But you have to act fast, steer quickly, and
just as quickly straighten the wheel once you have
avoided the object.
The fact that such emergency situations are always
possible is a good reason to practice defensive driving
at all times and wear safety belts properly.
5-9
Page 269 of 440
Parking on Hills
{WARNING:
Parking the vehicle on a hill with the trailer
attached can be dangerous. If something goes
wrong, the rig could start to move. People can be
injured, and both the vehicle and the trailer can be
damaged. When possible, always park the rig on a
flat surface.
If parking the rig on a hill:
1. Press the brake pedal, but do not shift the
transmission into P (Park) yet. Turn the wheels into
the curb if facing downhill or into traffic if facing
uphill.
2. Have someone place chocks under the trailer
wheels.
3. When the wheel chocks are in place, release the
brake pedal until the chocks absorb the load.
4. Reapply the brake pedal. Then apply the parking
brake and shift into P (Park).
5. Release the brake pedal.
Leaving After Parking on a Hill
1. Apply and hold the brake pedal while you:
•start the engine,
•shift into a gear, and
•release the parking brake.
2. Let up on the brake pedal.
3. Drive slowly until the trailer is clear of the chocks.
4. Stop and have someone pick up and store the
chocks.
Maintenance When Trailer Towing
The vehicle needs service more often when pulling a
trailer. See this manual’s Maintenance Schedule
or Index for more information. Things that are especially
important in trailer operation are automatic transmission
fluid, engine oil, axle lubricant, belts, cooling system
and brake system. It is a good idea to inspect
these before and during the trip.
Check periodically to see that all hitch nuts and bolts
are tight.
5-41