manual radio set CHEVROLET EXPRESS CARGO VAN 2003 1.G Owners Manual
[x] Cancel search | Manufacturer: CHEVROLET, Model Year: 2003, Model line: EXPRESS CARGO VAN, Model: CHEVROLET EXPRESS CARGO VAN 2003 1.GPages: 386, PDF Size: 2.73 MB
Page 185 of 386

Playing a Speci®c Loaded
Compact Disc
For every CD loaded, a number will appear on the radio
display. To play a speci®c CD, ®rst press the CD AUX
button to start playing a CD. Then press the numbered
pushbutton that corresponds to the CD you want to
play. A small bar will appear under the CD number that
is playing, and the track number will appear.
If an error appears on the radio display, see ªCompact
Disc Messagesº later in this section.
LOAD CD
Z(Eject):Pressing the CD eject side of
this button will eject a single disc or multiple discs.
To eject the disc that is currently playing, press
and release this button. To eject multiple discs, press
and hold this button for two seconds. You will hear
a beep and the light will ¯ash to let you know when a
disc is being ejected.
REMOVE CD will be displayed. You can now remove
the disc. If the disc is not removed, after 25 seconds, the
disc will be automatically pulled back into the receiver.
If you try to push the disc back into the receiver,
before the 25 second time period is complete, the
receiver will sense an error and will try to eject the disc
several times before stopping.Do not repeatedly press the CD eject side of the
LOAD CD eject button to eject a disc after you have
tried to push it in manually. The receivers 25-second
eject timer will reset at each press of eject, which
will cause the receiver to not eject the disc until the
25-second time period has elapsed.
Once the player stops and the disc is ejected, remove
the disc. After removing the disc, press the PWR
knob off and then on again. This will clear the
disc-sensing feature and enable discs to be loaded into
the player again.{REV (Reverse):Press and hold this button to
reverse quickly within a track. You will hear sound at a
reduced volume. Release it to play the passage.
The display will show elapsed time.
FWD
|(Forward):Press and hold this button to
advance quickly within a track. You will hear sound at a
reduced volume. Release it to play the passage. The
display will show elapsed time.
3-67
Page 311 of 386

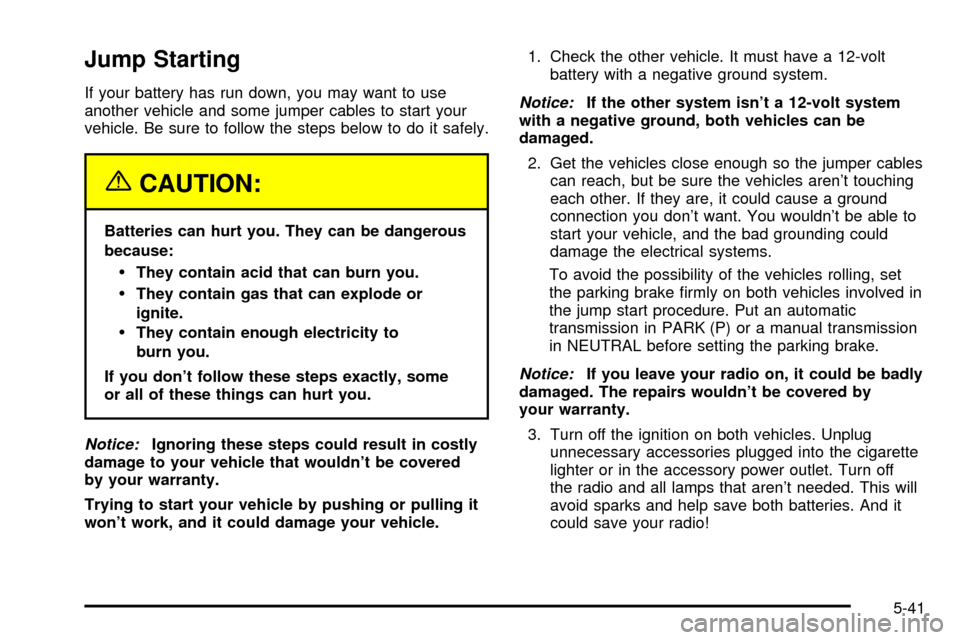
Jump Starting
If your battery has run down, you may want to use
another vehicle and some jumper cables to start your
vehicle. Be sure to follow the steps below to do it safely.
{CAUTION:
Batteries can hurt you. They can be dangerous
because:
·They contain acid that can burn you.
·They contain gas that can explode or
ignite.
·They contain enough electricity to
burn you.
If you don't follow these steps exactly, some
or all of these things can hurt you.
Notice:Ignoring these steps could result in costly
damage to your vehicle that wouldn't be covered
by your warranty.
Trying to start your vehicle by pushing or pulling it
won't work, and it could damage your vehicle.1. Check the other vehicle. It must have a 12-volt
battery with a negative ground system.
Notice:If the other system isn't a 12-volt system
with a negative ground, both vehicles can be
damaged.
2. Get the vehicles close enough so the jumper cables
can reach, but be sure the vehicles aren't touching
each other. If they are, it could cause a ground
connection you don't want. You wouldn't be able to
start your vehicle, and the bad grounding could
damage the electrical systems.
To avoid the possibility of the vehicles rolling, set
the parking brake ®rmly on both vehicles involved in
the jump start procedure. Put an automatic
transmission in PARK (P) or a manual transmission
in NEUTRAL before setting the parking brake.
Notice:If you leave your radio on, it could be badly
damaged. The repairs wouldn't be covered by
your warranty.
3. Turn off the ignition on both vehicles. Unplug
unnecessary accessories plugged into the cigarette
lighter or in the accessory power outlet. Turn off
the radio and all lamps that aren't needed. This will
avoid sparks and help save both batteries. And it
could save your radio!
5-41
Page 383 of 386

Safety Belts (cont.)
Safety Belt Extender....................................1-33
Safety Belt Use During Pregnancy.................1-24
Safety Belts Are for Everyone.......................1-10
Safety Chains.................................................4-40
Safety Warnings and Symbols.............................. iii
Scheduled Maintenance..................................... 6-5
Seats.............................................................. 1-3
Manual........................................................ 1-3
Power Seat.................................................. 1-4
Rear Seat Operation...................................... 1-6
Reclining Seatbacks...................................... 1-4
Secondary Latch System.................................5-69
Securing a Child Restraint................................1-56
Center Seat Position....................................1-56
Designed for the LATCH System...................1-53
Rear Outside Seat Position...........................1-53
Right Front Seat Position..............................1-58
Security Light.................................................3-37
Service Bulletins.............................................7-10
Service Manuals............................................... 7-9
Service........................................................... 5-3
Adding Equipment to the Outside of Your
Vehicle..................................................... 5-4
Doing Your Own Work................................... 5-3
Engine Soon Light.......................................3-33
Publications Ordering Information..................... 7-9
Servicing Your Air Bag-Equipped Vehicle............1-73
Setting Preset PTYs................................3-52, 3-64
Setting Preset Stations............3-42, 3-45, 3-50, 3-61Setting the Time.............................................3-41
Radios with Radio Data Systems (RDS).........3-41
Radios without Radio Data Systems (RDS).....3-40
Setting the Tone (Bass/Treble).................3-42, 3-45,
3-50, 3-61
Sheet Metal Damage.......................................5-86
Shifting Into Park (P).......................................2-26
Shifting Out of Park (P)...................................2-29
Shoulder Belt Height Adjuster...........................1-18
Single Stage Air Bags.....................................1-67
Skidding........................................................4-12
Sliding Side Door............................................2-11
Some Other Rainy Weather Tips.......................4-17
Spare Tire Check............................................6-12
Special Fabric Cleaning Problems.....................5-81
Speci®cations, Capacities.................................5-97
Speedometer..................................................3-25
Starter Switch Check.......................................6-13
Starting Your Engine.......................................2-22
Steering and Suspension Inspection..................6-16
Steering in Emergencies.................................... 4-9
Steering Tips................................................... 4-8
Steering.......................................................... 4-8
Storage Areas................................................2-36
Storing a Flat or Spare Tire and Tools...............5-78
Stuck in Sand, Mud, Ice or Snow......................4-28
Sun Visors.....................................................2-19
Swing-Out Side Door, 60/40.............................2-13
Swing-Out Windows........................................2-18
13