change time CHEVROLET EXPRESS CARGO VAN 2004 1.G Owners Manual
[x] Cancel search | Manufacturer: CHEVROLET, Model Year: 2004, Model line: EXPRESS CARGO VAN, Model: CHEVROLET EXPRESS CARGO VAN 2004 1.GPages: 406, PDF Size: 2.66 MB
Page 2 of 406
GENERAL MOTORS, GM, the GM Emblem,
CHEVROLET, the CHEVROLET Emblem and the name
CHEVY EXPRESS are registered trademarks of
General Motors Corporation.
This manual includes the latest information at the time it
was printed. We reserve the right to make changes
after that time without further notice. For vehicles �rst
sold in Canada, substitute the name “General Motors of
Canada Limited” for Chevrolet Motor Division whenever
it appears in this manual.
Please keep this manual in your vehicle, so it will be
there if you ever need it when you’re on the road. If you
sell the vehicle, please leave this manual in it so the
new owner can use it.
Litho in U.S.A.
Part No. C2414 B First Edition©
Copyright General Motors Corporation 12/08/03
All Rights Reserved
Canadian Owners
A French language copy of this manual can be obtained
from your dealer or from:
Helm, Incorporated
P.O. Box 07130
Detroit, MI 48207
How to Use This Manual
Many people read the owner manual from beginning to
end when they �rst receive their new vehicle. If you
do this, it can help you learn about the features
and controls for the vehicle. Pictures and words work
together in the owner manual to explain things.
Index
A good place to look for what you need is the Index in
back of the manual. It is an alphabetical list of what
is in the manual, and the page number where you will
�nd it.
ii
Page 94 of 406
Battery Replacement
Under normal use, the battery in your remote keyless
entry transmitter should last about four years.
You can tell the battery is weak if the transmitter won’t
work at the normal range in any location. If you have
to get close to your vehicle before the transmitter works,
it’s probably time to change the battery.
Notice:When replacing the battery, use care not to
touch any of the circuitry. Static from your body
transferred to these surfaces may damage the
transmitter.
To replace the battery in the keyless entry transmitter,
do the following:
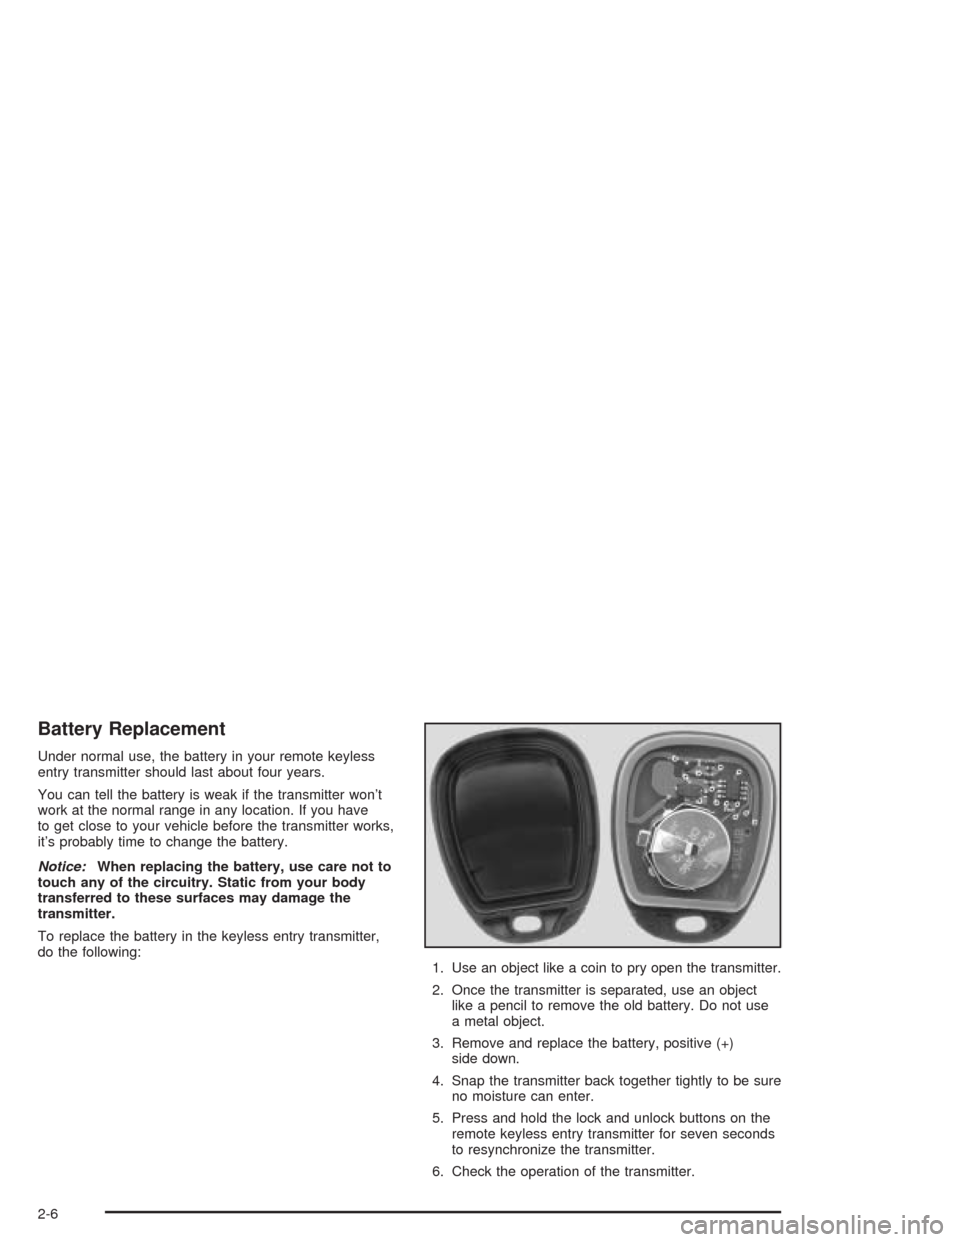
1. Use an object like a coin to pry open the transmitter.
2. Once the transmitter is separated, use an object
like a pencil to remove the old battery. Do not use
a metal object.
3. Remove and replace the battery, positive (+)
side down.
4. Snap the transmitter back together tightly to be sure
no moisture can enter.
5. Press and hold the lock and unlock buttons on the
remote keyless entry transmitter for seven seconds
to resynchronize the transmitter.
6. Check the operation of the transmitter.
2-6
Page 110 of 406
1. With your foot off the accelerator pedal, turn the
ignition key to START. When the engine starts,
let go of the key. The idle speed will go down as
your engine gets warm.
Notice:Holding your key in START for longer than
15 seconds at a time will cause your battery to
be drained much sooner. And the excessive heat
can damage your starter motor. Wait about
15 seconds between each try to help avoid draining
your battery or damaging your starter.
2. If it doesn’t start within 10 seconds, push the
accelerator pedal all the way to the �oor, while you
hold the ignition key in START. When the engine
starts, let go of the key and let up on the accelerator
pedal. Wait about 15 seconds between each try.
When starting your engine in very cold weather (below
0°F or−18°C), do this:
1. With your foot off the accelerator pedal, turn the
ignition key to START and hold it there up to
15 seconds. When the engine starts, let go
of the key.2. If your engine still won’t start (or starts but then
stops), it could be �ooded with too much gasoline.
Try pushing your accelerator pedal all the way to the
�oor and holding it there as you hold the key in
START for about three seconds. When the engine
starts, let go of the key and accelerator. If the
vehicle starts brie�y but then stops again, do the
same thing, but this time keep the pedal down
for �ve or six seconds. This clears the extra
gasoline from the engine.
Notice:Your engine is designed to work with the
electronics in your vehicle. If you add electrical
parts or accessories, you could change the way the
engine operates. Before adding electrical equipment,
check with your dealer. If you do not, your engine
might not perform properly.
Fuel Regulator
You have a fuel regulator that shuts the fuel off when
the engine reaches 5,600 rpm.
2-22
Page 125 of 406
Instrument Panel Overview...............................3-4
Hazard Warning Flashers................................3-6
Other Warning Devices...................................3-7
Horn.............................................................3-7
Tilt Wheel.....................................................3-7
Turn Signal/Multifunction Lever.........................3-8
Exterior Lamps.............................................3-14
Interior Lamps..............................................3-16
Accessory Power Outlets...............................3-18
Ashtrays and Cigarette Lighter........................3-18
Climate Controls............................................3-19
Climate Control System.................................3-19
Outlet Adjustment.........................................3-21
Rear Heating System....................................3-22
Rear Air Conditioning and Heating System.......3-22
Warning Lights, Gages, and Indicators............3-24
Instrument Panel Cluster................................3-25
Speedometer...............................................3-26
Safety Belt Reminder Light.............................3-27Air Bag Readiness Light................................3-27
Air Bag Off Light..........................................3-28
Charging System Light..................................3-30
Voltmeter Gage............................................3-30
Brake System Warning Light..........................3-31
Anti-Lock Brake System Warning Light.............3-32
Stabilitrak
®Not Ready Light...........................3-33
Stabilitrak®Indicator Light...............................3-33
Engine Coolant Temperature Gage..................3-34
Malfunction Indicator Lamp.............................3-34
Oil Pressure Gage........................................3-37
Change Engine Oil Light................................3-38
Security Light...............................................3-39
Cruise Control Light......................................3-39
Reduced Engine Power Light.........................3-40
Daytime Running Lamps Indicator Light...........3-40
Tow/Haul Mode Light....................................3-40
Check Gages Warning Light...........................3-41
Fuel Gage...................................................3-41
Section 3 Instrument Panel
3-1
Page 133 of 406
If a bulb is burned out, replace it to help avoid an
accident. If the arrows don’t go on at all when you signal
a turn, check for burned-out bulbs or a blown fuse.
SeeFuses and Circuit Breakers on page 5-102.
Turn Signal On Chime
If your turn signal is left on for more than 3/4 of a mile
(1.2 km), a chime will sound at each �ash of the
turn signal. To turn off the chime, move the turn signal
lever to the off position.
Headlamp High/Low Beam Changer
23
(Headlamp High/Low Beam Changer):To
change the headlamps from low to high beam, pull the
mutlifunction lever all the way toward you. Then
release it.
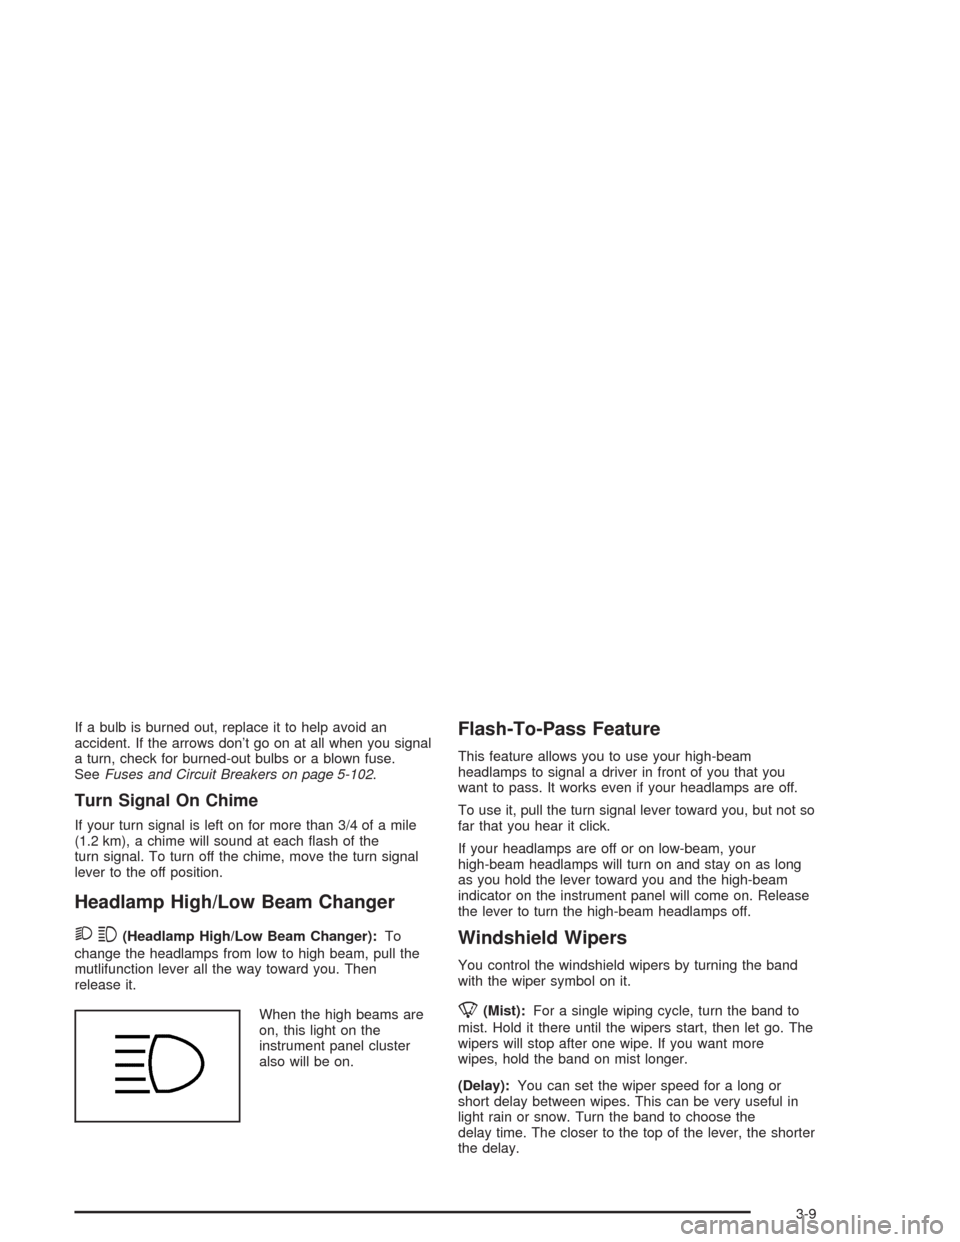
When the high beams are
on, this light on the
instrument panel cluster
also will be on.
Flash-To-Pass Feature
This feature allows you to use your high-beam
headlamps to signal a driver in front of you that you
want to pass. It works even if your headlamps are off.
To use it, pull the turn signal lever toward you, but not so
far that you hear it click.
If your headlamps are off or on low-beam, your
high-beam headlamps will turn on and stay on as long
as you hold the lever toward you and the high-beam
indicator on the instrument panel will come on. Release
the lever to turn the high-beam headlamps off.
Windshield Wipers
You control the windshield wipers by turning the band
with the wiper symbol on it.
8(Mist):For a single wiping cycle, turn the band to
mist. Hold it there until the wipers start, then let go. The
wipers will stop after one wipe. If you want more
wipes, hold the band on mist longer.
(Delay):You can set the wiper speed for a long or
short delay between wipes. This can be very useful in
light rain or snow. Turn the band to choose the
delay time. The closer to the top of the lever, the shorter
the delay.
3-9
Page 143 of 406
Climate Controls
Climate Control System
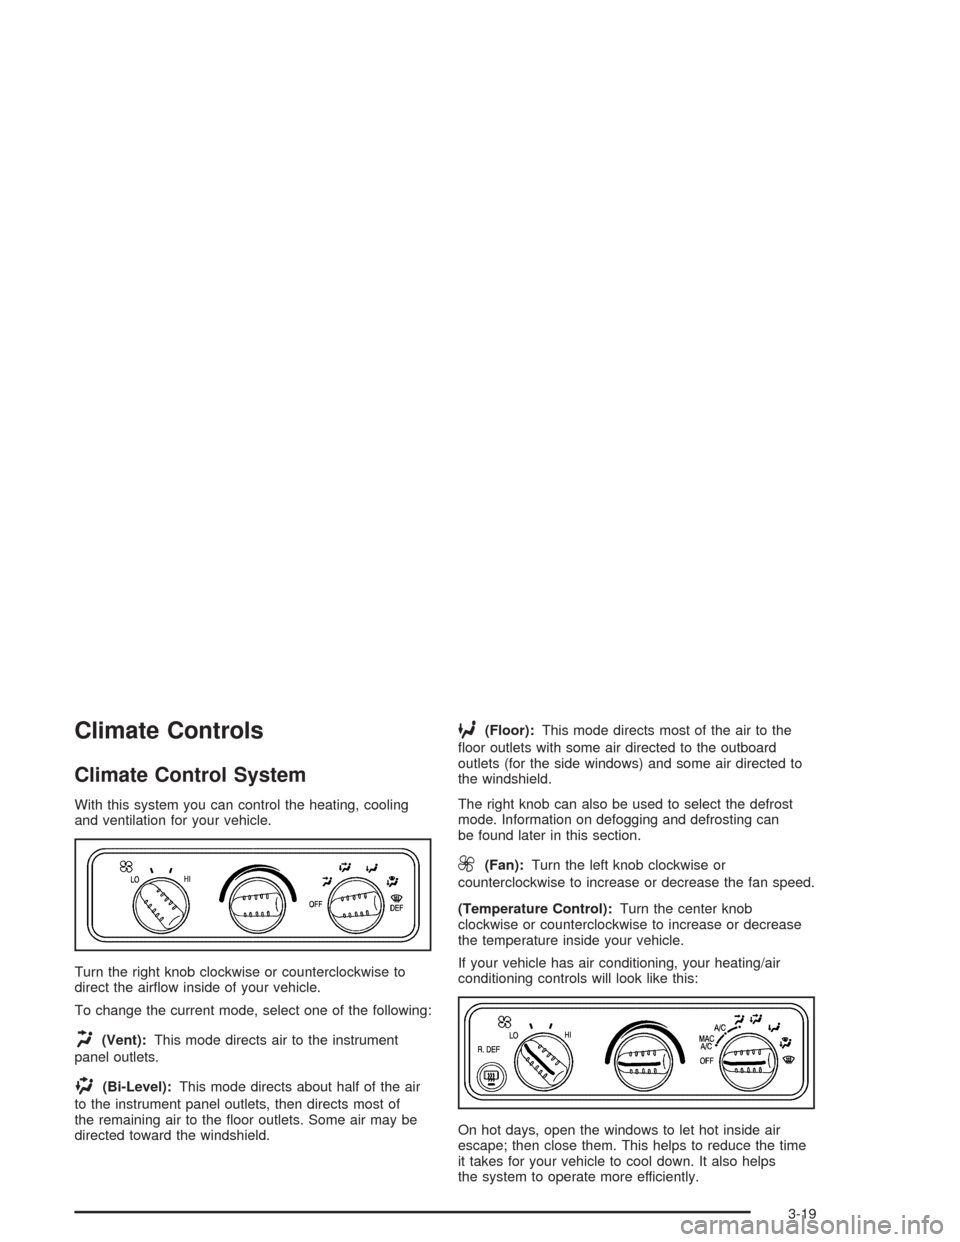
With this system you can control the heating, cooling
and ventilation for your vehicle.
Turn the right knob clockwise or counterclockwise to
direct the air�ow inside of your vehicle.
To change the current mode, select one of the following:
H(Vent):This mode directs air to the instrument
panel outlets.
)(Bi-Level):This mode directs about half of the air
to the instrument panel outlets, then directs most of
the remaining air to the �oor outlets. Some air may be
directed toward the windshield.
6(Floor):This mode directs most of the air to the
�oor outlets with some air directed to the outboard
outlets (for the side windows) and some air directed to
the windshield.
The right knob can also be used to select the defrost
mode. Information on defogging and defrosting can
be found later in this section.
9(Fan):Turn the left knob clockwise or
counterclockwise to increase or decrease the fan speed.
(Temperature Control):Turn the center knob
clockwise or counterclockwise to increase or decrease
the temperature inside your vehicle.
If your vehicle has air conditioning, your heating/air
conditioning controls will look like this:
On hot days, open the windows to let hot inside air
escape; then close them. This helps to reduce the time
it takes for your vehicle to cool down. It also helps
the system to operate more efficiently.
3-19
Page 175 of 406
AUTO VOL (Automatic Volume):With automatic
volume, your audio system adjusts automatically
to make up for road and wind noise as you drive.
Set the volume at the desired level. Press this button to
select LOW, MEDIUM, or HIGH. AVOL will appear
on the display. Each higher setting will allow for more
volume compensation at faster vehicle speeds. Then as
you drive, automatic volume increases the volume,
as necessary, to overcome noise at any speed.
The volume level should always sound the same to you
as you drive. NONE will appear on the display if the
radio cannot determine the vehicle speed. If you do not
want to use automatic volume, select OFF.
DISP (Display):Press this knob to switch the display
between the radio station frequency and the time.
Time display is available with the ignition turned off.
For RDS, press the DISP knob to change what appears
on the display while using RDS. The display options
are station name, RDS station frequency, PTY, and the
name of the program (if available).
To change the default on the display, press the DISP
knob until you see the display you want, then hold
the knob for two seconds. The radio will produce one
beep and the selected display will now be the default.Finding a Station
BAND:Press this button to switch between FM1, FM2,
or AM. The display will show your selection.
TUNE:Turn this knob to select radio stations.
qSEEKr:Press the right or the left arrow to go to
the next or to the previous station and stay there.
The radio will seek only to stations that are in the
selected band and only to those with a strong signal.
qSCANr:Press and hold either arrow for
more than two seconds. SCAN will appear on the
display and you will hear a beep. The radio will go to a
station, play for a few seconds, then go on to the
next station. Press either arrow again to stop scanning.
To scan preset stations, press and hold either arrow
for more than four seconds. PSCN will appear on
the display and you will hear two beeps. The radio will
go to the �rst preset station, play for a few seconds,
then go on to the next preset station. Press either arrow
again or one of the pushbuttons to stop scanning.
The radio will scan only to stations that are in the
selected band and only to those with a strong signal.
3-51
Page 184 of 406

4 FWD (Forward):Press and hold this pushbutton to
advance quickly within a track. Press and hold this
pushbutton for less than two seconds to advance at six
times the normal playing speed. Press and hold it for
more than two seconds to advance at 17 times the
normal playing speed. Release the pushbutton to play
the passage. ET and the elapsed time of the track
will appear on the display.
6 RDM (Random):Press this pushbutton to hear the
tracks in random, rather than sequential, order. RDM ON
will appear on the display. RDM T and the track
number will appear on the display when each track
starts to play. Press this pushbutton again to turn
off random play. RDM OFF will appear on the display.
qSEEKr:Press the left arrow to go to the start
of the current or to the previous track. Press the right
arrow to go to the start of the next track. If you hold
either arrow or press it more then once, the player will
continue moving backward or forward through the CD.
qSCANr:Press and hold either SCAN arrow
for more than two seconds until SCAN appears on the
display and you hear a beep. The radio will go to
the next track, play for 10 seconds, then go on to the
next track. Press either SCAN arrow to stop scanning.DISP (Display):Press this knob to see how long the
current track has been playing. ET and the elapsed time
of the track will appear on the display. To change the
default on the display (track or elapsed time), press the
DISP knob until you see the display you want, then
hold the knob for two seconds. The radio will produce
one beep and the selected display will now be the
default.
BAND:Press this button to listen to the radio when a
cassette tape or CD is playing. The inactive tape or CD
will remain safely inside the radio for future listening.
TAPE DISC:Press this button to play a tape or
CD when listening to the radio. The inactive tape or CD
will remain safely inside the radio for future listening.
Z(Eject):Press this button to stop a CD when it is
playing or to eject a CD when it is not playing. Eject
may be activated with either the ignition or radio off. CDs
may be loaded with the radio and ignition off if this
button is pressed �rst.
3-60
Page 186 of 406
AUTO VOL (Automatic Volume):Your system has a
feature called automatic volume. With this feature,
your audio system adjusts automatically to make up for
road and wind noise as you drive.
Set the volume at the desired level. Press this button to
select MIN, MED, or MAX. Each higher setting will allow
for more volume compensation at faster vehicle speeds.
Then, as you drive, automatic volume increases the
volume, as necessary, to overcome noise at any speed.
The volume level should always sound the same to you
as you drive. If you do not want to use automatic volume,
select OFF.
RCL (Recall):Press this knob to switch the display
between the radio station frequency and the time. Press
this knob with the ignition off to display the time.
To change the default on the display, press the RCL
knob until you see the display you want, then hold the
knob until the display �ashes. The selected display
will now be the default.
Finding a Station
BAND:Press this button to switch between FM1, FM2,
or AM. The display will show your selection.
TUNE:Turn this knob to select radio stations.
sSEEKt:Press the right or the left arrow to go to
the next or to the previous station and stay there.The radio will seek only to stations that are in the
selected band and only to those with a strong signal.
sSCANt:Press and hold either SCAN arrow
for two seconds until SC appears on the display and
you hear a beep. The radio will go to a station, play for
a few seconds, then go on to the next station. Press
either SCAN arrow again to stop scanning.
To scan preset stations, press and hold either SCAN
arrow for more than four seconds. PRESET SCAN will
appear on the display and you will hear a double
beep. The radio will go to a preset station stored on
your pushbuttons, play for a few seconds, then go on to
the next preset station. Press either SCAN arrow
again to stop scanning presets.
The radio will scan only to stations that are in the
selected band and only to those with a strong signal.
Setting Preset Stations
The six numbered pushbuttons let you return to your
favorite stations. You can set up to 18 stations (six FM1,
six FM2, and six AM), by performing the following
steps:
1. Turn the radio on.
2. Press BAND to select FM1, FM2, or AM.
3. Tune in the desired station.
4. Press AUTO EQ to select the equalization.
3-62
Page 194 of 406
sSCANt:To scan one CD, press and hold either
SCAN arrow for more than two seconds until SCAN
appears on the display and you hear a beep. The radio
will go to the next track, play for 10 seconds, then go
on to the next track. Press either SCAN arrow again, to
stop scanning.
To scan all loaded CDs, press and hold either SCAN
arrow for more than four seconds until CD SCAN
appears on the display and you hear a beep. The radio
will go to the next track, play for 10 seconds, then go
on to the next track. Press either SCAN arrow again, to
stop scanning.
RCL (Recall):Press this knob to see how long the
current track has been playing. To change the default
on the display (track or elapsed time), press the
knob until you see the display you want, then hold the
knob until the display �ashes. The selected display
will now be the default.
BAND:Press this button to listen to the radio when a
CD(s) is playing.Using Song List Mode
The six-disc CD changer has a feature called song list.
This feature is capable of saving 20 track selections.
To save tracks into the song list feature, perform
the following steps:
1. Turn the CD player on and load it with at least one
CD. See “LOAD CD” listed previously in this section
for more information.
2. Check to see that the CD changer is not in song list
mode. S-LIST should not appear on the display. If
S-LIST is present, press the SONG LIST button
to turn it off.
3. Select the desired CD by pressing the numbered
pushbutton and then use the SEEK SCAN right
arrow button to locate the track that you want
to save. The track will begin to play.
4. Press and hold the SONG LIST button to save the
track into memory. When SONG LIST is pressed a
beep will be heard immediately. After two seconds
of continuously pressing SONG LIST, two beeps will
sound to con�rm that the track has been saved.
5. Repeat Steps 3 and 4 for saving other selections.
S-LIST FULL will appear on the display if you try to save
more than 20 selections.
3-70