radio antenna CHEVROLET EXPRESS CARGO VAN 2004 1.G Owners Manual
[x] Cancel search | Manufacturer: CHEVROLET, Model Year: 2004, Model line: EXPRESS CARGO VAN, Model: CHEVROLET EXPRESS CARGO VAN 2004 1.GPages: 406, PDF Size: 2.66 MB
Page 126 of 406

Audio System(s).............................................3-42
Setting the Time for Radios without Radio
Data Systems (RDS)..................................3-43
Setting the Time for Radios with Radio
Data Systems (RDS)..................................3-43
AM-FM Radio...............................................3-43
Radio with CD..............................................3-46
Radio with Cassette and CD..........................3-50
Radio with Six-Disc CD.................................3-61
Theft-Deterrent Feature
(Non-RDS Radios).....................................3-72Theft-Deterrent Feature
(RDS Radios)...........................................3-72
Radio Reception...........................................3-73
Care of Your Cassette Tape Player.................3-73
Care of Your CDs.........................................3-74
Care of Your CD Player................................3-75
Fixed Mast Antenna......................................3-75
Chime Level Adjustment................................3-75
Section 3 Instrument Panel
3-2
Page 199 of 406

Care of Your CD Player
The use of CD lens cleaners for CD players is not
advised, due to the risk of contaminating the lens of the
CD optics with lubricants internal to the CD mechanism.
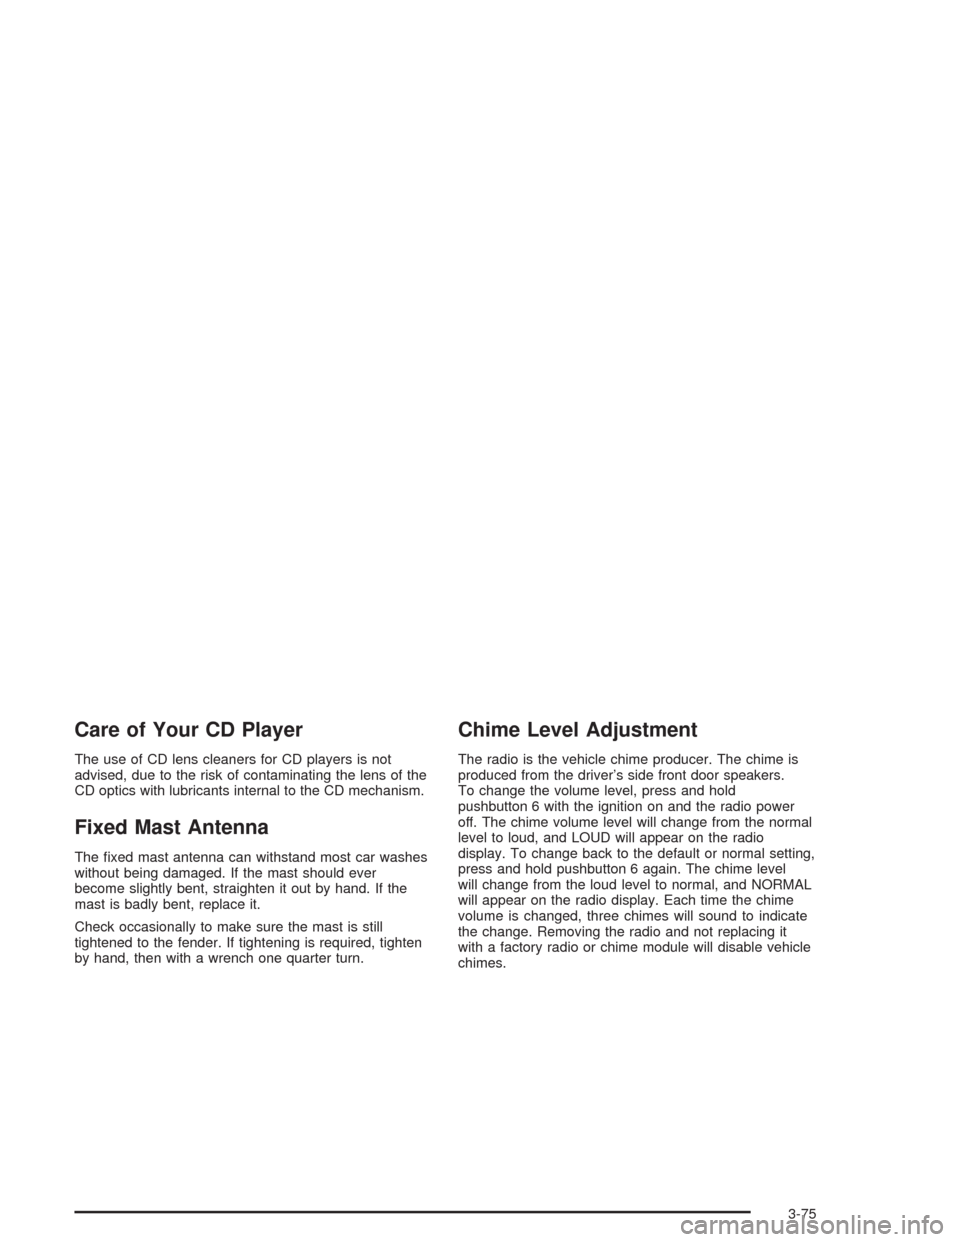
Fixed Mast Antenna
The �xed mast antenna can withstand most car washes
without being damaged. If the mast should ever
become slightly bent, straighten it out by hand. If the
mast is badly bent, replace it.
Check occasionally to make sure the mast is still
tightened to the fender. If tightening is required, tighten
by hand, then with a wrench one quarter turn.
Chime Level Adjustment
The radio is the vehicle chime producer. The chime is
produced from the driver’s side front door speakers.
To change the volume level, press and hold
pushbutton 6 with the ignition on and the radio power
off. The chime volume level will change from the normal
level to loud, and LOUD will appear on the radio
display. To change back to the default or normal setting,
press and hold pushbutton 6 again. The chime level
will change from the loud level to normal, and NORMAL
will appear on the radio display. Each time the chime
volume is changed, three chimes will sound to indicate
the change. Removing the radio and not replacing it
with a factory radio or chime module will disable vehicle
chimes.
3-75
Page 346 of 406

Cleaning Vinyl
Use warm water and a clean cloth.
Rub with a clean, damp cloth to remove dirt. You
may have to do this more than once.
Things like tar, asphalt and shoe polish will stain if
you do not get them off quickly. Use a clean cloth
and vinyl cleaner. See your dealer for this product.
Cleaning Leather
Use a soft cloth with lukewarm water and a mild soap or
saddle soap and wipe dry with a soft cloth. Then, let
the leather dry naturally. Do not use heat to dry.
For stubborn stains, use a leather cleaner.
Neveruse oils, varnishes, solvent-based or abrasive
cleaners, furniture polish or shoe polish on leather.
Soiled or stained leather should be cleaned
immediately. If dirt is allowed to work into the �nish,
it can harm the leather.
Cleaning the Top of the Instrument
Panel
Use only mild soap and water to clean the top surfaces
of the instrument panel. Sprays containing silicones
or waxes may cause annoying re�ections in the
windshield and even make it difficult to see through the
windshield under certain conditions.
Cleaning Interior Plastic Components
Use only a mild soap and water solution on a soft cloth
or sponge. Commercial cleaners may affect the
surface �nish.
Cleaning Glass Surfaces
Glass should be cleaned often. GM Glass Cleaner or a
liquid household glass cleaner will remove normal
tobacco smoke and dust �lms on interior glass. See
Vehicle Care/Appearance Materials on page 5-99.
Notice:If you use abrasive cleaners when cleaning
glass surfaces on your vehicle, you could scratch
the glass and/or cause damage to the rear window
defogger and the integrated radio antenna. When
cleaning the glass on your vehicle, use only a soft
cloth and glass cleaner.
5-94
Page 393 of 406

A
Accessory Power Outlets.................................3-18
Adding Equipment to Your Air Bag-Equipped
Vehicle.......................................................1-81
Adding Washer Fluid.......................................5-38
Additional Program Information........................... 7-9
Additives, Fuel................................................. 5-6
Add-On Electrical Equipment...........................5-101
Add-On Equipment..........................................4-38
Adjusting the Speakers
(Balance/Fade)....................3-45, 3-47, 3-53, 3-63
Air Bag
Off Light.....................................................3-28
Readiness Light..........................................3-27
Air Bag System..............................................1-70
Adding Equipment to Your Air Bag-Equipped
Vehicle...................................................1-81
Air Bag Off Switch.......................................1-77
How Does an Air Bag Restrain?....................1-75
Servicing Your Air Bag-Equipped Vehicle.........1-80
What Makes an Air Bag In�ate?....................1-75
What Will You See After an Air Bag In�ates?......1-76
When Should an Air Bag In�ate?...................1-74
Where Are the Air Bags?..............................1-72
Air Bag Systems.............................................1-75
Air Cleaner/Filter, Engine.................................5-18
Airbag Sensing and Diagnostic Module (SDM)....7-10
All-Wheel Drive...............................................5-48
All-Wheel Drive (AWD) System.........................2-26AM ...............................................................3-73
AM-FM Radio.................................................3-43
Antenna, Fixed Mast.......................................3-75
Anti-lock Brake System..................................... 4-7
Anti-Lock Brake, System Warning Light..............3-32
Appearance Care............................................5-92
Care of Safety Belts....................................5-95
Chemical Paint Spotting...............................5-98
Cleaning the Inside of Your Vehicle................5-92
Cleaning the Outside of Your Vehicle..............5-95
Finish Damage............................................5-98
Sheet Metal Damage...................................5-98
Underbody Maintenance...............................5-98
Vehicle Care/Appearance Materials................5-99
Weatherstrips..............................................5-95
Ashtrays........................................................3-18
Audio System(s).............................................3-42
AM-FM Radio.............................................3-43
Care of Your Cassette Tape Player................3-73
Care of Your CD Player...............................3-75
Care of Your CDs........................................3-74
Chime Level Adjustment...............................3-75
Fixed Mast Antenna.....................................3-75
Radio with Cassette and CD.........................3-50
Radio with CD............................................3-46
Radio with Six-Disc CD................................3-61
Setting the Time for Radios with Radio Data
Systems (RDS)........................................3-43
Setting the Time for Radios without Radio
Data Systems (RDS)................................3-43
1