maintenance schedule CHEVROLET EXPRESS CARGO VAN 2007 1.G Owners Manual
[x] Cancel search | Manufacturer: CHEVROLET, Model Year: 2007, Model line: EXPRESS CARGO VAN, Model: CHEVROLET EXPRESS CARGO VAN 2007 1.GPages: 458, PDF Size: 2.62 MB
Page 2 of 458
Maintenance Schedule
.............................. 401
Maintenance Schedule
.......................... 402
Customer Assistance Information
............. 423
Customer Assistance and
Information
........................................ 424Reporting Safety Defects
...................... 438
Vehicle Data Recording
and Privacy
....................................... 441
Index
.......................................................... 445
2
Page 182 of 458
Oil Pressure Gage
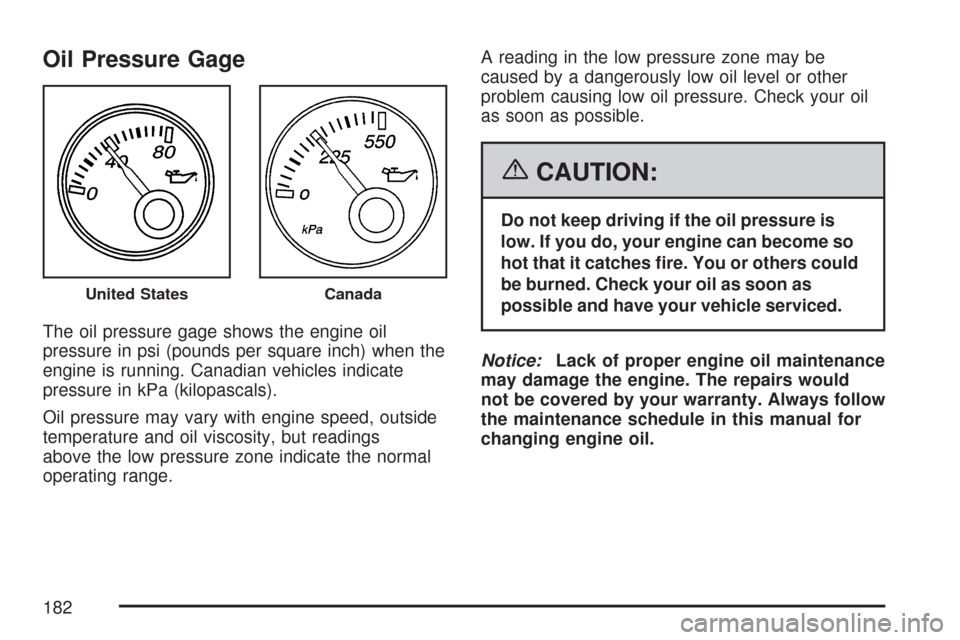
The oil pressure gage shows the engine oil
pressure in psi (pounds per square inch) when the
engine is running. Canadian vehicles indicate
pressure in kPa (kilopascals).
Oil pressure may vary with engine speed, outside
temperature and oil viscosity, but readings
above the low pressure zone indicate the normal
operating range.A reading in the low pressure zone may be
caused by a dangerously low oil level or other
problem causing low oil pressure. Check your oil
as soon as possible.
{CAUTION:
Do not keep driving if the oil pressure is
low. If you do, your engine can become so
hot that it catches �re. You or others could
be burned. Check your oil as soon as
possible and have your vehicle serviced.
Notice:Lack of proper engine oil maintenance
may damage the engine. The repairs would
not be covered by your warranty. Always follow
the maintenance schedule in this manual for
changing engine oil.
United StatesCanada
182
Page 183 of 458
Change Engine Oil Light
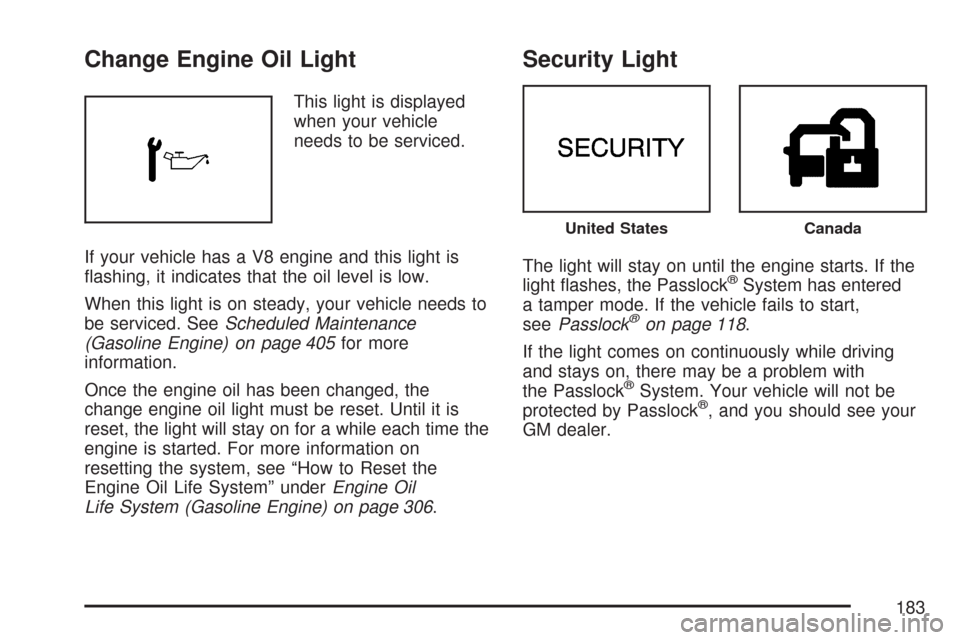
This light is displayed
when your vehicle
needs to be serviced.
If your vehicle has a V8 engine and this light is
flashing, it indicates that the oil level is low.
When this light is on steady, your vehicle needs to
be serviced. SeeScheduled Maintenance
(Gasoline Engine) on page 405for more
information.
Once the engine oil has been changed, the
change engine oil light must be reset. Until it is
reset, the light will stay on for a while each time the
engine is started. For more information on
resetting the system, see “How to Reset the
Engine Oil Life System” underEngine Oil
Life System (Gasoline Engine) on page 306.
Security Light
The light will stay on until the engine starts. If the
light flashes, the Passlock®System has entered
a tamper mode. If the vehicle fails to start,
seePasslock
®on page 118.
If the light comes on continuously while driving
and stays on, there may be a problem with
the Passlock
®System. Your vehicle will not be
protected by Passlock®, and you should see your
GM dealer.
United StatesCanada
183
Page 286 of 458
Maintenance When Trailer Towing
Your vehicle will need service more often when
you’re pulling a trailer. See the Maintenance
Schedule for more on this. Things that are
especially important in trailer operation are
automatic transmission fluid (don’t overfill), engine
oil, axle lubricant, belt, cooling system and
brake system. Each of these is covered in this
manual, and the Index will help you find them
quickly. If you’re trailering, it’s a good idea
to review these sections before you start your trip.
Check periodically to see that all hitch nuts and
bolts are tight.
Trailer Wiring Harness
The optional heavy-duty trailer wiring package
includes a seven-wire harness assembly at the rear
of the vehicle and a four-wire harness assembly
under the left hand side of the instrument panel.
The seven-wire harness assembly is taped together
and located in a frame pocket at the driver side rear
left corner of the frame. The seven-wire harness
includes a 30-amp feed wire.Both harnesses come without connectors and
should be wired by a qualified electrical technician.
The technician can use the following color code
chart when connecting the wiring harness to your
trailer and trailer brake controller.
Seven-Wire Harness
•Light Green: Back-up lamps
•Brown: Parking lamps
•Yellow: Left stoplamp and turn signal
•Dark Green: Right stoplamp and turn signal
•Dark Blue: Use for electric trailer brakes
•Red/Black Stripe: Trailer accessory
•White (heavy gage): Ground wire
Four-Wire Harness (Trailer Brake Controller)
•Black: Ground
•Red/White Stripe: Fused Battery
•Dark Blue: Trailer Brake Feed
•Light Blue: Fused Stoplamp/CHMSL
286
Page 308 of 458
Engine Air Cleaner/Filter
If your vehicle has the DURAMAX®Diesel engine,
see the DURAMAX®Diesel manual for more
information.
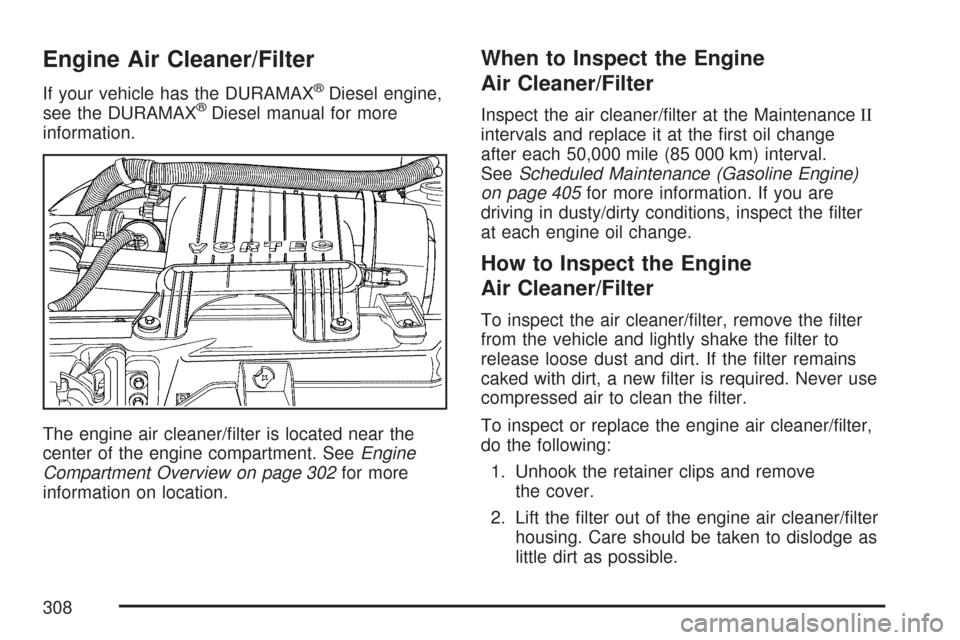
The engine air cleaner/filter is located near the
center of the engine compartment. SeeEngine
Compartment Overview on page 302for more
information on location.
When to Inspect the Engine
Air Cleaner/Filter
Inspect the air cleaner/filter at the MaintenanceII
intervals and replace it at the first oil change
after each 50,000 mile (85 000 km) interval.
SeeScheduled Maintenance (Gasoline Engine)
on page 405for more information. If you are
driving in dusty/dirty conditions, inspect the filter
at each engine oil change.
How to Inspect the Engine
Air Cleaner/Filter
To inspect the air cleaner/filter, remove the filter
from the vehicle and lightly shake the filter to
release loose dust and dirt. If the filter remains
caked with dirt, a new filter is required. Never use
compressed air to clean the filter.
To inspect or replace the engine air cleaner/filter,
do the following:
1. Unhook the retainer clips and remove
the cover.
2. Lift the filter out of the engine air cleaner/filter
housing. Care should be taken to dislodge as
little dirt as possible.
308
Page 312 of 458
How to Add Automatic
Transmission Fluid
Refer to the Maintenance Schedule to determine
what kind of transmission fluid to use. See
Recommended Fluids and Lubricants on page 415.
Using a funnel, add fluid down the transmission
dipstick tube only after checking the transmission
fluid while it is hot. A cold check is used only
as a reference. If the fluid level is low, add only
enough of the proper fluid to bring the level up to
the HOT area for a hot check. It does not take
much fluid, generally less than one pint (0.5 L).
Do not overfill.
Notice:Use of the incorrect automatic
transmission �uid may damage your vehicle,
and the damages may not be covered by
your warranty. Always use the automatic
transmission �uid listed inRecommended
Fluids and Lubricants on page 415.
•After adding fluid, recheck the fluid level as
described under “How to Check Automatic
Transmission Fluid,” earlier in this section.
•When the correct fluid level is obtained, push
the dipstick back in all the way; then flip the
handle down to lock the dipstick in place.
Engine Coolant
If your vehicle has the DURAMAX®Diesel engine,
see the DURAMAX®Diesel manual for more
information.
The cooling system in your vehicle is filled with
DEX-COOL
®engine coolant. This coolant is
designed to remain in your vehicle for five years
or 150,000 miles (240 000 km), whichever
occurs first, if you add only DEX-COOL
®
extended life coolant.
The following explains your cooling system and
how to add coolant when it is low. If you have
a problem with engine overheating, seeEngine
Overheating on page 315.
A 50/50 mixture of clean, drinkable water and
DEX-COOL
®coolant will:
•Give freezing protection down to−34°F (−37°C).
•Give boiling protection up to 265°F (129°C).
•Protect against rust and corrosion.
•Help keep the proper engine temperature.
•Let the warning lights and gages work as
they should.
312
Page 326 of 458
If you add fluid when the linings are worn, then
you will have too much fluid when you get
new brake linings. You should add or remove
brake fluid, as necessary, only when work is
done on the brake hydraulic system.
{CAUTION:
If you have too much brake �uid, it can
spill on the engine and/or fuel operated
heater parts, if equipped. If your vehicle
has a diesel engine and a fuel operated
heater, see “Fuel Operated Heater (FOH)”
in the diesel engine supplement. The �uid
will burn if the engine is hot enough.
You or others could be burned, and your
vehicle could be damaged. Add brake
�uid only when work is done on the brake
hydraulic system. See “Checking Brake
Fluid” in this section.
Refer to the Maintenance Schedule to determine
when to check the brake fluid. SeeScheduled
Maintenance (Gasoline Engine) on page 405.
Checking Brake Fluid
You can check the brake fluid without taking
off the cap.
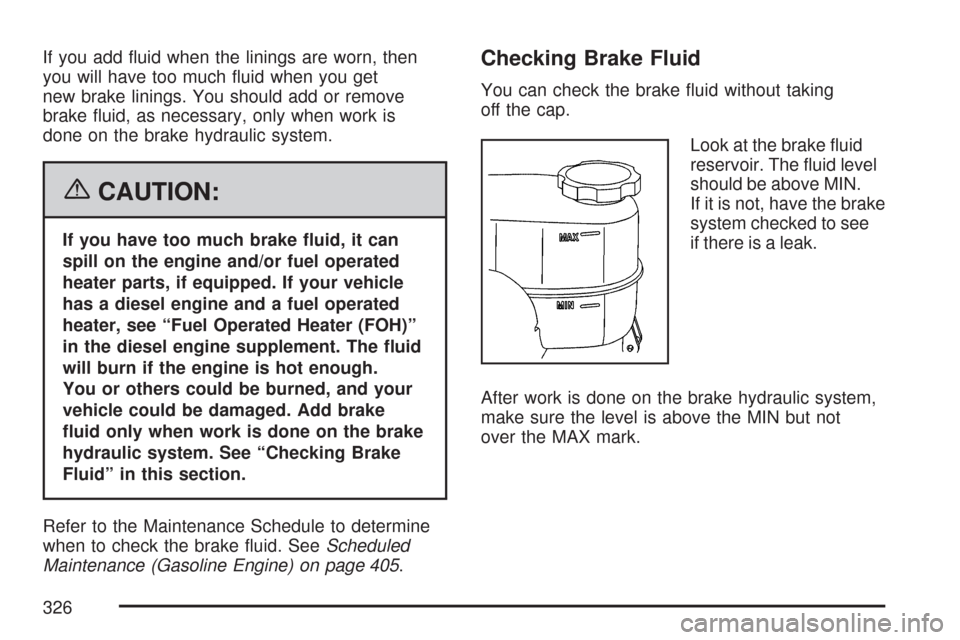
Look at the brake fluid
reservoir. The fluid level
should be above MIN.
If it is not, have the brake
system checked to see
if there is a leak.
After work is done on the brake hydraulic system,
make sure the level is above the MIN but not
over the MAX mark.
326
Page 336 of 458
All-Wheel Drive
Lubricant checks in this section also apply to
these vehicles. However, there are two additional
systems that need lubrication.
Transfer Case
When to Check Lubricant
Refer to the Maintenance Schedule to determine
how often to check the lubricant. SeeScheduled
Maintenance (Gasoline Engine) on page 405.
How to Check Lubricant
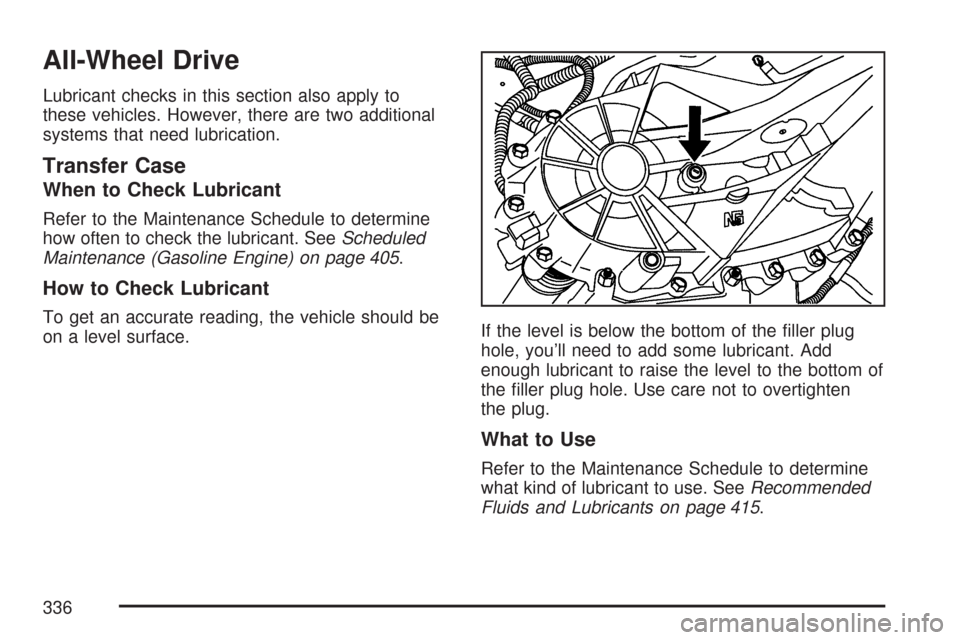
To get an accurate reading, the vehicle should be
on a level surface.If the level is below the bottom of the filler plug
hole, you’ll need to add some lubricant. Add
enough lubricant to raise the level to the bottom of
the filler plug hole. Use care not to overtighten
the plug.
What to Use
Refer to the Maintenance Schedule to determine
what kind of lubricant to use. SeeRecommended
Fluids and Lubricants on page 415.
336
Page 337 of 458
Rear Axle
When to Check Lubricant
Refer to the Maintenance Schedule to determine
how often to check the lubricant. SeeScheduled
Maintenance (Gasoline Engine) on page 405.
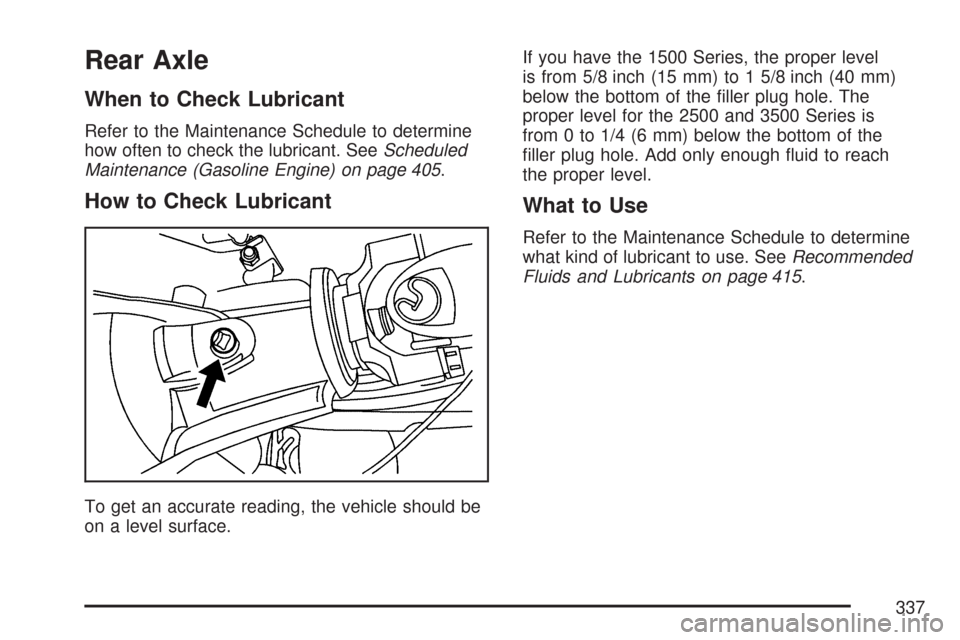
How to Check Lubricant
To get an accurate reading, the vehicle should be
on a level surface.If you have the 1500 Series, the proper level
is from 5/8 inch (15 mm) to 1 5/8 inch (40 mm)
below the bottom of the filler plug hole. The
proper level for the 2500 and 3500 Series is
from 0 to 1/4 (6 mm) below the bottom of the
filler plug hole. Add only enough fluid to reach
the proper level.
What to Use
Refer to the Maintenance Schedule to determine
what kind of lubricant to use. SeeRecommended
Fluids and Lubricants on page 415.
337
Page 338 of 458
Front Axle
When to Check and Change Lubricant
Refer to the Maintenance Schedule to determine
how often to check the lubricant and when
to change it. SeeScheduled Maintenance
(Gasoline Engine) on page 405.
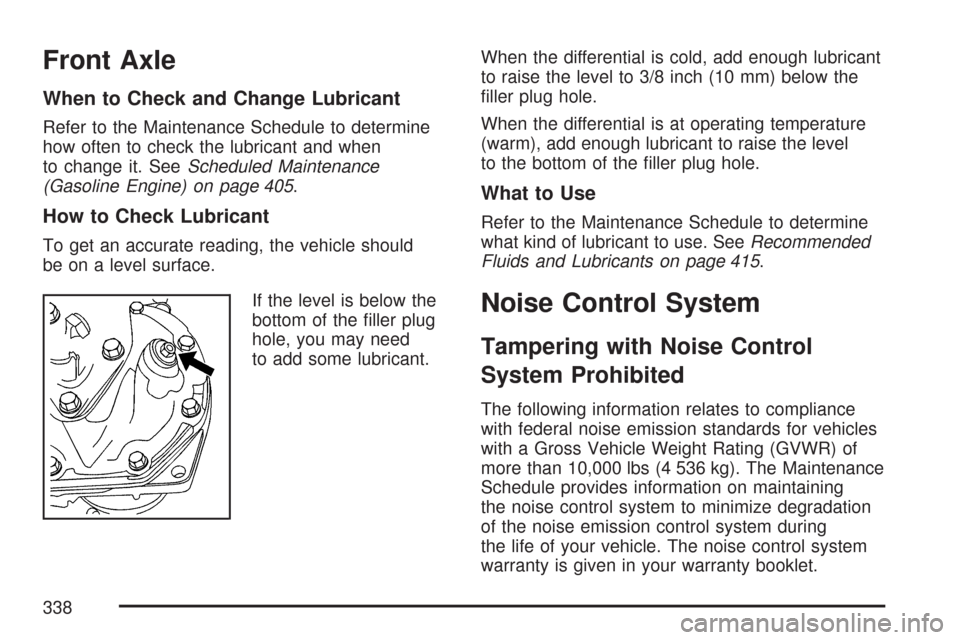
How to Check Lubricant
To get an accurate reading, the vehicle should
be on a level surface.
If the level is below the
bottom of the filler plug
hole, you may need
to add some lubricant.When the differential is cold, add enough lubricant
to raise the level to 3/8 inch (10 mm) below the
filler plug hole.
When the differential is at operating temperature
(warm), add enough lubricant to raise the level
to the bottom of the filler plug hole.
What to Use
Refer to the Maintenance Schedule to determine
what kind of lubricant to use. SeeRecommended
Fluids and Lubricants on page 415.
Noise Control System
Tampering with Noise Control
System Prohibited
The following information relates to compliance
with federal noise emission standards for vehicles
with a Gross Vehicle Weight Rating (GVWR) of
more than 10,000 lbs (4 536 kg). The Maintenance
Schedule provides information on maintaining
the noise control system to minimize degradation
of the noise emission control system during
the life of your vehicle. The noise control system
warranty is given in your warranty booklet.
338