low oil pressure CHEVROLET HHR 2008 1.G Owners Manual
[x] Cancel search | Manufacturer: CHEVROLET, Model Year: 2008, Model line: HHR, Model: CHEVROLET HHR 2008 1.GPages: 430, PDF Size: 5.63 MB
Page 86 of 430
To start the engine using the remote start feature:
1. Aim the RKE transmitter at the vehicle.
2. Press and release the transmitter’s lock button,
then immediately press and hold the remote
vehicle start button for four seconds or until the
vehicle’s turn signal lamps �ash. The vehicle’s doors
will be locked.
When the vehicle’s engine starts, the parking lamps
will turn on and remain on while the engine is
running.
3. If it is the �rst remote start since the vehicle has
been driven, repeat these steps, while the engine is
still running, to extend the engine running time by
10 minutes. Remote start can be extended one time.
After entering the vehicle during a remote start, insert
and turn the key to ON/RUN to drive the vehicle.
After a remote start, the engine will automatically shut
off after 10 minutes unless a time extension has
been done or the vehicle’s key is inserted into the
ignition switch and turned to ON/RUN.
The maximum number of remote starts between ignition
cycles with the key is two.
If the remote start procedure is used again before the �rst
10 minute time frame has ended, the �rst 10 minutes will
immediately expire and the second 10 minute time frame
will start.After your vehicle’s engine has been started two times
using the remote start button, the vehicle’s ignition
switch must be turned to RUN and then back to
LOCK/OFF using the key before the remote start
procedure can be used again.
To manually shut off the engine after a remote start:
Aim the RKE transmitter at the vehicle and press the
remote start button until the parking lamps turn off.
Turn on the hazard warning �ashers. SeeHazard
Warning Flashers on page 3-6.
Insert the vehicle’s key into the ignition switch and
turn the switch to RUN and then back to LOCK/OFF.
The remote vehicle start feature will not operate if:
The remote start system is disabled through the DIC.
The vehicle’s key is in the ignition.
The vehicle’s hood is open
The hazard warning �ashers are on.
There is an emission control system malfunction.
SeeMalfunction Indicator Lamp on page 3-40.
The engine coolant temperature is too high.
The oil pressure is low.
Two remote vehicle starts have already been
provided.
2-8
Page 175 of 430
Your vehicle will not pass this inspection if the OBD
(on-board diagnostic) system determines that critical
emission control systems have not been completely
diagnosed by the system. The vehicle would be
considered not ready for inspection. This can happen if
you have recently replaced the battery or if the
battery has run down. The diagnostic system is
designed to evaluate critical emission control systems
during normal driving. This can take several days
of routine driving. If you have done this and your vehicle
still does not pass the inspection for lack of OBD
system readiness, your dealer/retailer can prepare the
vehicle for inspection.
Oil Pressure Light
{CAUTION:
Do not keep driving if the oil pressure is low. If
you do, your engine can become so hot that it
catches �re. You or others could be burned.
Check your oil as soon as possible and have
your vehicle serviced.Notice:Lack of proper engine oil maintenance may
damage the engine. The repairs would not be
covered by your warranty. Always follow the
maintenance schedule in this manual for changing
engine oil.
This light will come on
brie�y when you start your
engine. If it does not,
have your vehicle serviced.
When the light comes on and stays on, it means that oil
is not �owing through your engine properly. You
could be low on oil and you might have some other
system problem.
3-43
Page 180 of 430
OIL LIFE
Press the information button until OIL LIFE displays.
The engine oil life system shows an estimate of the oil’s
remaining useful life. It shows 100% when the system
is reset after an oil change. It alerts you to change the oil
on a schedule consistent with your driving conditions.
In addition to the engine oil life system monitoring the oil
life, additional maintenance is recommended in the
Maintenance Schedule in this manual. SeeEngine Oil
on page 5-15andScheduled Maintenance on page 6-4.
Always reset the engine oil life system after an oil
change. See “How to Reset the Engine Oil Life System”
underEngine Oil Life System on page 5-19.
COOLANT
Press the information button until COOLANT displays.
This mode shows the temperature of the engine coolant
in either degrees Fahrenheit (°F) or degrees Celsius (°C).
Tire Pressure
If your vehicle has a Tire Pressure Monitor System
(TPMS), the pressure for each tire can be viewed in the
DIC. The tire pressure is shown in either pounds per
square inch (psi) or kilopascals (kPa). Press the
information button until LF ## PSI (kPa) ## RF displays
for the front tires. Press the information button again
until LR ## PSI (kPa) ## RR displays for the rear tires.If a low tire pressure condition is detected by the system
while driving, a message advising you to check the tire
pressure appears in the display. SeeInflation - Tire
Pressure on page 5-60andDIC Warnings and Messages
on page 3-48for more information.
DIC Warnings and Messages
These messages appear if there is a problem detected
in one of your vehicle’s systems.
A message clears when the vehicle’s condition is no
longer present. To acknowledge a message and clear it
from the display, press and hold any of the DIC
buttons. If the condition is still present, the warning
message comes back on the next time the vehicle is
turned off and back on. With most messages, a warning
chime sounds when the message displays. Your
vehicle may have other warning messages.
AUTO (Automatic) LIGHTS OFF
This message displays if the automatic headlamp
system is disabled with the headlamp switch. See
Automatic Headlamp System on page 3-17for more
information.
3-48
Page 181 of 430
AUTO (Automatic) LIGHTS ON
This message displays if the automatic headlamp
system is enabled with the headlamp switch. See
Automatic Headlamp System on page 3-17for more
information.
BRAKE FLUID
This message displays, while the ignition is on, when
the brake �uid level is low. The brake system warning
light on the instrument panel cluster also comes on. See
Brake System Warning Light on page 3-35for more
information. Have the brake system serviced by
your dealer/retailer as soon as possible.
CHANGE OIL SOON
This message displays when the life of the engine oil
has expired and it should be changed.
When this message is acknowledged and cleared from
the display, the engine oil life system must still be
reset separately. SeeEngine Oil Life System on
page 5-19andScheduled Maintenance on page 6-4for
more information.
CHECK GAS CAP
This message displays if the fuel cap has not been fully
tightened. Recheck the fuel cap to make sure that it
is on properly. A few driving trips with the cap properly
installed should turn the message off.
CHECK TIRE PRESS (Pressure)
If your vehicle has a Tire Pressure Monitor System
(TPMS), this message displays when the pressure in one
or more of the vehicle’s tires needs to be checked. If a tire
pressure message appears on the DIC, stop as soon as
you can. Have the tire pressures checked and set to
those shown on the Tire Loading Information label. See
Tires on page 5-52,Loading Your Vehicle on page 4-27,
andInflation - Tire Pressure on page 5-60. The DIC also
shows the tire pressure values. SeeDIC Operation and
Displays on page 3-46. If the tire pressure is low, the low
tire pressure warning light comes on. SeeTire Pressure
Light on page 3-39.
COMPETITIVE MODE
If your vehicle has this feature, this message displays
when the Competitive Driving mode is selected.
The Traction Control System (TCS) will not be operating
while in the Competitive Driving mode and the
ESC/TCS light on the instrument panel cluster will be on
solid. Adjust your driving accordingly. SeeTraction
Control System (TCS) on page 4-6,Electronic Stability
Control (ESC) on page 4-10, andElectronic Stability
Control (ESC)/Traction Control System (TCS)
Indicator/Warning Light on page 3-37for more
information.
3-49
Page 232 of 430
Before Leaving on a Long Trip
To prepare your vehicle for a long trip, consider having
it serviced by your dealer/retailer before departing.
Things to check on your own include:
Windshield Washer Fluid:Reservoir full? Windows
clean — inside and outside?
Wiper Blades:In good shape?
Fuel, Engine Oil, Other Fluids:All levels checked?
Lamps:Do they all work and are lenses clean?
Tires:Are treads good? Are tires in�ated to
recommended pressure?
Weather and Maps:Safe to travel? Have
up-to-date maps?
Highway Hypnosis
Always be alert and pay attention to your surroundings
while driving. If you become tired or sleepy, �nd a
safe place to park your vehicle and rest.
Other driving tips include:
Keep the vehicle well ventilated.
Keep interior temperature cool.
Keep your eyes moving — scan the road ahead
and to the sides.
Check the rearview mirror and vehicle instruments
often.
Hill and Mountain Roads
Driving on steep hills or through mountains is different
than driving on �at or rolling terrain. Tips for driving
in these conditions include:
Keep your vehicle serviced and in good shape.
Check all �uid levels and brakes, tires, cooling
system, and transmission.
Going down steep or long hills, shift to a
lower gear.
4-20
Page 269 of 430
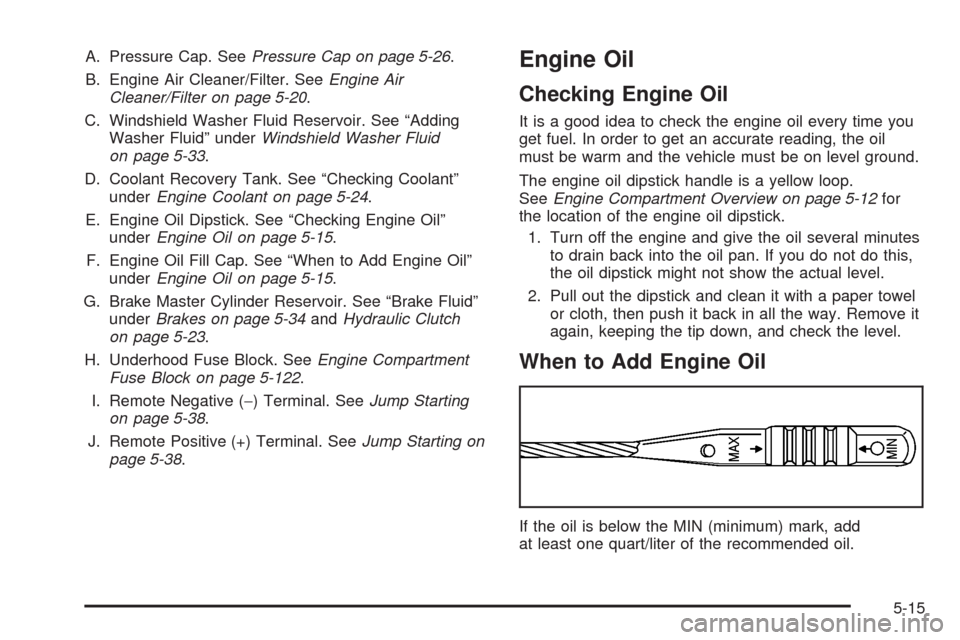
A. Pressure Cap. SeePressure Cap on page 5-26.
B. Engine Air Cleaner/Filter. SeeEngine Air
Cleaner/Filter on page 5-20.
C. Windshield Washer Fluid Reservoir. See “Adding
Washer Fluid” underWindshield Washer Fluid
on page 5-33.
D. Coolant Recovery Tank. See “Checking Coolant”
underEngine Coolant on page 5-24.
E. Engine Oil Dipstick. See “Checking Engine Oil”
underEngine Oil on page 5-15.
F. Engine Oil Fill Cap. See “When to Add Engine Oil”
underEngine Oil on page 5-15.
G. Brake Master Cylinder Reservoir. See “Brake Fluid”
underBrakes on page 5-34andHydraulic Clutch
on page 5-23.
H. Underhood Fuse Block. SeeEngine Compartment
Fuse Block on page 5-122.
I. Remote Negative (−) Terminal. SeeJump Starting
on page 5-38.
J. Remote Positive (+) Terminal. SeeJump Starting on
page 5-38.Engine Oil
Checking Engine Oil
It is a good idea to check the engine oil every time you
get fuel. In order to get an accurate reading, the oil
must be warm and the vehicle must be on level ground.
The engine oil dipstick handle is a yellow loop.
SeeEngine Compartment Overview on page 5-12for
the location of the engine oil dipstick.
1. Turn off the engine and give the oil several minutes
to drain back into the oil pan. If you do not do this,
the oil dipstick might not show the actual level.
2. Pull out the dipstick and clean it with a paper towel
or cloth, then push it back in all the way. Remove it
again, keeping the tip down, and check the level.
When to Add Engine Oil
If the oil is below the MIN (minimum) mark, add
at least one quart/liter of the recommended oil.
5-15
Page 285 of 430
{CAUTION:
Adding only plain water to the cooling system
can be dangerous. Plain water, or some other
liquid such as alcohol, can boil before the
proper coolant mixture will. The vehicle’s
coolant warning system is set for the proper
coolant mixture. With plain water or the wrong
mixture, the engine could get too hot but you
would not get the overheat warning. The engine
could catch �re and you or others could be
burned. Use a 50/50 mixture of clean, drinkable
water and DEX-COOL
®coolant.
Notice:In cold weather, water can freeze and crack
the engine, radiator, heater core and other parts.
Use the recommended coolant and the proper
coolant mixture.
{CAUTION:
You can be burned if you spill coolant on hot
engine parts. Coolant contains ethylene glycol
and it will burn if the engine parts are hot
enough. Do not spill coolant on a hot engine.
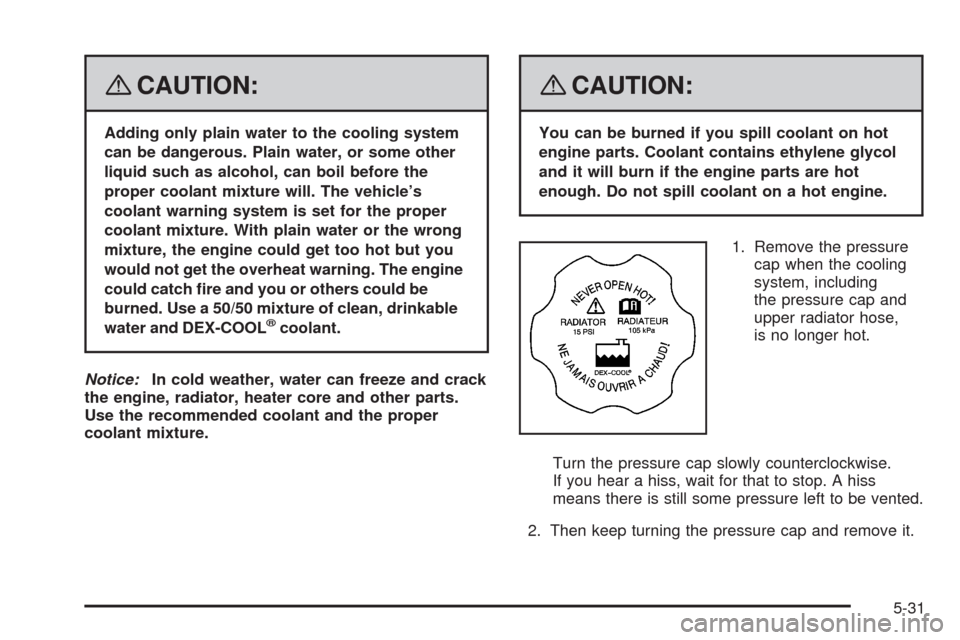
1. Remove the pressure
cap when the cooling
system, including
the pressure cap and
upper radiator hose,
is no longer hot.
Turn the pressure cap slowly counterclockwise.
If you hear a hiss, wait for that to stop. A hiss
means there is still some pressure left to be vented.
2. Then keep turning the pressure cap and remove it.
5-31
Page 365 of 430
Do not clean your vehicle using the following cleaners
or techniques:
Never use a knife or any other sharp object to
remove a soil from any interior surface.
Never use a stiff brush. It can cause damage to
your vehicle’s interior surfaces.
Never apply heavy pressure or rub aggressively
with a cleaning cloth. Use of heavy pressure
can damage your interior and does not improve the
effectiveness of soil removal.
Use only mild, neutral-pH soaps. Avoid laundry
detergents or dishwashing soaps with degreasers.
Using too much soap will leave a residue that
leaves streaks and attracts dirt. For liquid cleaners,
about 20 drops per gallon (3.78 L) of water is a
good guide.
Do not heavily saturate your upholstery while
cleaning.
Damage to your vehicle’s interior may result from
the use of many organic solvents such as naptha,
alcohol, etc.
Fabric/Carpet
Use a vacuum cleaner with a soft brush attachment
frequently to remove dust and loose dirt. A canister
vacuum with a beater bar in the nozzle may only be used
on �oor carpet and carpeted �oor mats. For soils, always
try to remove them �rst with plain water or club soda.
Before cleaning, gently remove as much of the soil as
possible using one of the following techniques:
For liquids: gently blot the remaining soil with a paper
towel. Allow the soil to absorb into the paper towel
until no more can be removed.
For solid dry soils: remove as much as possible and
then vacuum.
To clean, use the following instructions:
1. Saturate a lint-free, clean white cloth with water or
club soda.
2. Wring the cloth to remove excess moisture.
3. Start on the outside edge of the soil and gently rub
toward the center. Continue cleaning, using a clean
area of the cloth each time it becomes soiled.
4. Continue to gently rub the soiled area until the
cleaning cloth remains clean.
5. If the soil is not completely removed, use a mild
soap solution and repeat the cleaning process
that was used with plain water.
5-111
Page 424 of 430
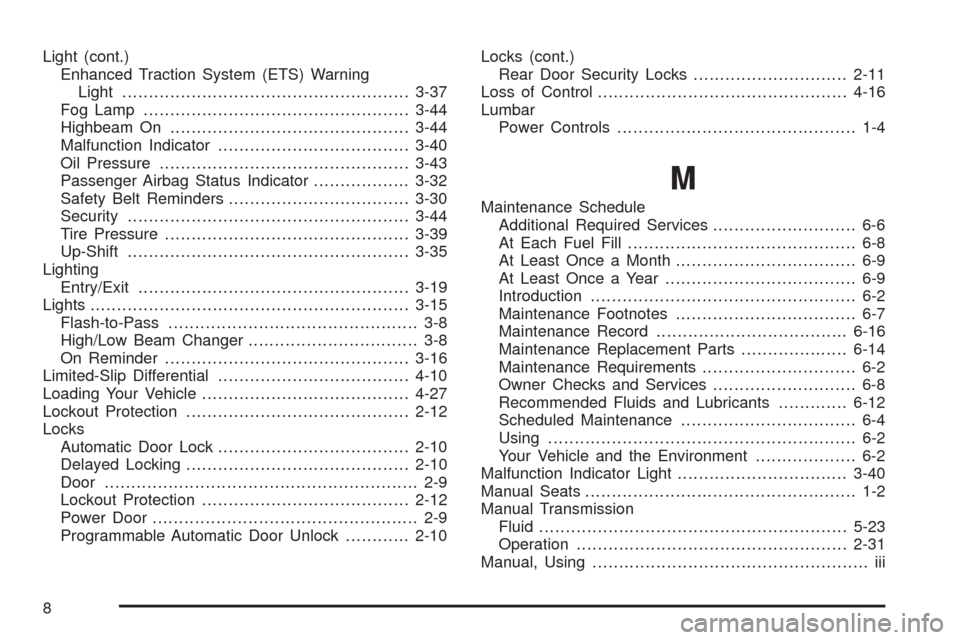
Light (cont.)
Enhanced Traction System (ETS) Warning
Light......................................................3-37
Fog Lamp..................................................3-44
Highbeam On.............................................3-44
Malfunction Indicator....................................3-40
Oil Pressure...............................................3-43
Passenger Airbag Status Indicator..................3-32
Safety Belt Reminders..................................3-30
Security.....................................................3-44
Tire Pressure..............................................3-39
Up-Shift.....................................................3-35
Lighting
Entry/Exit...................................................3-19
Lights............................................................3-15
Flash-to-Pass............................................... 3-8
High/Low Beam Changer................................ 3-8
On Reminder..............................................3-16
Limited-Slip Differential....................................4-10
Loading Your Vehicle.......................................4-27
Lockout Protection..........................................2-12
Locks
Automatic Door Lock....................................2-10
Delayed Locking..........................................2-10
Door........................................................... 2-9
Lockout Protection.......................................2-12
Power Door.................................................. 2-9
Programmable Automatic Door Unlock............2-10Locks (cont.)
Rear Door Security Locks.............................2-11
Loss of Control...............................................4-16
Lumbar
Power Controls............................................. 1-4
M
Maintenance Schedule
Additional Required Services........................... 6-6
At Each Fuel Fill........................................... 6-8
At Least Once a Month.................................. 6-9
At Least Once a Year.................................... 6-9
Introduction.................................................. 6-2
Maintenance Footnotes.................................. 6-7
Maintenance Record....................................6-16
Maintenance Replacement Parts....................6-14
Maintenance Requirements............................. 6-2
Owner Checks and Services........................... 6-8
Recommended Fluids and Lubricants.............6-12
Scheduled Maintenance................................. 6-4
Using.......................................................... 6-2
Your Vehicle and the Environment................... 6-2
Malfunction Indicator Light................................3-40
Manual Seats................................................... 1-2
Manual Transmission
Fluid..........................................................5-23
Operation...................................................2-31
Manual, Using.................................................... iii
8