instrument cluster CHEVROLET IMPALA 2003 8.G Owners Manual
[x] Cancel search | Manufacturer: CHEVROLET, Model Year: 2003, Model line: IMPALA, Model: CHEVROLET IMPALA 2003 8.GPages: 408, PDF Size: 2.75 MB
Page 79 of 408

Trunk Lock
To unlock the trunk from the outside, insert the key in
the lock and turn it. You can also press the car
symbol on your remote keyless entry transmitter, if
equipped.
Remote Trunk Release
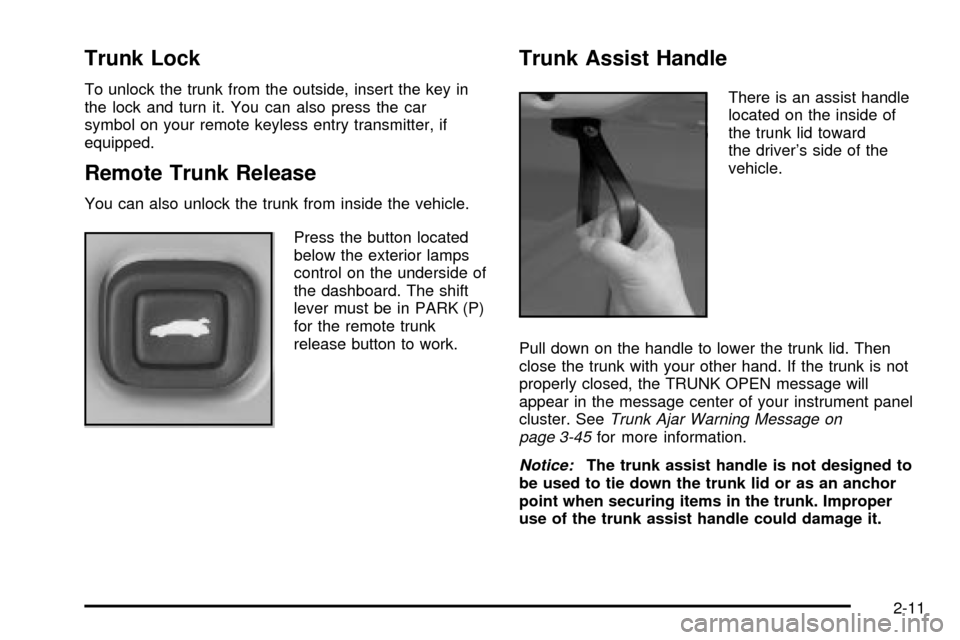
You can also unlock the trunk from inside the vehicle.
Press the button located
below the exterior lamps
control on the underside of
the dashboard. The shift
lever must be in PARK (P)
for the remote trunk
release button to work.
Trunk Assist Handle
There is an assist handle
located on the inside of
the trunk lid toward
the driver's side of the
vehicle.
Pull down on the handle to lower the trunk lid. Then
close the trunk with your other hand. If the trunk is not
properly closed, the TRUNK OPEN message will
appear in the message center of your instrument panel
cluster. See
Trunk Ajar Warning Message on
page 3-45for more information.
Notice:The trunk assist handle is not designed to
be used to tie down the trunk lid or as an anchor
point when securing items in the trunk. Improper
use of the trunk assist handle could damage it.
2-11
Page 87 of 408

ACC (ACCESSORY):This is the position in which you
can operate your electrical accessories. With the key
in this position, the ignition and automatic transaxle
will unlock.
ON:This is the position to which the switch returns
after you start the engine and release the switch. The
switch stays in ON while the engine is running. But
even when the engine is not running, you can use ON
to operate your electrical accessories and to display
some instrument panel cluster messages and
warning lights.
START:This position starts the engine. When the
engine starts, release the key. The ignition switch will
return to ON for normal driving.
While the engine is not running, ACC and ON allow
you to operate your electrical accessories, such as
the radio.
A warning chime will sound if you open the driver's door
while the ignition is in OFF or ACC and the key is in
the ignition.Retained Accessory Power (RAP)
With Retained Accessory Power (RAP), your power
windows, audio system and sunroof (option) will
continue to work for up to 10 minutes after the ignition is
turned to OFF and none of the doors is opened.
Starting Your Engine
Move your shift lever to PARK (P) or NEUTRAL (N).
Your engine won't start in any other position Ð that's a
safety feature. To restart when you're already moving,
use NEUTRAL (N) only.
Notice:Don't try to shift to PARK (P) if your
vehicle is moving. If you do, you could damage the
transaxle. Shift to PARK (P) only when your
vehicle is stopped.
2-19
Page 92 of 408

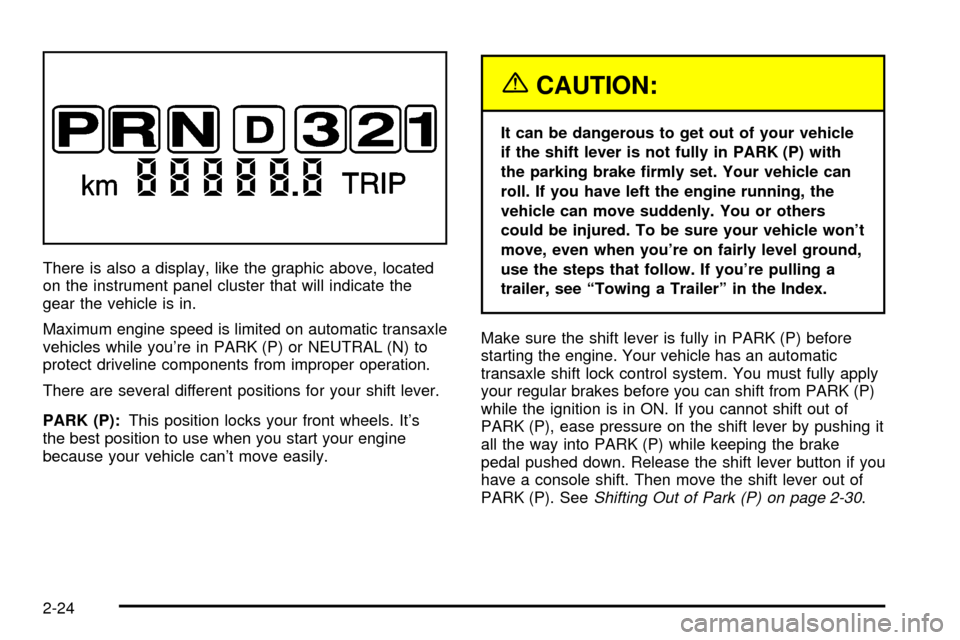
There is also a display, like the graphic above, located
on the instrument panel cluster that will indicate the
gear the vehicle is in.
Maximum engine speed is limited on automatic transaxle
vehicles while you're in PARK (P) or NEUTRAL (N) to
protect driveline components from improper operation.
There are several different positions for your shift lever.
PARK (P):This position locks your front wheels. It's
the best position to use when you start your engine
because your vehicle can't move easily.
{CAUTION:
It can be dangerous to get out of your vehicle
if the shift lever is not fully in PARK (P) with
the parking brake ®rmly set. Your vehicle can
roll. If you have left the engine running, the
vehicle can move suddenly. You or others
could be injured. To be sure your vehicle won't
move, even when you're on fairly level ground,
use the steps that follow. If you're pulling a
trailer, see ªTowing a Trailerº in the Index.
Make sure the shift lever is fully in PARK (P) before
starting the engine. Your vehicle has an automatic
transaxle shift lock control system. You must fully apply
your regular brakes before you can shift from PARK (P)
while the ignition is in ON. If you cannot shift out of
PARK (P), ease pressure on the shift lever by pushing it
all the way into PARK (P) while keeping the brake
pedal pushed down. Release the shift lever button if you
have a console shift. Then move the shift lever out of
PARK (P). See
Shifting Out of Park (P) on page 2-30.
2-24
Page 114 of 408

OIL LIFE (GM Oil Life System Reset)
This feature allows you to reset the GM Oil Life System
Monitor after an oil change, seeEngine Oil on
page 5-16. Be careful not to reset the OIL LIFE at any
time other than when the oil has been changed. To clear
the CHANGE ENGINE OIL light from the instrument
panel cluster and reset the oil life monitor:
1. Scroll, using the SEEK/PSCAN up or down arrows,
until OIL LIFE appears on the display.
2. Press the PREV or NEXT button to enter the
submenu. RESET will then be displayed.
3. Press the TUNE/DISP knob to reset. A chime will
be heard to verify the new setting and DONE will
be displayed for one second.
The CHANGE ENGINE OIL light is now reset. You can
either exit the programming mode by following the
instructions later in this section or program the next
feature available on your vehicle.
TIRE MON (Tire In¯ation Monitor
Reset)
This feature allows you to reset the tire pressure
monitor after checking all tire pressures, seeTires on
page 5-61. To clear the LOW TIRE PRESSURE
light from the instrument panel cluster and reset the low
tire pressure monitor do the following:
1. Scroll, using the SEEK/PSCAN up or down arrows,
until TIRE MON appears on the display.
2. Press the PREV or NEXT button to enter the
submenu. RESET will be displayed.
3. Press the TUNE/DISP knob to reset. A chime will
be heard to verify the new setting and DONE will
be displayed for one second.
The low tire pressure monitor is now reset. You can
either exit the programming mode by following the
instructions later in this section or program the next
feature available on your vehicle.
2-46
Page 123 of 408

Instrument Panel Overview...............................3-4
Hazard Warning Flashers................................3-6
Other Warning Devices...................................3-6
Horn.............................................................3-7
Tilt Wheel.....................................................3-7
Turn Signal/Multifunction Lever.........................3-7
Exterior Lamps.............................................3-14
Interior Lamps..............................................3-17
Accessory Power Outlets...............................3-19
Auxiliary Power Connection
(Power Drop)............................................3-20
Ashtrays and Cigarette Lighter........................3-21
Climate Controls............................................3-22
Dual Climate Control System..........................3-22
Outlet Adjustment.........................................3-25
Passenger Compartment Air Filter...................3-26
Warning Lights, Gages and Indicators.............3-28
Instrument Panel Cluster................................3-29
Speedometer and Odometer...........................3-31
Tachometer.................................................3-32
Safety Belt Reminder Light.............................3-32
Air Bag Readiness Light................................3-33
Brake System Warning Light..........................3-34Anti-Lock Brake System Warning Light.............3-35
Traction Control System (TCS) Warning Light . . .3-35
Engine Coolant Temperature Gage..................3-36
Malfunction Indicator Lamp.............................3-37
Cruise Control Light......................................3-39
Fuel Gage...................................................3-40
Message Center.............................................3-40
Service Traction System Warning Message......3-41
Traction Active Message................................3-41
Battery Warning Message..............................3-42
Hot Coolant Temperature Warning Message.....3-42
Low Oil Pressure Message............................3-43
Low Engine Oil Level Message.......................3-43
Change Engine Oil Message..........................3-44
Low Tire Message........................................3-44
Door Ajar Warning Message...........................3-45
Trunk Ajar Warning Message.........................3-45
Security Message.........................................3-46
Low Washer Fluid Warning Message...............3-46
Low Fuel Warning Message...........................3-47
Low Brake Fluid Warning Message.................3-47
Service Vehicle Soon Message.......................3-48
Highbeam Out Warning Message....................3-48
Section 3 Instrument Panel
3-1
Page 128 of 408

Hazard Warning Flashers
Your hazard warning ¯ashers let you warn others. They
also let police know you have a problem. Your front
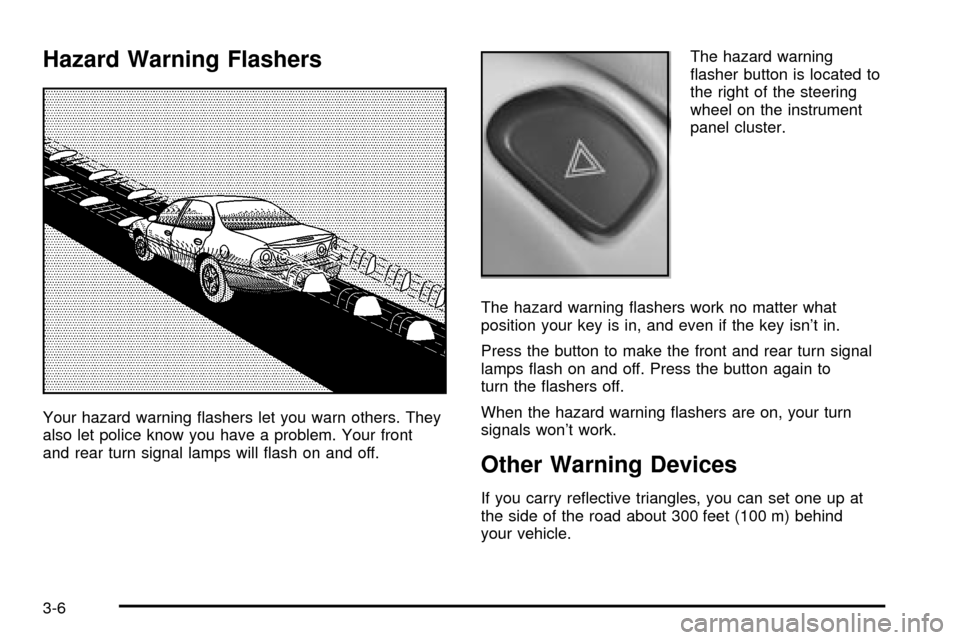
and rear turn signal lamps will ¯ash on and off.The hazard warning
¯asher button is located to
the right of the steering
wheel on the instrument
panel cluster.
The hazard warning ¯ashers work no matter what
position your key is in, and even if the key isn't in.
Press the button to make the front and rear turn signal
lamps ¯ash on and off. Press the button again to
turn the ¯ashers off.
When the hazard warning ¯ashers are on, your turn
signals won't work.
Other Warning Devices
If you carry re¯ective triangles, you can set one up at
the side of the road about 300 feet (100 m) behind
your vehicle.
3-6
Page 130 of 408

Turn and Lane-Change Indicator
The turn signal has two upward (for right) and two
downward (for left) positions. These positions allow you
to signal a turn or a lane change.
To signal a turn, move the lever all the way up or down.
When the turn is ®nished, the lever will return
automatically.
An arrow on the instrument
panel cluster will ¯ash in
the direction of the
turn or lane change.
To signal a lane change, just raise or lower the lever
until the arrow starts to ¯ash. Hold it there until you
complete your lane change. The lever will return by itself
when you release it.
If the arrow ¯ashes faster than normal as you signal a
turn or a lane change, a signal bulb may be burned
out and other drivers won't see your turn signal.
If a bulb is burned out, replace it to help avoid an
accident. If the arrows don't go on at all when you signal
a turn, check for burned-out bulbs and then check the
fuse. See
Fuses and Circuit Breakers on page 5-95.
Turn Signal On Chime
If you leave either one of your turn signals on and drive
more than 3/4 mile (1.2 km), a chime will sound to
alert you.
Headlamp High/Low-Beam Changer
To change your headlamps from low beams to
high beams, or high to low, pull the multifunction lever
all the way toward you. Then release it.
While the high beams are
on, this light on the
instrument panel cluster
also will be on.
This light works only while the ignition key is in the ON
position, and your fog lamps (if equipped) will not be
illuminated when your high beams are on.
3-8
Page 134 of 408

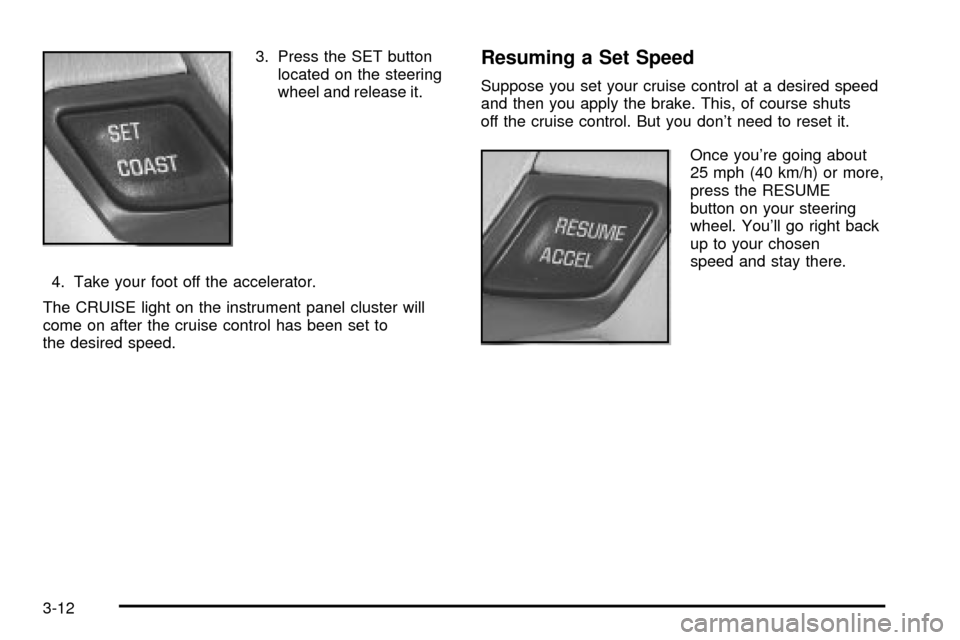
3. Press the SET button
located on the steering
wheel and release it.
4. Take your foot off the accelerator.
The CRUISE light on the instrument panel cluster will
come on after the cruise control has been set to
the desired speed.Resuming a Set Speed
Suppose you set your cruise control at a desired speed
and then you apply the brake. This, of course shuts
off the cruise control. But you don't need to reset it.
Once you're going about
25 mph (40 km/h) or more,
press the RESUME
button on your steering
wheel. You'll go right back
up to your chosen
speed and stay there.
3-12
Page 137 of 408

The exterior lamps control has three positions:
Off:Push the control all the way in to turn off the
exterior lamps.
Parking Lamps:Pull the control out halfway to turn on
the parking lamps together with the following:
·Taillamps
·License Plate Lamps
·Instrument Panel Lights
Headlamps:Pull the control all the way out to turn on
the headlamps together with the previously listed
lamps and lights. See
Interior Lamps on page 3-17for
information on the instrument panel brightness
control and on the dome lamps. A warning chime will
sound if you open the driver's door when the ignition
switch is off and the headlamps are on.
Daytime Running Lamps/Automatic
Headlamp System
Daytime Running Lamps (DRL) can make it easier for
others to see the front of your vehicle during the
day. DRL can be helpful in many different driving
conditions, but they can be especially helpful in the short
periods after dawn and before sunset. Fully functional
daytime running lamps are required on all vehicles
®rst sold in Canada.A light sensor on top of the instrument panel makes the
DRL work, so be sure it isn't covered.
The DRL system's automatic headlamp control will
make your high-beam headlamps come on at a reduced
brightness when the following conditions are met:
·The ignition is on,
·the exterior lamps control is off and
·the gearshift is not in PARK (P).
When the DRL are on, only your high-beam headlamps,
at a reduced level of brightness, will be on. The
headlamps, taillamps, sidemarker and other lamps won't
be on. Your instrument panel and cluster won't be lit
up either.
When it's dark enough outside, your high-beam
headlamps will turn off and the headlamps and parking
lamps will turn on. The other lamps that come on
with your headlamps will also come on.
When it's bright enough outside, your headlamps will go
off and your DRL will come on.
As with any vehicle, you should turn on the regular
headlamp system when you need it.
3-15
Page 151 of 408

Instrument Panel Cluster
Your instrument panel cluster is designed to let you know at a glance how your vehicle is running. You'll know how
fast you're going, about how much fuel is in your tank and many other things you need to drive safely and
economically.
Uplevel 3400 V6 Engine Cluster: United States version with ABS and Traction Control shown, Canada similar
3-29