light CHEVROLET IMPALA 2004 8.G Owner's Manual
[x] Cancel search | Manufacturer: CHEVROLET, Model Year: 2004, Model line: IMPALA, Model: CHEVROLET IMPALA 2004 8.GPages: 420, PDF Size: 2.73 MB
Page 116 of 420
Your vehicle was originally programmed to Mode 2. The
mode may have been changed since then. To determine
the current mode, or to change the mode, do the
following:
1. Scroll, using the SEEK/PSCAN up or down arrows,
until FOB LIGHT appears on the display.
2. Press the PREV or NEXT button to enter the
submenu. The current selection will have an
asterisk (*) next to it. If you do not wish to change
the current mode, you can either exit the
programming mode by following the directions later
in this section or program the next feature
available on your vehicle.
3. Scroll, using the PREV or NEXT buttons, through
the modes to change the current mode.
4. With your preference displayed, press the
TUNE/DISP button to select. A chime will be heard
to verify the new setting. A new selection will be
displayed with an asterisk (*) for one second.
If your vehicle has the optional content theft-deterrent
system, the rst time a remote UNLOCK command
is received, three ashes will be seen and three horn
chirps heard to indicate an alarm condition has occurred
since last arming. SeeTheft-Deterrent Systems on
page 2-15.The mode you selected is now set. You can either exit
the programming mode by following the instructions
later in this section or program the next feature available
on your vehicle.
FOB HORN (Remote Audible
Verication)
This feature allows the horn to chirp when the remote
keyless entry transmitter is used to lock or unlock
the vehicle or to program no verication.
Programmable Modes
Mode 1:OFF
Mode 2:PARTIAL — One chirp for each remote LOCK
command/no chirp for remote UNLOCK command.
Mode 3:FULL — One chirp for each remote LOCK
command/two chirps for the rst remote UNLOCK
command.
2-48
Page 121 of 420
Instrument Panel Overview...............................3-4
Hazard Warning Flashers................................3-6
Other Warning Devices...................................3-6
Horn.............................................................3-7
Tilt Wheel.....................................................3-7
Turn Signal/Multifunction Lever.........................3-7
Cruise Control..............................................3-11
Exterior Lamps.............................................3-14
Interior Lamps..............................................3-17
Accessory Power Outlets...............................3-19
Ashtrays and Cigarette Lighter........................3-20
Climate Controls............................................3-20
Dual Climate Control System..........................3-20
Outlet Adjustment.........................................3-24
Passenger Compartment Air Filter...................3-25
Warning Lights, Gages, and Indicators............3-26
Instrument Panel Cluster................................3-27
Speedometer and Odometer...........................3-30
Tachometer.................................................3-31
Safety Belt Reminder Light.............................3-31
Air Bag Readiness Light................................3-32
Brake System Warning Light..........................3-33
Anti-Lock Brake System Warning Light.............3-35Traction Control System (TCS) Warning Light . . .3-35
Engine Coolant Temperature Gage..................3-36
Malfunction Indicator Lamp.............................3-37
Cruise Control Light......................................3-41
Fuel Gage...................................................3-42
Message Center.............................................3-43
Service Traction System Warning Message......3-43
Traction Active Message................................3-44
Battery Warning Message..............................3-45
Hot Coolant Temperature Warning Message.....3-45
Low Oil Pressure Message............................3-46
Low Engine Oil Level Message.......................3-47
Change Engine Oil Message..........................3-47
Low Tire Message........................................3-48
Door Ajar Warning Message...........................3-48
Trunk Ajar Warning Message.........................3-49
Security Message.........................................3-49
Low Washer Fluid Warning Message...............3-50
Low Fuel Warning Message...........................3-50
Low Brake Fluid Warning Message.................3-51
Service Vehicle Soon Message.......................3-51
Highbeam Out Warning Message....................3-52
Section 3 Instrument Panel
3-1
Page 128 of 420
Turn and Lane-Change Indicator
The turn signal has two upward (for right) and two
downward (for left) positions. These positions allow you
to signal a turn or a lane change.
To signal a turn, move the lever all the way up or down.
When the turn is nished, the lever will return
automatically.
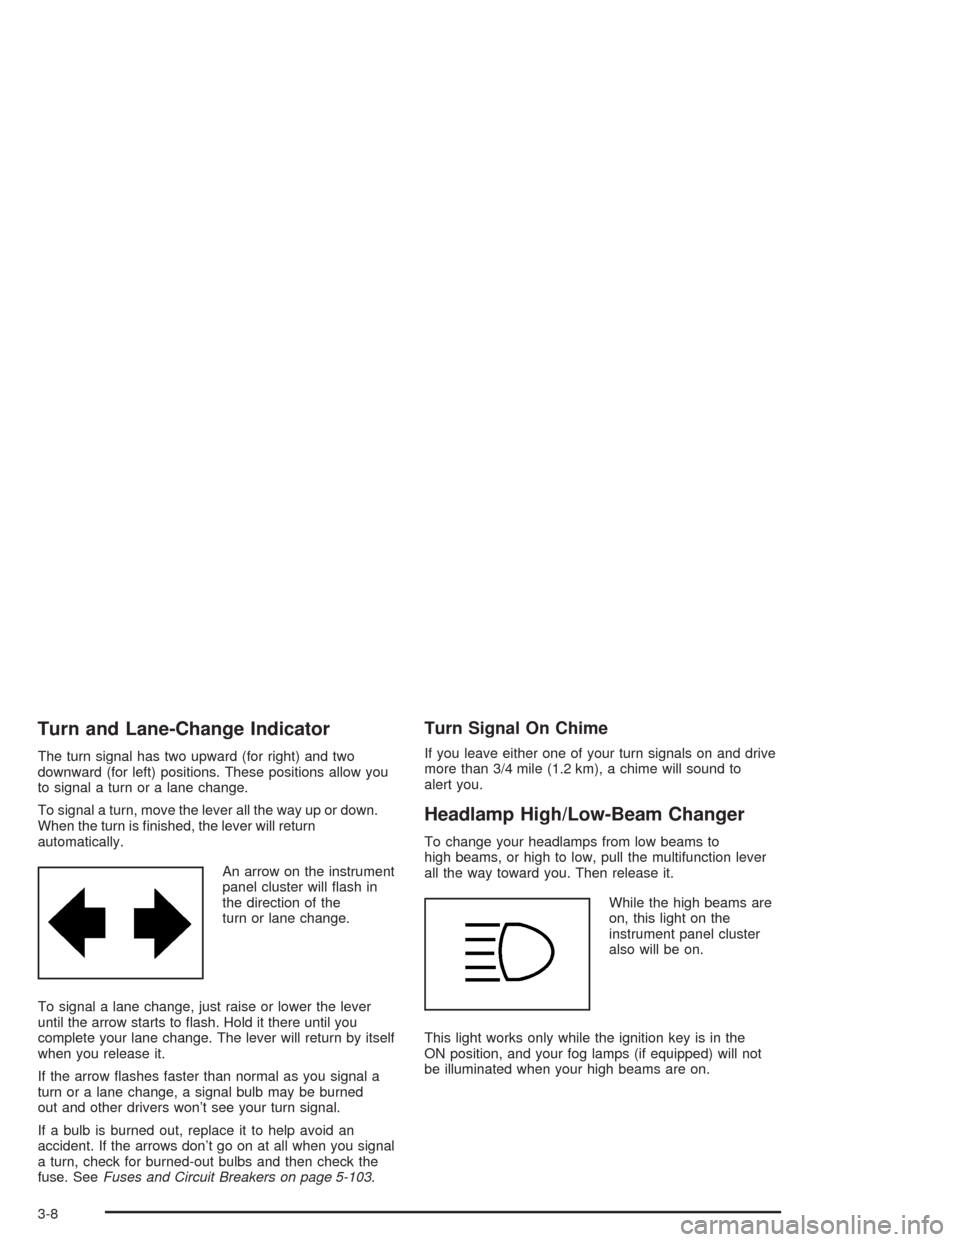
An arrow on the instrument
panel cluster will ash in
the direction of the
turn or lane change.
To signal a lane change, just raise or lower the lever
until the arrow starts to ash. Hold it there until you
complete your lane change. The lever will return by itself
when you release it.
If the arrow ashes faster than normal as you signal a
turn or a lane change, a signal bulb may be burned
out and other drivers won’t see your turn signal.
If a bulb is burned out, replace it to help avoid an
accident. If the arrows don’t go on at all when you signal
a turn, check for burned-out bulbs and then check the
fuse. SeeFuses and Circuit Breakers on page 5-103.
Turn Signal On Chime
If you leave either one of your turn signals on and drive
more than 3/4 mile (1.2 km), a chime will sound to
alert you.
Headlamp High/Low-Beam Changer
To change your headlamps from low beams to
high beams, or high to low, pull the multifunction lever
all the way toward you. Then release it.
While the high beams are
on, this light on the
instrument panel cluster
also will be on.
This light works only while the ignition key is in the
ON position, and your fog lamps (if equipped) will not
be illuminated when your high beams are on.
3-8
Page 132 of 420
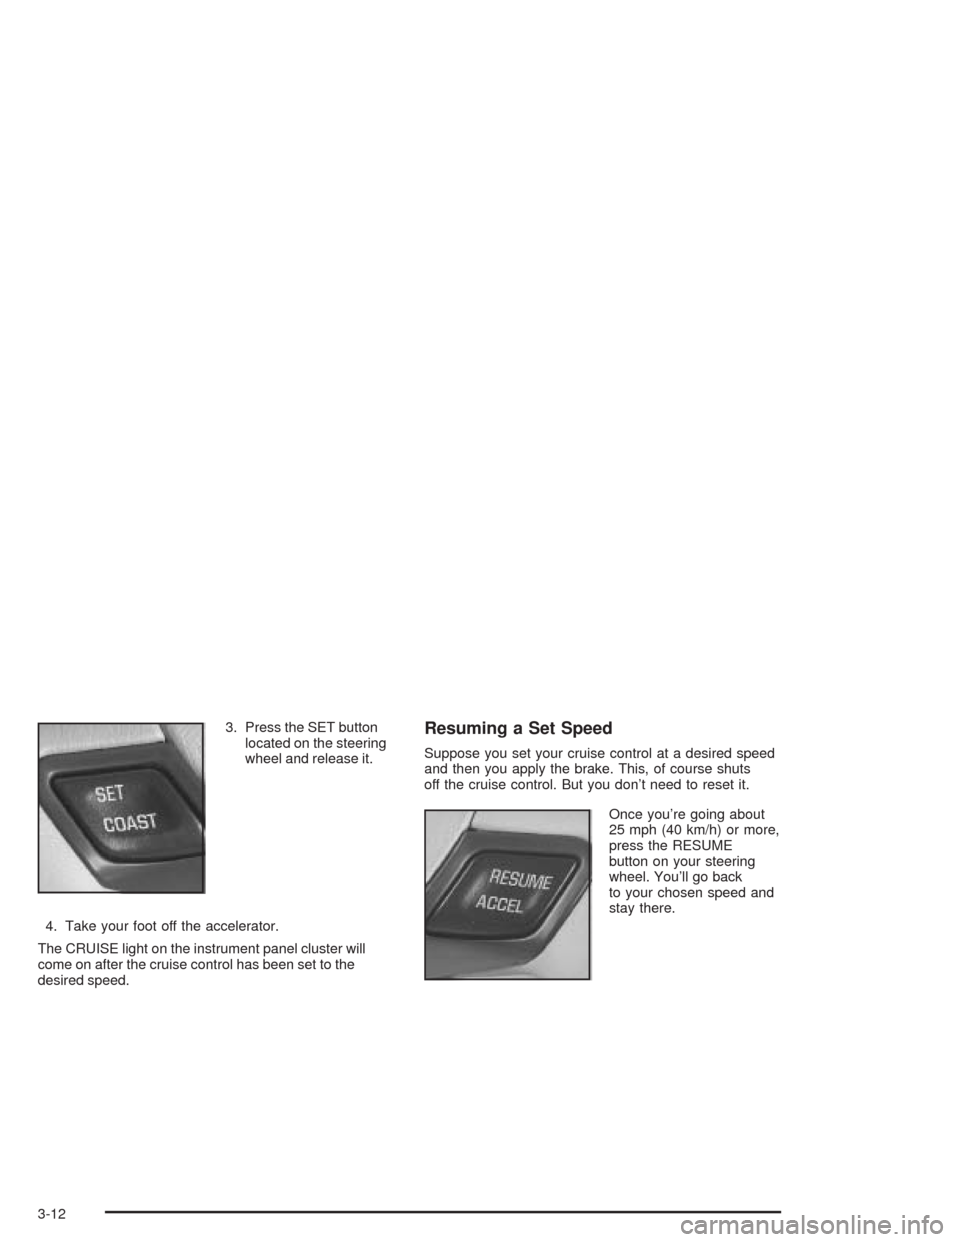
3. Press the SET button
located on the steering
wheel and release it.
4. Take your foot off the accelerator.
The CRUISE light on the instrument panel cluster will
come on after the cruise control has been set to the
desired speed.Resuming a Set Speed
Suppose you set your cruise control at a desired speed
and then you apply the brake. This, of course shuts
off the cruise control. But you don’t need to reset it.
Once you’re going about
25 mph (40 km/h) or more,
press the RESUME
button on your steering
wheel. You’ll go back
to your chosen speed and
stay there.
3-12
Page 134 of 420
Using Cruise Control on Hills
How well your cruise control will work on hills depends
upon your speed, load and the steepness of the
hills. When going up steep hills, you may have to step
on the accelerator pedal to maintain your speed.
When going downhill, you may have to brake or shift to
a lower gear to keep your speed down. Of course,
applying the brake takes you out of cruise control. Many
drivers nd this to be too much trouble and don’t use
cruise control on steep hills.
Ending Cruise Control
There are three ways to cancel the cruise control:
Step lightly on the brake pedal.
Slide the lever on the multifunction lever to the
OFF position.
Press the COAST and ACCEL buttons at the
same time.
Erasing Speed Memory
When you turn off the cruise control or the ignition, your
cruise control set speed memory is erased.
Exterior Lamps
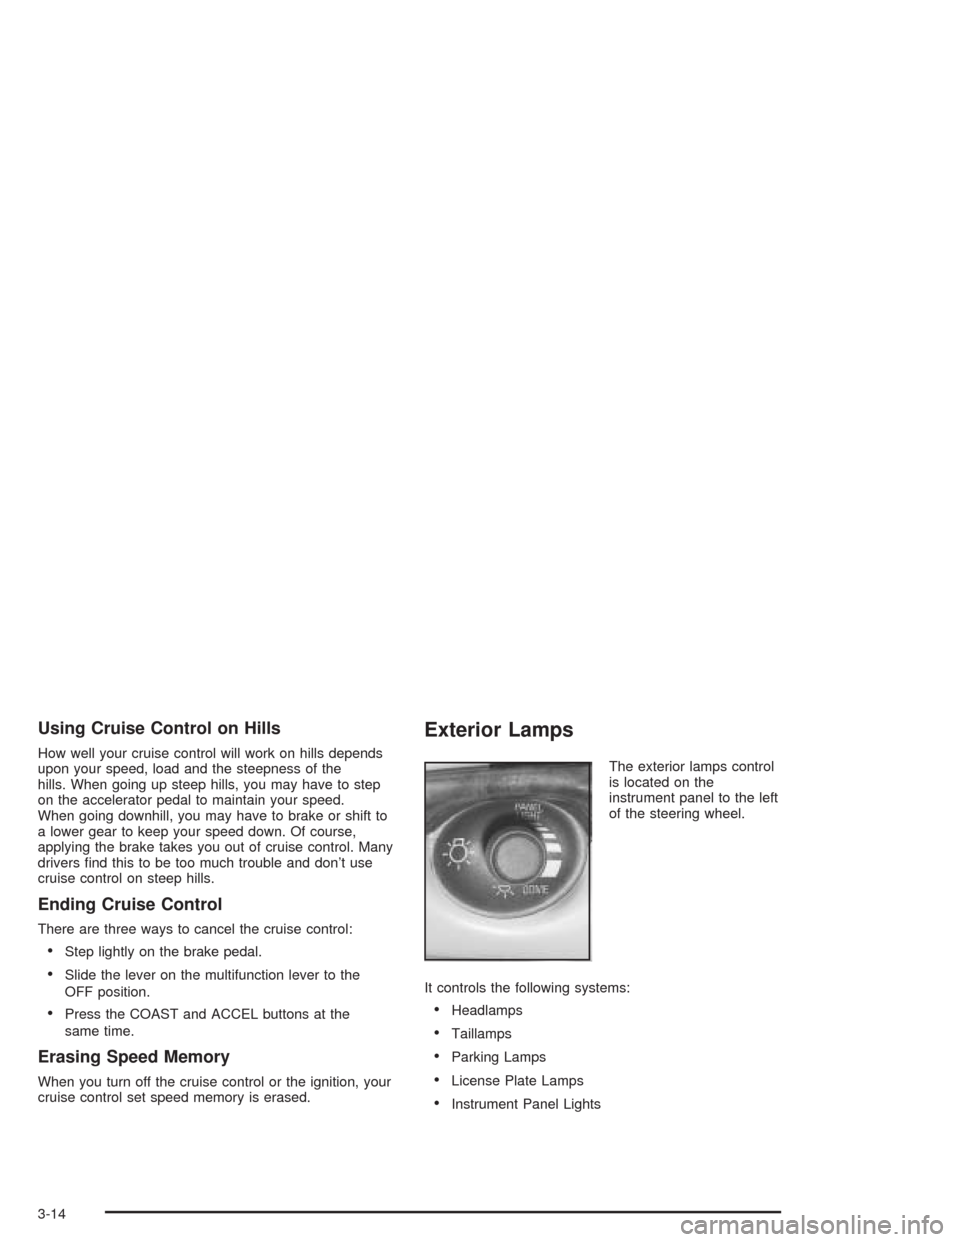
The exterior lamps control
is located on the
instrument panel to the left
of the steering wheel.
It controls the following systems:
Headlamps
Taillamps
Parking Lamps
License Plate Lamps
Instrument Panel Lights
3-14
Page 135 of 420
The exterior lamps control has three positions:
Off:Push the control all the way in to turn off the
exterior lamps.
Parking Lamps:Pull the control out halfway to turn
on the parking lamps together with the following:
Taillamps
License Plate Lamps
Instrument Panel Lights
Headlamps:Pull the control all the way out to turn on
the headlamps together with the previously listed
lamps and lights. SeeInterior Lamps on page 3-17for
information on the instrument panel brightness
control and on the dome lamps. A warning chime will
sound if you open the driver’s door when the ignition
switch is off and the headlamps are on.
Daytime Running Lamps/Automatic
Headlamp System
Daytime Running Lamps (DRL) can make it easier for
others to see the front of your vehicle during the
day. DRL can be helpful in many different driving
conditions, but they can be especially helpful in the short
periods after dawn and before sunset. Fully functional
daytime running lamps are required on all vehicles
rst sold in Canada.A light sensor on top of the instrument panel makes
the DRL work, so be sure it isn’t covered.
The DRL system’s automatic headlamp control will
make your high-beam headlamps come on at a reduced
brightness when the following conditions are met:
The ignition is on,
the exterior lamps control is off and
the gearshift is not in PARK (P).
When the DRL are on, only your high-beam headlamps,
at a reduced level of brightness, will be on. The
headlamps, taillamps, sidemarker and other lamps won’t
be on. Your instrument panel and cluster won’t be lit
up either.
When it’s dark enough outside, your high-beam
headlamps will turn off and the headlamps and parking
lamps will turn on. The other lamps that come on
with your headlamps will also come on.
When it’s bright enough outside, your headlamps will
go off and your DRL will come on.
As with any vehicle, you should turn on the regular
headlamp system when you need it.
3-15
Page 136 of 420
Delayed Headlamps
The delayed headlamps feature provides a period of
exterior lighting as you leave the area around your
vehicle. The feature is activated when the headlamps
are on due to the automatic headlamps control
feature described previously in this section, and when
the ignition is turned off. Your headlamps will then
remain on until the exterior lamps control is moved to
the parking lamps position or until either a 30 second or
60 second lighting period has ended.
If you turn off the ignition with the headlamps switch in
the parking lamps or headlamps position, the delayed
headlamps cycle will not occur.
To disable the delayed headlamps feature or change
the time of delay, seeVehicle Customization Settings on
page 3-97.
Fog Lamps
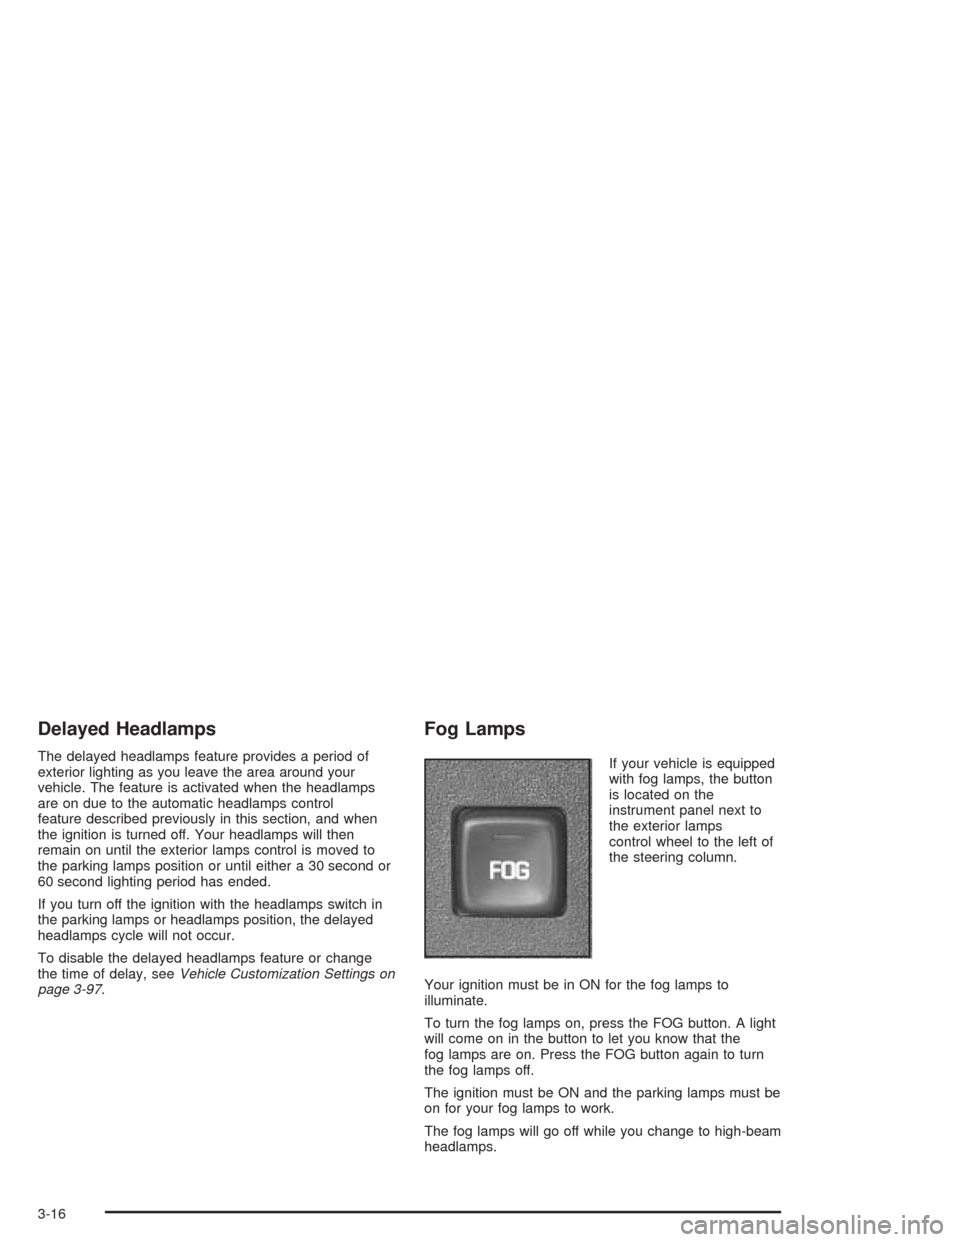
If your vehicle is equipped
with fog lamps, the button
is located on the
instrument panel next to
the exterior lamps
control wheel to the left of
the steering column.
Your ignition must be in ON for the fog lamps to
illuminate.
To turn the fog lamps on, press the FOG button. A light
will come on in the button to let you know that the
fog lamps are on. Press the FOG button again to turn
the fog lamps off.
The ignition must be ON and the parking lamps must be
on for your fog lamps to work.
The fog lamps will go off while you change to high-beam
headlamps.
3-16
Page 137 of 420
Interior Lamps
Instrument Panel Brightness
The control for the instrument panel lights is located on
the exterior lamps control. Your parking lamps must
be on for this feature to work. Turn the control clockwise
to brighten the lights or counterclockwise to dim them.
Courtesy Lamps
When any door is opened, several lamps come on. These
lamps are courtesy lamps. They make it easy for you to
enter and leave your vehicle. You can also turn these
lamps on by turning the exterior lamps control all the way
clockwise.
Entry Lighting
Your vehicle may be equipped with courtesy lamps that
will come on and stay on for a set time whenever
you press UNLOCK on the remote keyless entry
transmitter (if equipped).
If you open a door, the lamps will stay on while it’s open
and then turn off automatically about 25 seconds after
you close it. If you press UNLOCK and don’t open
a door, the lamps will turn off after about 40 seconds.Entry lighting includes a feature called theater dimming.
With theater dimming, the lamps don’t just turn off at the
end of the delay time. Instead, they slowly dim after the
delay time until they go out. The delay time is canceled if
you turn the ignition key to ON or press the power door
lock switch. The lamps will dim right away.
When the ignition is on, illuminated entry is inactive,
which means the courtesy lamps won’t come on unless
a door is opened.
Delayed Entry Lighting
Delayed entry lighting illuminates the interior for a
period of time after all the doors have been closed.
The ignition must be off for delayed entry lighting
to work. Immediately after all the doors have been
closed, the delayed entry lighting feature will continue to
work until one of the following occurs:
The ignition is moved to ON,
the doors are locked, or
an illumination period of 25 seconds has elapsed.
If during the illumination period a door is opened,
the timed illumination period will be canceled and the
interior lamps will remain on because a door is open.
3-17
Page 138 of 420
Delayed Exit Lighting
This feature illuminates the interior for a period of time
after the key is removed from the ignition.
The ignition must be off for delayed exit lighting to work.
When the key is removed, interior illumination will
activate and remain on until one of the following occurs:
The ignition is moved to ON,
the power door locks are activated, or
an illumination period of 25 seconds has elapsed.
If during the illumination period a door is opened,
the timed illumination period will be canceled and the
interior lamps will remain on because a door is open.
Parade Dimming
The instrument panel has an added feature called
parade mode. This feature prohibits the dimming of your
instrument panel displays during the daylight while
the headlamps are on so that you’ll still be able to see
the displays.
Reading Lamps
Your vehicle may be equipped with reading lamps that
are located on the assist handles in the headliner.
These lamps and the interior courtesy lamps come on
when any door is opened. Press the lens to turn them on
and off.
Dome Lamp
If your vehicle has this feature, the dome lamp will
come on when you open a door. You can also turn this
lamp on by turning the exterior lamps control clockwise
as far as it will go. Vehicles that have the optional
sunroof do not have a dome lamp.
Battery Rundown Protection
Your vehicle has a feature to help prevent you from
draining the battery in case you accidentally leave on the
interior courtesy lamps, reading/map lamps, visor
vanity lamps or trunk lamp. If you leave any of these
lamps on, they will automatically turn off after
10 minutes, if the ignition is off. The lamps won’t come
back on again until you do the following:
Turn the ignition on, or
turn the exterior lamps control off, then on again.
If your vehicle has less than 15 miles (25 km) on
the odometer, the battery saver will turn off the lamps
after only three minutes.
Battery rundown protection will also work if the
headlamps are left on. After having been left on for
10 minutes, the headlamps and the parking lamps will
ash three times. They will remain on for one more
minute before turning off automatically.
3-18
Page 140 of 420
Ashtrays and Cigarette Lighter
Your vehicle may have an ashtray and a cigarette
lighter. It is located on the instrument panel. To remove
the ashtray, open it, push down on the locking tab
and pull out the ashtray.
Notice:If you put papers or other ammable items
in the ashtray, hot cigarettes or other smoking
materials could ignite them and possibly damage
your vehicle. Never put ammable items in the
ashtray.
Notice:Holding a cigarette lighter in while it is
heating will not allow the lighter to back away from
the heating element when it is hot. Damage from
overheating may occur to the lighter or heating
element, or a fuse could be blown. Do not hold a
cigarette lighter in while it is heating.
To use the lighter, just push it in all the way and let go.
When it’s ready, it will pop back out by itself.
Climate Controls
Dual Climate Control System
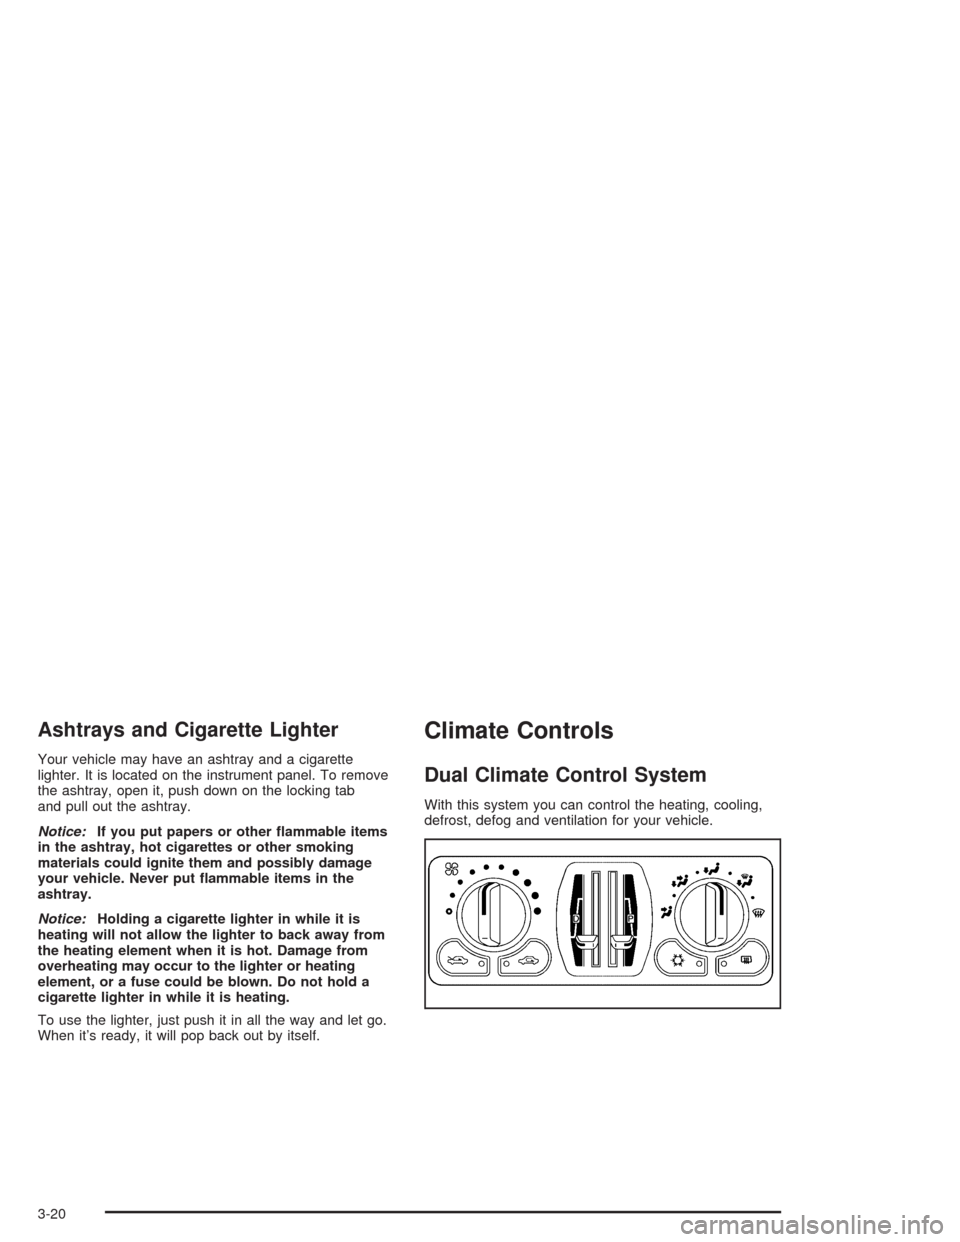
With this system you can control the heating, cooling,
defrost, defog and ventilation for your vehicle.
3-20