audio CHEVROLET IMPALA 2009 9.G Owners Manual
[x] Cancel search | Manufacturer: CHEVROLET, Model Year: 2009, Model line: IMPALA, Model: CHEVROLET IMPALA 2009 9.GPages: 406, PDF Size: 2.25 MB
Page 1 of 406
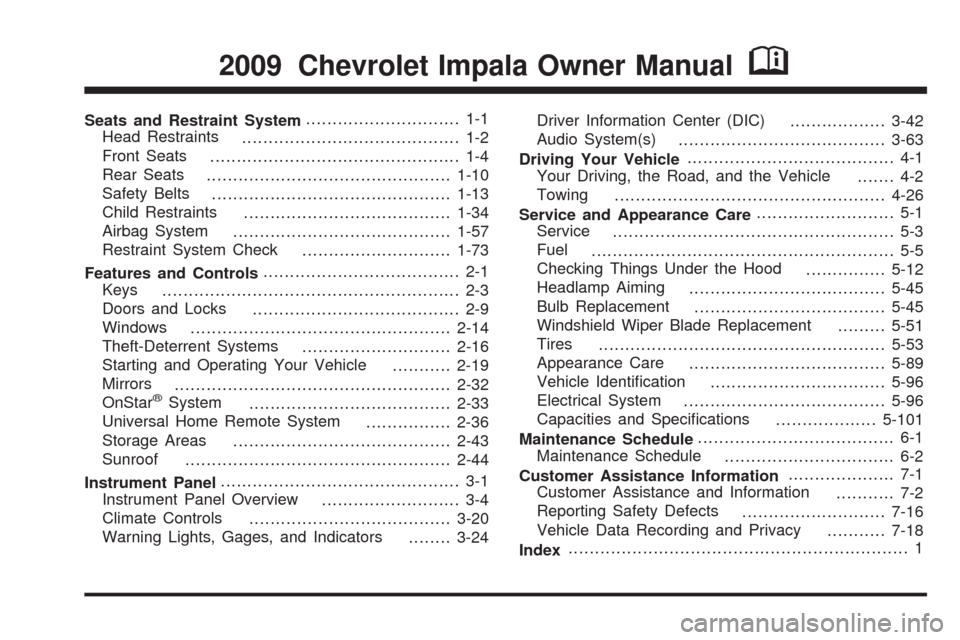
Seats and Restraint System............................. 1-1
Head Restraints
......................................... 1-2
Front Seats
............................................... 1-4
Rear Seats
..............................................1-10
Safety Belts
.............................................1-13
Child Restraints
.......................................1-34
Airbag System
.........................................1-57
Restraint System Check
............................1-73
Features and Controls..................................... 2-1
Keys
........................................................ 2-3
Doors and Locks
....................................... 2-9
Windows
.................................................2-14
Theft-Deterrent Systems
............................2-16
Starting and Operating Your Vehicle
...........2-19
Mirrors
....................................................2-32
OnStar
®System
......................................2-33
Universal Home Remote System
................2-36
Storage Areas
.........................................2-43
Sunroof
..................................................2-44
Instrument Panel............................................. 3-1
Instrument Panel Overview
.......................... 3-4
Climate Controls
......................................3-20
Warning Lights, Gages, and Indicators
........3-24Driver Information Center (DIC)
..................3-42
Audio System(s)
.......................................3-63
Driving Your Vehicle....................................... 4-1
Your Driving, the Road, and the Vehicle
....... 4-2
Towing
...................................................4-26
Service and Appearance Care.......................... 5-1
Service
..................................................... 5-3
Fuel
......................................................... 5-5
Checking Things Under the Hood
...............5-12
Headlamp Aiming
.....................................5-45
Bulb Replacement
....................................5-45
Windshield Wiper Blade Replacement
.........5-51
Tires
......................................................5-53
Appearance Care
.....................................5-89
Vehicle Identi�cation
.................................5-96
Electrical System
......................................5-96
Capacities and Speci�cations
...................5-101
Maintenance Schedule..................................... 6-1
Maintenance Schedule
................................ 6-2
Customer Assistance Information.................... 7-1
Customer Assistance and Information
........... 7-2
Reporting Safety Defects
...........................7-16
Vehicle Data Recording and Privacy
...........7-18
Index................................................................ 1
2009 Chevrolet Impala Owner ManualM
Page 4 of 406
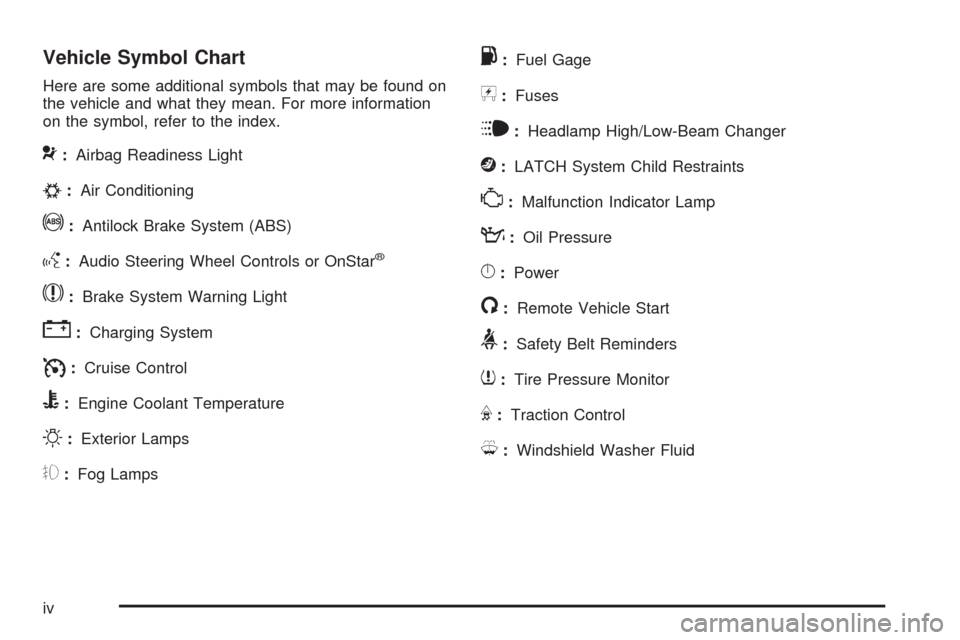
Vehicle Symbol Chart
Here are some additional symbols that may be found on
the vehicle and what they mean. For more information
on the symbol, refer to the index.
9:Airbag Readiness Light
#:Air Conditioning
!:Antilock Brake System (ABS)
g:Audio Steering Wheel Controls or OnStar®
$:Brake System Warning Light
":Charging System
I:Cruise Control
B:Engine Coolant Temperature
O:Exterior Lamps
#:Fog Lamps
.:Fuel Gage
+:Fuses
i:Headlamp High/Low-Beam Changer
j:LATCH System Child Restraints
*:Malfunction Indicator Lamp
::Oil Pressure
}:Power
/:Remote Vehicle Start
>:Safety Belt Reminders
7:Tire Pressure Monitor
F:Traction Control
M:Windshield Washer Fluid
iv
Page 99 of 406
Retained Accessory Power (RAP)
These vehicle accessories can be used for up to
10 minutes after the engine turned off:
Audio System
Power Windows
Sunroof
The radio will work when the key is in ON/RUN or
ACC/ACCESSORY. Once the key is turned from
ON/RUN to LOCK/OFF the radio will continue to work
10 minutes or until the driver door is opened. The power
windows will continue to work for up to 10 minutes or
until any door is opened.
Starting the Engine
Move the shift lever to P (Park) or N (Neutral). The
engine will not start in any other position. To restart the
engine when the vehicle is already moving, use
N (Neutral) only.
Notice:Do not try to shift to P (Park) if the vehicle
is moving. If you do, you could damage the
transmission. Shift to P (Park) only when the vehicle
is stopped.
Starting Procedure
1. With your foot off the accelerator pedal, turn the
ignition to START. When the engine starts, let go of
the key. The idle speed will slow down as the engine
warms. Do not race the engine immediately after
starting it. Operate the engine and transmission
gently to allow the oil to warm up and lubricate all
moving parts.
The vehicle has a Computer-Controlled Cranking
System. This feature assists in starting the engine
and protects components. If the ignition key is turned
to the START position, and then released when the
engine begins cranking, the engine will continue
cranking for a few seconds or until the vehicle starts.
If the engine does not start and the key is held in
START, cranking will be stopped after 15 seconds to
prevent cranking motor damage. To prevent gear
damage, this system also prevents cranking if the
engine is already running. Engine cranking can be
stopped by turning the ignition switch to the ACC/
ACCESSORY or LOCK/OFF position.
Notice:Cranking the engine for long periods of
time, by returning the key to the START position
immediately after cranking has ended, can overheat
and damage the cranking motor, and drain the
battery. Wait at least 15 seconds between each try,
to let the cranking motor cool down.
2-21
Page 113 of 406
OnStar Hands-Free Calling
OnStar Hands-Free Calling allows eligible OnStar
subscribers to make and receive calls using voice
commands. Hands-Free Calling is fully integrated into
the vehicle, and can be used with OnStar Pre-Paid
Minute Packages. Most vehicles include 30 trial minutes
good for 60 days. Hands-Free Calling can also be
linked to a Verizon Wireless service plan in the U.S.
or a Bell Mobility service plan in Canada, depending on
eligibility. To �nd out more, refer to the OnStar
Owner’s Guide in the vehicle’s glove box, visit
onstar.com or onstar.ca, or speak with an OnStar
advisor by pressing the OnStar button or calling
1-888-4-ONSTAR (1-888-466-7827).
OnStar Turn-by-Turn Navigation
Vehicles with the OnStar Turn-by-Turn Navigation
system can provide voice-guided driving directions.
Press the OnStar button to have an OnStar advisor
locate a business or address and download driving
directions to the vehicle. Voice-guided directions to the
desired destination will play through the audio system
speakers. See the OnStar Owner’s Guide for more
information.
OnStar Virtual Advisor
OnStar Virtual Advisor is a feature of OnStar
Hands-Free Calling that uses minutes to access
location-based weather, local traffic reports, and stock
quotes. Press the phone button and give a few
simple voice commands to browse through the various
topics. See the OnStar Owner’s Guide for more
information. This feature is only available in the
continental U.S.
OnStar Steering Wheel Controls
This vehicle may have a Talk/Mute button that can be
used to interact with OnStar Hands-Free Calling.
SeeAudio Steering Wheel Controls on page 3-94for
more information.
On some vehicles, the mute button can be used to dial
numbers into voice mail systems, or to dial phone
extensions. See the OnStar Owner’s Guide for more
information.
How OnStar Service Works
The OnStar system can record and transmit vehicle
information. This information is automatically sent to an
OnStar Call Center when the OnStar button is
pressed, the emergency button is pressed, or if the
airbags or AACN system deploy.
2-35
Page 124 of 406
Oil Pressure Light.........................................3-39
Security Light...............................................3-39
Fog Lamp Light............................................3-40
Cruise Control Light......................................3-40
Highbeam On Light.......................................3-40
Fuel Gage...................................................3-41
Driver Information Center (DIC).......................3-42
DIC Operation and Displays...........................3-42
DIC Compass..............................................3-47
DIC Warnings and Messages.........................3-49
DIC Vehicle Customization.............................3-57Audio System(s).............................................3-63
Setting the Clock..........................................3-64
Radio(s)......................................................3-66
Using an MP3..............................................3-77
XM Radio Messages.....................................3-81
Bluetooth
®...................................................3-82
Theft-Deterrent Feature..................................3-93
Audio Steering Wheel Controls.......................3-94
Radio Reception...........................................3-95
Backglass Antenna.......................................3-96
XM™ Satellite Radio Antenna System.............3-96
Section 3 Instrument Panel
3-2
Page 127 of 406
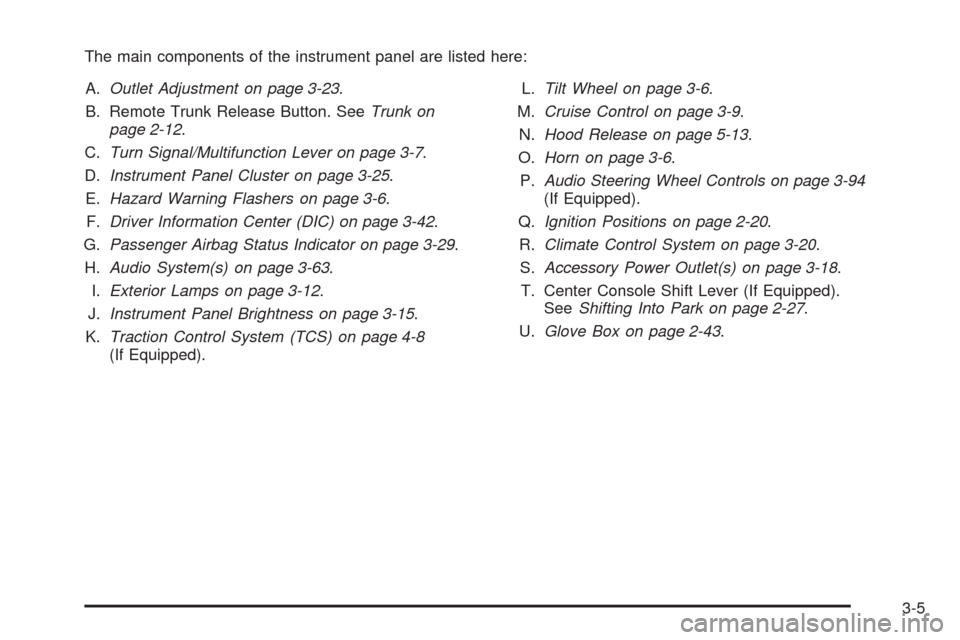
The main components of the instrument panel are listed here:
A.Outlet Adjustment on page 3-23.
B. Remote Trunk Release Button. SeeTrunk on
page 2-12.
C.Turn Signal/Multifunction Lever on page 3-7.
D.Instrument Panel Cluster on page 3-25.
E.Hazard Warning Flashers on page 3-6.
F.Driver Information Center (DIC) on page 3-42.
G.Passenger Airbag Status Indicator on page 3-29.
H.Audio System(s) on page 3-63.
I.Exterior Lamps on page 3-12.
J.Instrument Panel Brightness on page 3-15.
K.Traction Control System (TCS) on page 4-8
(If Equipped).L.Tilt Wheel on page 3-6.
M.Cruise Control on page 3-9.
N.Hood Release on page 5-13.
O.Horn on page 3-6.
P.Audio Steering Wheel Controls on page 3-94
(If Equipped).
Q.Ignition Positions on page 2-20.
R.Climate Control System on page 3-20.
S.Accessory Power Outlet(s) on page 3-18.
T. Center Console Shift Lever (If Equipped).
SeeShifting Into Park on page 2-27.
U.Glove Box on page 2-43.
3-5
Page 185 of 406
Audio System(s)
Determine which radio the vehicle has and read the
following pages to become familiar with its features.
{CAUTION:
Taking your eyes off the road for extended periods
could cause a crash resulting in injury or death to
you or others. Do not give extended attention to
entertainment tasks while driving.
This system provides access to many audio and non
audio listings.To minimize taking your eyes off the road while driving,
do the following while the vehicle is parked:
Become familiar with the operation and controls of
the audio system.
Set up the tone, speaker adjustments, and preset
radio stations.
For more information, seeDefensive Driving on
page 4-2.
Notice:Contact your dealer/retailer before adding
any equipment.
Adding audio or communication equipment could
interfere with the operation of the vehicle’s engine,
radio, or other systems, and could damage them.
Follow federal rules covering mobile radio and
telephone equipment.
The vehicle has Retained Accessory Power (RAP).
With RAP, the audio system can be played even after
the ignition is turned off. SeeRetained Accessory
Power (RAP) on page 2-21for more information.
3-63
Page 188 of 406
Radio(s)
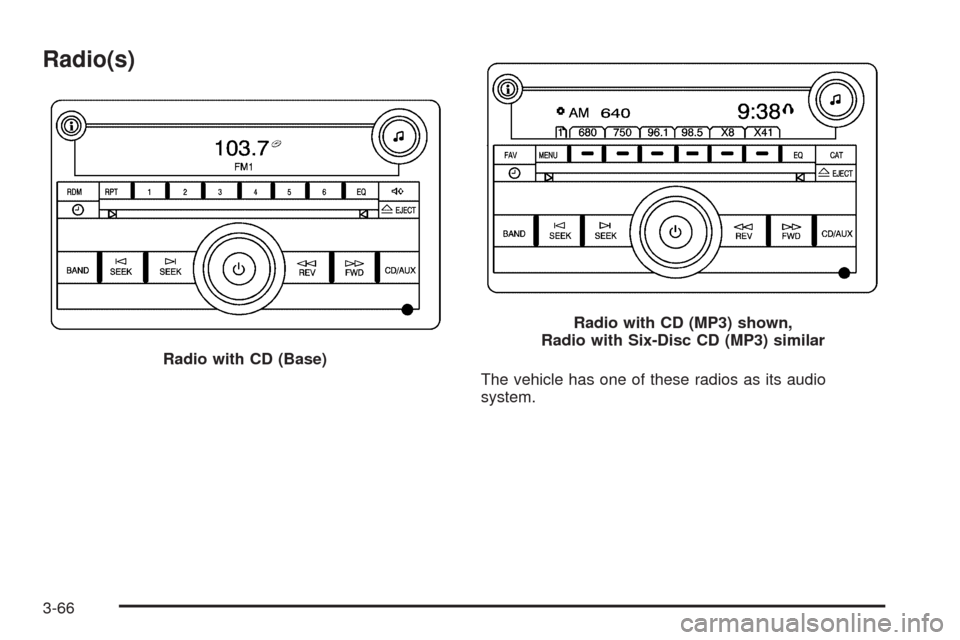
The vehicle has one of these radios as its audio
system. Radio with CD (Base)
Radio with CD (MP3) shown,
Radio with Six-Disc CD (MP3) similar
3-66
Page 193 of 406
Undesired XM categories can be removed through the
setup menu. To remove an undesired category:
1. Press the MENU button to display the radio
setup menu.
2. Press the pushbutton located below the
XM CAT tab.
3. Turn the
fknob to display the category to be
removed.
4. Press the pushbutton located under the Remove
tab until the category name along with the word
Removed displays.
5. Repeat the steps to remove more categories.
Removed categories can be restored by pressing the
pushbutton under the Add tab when a removed category
displays or by pressing the pushbutton under the
Restore All tab.
Categories cannot be removed or added while the
vehicle is moving faster than 5 mph (8 km/h).
Radio Messages
Calibration Error:The audio system has been
calibrated for the vehicle from the factory. If Calibration
Error displays, it means that the radio has not been
con�gured properly for the vehicle and it must be
returned to your dealer/retailer for service.
Loc or Locked:If Loc or Locked displays, it means the
THEFTLOCK
®system has locked up. Take the vehicle to
your dealer/retailer for service.
If any error occurs repeatedly or if an error cannot be
corrected, contact your dealer/retailer.
XM™ Satellite Radio Service
XM is a satellite radio service that is based in the
48 contiguous United States and 10 Canadian provinces.
XM Satellite Radio has a wide variety of programming
and commercial-free music, coast-to-coast, and in
digital-quality sound. During your trial or when you
subscribe, you will get unlimited access to XM Radio
Online for when you are not in the vehicle. A service
fee is required to receive the XM service. For more
information, contact XM at xmradio.com or call
1-800-929-2100 in the U.S. and xmradio.ca or
call 1-877-438-9677 in Canada.
3-71
Page 194 of 406
Radio Messages for XM™ Only
SeeXM Radio Messages on page 3-81later in this
section for further detail.
Playing a CD
Insert a CD partway into the slot, label side up.
The player pulls it in and the CD should begin playing.
If the ignition or radio is turned off while a CD in the
player it stays in the player. When the ignition or radio
is turned on, the CD starts to play where it stopped,
if it was the last selected audio source.
When the CD is inserted, the CD symbol displays.
As each new track starts to play, the track number
displays.
The CD player can play the smaller 3 inch (8 cm) single
CDs with an adapter ring. Full-size CDs and the smaller
CDs are loaded in the same manner.For vehicles that have a Radio with a Six-Disc CD
player:
LOAD
^:Press to load CDs into the CD player.
This CD player holds up to six CDs.
To insert one CD, do the following:
1. Press and release the load button.
2. Wait for the message to insert the disc.
3. Load a CD. Insert the CD partway into the slot,
label side up. The player pulls the CD in.
To insert multiple CDs:
1. Press and hold the load button for two seconds.
A beep sounds and Load All Discs displays.
2. Follow the displayed instruction on when to insert
the discs. The CD player takes up to six CDs.
3. Press this button again to cancel loading
more CDs.
If the ignition or radio is turned off, while a CD is in
the player, it stays in the player. When the ignition
or radio is turned on, the CD starts playing where it
stopped, if it was the last selected audio source.
3-72