tow CHEVROLET KODIAK 2004 Owner's Manual
[x] Cancel search | Manufacturer: CHEVROLET, Model Year: 2004, Model line: KODIAK, Model: CHEVROLET KODIAK 2004Pages: 366, PDF Size: 6.87 MB
Page 142 of 366
Hydraulic Brake System
Warning Lights
Vehicles with hydraulic brake systems have two brake
system warning lights on the instrument panel.
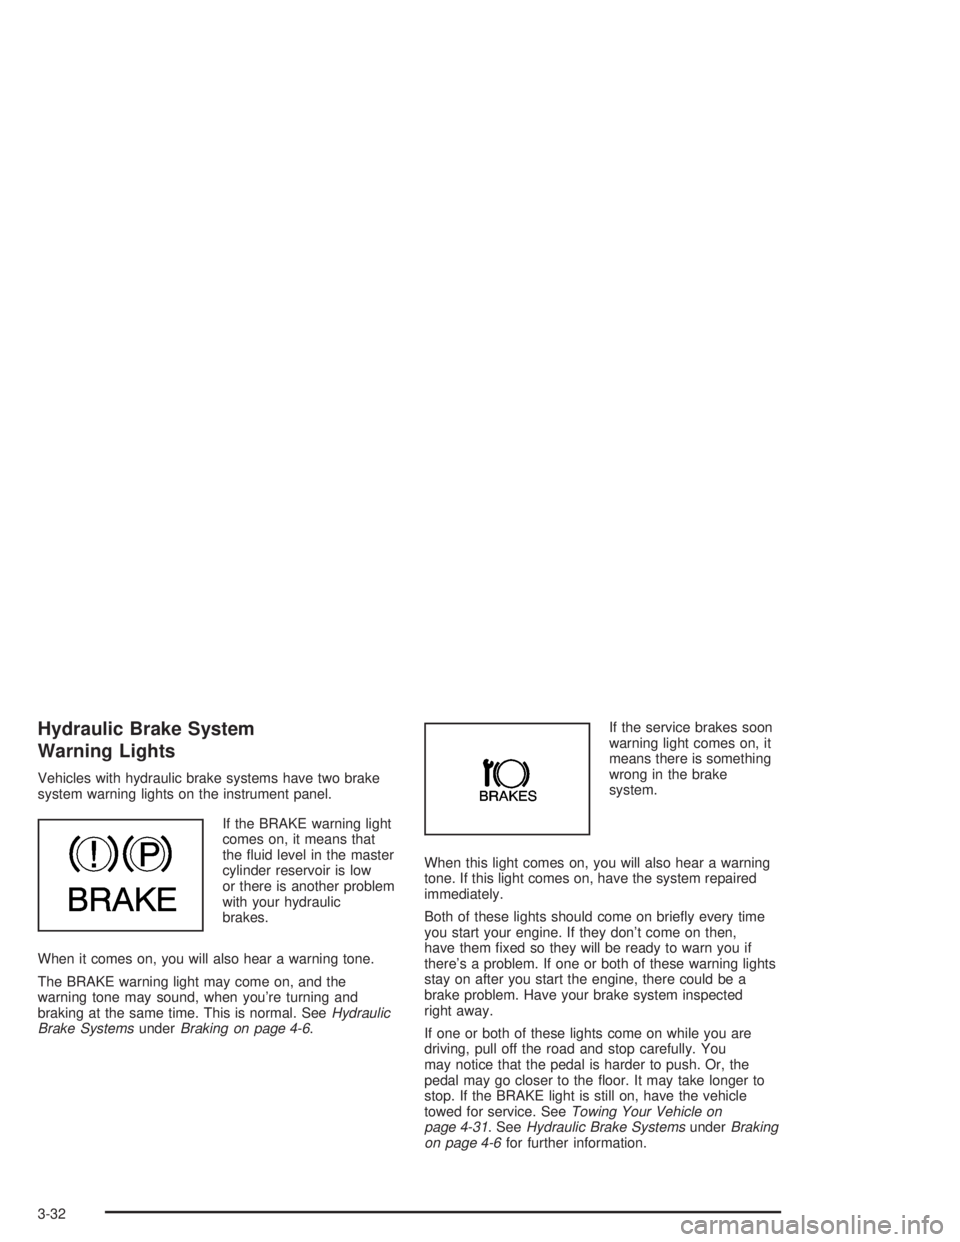
If the BRAKE warning light
comes on, it means that
the fluid level in the master
cylinder reservoir is low
or there is another problem
with your hydraulic
brakes.
When it comes on, you will also hear a warning tone.
The BRAKE warning light may come on, and the
warning tone may sound, when you’re turning and
braking at the same time. This is normal. SeeHydraulic
Brake SystemsunderBraking on page 4-6.If the service brakes soon
warning light comes on, it
means there is something
wrong in the brake
system.
When this light comes on, you will also hear a warning
tone. If this light comes on, have the system repaired
immediately.
Both of these lights should come on briefly every time
you start your engine. If they don’t come on then,
have them fixed so they will be ready to warn you if
there’s a problem. If one or both of these warning lights
stay on after you start the engine, there could be a
brake problem. Have your brake system inspected
right away.
If one or both of these lights come on while you are
driving, pull off the road and stop carefully. You
may notice that the pedal is harder to push. Or, the
pedal may go closer to the floor. It may take longer to
stop. If the BRAKE light is still on, have the vehicle
towed for service. SeeTowing Your Vehicle on
page 4-31. SeeHydraulic Brake SystemsunderBraking
on page 4-6for further information.
3-32
Page 147 of 366
Malfunction Indicator Lamp
Service Engine Soon Light
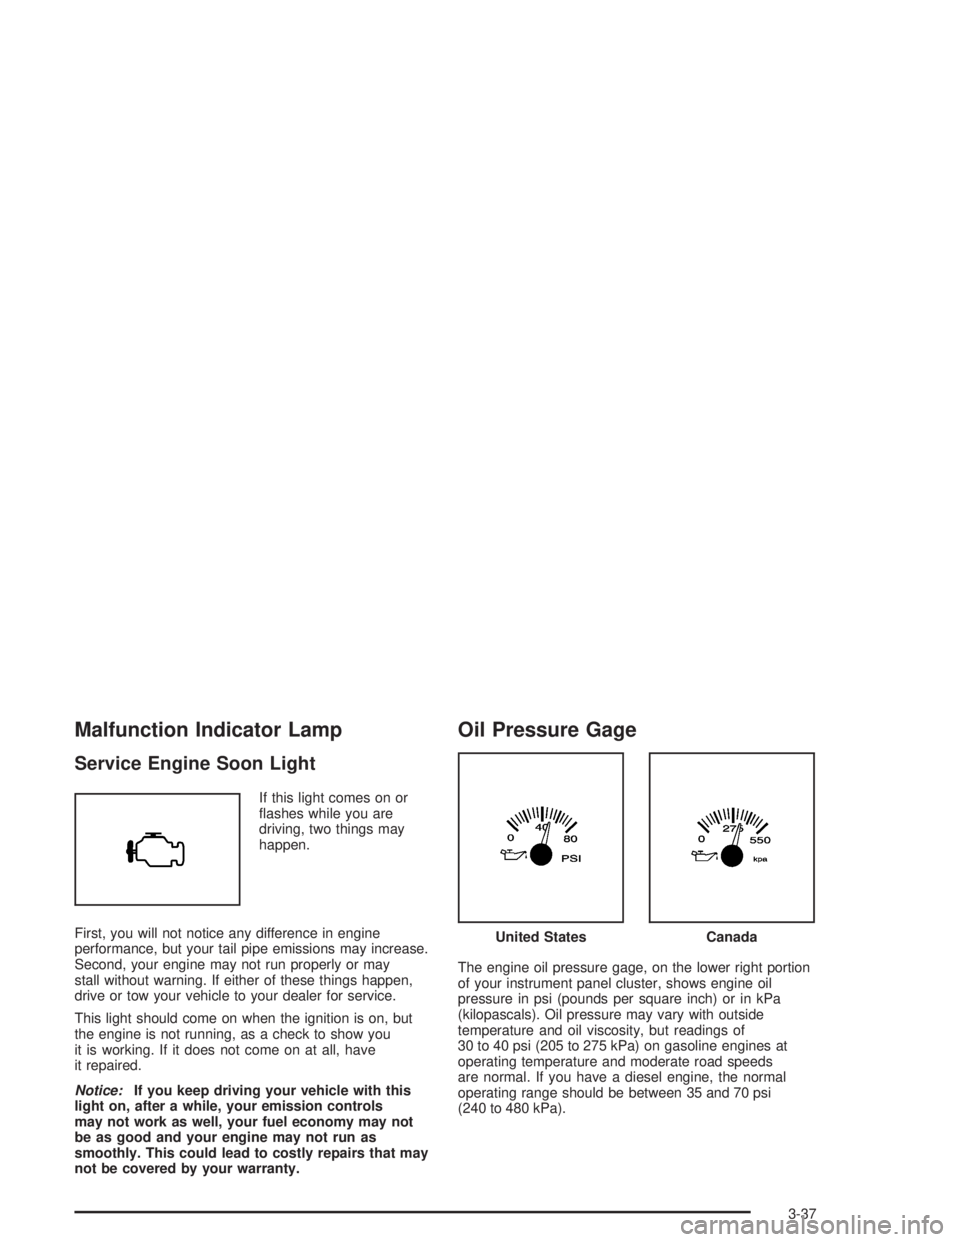
If this light comes on or
flashes while you are
driving, two things may
happen.
First, you will not notice any difference in engine
performance, but your tail pipe emissions may increase.
Second, your engine may not run properly or may
stall without warning. If either of these things happen,
drive or tow your vehicle to your dealer for service.
This light should come on when the ignition is on, but
the engine is not running, as a check to show you
it is working. If it does not come on at all, have
it repaired.
Notice:If you keep driving your vehicle with this
light on, after a while, your emission controls
may not work as well, your fuel economy may not
be as good and your engine may not run as
smoothly. This could lead to costly repairs that may
not be covered by your warranty.
Oil Pressure Gage
The engine oil pressure gage, on the lower right portion
of your instrument panel cluster, shows engine oil
pressure in psi (pounds per square inch) or in kPa
(kilopascals). Oil pressure may vary with outside
temperature and oil viscosity, but readings of
30 to 40 psi (205 to 275 kPa) on gasoline engines at
operating temperature and moderate road speeds
are normal. If you have a diesel engine, the normal
operating range should be between 35 and 70 psi
(240 to 480 kPa).
United StatesCanada
3-37
Page 157 of 366
Setting Preset Stations
The six numbered pushbuttons let you return to
your favorite stations. You can set up to 18 stations
(six FM1, six FM2, and six AM) by performing the
following steps:
1. Turn the radio on.
2. Press AM FM to select FM1, FM2, or AM.
3. Tune in the desired station.
4. Press and hold one of the six numbered
pushbuttons until you hear a beep. Whenever you
press that numbered pushbutton, the station
you set will return.
5. Repeat the steps for each pushbutton.
Setting the Tone (Bass/Treble)
AUDIO:To adjust bass and treble, press and release
AUDIO until BAS or TRE appears on the display.
Then press and hold the up or the down arrow to
increase or to decrease. If a station is weak or noisy,
you may want to decrease the treble.
To adjust bass or treble to the middle position, select
BAS or TRE. Then press and hold AUDIO for more than
two seconds until you hear a beep. B and a zero or T
and a zero will appear on the display.To adjust both tone controls and both speaker controls
to the middle position, end out of audio by waiting
for the display to change to the time display. Then press
and hold AUDIO for more than two seconds until you
hear a beep. CEN will appear on the display.
Adjusting the Speakers (Balance/Fade)
AUDIO:To adjust the balance between the right
and the left speakers, press and release AUDIO until
BAL appears on the display. Then press and hold the up
or the down arrow to move the sound toward the right
or the left speakers.
To adjust the fade between the front and the rear
speakers, press and release AUDIO until FAD appears
on the display. Then press and hold the up or the
down arrow to move the sound toward the front or the
rear speakers.
To adjust balance or fade to the middle position, select
BAL or FAD. Then press and hold AUDIO for more
than two seconds until you hear a beep. L and a zero
or F and a zero will appear on the display.
3-47
Page 160 of 366
To adjust both tone controls and both speaker controls
to the middle position, end out of audio by waiting
for the display to change to the clock display. Then
press and hold AUDIO for more than two seconds until
you hear a beep. CEN will appear on the display.
Adjusting the Speakers (Balance/Fade)
AUDIO:To adjust the balance between the right
and the left speakers, press and release AUDIO until
BAL appears on the display. Then press and hold the up
or the down arrow to move the sound toward the right
or the left speakers.
To adjust the fade between the front and the rear
speakers, press and release AUDIO until FAD appears
on the display. Then press and hold the up or the
down arrow to move the sound toward the front or the
rear speakers.
To adjust balance or fade to the middle position, select
BAL or FAD. Then press and hold AUDIO for more
than two seconds until you hear a beep. L and a zero or
F and a zero will appear on the display.
To adjust both tone controls and both speaker controls
to the middle position, end out of audio by waiting
for the display to change to the time display. Then press
and hold AUDIO for more than two seconds until you
hear a beep. CEN will appear on the display.
Fade may not be available if you have a regular
cab model.
Radio Messages
CAL (Calibration):Your audio system has been
calibrated for your vehicle from the factory. If CAL
appears on the display it means that your radio has not
been configured properly for your vehicle and must
be returned to the dealership for service.
LOC (Locked):This message is displayed when the
Theftlock
®system has locked up. Your vehicle must be
returned to the dealership for service.
Playing a Cassette
Your tape player is built to work best with tapes that are
up to 30 to 45 minutes long on each side. Tapes
longer than that are so thin they may not work well in
this player. The longer side with the tape visible should
face to the right. If the ignition is on, but the radio is
off, the tape can be inserted and will begin playing. If
you hear nothing but a garbled sound, the tape may not
be in squarely. Press the eject button to remove the
tape and start over.
While the tape is playing, use the VOL, AUDIO and
SEEK controls just as you do for the radio. The radio will
display UP if the top side of the tape is playing.
DN (Down) will appear if the bottom side is playing.
If you want to insert a tape while the ignition is off, first
press the eject button or the RCL knob.
3-50
Page 164 of 366
Setting Preset Stations
The six numbered pushbuttons let you return to
your favorite stations. You can set up to 18 stations
(six AM, six FM1 and six FM2) by performing the
following steps:
1. Turn the radio on.
2. Press AM FM to select AM, FM1 or FM2.
3. Tune in the desired station.
4. Press and hold one of the six numbered
pushbuttons until you hear a beep. Whenever you
press that numbered pushbutton, the station
you set will return.
5. Repeat the steps for each pushbutton.
Setting the Tone (Bass/Treble)
AUDIO:To adjust the bass and treble, press and
release AUDIO until BAS or TRE appears on the
display. Then press and hold the up or the down arrow
to increase or to decrease. If a station is weak or
noisy, you may want to decrease the treble.
To adjust bass or treble to the middle position, select
BAS or TRE. Then press and hold AUDIO for more than
two seconds until you hear a beep. B and a zero or
T and a zero will appear on the display.To adjust both tone controls and both speaker controls
to the middle position, end out of audio mode by
waiting for the display to change to the time display.
Then press and hold AUDIO for more than two seconds
until you hear a beep. CEN will appear on the display.
Adjusting the Speakers (Balance/Fade)
AUDIO:To adjust the balance between the right
and the left speakers, press and release AUDIO until
BAL appears on the display. Then press and hold the up
or the down arrow to move the sound toward the right
or the left speakers.
To adjust the fade between the front and rear speakers,
press and release AUDIO until FAD appears on the
display. Then press and hold the up or the down arrow to
move the sound toward the front or the rear speakers.
To adjust balance or fade to the middle position, select
BAL or FAD. Then press and hold AUDIO for more than
two seconds until you hear a beep. L and a zero or F and
a zero will appear on the display.
To adjust both tone controls and both speaker controls to
the middle position, end out of audio mode by waiting for
the display to change to the time display. Then press and
hold AUDIO for more than two seconds until you hear a
beep. CEN will appear on the display.
Fade may not be available if you have a regular
cab model.
3-54
Page 171 of 366
Your Driving, the Road, and Your Vehicle..........4-2
Defensive Driving...........................................4-2
Drunken Driving.............................................4-2
Control of a Vehicle........................................4-5
Braking.........................................................4-6
Trailer Brake Hand Control Valve......................4-9
Inter-Axle Differential Lock Control...................4-10
Rear Axle Differential Lock Control..................4-10
Traction Control System (TCS).......................4-11
Steering......................................................4-12
Off-Road Recovery.......................................4-14
Passing.......................................................4-14
Loss of Control.............................................4-16
Driving at Night............................................4-17Driving in Rain and on Wet Roads..................4-18
City Driving..................................................4-21
Freeway Driving...........................................4-22
Highway Hypnosis........................................4-23
Hill and Mountain Roads................................4-23
Winter Driving..............................................4-25
If You Are Stuck: In Sand, Mud,
Ice or Snow..............................................4-29
Towing..........................................................4-31
Towing Your Vehicle.....................................4-31
Loading Your Vehicle....................................4-33
Trailer Connections (C4/C5 Models Only).........4-35
Power Take-Off (PTO)...................................4-36
Section 4 Driving Your Vehicle
4-1
Page 200 of 366
Rocking Your Vehicle To Get It Out
First, turn your steering wheel left and right. That will
clear the area around your front wheels. If your vehicle
has traction control, you should turn the traction
control system off. SeeTraction Control System (TCS)
on page 4-11. Then shift back and forth between
REVERSE (R) and a forward gear (or with a manual
transmission, between FIRST (1) or SECOND (2)
and REVERSE (R)), spinning the wheels as little as
possible. Release the accelerator pedal while you shift,
and press lightly on the accelerator pedal when the
transmission is in gear. By slowly spinning your wheels
in the forward and reverse directions, you will cause
a rocking motion that may free your vehicle. If that does
not get you out after a few tries, you may need to be
towed out. If you do need to be towed out, seeTowing
Your Vehicle on page 4-31.
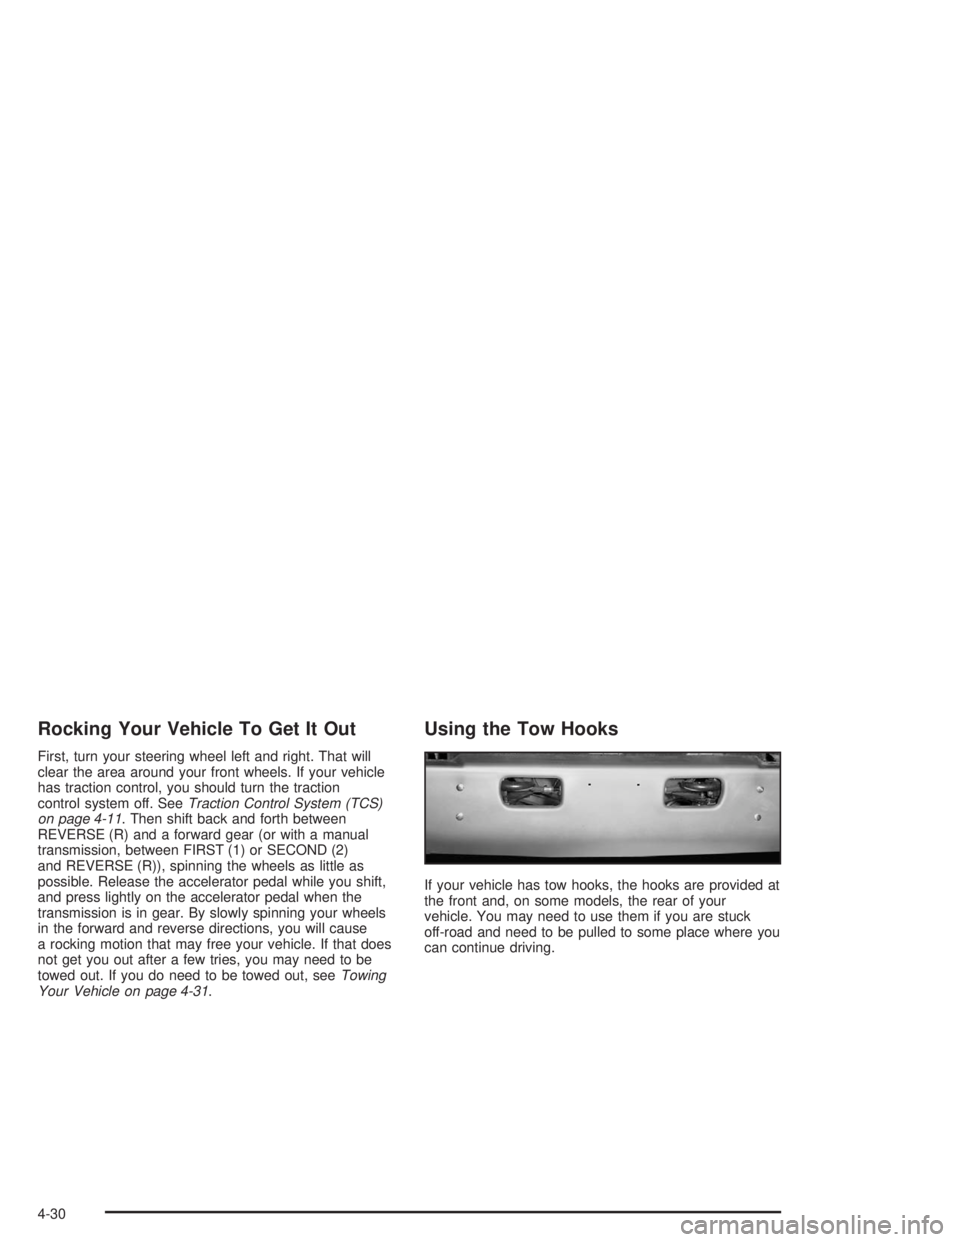
Using the Tow Hooks
If your vehicle has tow hooks, the hooks are provided at
the front and, on some models, the rear of your
vehicle. You may need to use them if you are stuck
off-road and need to be pulled to some place where you
can continue driving.
4-30
Page 201 of 366
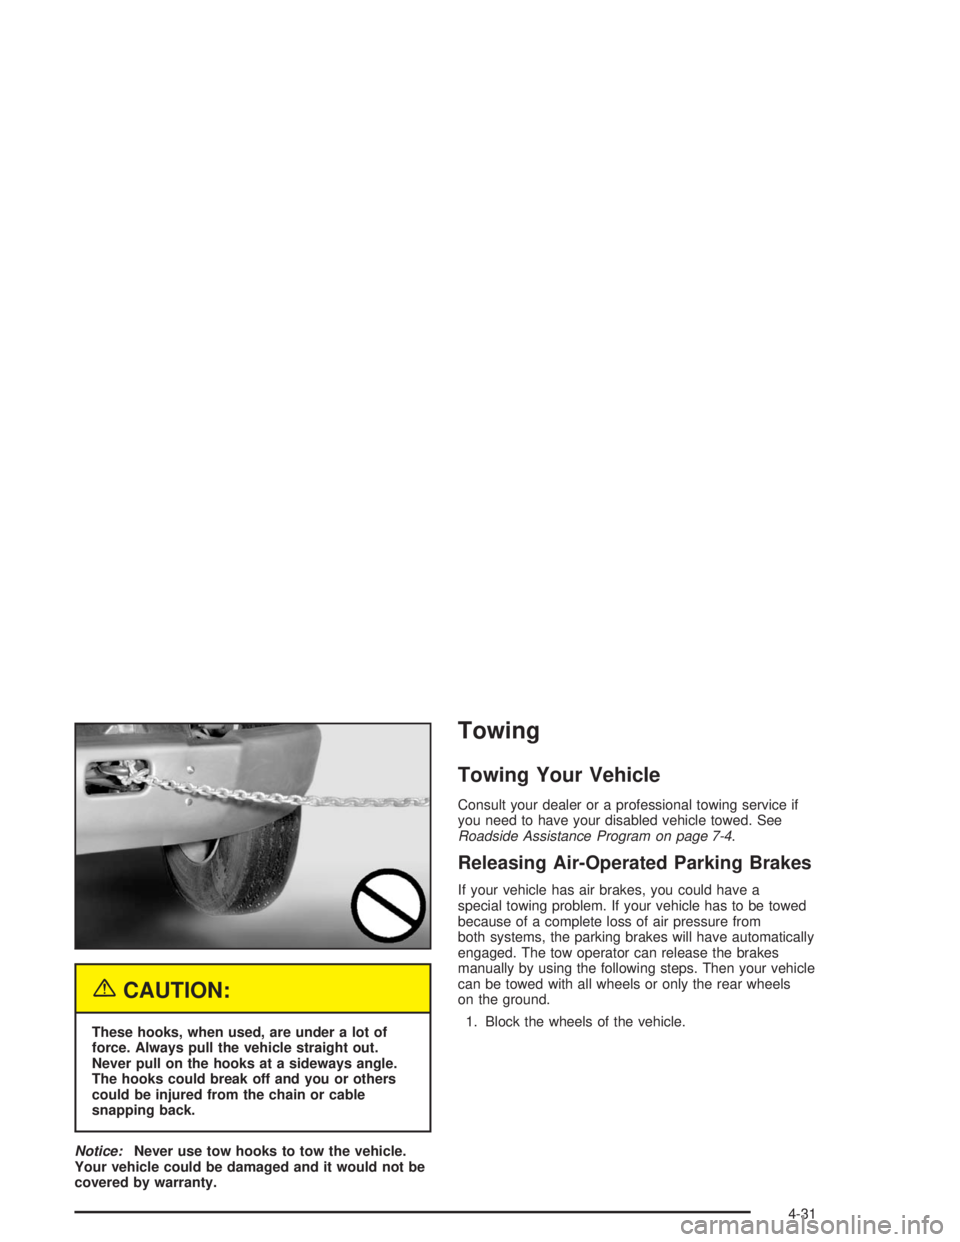
{CAUTION:
These hooks, when used, are under a lot of
force. Always pull the vehicle straight out.
Never pull on the hooks at a sideways angle.
The hooks could break off and you or others
could be injured from the chain or cable
snapping back.
Notice:Never use tow hooks to tow the vehicle.
Your vehicle could be damaged and it would not be
covered by warranty.
Towing
Towing Your Vehicle
Consult your dealer or a professional towing service if
you need to have your disabled vehicle towed. See
Roadside Assistance Program on page 7-4.
Releasing Air-Operated Parking Brakes
If your vehicle has air brakes, you could have a
special towing problem. If your vehicle has to be towed
because of a complete loss of air pressure from
both systems, the parking brakes will have automatically
engaged. The tow operator can release the brakes
manually by using the following steps. Then your vehicle
can be towed with all wheels or only the rear wheels
on the ground.
1. Block the wheels of the vehicle.
4-31
Page 205 of 366
Trailer Connections
(C4/C5 Models Only)
Heavy-Duty Trailer Wiring Package
Your vehicle may be equipped with an eight-wire trailer
towing harness. This harness, with a seven-pin
universal heavy-duty trailer connector, is attached to a
bracket on the platform hitch.
The Center High-Mounted Stoplamp (CHMSL) wire is
tied next to the trailer wiring harness for use with a
trailer.The eight-wire harness contains the following trailer
circuits:
•Yellow: Left Stop/Turn Signal
•Dark Green: Right Stop/Turn Signal
•Brown: Taillamps
•White: Ground
•Light Green: Back-up Lamps
•Light Blue: CHMSL
•Red: Battery Feed
•Dark Blue: Trailer Brake
4-35
Page 206 of 366
Trailer Connections
(C7/C8 Models Only)
If your vehicle has these trailer connections, they are
located at the rear of the cab for a tractor and at the rear
of the chassis when towing a trailer. There will be an
air connection and an electrical connection.
Be sure that the couplings to the trailer are made
correctly.
Air Connections
If you are not connecting the trailer air line connections
to another piece of equipment, be sure to replace
their protective caps.
Electrical Connections
This system is a seven-wire cable that will connect to
the trailer, supplying power to the trailer’s lighting
system. When not in use, it is stored in the trailer
air-hose storage bracket.
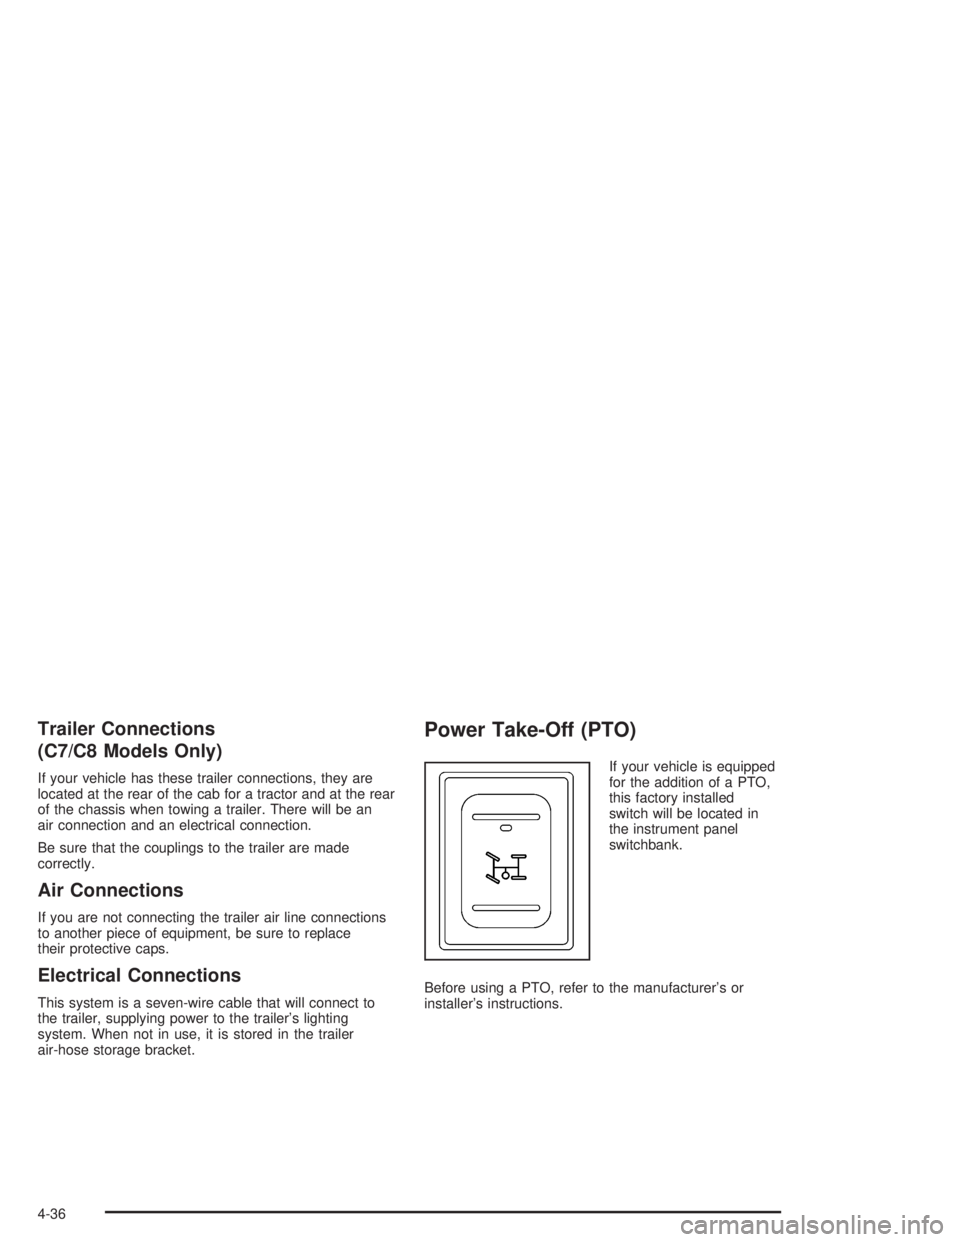
Power Take-Off (PTO)
If your vehicle is equipped
for the addition of a PTO,
this factory installed
switch will be located in
the instrument panel
switchbank.
Before using a PTO, refer to the manufacturer’s or
installer’s instructions.
4-36