door lock CHEVROLET KODIAK 2004 Owners Manual
[x] Cancel search | Manufacturer: CHEVROLET, Model Year: 2004, Model line: KODIAK, Model: CHEVROLET KODIAK 2004Pages: 366, PDF Size: 6.87 MB
Page 1 of 366
Seats and Restraint Systems........................... 1-1
Front Seats
............................................... 1-2
Rear Seats
............................................... 1-7
Safety Belts
.............................................. 1-8
Child Restraints
.......................................1-27
Air Bag System
.......................................1-48
Restraint System Check
............................1-61
Features and Controls..................................... 2-1
Keys
........................................................ 2-2
Doors and Locks
....................................... 2-6
Windows
.................................................. 2-8
Theft-Deterrent Systems
............................2-10
Starting and Operating Your Vehicle
...........2-11
Mirrors
....................................................2-39
Storage Areas
.........................................2-41
Instrument Panel............................................. 3-1
Instrument Panel Overview
.......................... 3-4
Climate Controls
......................................3-19
Warning Lights, Gages, and Indicators
........3-23
Audio System(s)
.......................................3-45
Driving Your Vehicle....................................... 4-1
Your Driving, the Road, and Your Vehicle
..... 4-2
Towing
...................................................4-31Service and Appearance Care.......................... 5-1
Service
..................................................... 5-3
Fuel
......................................................... 5-6
Checking Things Under the Hood
...............5-18
Rear Axle
...............................................5-61
Noise Control System
...............................5-62
Bulb Replacement
....................................5-63
Windshield Wiper Blade Replacement
.........5-63
Other Service Items
..................................5-64
Tires
......................................................5-68
Appearance Care
.....................................5-76
Vehicle Identification
.................................5-85
Electrical System
......................................5-86
Capacities and Specifications
.....................5-93
Normal Maintenance Replacement Parts
....5-100
Maintenance Schedule..................................... 6-1
Maintenance Schedule
................................ 6-2
Customer Assistance and Information.............. 7-1
Customer Assistance and Information
........... 7-2
Reporting Safety Defects
............................ 7-6
Index.................................................................1
2004 Chevrolet Kodiak Owner ManualM
Page 10 of 366
Fore-and-Aft Adjustment
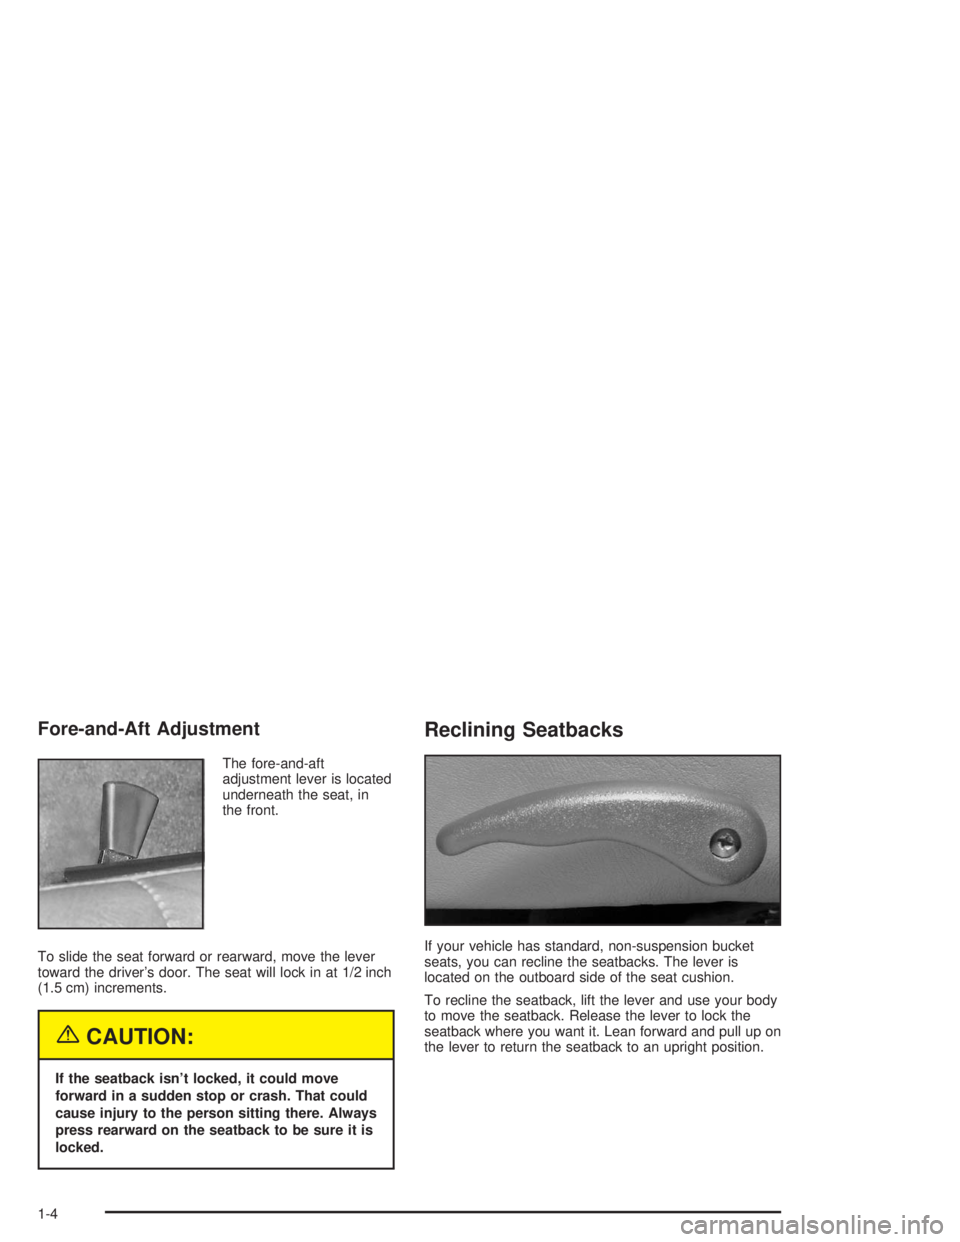
The fore-and-aft
adjustment lever is located
underneath the seat, in
the front.
To slide the seat forward or rearward, move the lever
toward the driver’s door. The seat will lock in at 1/2 inch
(1.5 cm) increments.
{CAUTION:
If the seatback isn’t locked, it could move
forward in a sudden stop or crash. That could
cause injury to the person sitting there. Always
press rearward on the seatback to be sure it is
locked.
Reclining Seatbacks
If your vehicle has standard, non-suspension bucket
seats, you can recline the seatbacks. The lever is
located on the outboard side of the seat cushion.
To recline the seatback, lift the lever and use your body
to move the seatback. Release the lever to lock the
seatback where you want it. Lean forward and pull up on
the lever to return the seatback to an upright position.
1-4
Page 19 of 366
How to Wear Safety Belts Properly
This part is only for people of adult size.
Be aware that there are special things to know about
safety belts and children. And there are different
rules for smaller children and babies. If a child will be
riding in your vehicle, seeOlder Children on page 1-27
orInfants and Young Children on page 1-29. Follow
those rules for everyone’s protection.
First, you’ll want to know which restraint systems your
vehicle has.
We’ll start with the driver position.
Driver Position
This part describes the driver’s restraint system.
Lap-Shoulder Belt
The driver has a lap-shoulder belt. Here’s how to wear it
properly.
1. Close and lock the door.
2. Adjust the seat so you can sit up straight. To see
how, see “Seats” in the Index.
1-13
Page 69 of 366
Keys...............................................................2-2
Remote Keyless Entry System.........................2-3
Remote Keyless Entry System Operation...........2-4
Doors and Locks.............................................2-6
Door Locks....................................................2-6
Power Door Locks..........................................2-7
Windows.........................................................2-8
Manual Windows............................................2-8
Power Windows.............................................2-9
Sliding Rear Window.....................................2-10
Sun Visors...................................................2-10
Theft-Deterrent Systems..................................2-10
Starting and Operating Your Vehicle................2-11
New Vehicle Break-In....................................2-11
Ignition Positions..........................................2-12
Starting Your Gasoline Engine........................2-12
Starting Your Diesel Engine...........................2-14
Starting Your DURAMAX™ Diesel Engine........2-19Engine Checks Before Operating....................2-22
Engine Coolant Heater..................................2-23
Diesel Engine Exhaust Brake.........................2-25
Two-Speed Rear Axle Electric Shift Control......2-26
Automatic Transmission Operation...................2-28
Manual Transmission Operation......................2-30
Parking.......................................................2-33
Parking Over Things That Burn.......................2-37
Engine Exhaust............................................2-37
Running Your Engine While You Are Parked. . . .2-38
Mirrors...........................................................2-39
Manual Rearview Mirror.................................2-39
Outside Manual Mirrors..................................2-39
Outside Power Mirrors...................................2-40
Outside Convex Mirrors.................................2-40
Outside Heated Mirrors..................................2-41
Storage Areas................................................2-41
Center Console Storage Area.........................2-42
Section 2 Features and Controls
2-1
Page 71 of 366
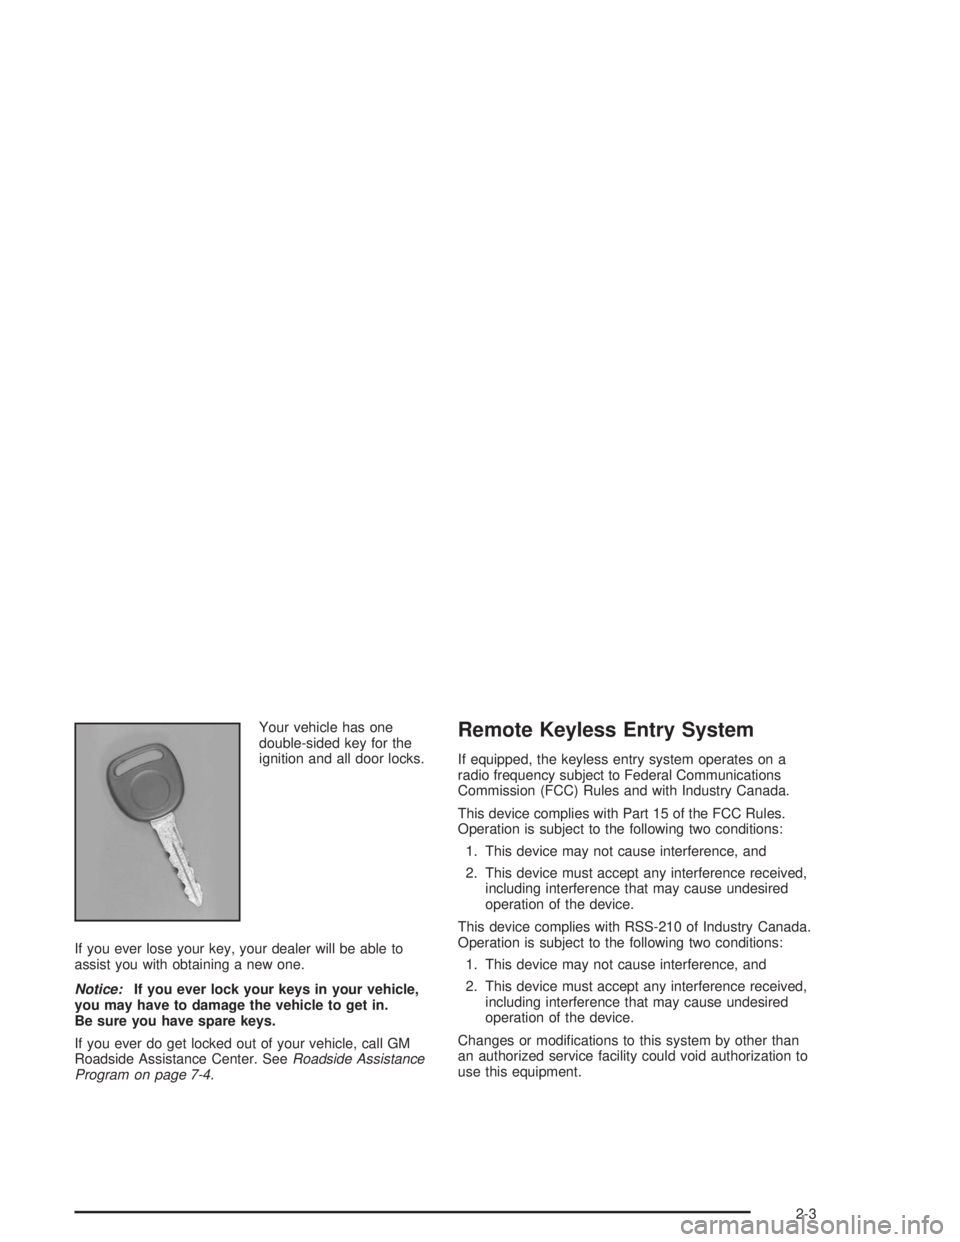
Your vehicle has one
double-sided key for the
ignition and all door locks.
If you ever lose your key, your dealer will be able to
assist you with obtaining a new one.
Notice:If you ever lock your keys in your vehicle,
you may have to damage the vehicle to get in.
Be sure you have spare keys.
If you ever do get locked out of your vehicle, call GM
Roadside Assistance Center. SeeRoadside Assistance
Program on page 7-4.Remote Keyless Entry System
If equipped, the keyless entry system operates on a
radio frequency subject to Federal Communications
Commission (FCC) Rules and with Industry Canada.
This device complies with Part 15 of the FCC Rules.
Operation is subject to the following two conditions:
1. This device may not cause interference, and
2. This device must accept any interference received,
including interference that may cause undesired
operation of the device.
This device complies with RSS-210 of Industry Canada.
Operation is subject to the following two conditions:
1. This device may not cause interference, and
2. This device must accept any interference received,
including interference that may cause undesired
operation of the device.
Changes or modifications to this system by other than
an authorized service facility could void authorization to
use this equipment.
2-3
Page 72 of 366
At times you may notice a decrease in range. This is
normal for any remote keyless entry system. If the
transmitter does not work or if you have to stand closer
to your vehicle for the transmitter to work, try this:
•Check the distance. You may be too far from your
vehicle. You may need to stand closer during
rainy or snowy weather.
•Check the location. Other vehicles or objects may
be blocking the signal. Take a few steps to the
left or right, hold the transmitter higher, and
try again.
•Check to determine if battery replacement is
necessary. See “Battery Replacement” under
Remote Keyless Entry System Operation on
page 2-4.
•If you are still having trouble, see your dealer or a
qualified technician for service.
Remote Keyless Entry System
Operation
If your vehicle has this feature, you can lock and unlock
your doors from about 3 feet (1 m) up to 30 feet
(9 m) away using the remote keyless entry transmitter
supplied with your vehicle.
To unlock the driver’s door, press the UNLOCK button
one time. If you press the button again within five
seconds, all of the doors will unlock. When the UNLOCK
button is pressed, the interior dome lamps are turned
on for about 40 seconds or until the ignition switch
is activated. Press the LOCK button to lock all doors.
2-4
Page 74 of 366
Resynchronization
Resynchronization may be necessary due to the
security method used by this system. The transmitter
does not send the same signal twice to the receiver. The
receiver will not respond to a signal it has been sent
previously. This prevents anyone from recording
and playing back the signal from the transmitter.
To resynchronize your transmitter, stand close to your
vehicle and simultaneously press and hold the LOCK
and UNLOCK buttons on the transmitter for at least five
seconds. The door locks should cycle to confirm
resynchronization. If the locks do not cycle, see your
dealer for service.
Doors and Locks
Door Locks
{CAUTION:
Unlocked doors can be dangerous.
Passengers — especially children — can
easily open the doors and fall out of a
moving vehicle. When a door is locked, the
handle will not open it. You increase the
chance of being thrown out of the vehicle
in a crash if the doors are not locked. So,
wear safety belts properly and lock the
doors whenever you drive.
Young children who get into unlocked
vehicles may be unable to get out. A child
can be overcome by extreme heat and can
suffer permanent injuries or even death
from heat stroke. Always lock your vehicle
whenever you leave it.
Outsiders can easily enter through an
unlocked door when you slow down or
stop your vehicle. Locking your doors can
help prevent this from happening.
2-6
Page 75 of 366
There are several ways to lock and unlock your vehicle.
If your vehicle is equipped with keyless entry, you
can use your transmitter to lock or unlock your vehicle.
See “Remote Keyless Entry System Operation”
earlier in this section.
To lock or unlock your door from the outside, use
your key.
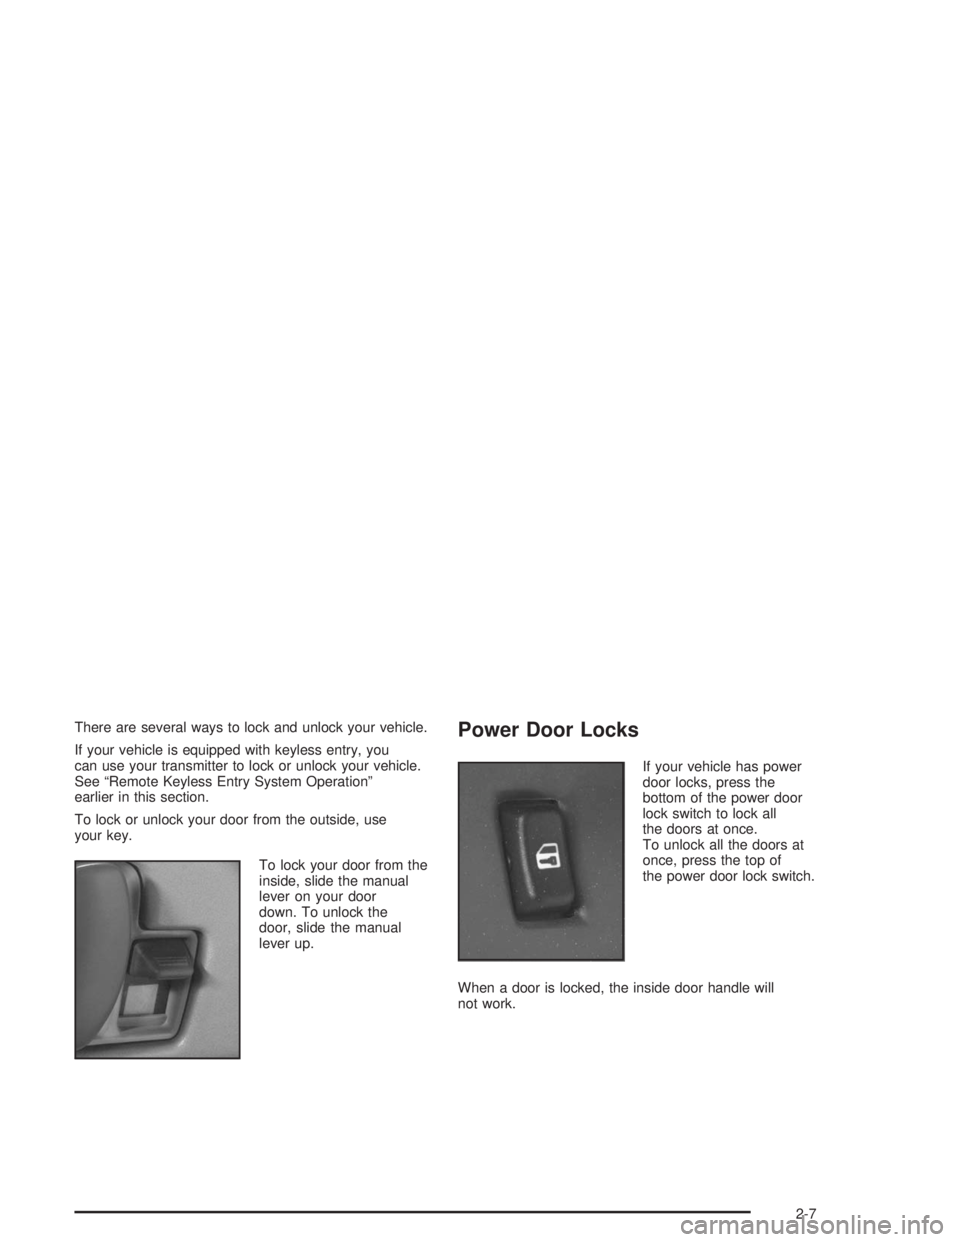
To lock your door from the
inside, slide the manual
lever on your door
down. To unlock the
door, slide the manual
lever up.Power Door Locks
If your vehicle has power
door locks, press the
bottom of the power door
lock switch to lock all
the doors at once.
To unlock all the doors at
once, press the top of
the power door lock switch.
When a door is locked, the inside door handle will
not work.
2-7
Page 78 of 366

Express-Down Feature
The driver’s window also has an express-down feature
that allows the window to be lowered without holding
down the switch. Press and hold the rear of the window
switch labeled AUTO for one second to activate the
express-down mode.
The express-down mode can be cancelled at any time
by pressing the front of the switch. To open the
window part way, lightly tap the switch until the window
is at the desired position.
Lockout Feature
If you have a crew cab model with power windows, the
driver’s door will have a window lockout feature.
When engaged, this feature will prevent all window
switches, except the driver’s window switches,
from operating. This switch is located above the four
window switches on the driver’s door. When the switch
is not engaged, all windows will return to normal
operation.
Sliding Rear Window
To open the sliding rear window, pull the latch toward
the driver’s side of the vehicle.
To close the window, slide the window toward the
passenger’s side of the vehicle. The latch will
automatically lock into place. Try to open the window
without releasing the latch to be sure the window
is in the locked position.
Sun Visors
To block out glare, you can swing down the visors. You
can also swing them out to block glare from the side.
Theft-Deterrent Systems
Vehicle theft is big business, especially in some cities,
and even commercial vehicles are no exception.
Although your vehicle has a number of theft-deterrent
features, we know that nothing we put on it can make it
impossible to steal. However, there are ways you
can help.
2-10
Page 108 of 366
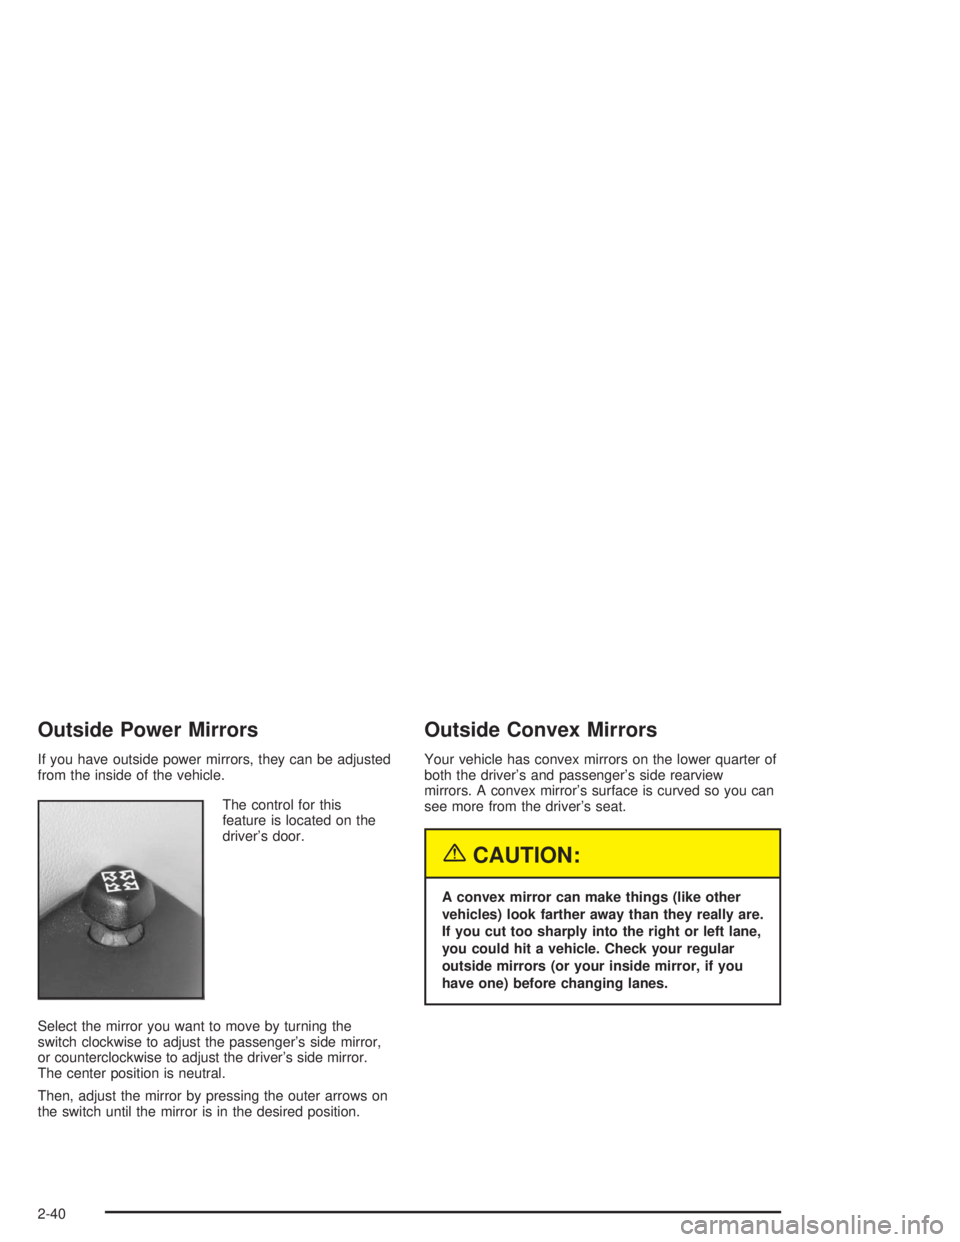
Outside Power Mirrors
If you have outside power mirrors, they can be adjusted
from the inside of the vehicle.
The control for this
feature is located on the
driver’s door.
Select the mirror you want to move by turning the
switch clockwise to adjust the passenger’s side mirror,
or counterclockwise to adjust the driver’s side mirror.
The center position is neutral.
Then, adjust the mirror by pressing the outer arrows on
the switch until the mirror is in the desired position.
Outside Convex Mirrors
Your vehicle has convex mirrors on the lower quarter of
both the driver’s and passenger’s side rearview
mirrors. A convex mirror’s surface is curved so you can
see more from the driver’s seat.
{CAUTION:
A convex mirror can make things (like other
vehicles) look farther away than they really are.
If you cut too sharply into the right or left lane,
you could hit a vehicle. Check your regular
outside mirrors (or your inside mirror, if you
have one) before changing lanes.
2-40