oil level CHEVROLET KODIAK 2004 Owners Manual
[x] Cancel search | Manufacturer: CHEVROLET, Model Year: 2004, Model line: KODIAK, Model: CHEVROLET KODIAK 2004Pages: 366, PDF Size: 6.87 MB
Page 111 of 366
Instrument Panel Overview...............................3-4
Hazard Warning Flashers................................3-5
Other Warning Devices...................................3-6
Horn.............................................................3-6
Tilt Wheel.....................................................3-7
Turn Signal/Multifunction Lever.........................3-7
Exterior Lamps.............................................3-13
Interior Lamps..............................................3-15
Instrument Panel Switchbank..........................3-16
Accessory Power Outlets...............................3-17
Ashtrays and Cigarette Lighter........................3-18
Climate Controls............................................3-19
Climate Control System.................................3-19
Outlet Adjustment.........................................3-22
Rear Heating System....................................3-23
Warning Lights, Gages, and Indicators............3-23
Instrument Panel Cluster................................3-24
Speedometer and Odometer...........................3-25
Tachometer.................................................3-26
Safety Belt Reminder Light.............................3-26
Safety Belt Reminder Tone............................3-26
Air Bag Readiness Light................................3-27
Air Bag Off Light..........................................3-28Charging System Light..................................3-30
Voltmeter Gage............................................3-30
Service Transmission Warning Light................3-31
Range Inhibit Warning Indicator......................3-31
Brake System Warning Light..........................3-31
Parking Brake Warning Light..........................3-34
Anti-Lock Brake System Warning Light.............3-34
Trailer Anti-Lock Brake System
Warning Light...........................................3-35
Engine Coolant Temperature Gage..................3-35
Low Coolant Warning Light............................3-36
Wait to Start Indicator...................................3-36
Malfunction Indicator Lamp.............................3-37
Oil Pressure Gage........................................3-37
Low Oil Level Light.......................................3-38
Change Engine Oil Light................................3-39
Engine Overspeed Warning Light....................3-39
Engine Shutdown Warning Light.....................3-39
Transmission Temperature Gage.....................3-40
Exhaust Brake Indicator Light.........................3-40
Differential Lock Indicator Light.......................3-40
Reduced Engine Power Light.........................3-41
Daytime Running Lamps Indicator Light...........3-41
Section 3 Instrument Panel
3-1
Page 148 of 366
A reading in the low pressure zone may be caused by a
dangerously low oil level or other problem.
If you have a Caterpillar
®diesel engine, also see your
Caterpillar®Operation & Maintenance Manual.
{CAUTION:
Do not keep driving if the oil pressure is low. If
you do, your engine can become so hot that it
catches �re. You or others could be burned.
Check your oil as soon as possible and have
your vehicle serviced.
Notice:Lack of proper engine oil maintenance may
damage the engine. The repairs would not be
covered by your warranty. Always follow the
maintenance schedule in this manual for changing
engine oil.
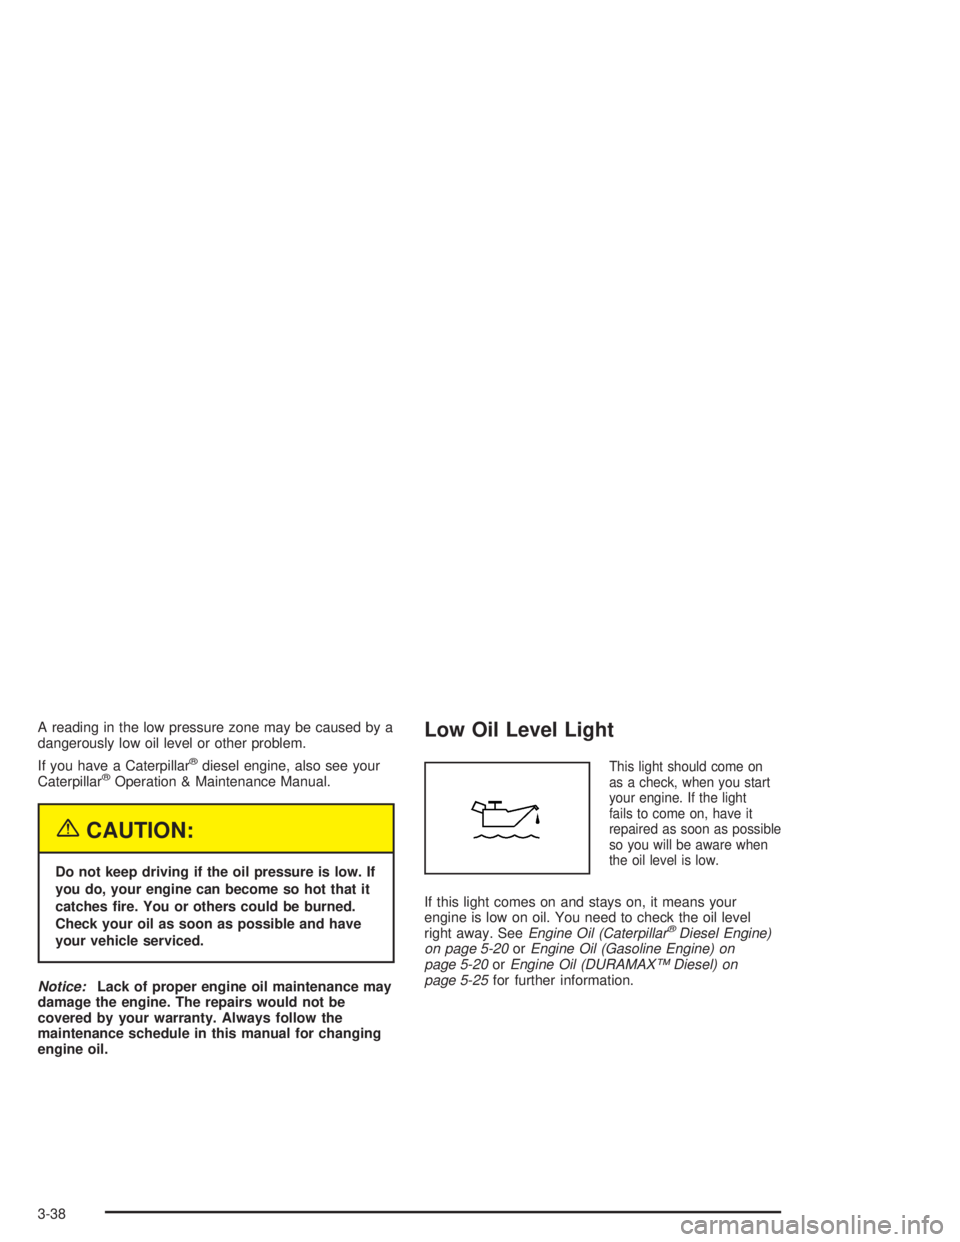
Low Oil Level Light
This light should come on
as a check, when you start
your engine. If the light
fails to come on, have it
repaired as soon as possible
so you will be aware when
the oil level is low.
If this light comes on and stays on, it means your
engine is low on oil. You need to check the oil level
right away. SeeEngine Oil (Caterpillar
®Diesel Engine)
on page 5-20orEngine Oil (Gasoline Engine) on
page 5-20orEngine Oil (DURAMAX™ Diesel) on
page 5-25for further information.
3-38
Page 150 of 366
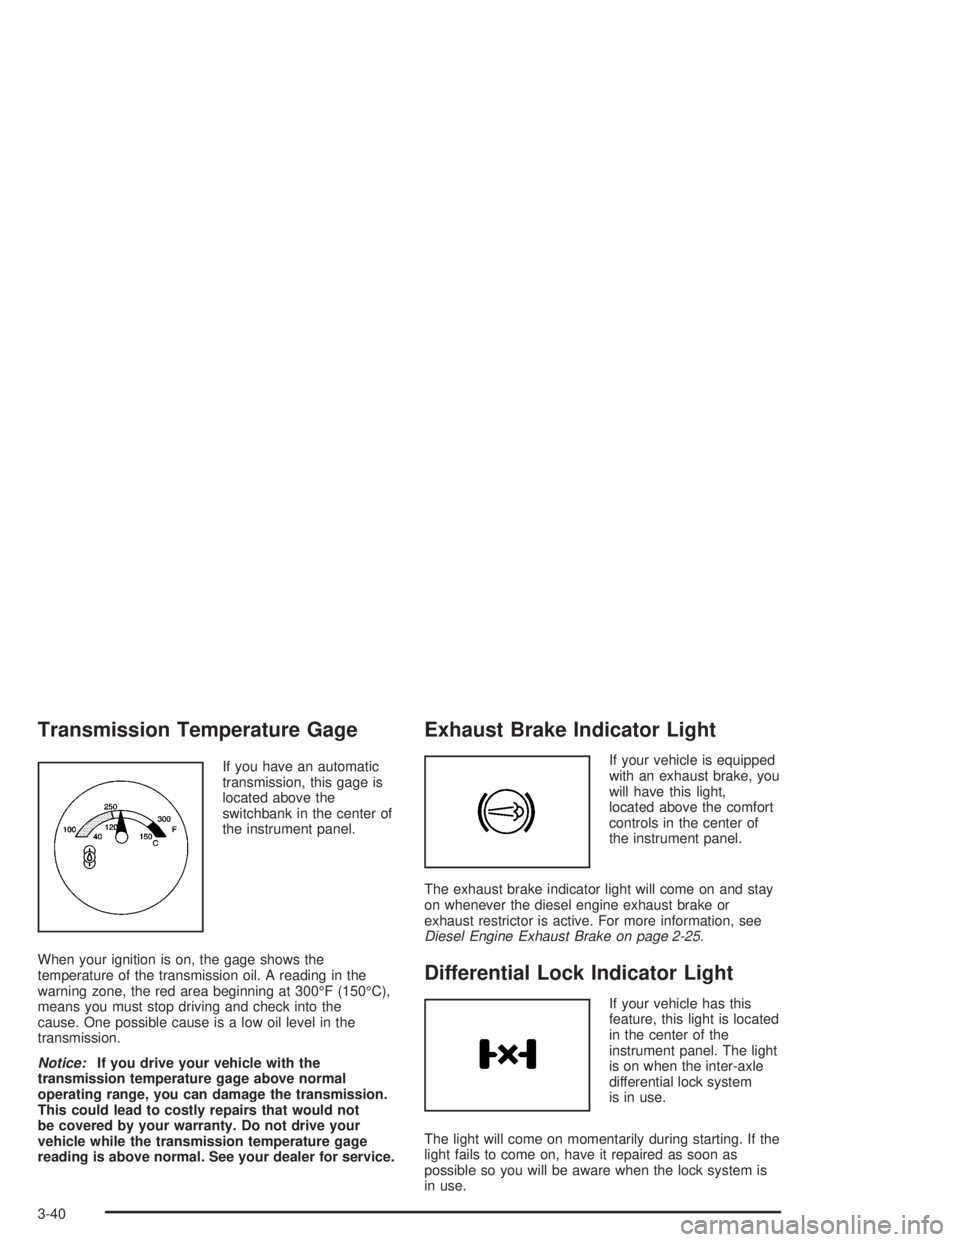
Transmission Temperature Gage
If you have an automatic
transmission, this gage is
located above the
switchbank in the center of
the instrument panel.
When your ignition is on, the gage shows the
temperature of the transmission oil. A reading in the
warning zone, the red area beginning at 300°F (150°C),
means you must stop driving and check into the
cause. One possible cause is a low oil level in the
transmission.
Notice:If you drive your vehicle with the
transmission temperature gage above normal
operating range, you can damage the transmission.
This could lead to costly repairs that would not
be covered by your warranty. Do not drive your
vehicle while the transmission temperature gage
reading is above normal. See your dealer for service.
Exhaust Brake Indicator Light
If your vehicle is equipped
with an exhaust brake, you
will have this light,
located above the comfort
controls in the center of
the instrument panel.
The exhaust brake indicator light will come on and stay
on whenever the diesel engine exhaust brake or
exhaust restrictor is active. For more information, see
Diesel Engine Exhaust Brake on page 2-25.
Differential Lock Indicator Light
If your vehicle has this
feature, this light is located
in the center of the
instrument panel. The light
is on when the inter-axle
differential lock system
is in use.
The light will come on momentarily during starting. If the
light fails to come on, have it repaired as soon as
possible so you will be aware when the lock system is
in use.
3-40
Page 169 of 366
Care of Your CDs
Handle CDs carefully. Store them in their original cases
or other protective cases and away from direct
sunlight and dust. If the surface of a CD is soiled,
dampen a clean, soft cloth in a mild, neutral detergent
solution and clean it, wiping from the center to the edge.
Be sure never to touch the side without writing when
handling CDs. Pick up CDs by grasping the outer edges
or the edge of the hole and the outer edge.
Care of Your CD Player
The use of CD lens cleaners for CDs is not advised,
due to the risk of contaminating the lens of the CD optics
with lubricants internal to the CD mechanism.
Fixed Mast Antenna
The fixed mast antenna can withstand most car washes
without being damaged. If the mast should ever
become slightly bent, you can straighten it out by hand.
If the mast is badly bent, you should replace it.
Check occasionally to be sure the mast is still tightened
to the fender. If tightening is required, tighten by
hand, then with a wrench one quarter turn.
Chime Level Adjustment
The radio is the vehicle chime producer. The chime is
produced from the driver’s side front door speakers.
To change the volume level, press and hold
pushbutton 6 with the ignition on and the radio power
off. The chime volume level will change from the normal
level to loud, and HI will be displayed on the radio.
To change back to the default or normal setting, press
and hold pushbutton 6 again. The chime level will
change from the loud level to normal, and LO will be
displayed. Each time the chime volume is changed,
three chimes will sound as an example of the new
volume selected. Removing the radio and not replacing
it with a factory radio or chime module will disable
vehicle chimes.
3-59
Page 226 of 366
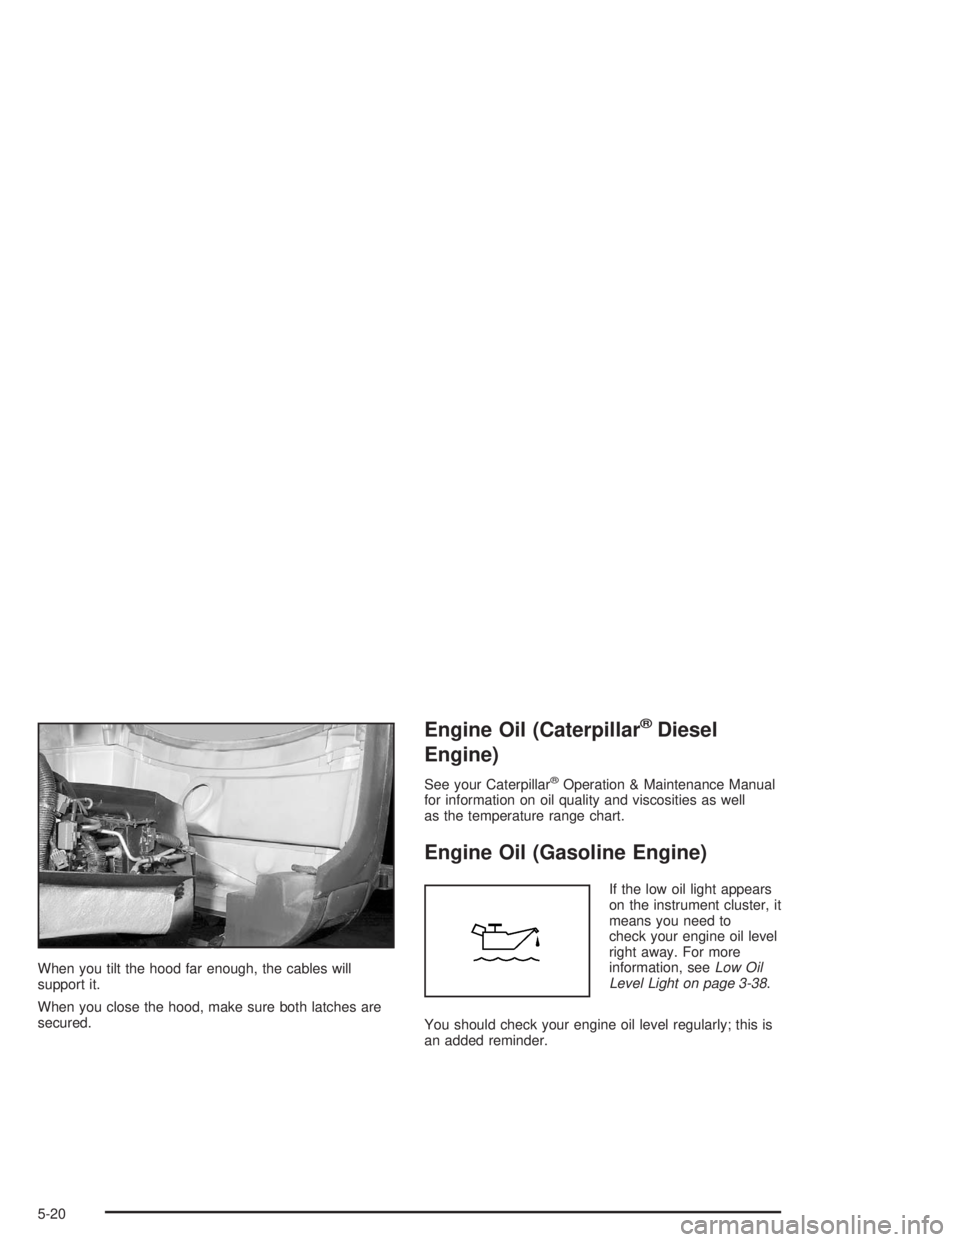
When you tilt the hood far enough, the cables will
support it.
When you close the hood, make sure both latches are
secured.
Engine Oil (Caterpillar®Diesel
Engine)
See your Caterpillar®Operation & Maintenance Manual
for information on oil quality and viscosities as well
as the temperature range chart.
Engine Oil (Gasoline Engine)
If the low oil light appears
on the instrument cluster, it
means you need to
check your engine oil level
right away. For more
information, seeLow Oil
Level Light on page 3-38.
You should check your engine oil level regularly; this is
an added reminder.
5-20
Page 227 of 366
Checking Engine Oil
It is a good idea to check your engine oil every time you
get fuel. In order to get an accurate reading, the oil
must be warm and the vehicle must be on level ground.
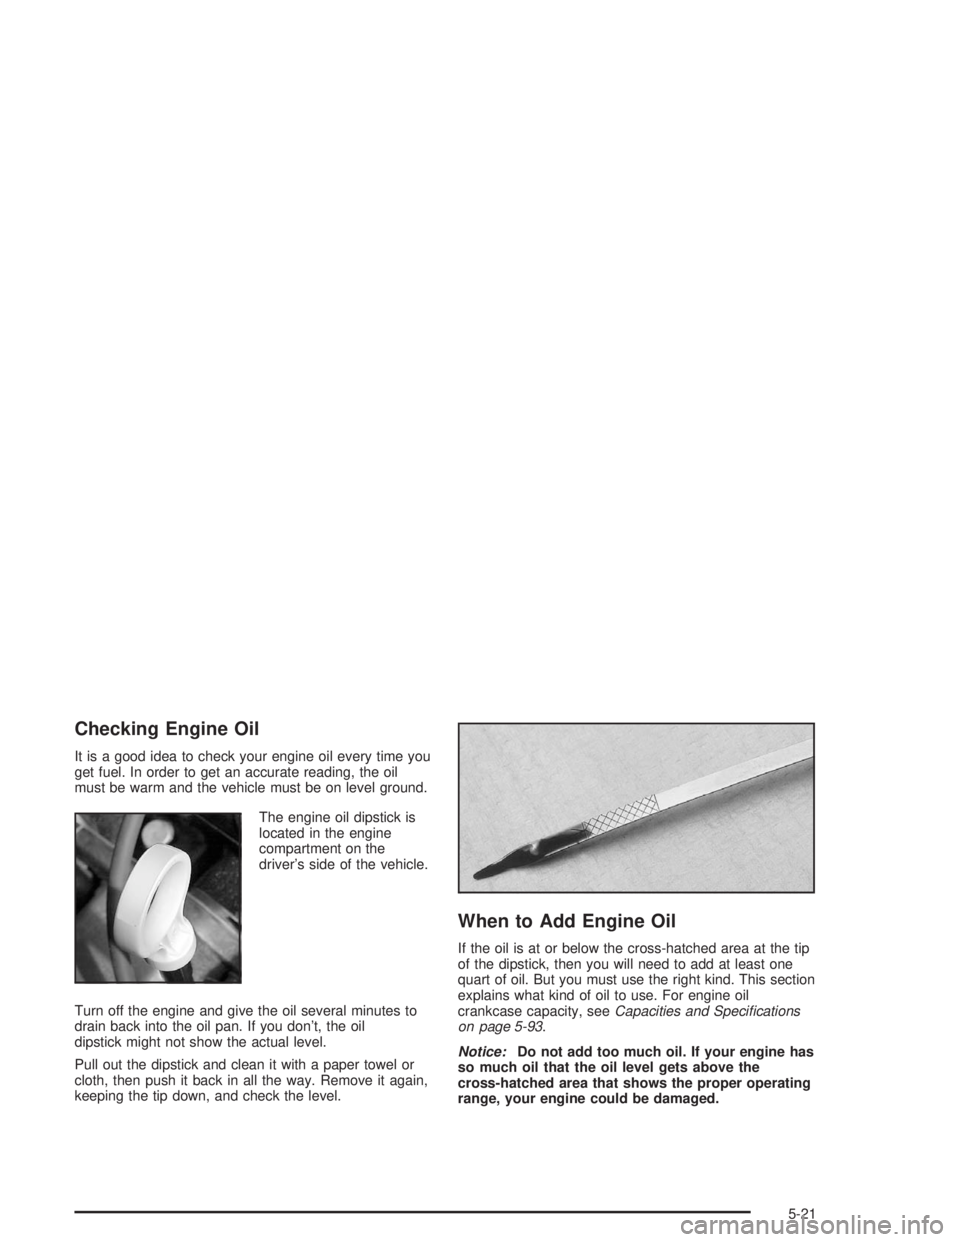
The engine oil dipstick is
located in the engine
compartment on the
driver’s side of the vehicle.
Turn off the engine and give the oil several minutes to
drain back into the oil pan. If you don’t, the oil
dipstick might not show the actual level.
Pull out the dipstick and clean it with a paper towel or
cloth, then push it back in all the way. Remove it again,
keeping the tip down, and check the level.
When to Add Engine Oil
If the oil is at or below the cross-hatched area at the tip
of the dipstick, then you will need to add at least one
quart of oil. But you must use the right kind. This section
explains what kind of oil to use. For engine oil
crankcase capacity, seeCapacities and Speci�cations
on page 5-93.
Notice:Do not add too much oil. If your engine has
so much oil that the oil level gets above the
cross-hatched area that shows the proper operating
range, your engine could be damaged.
5-21
Page 228 of 366
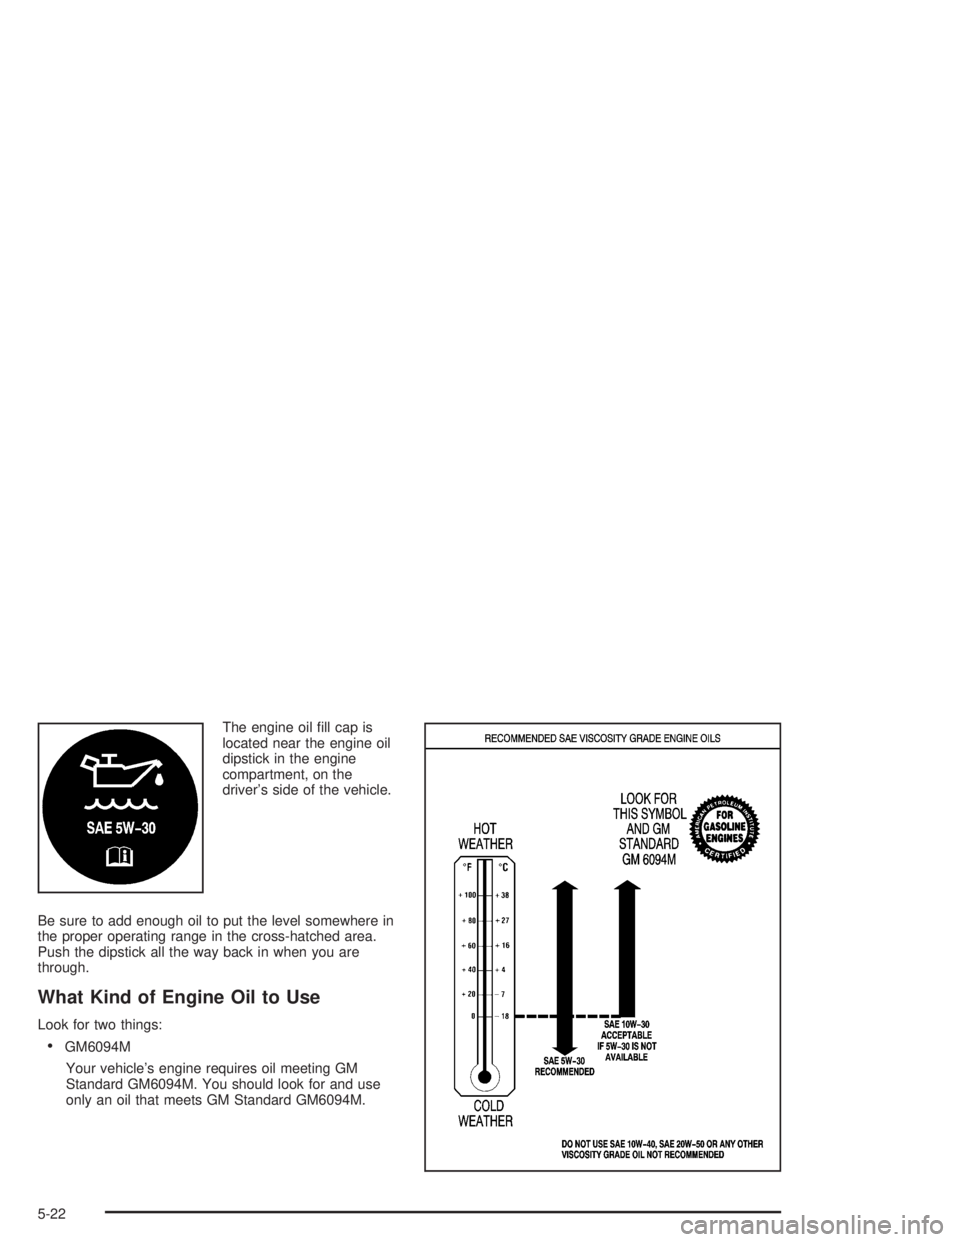
The engine oil fill cap is
located near the engine oil
dipstick in the engine
compartment, on the
driver’s side of the vehicle.
Be sure to add enough oil to put the level somewhere in
the proper operating range in the cross-hatched area.
Push the dipstick all the way back in when you are
through.
What Kind of Engine Oil to Use
Look for two things:
•GM6094M
Your vehicle’s engine requires oil meeting GM
Standard GM6094M. You should look for and use
only an oil that meets GM Standard GM6094M.
5-22
Page 230 of 366
When to Change Engine Oil (GM Oil
Life System)
Your vehicle has a computer system that lets you know
when to change the engine oil and filter. This is
based on engine revolutions and engine temperature,
and not on mileage. Based on driving conditions,
the mileage at which an oil change will be indicated can
vary considerably. For the oil life system to work
properly, you must reset the system every time the oil is
changed.
When the system has calculated that oil life has been
diminished, it will indicate that an oil change is
necessary. A change engine oil light will come on.
Change your oil as soon as possible within the next two
times you stop for fuel. It is possible that, if you are
driving under the best conditions, the oil life system may
not indicate that an oil change is necessary for over a
year. However, your engine oil and filter must be
changed at least once a year and at this time the system
must be reset. Your dealer has GM-trained service
people who will perform this work using genuine GM
parts and reset the system. It is also important to check
your oil regularly and keep it at the proper level.
If the system is ever reset accidentally, you must change
your oil at 3,000 miles (5 000 km) since your last oil
change. Remember to reset the oil life system whenever
the oil is changed.
How to Reset the Change Engine Oil Light
The GM Oil Life System calculates when to change
your engine oil and filter based on vehicle use. Anytime
your oil is changed, reset the system so it can
calculate when the next oil change is required. If a
situation occurs where you change your oil prior to a
change engine oil light being turned on, reset the
system.
To reset the change engine oil light, do the following:
1. Turn the ignition key to RUN with the engine off.
2. Fully press and release the accelerator pedal slowly
three times within 10 seconds.
If the change engine oil light flashes for five
seconds, the system is resetting.
3. Turn the key to OFF.
If the change engine oil light comes back on when you
start your vehicle, the engine oil life system has not
reset. Repeat the procedure.
5-24
Page 231 of 366
What to Do with Used Oil
Used engine oil contains certain elements that may be
unhealthy for your skin and could even cause cancer.
Do not let used oil stay on your skin for very long. Clean
your skin and nails with soap and water, or a good
hand cleaner. Wash or properly dispose of clothing or
rags containing used engine oil. See the manufacturer’s
warnings about the use and disposal of oil products.
Used oil can be a threat to the environment. If you
change your own oil, be sure to drain all the oil from the
filter before disposal. Never dispose of oil by putting it
in the trash, pouring it on the ground, into sewers, or into
streams or bodies of water. Instead, recycle it by
taking it to a place that collects used oil. If you have a
problem properly disposing of your used oil, ask
your dealer, a service station or a local recycling center
for help.
Engine Oil (DURAMAX™ Diesel)
Checking Engine Oil
It is a good idea to check your engine oil level every
time you get fuel.
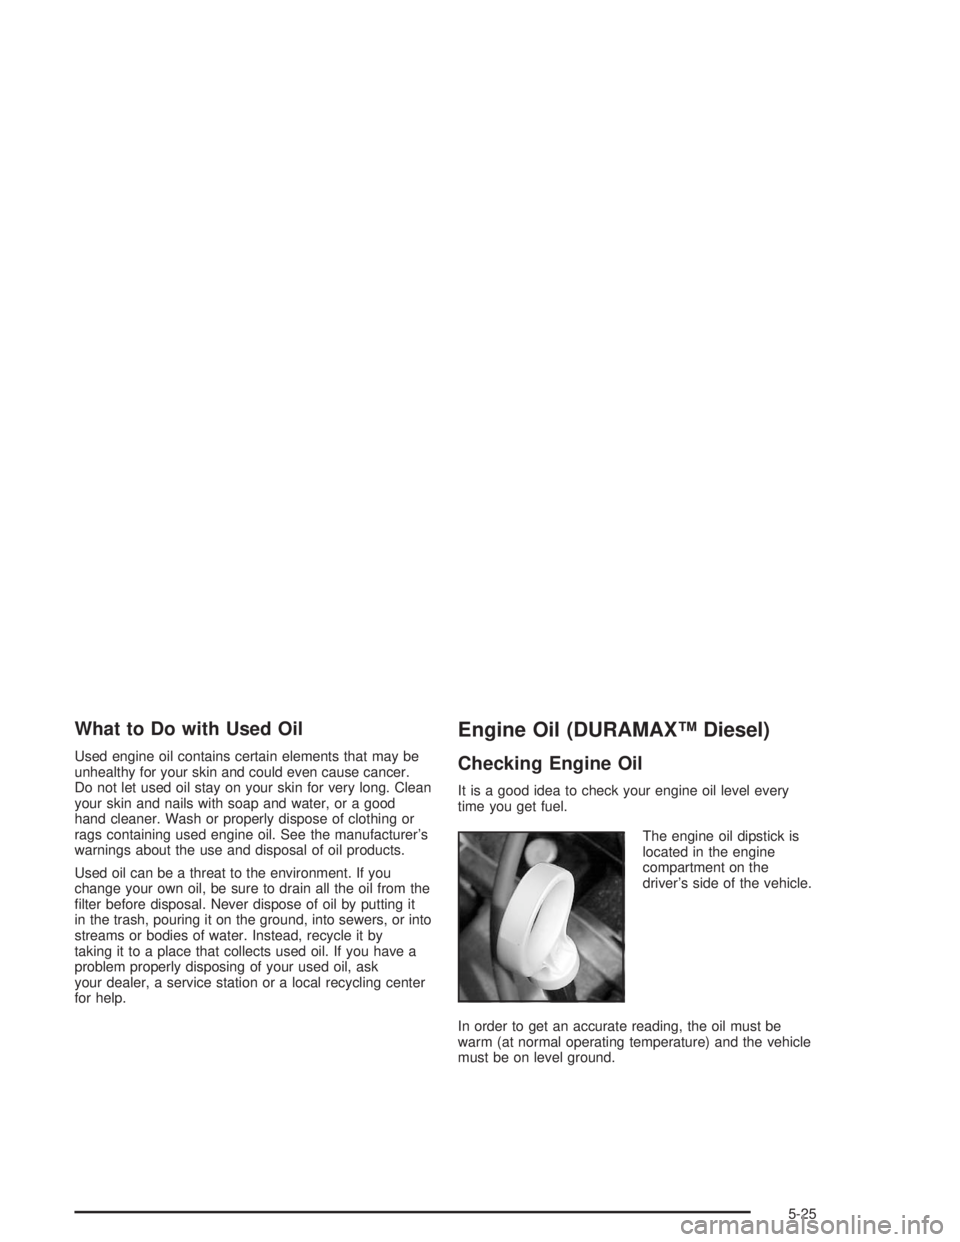
The engine oil dipstick is
located in the engine
compartment on the
driver’s side of the vehicle.
In order to get an accurate reading, the oil must be
warm (at normal operating temperature) and the vehicle
must be on level ground.
5-25
Page 232 of 366
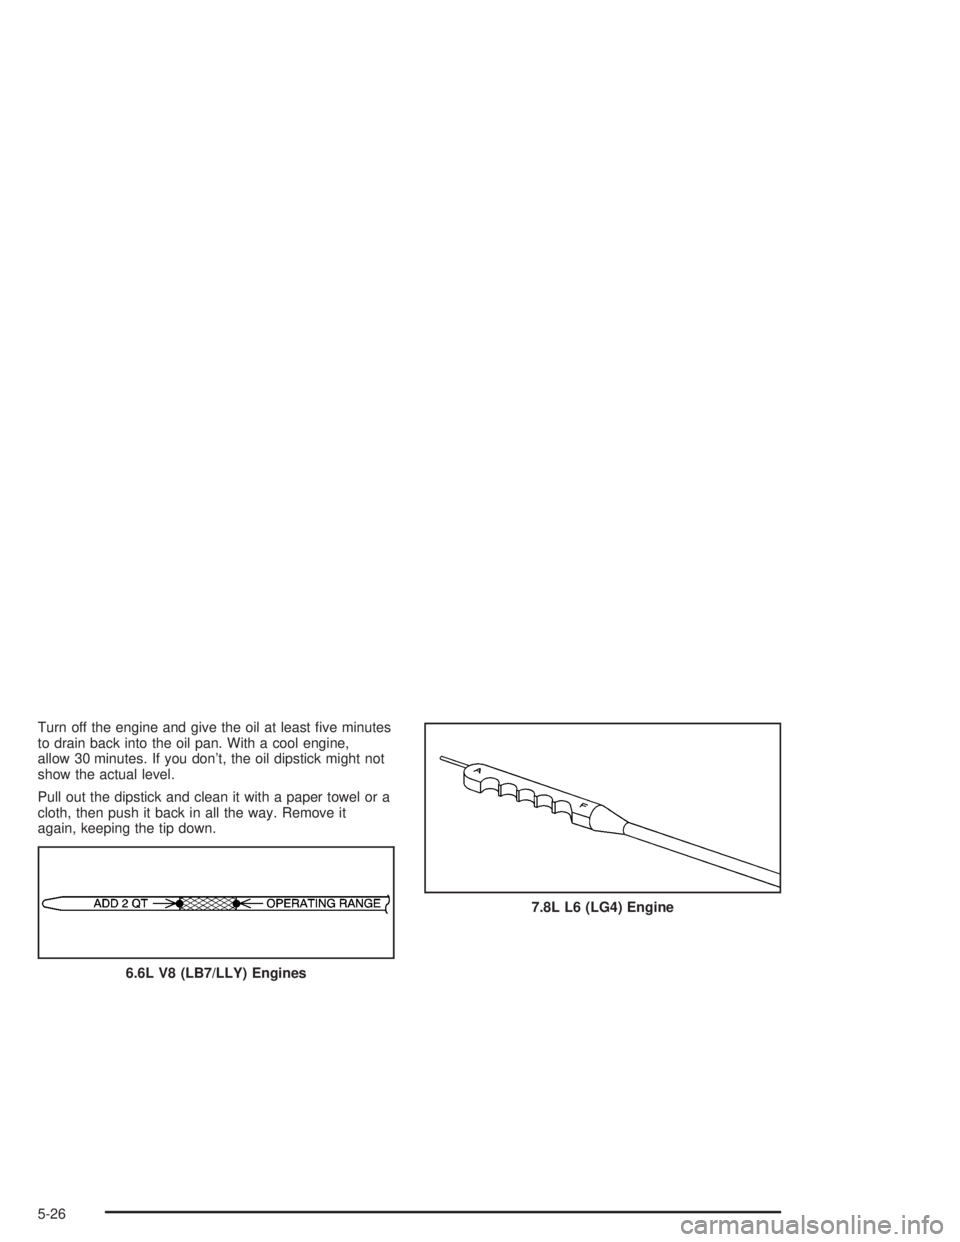
Turn off the engine and give the oil at least five minutes
to drain back into the oil pan. With a cool engine,
allow 30 minutes. If you don’t, the oil dipstick might not
show the actual level.
Pull out the dipstick and clean it with a paper towel or a
cloth, then push it back in all the way. Remove it
again, keeping the tip down.
6.6L V8 (LB7/LLY) Engines
7.8L L6 (LG4) Engine
5-26