warning lights CHEVROLET KODIAK 2004 Owners Manual
[x] Cancel search | Manufacturer: CHEVROLET, Model Year: 2004, Model line: KODIAK, Model: CHEVROLET KODIAK 2004Pages: 366, PDF Size: 6.87 MB
Page 1 of 366
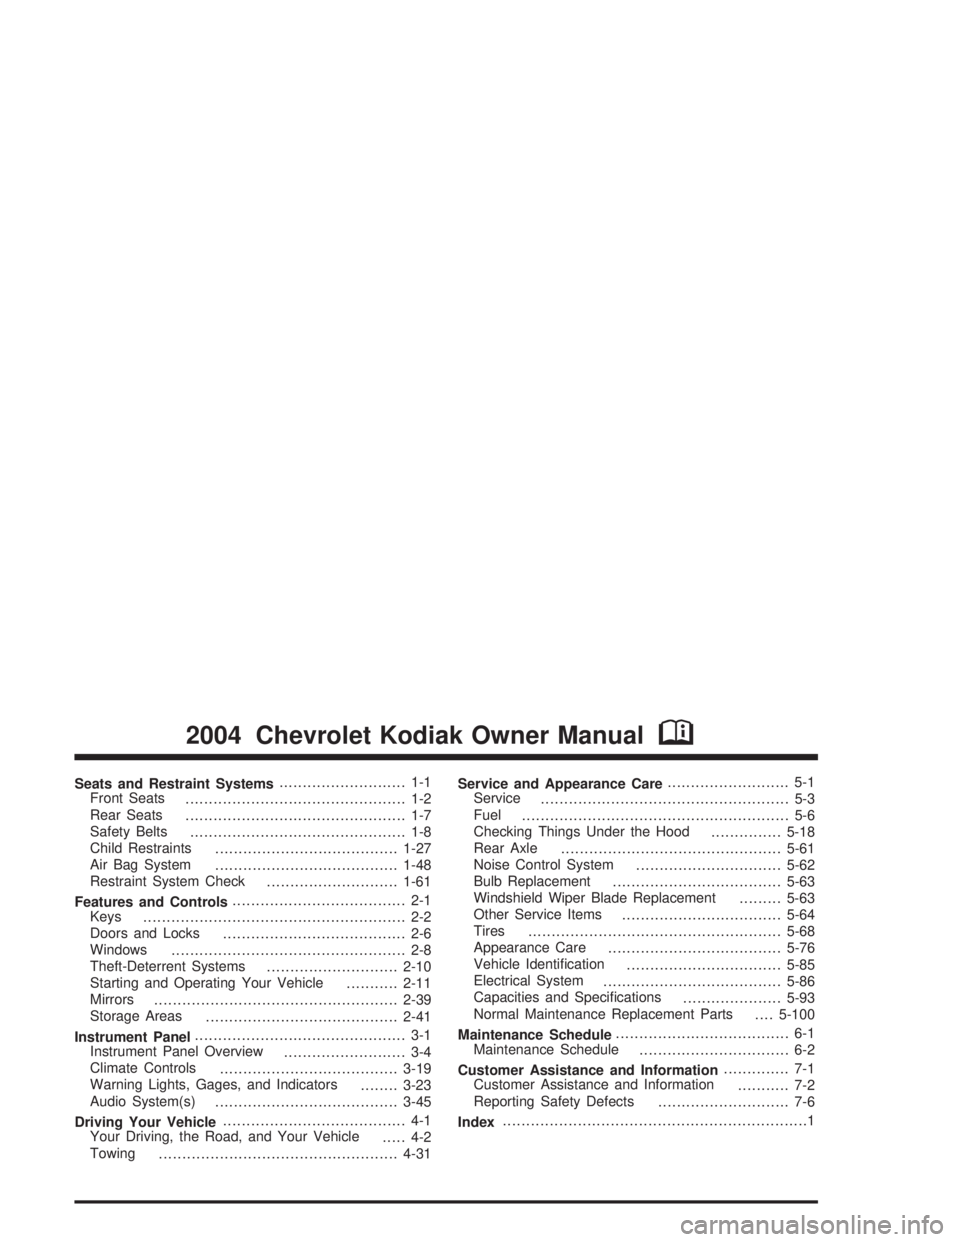
Seats and Restraint Systems........................... 1-1
Front Seats
............................................... 1-2
Rear Seats
............................................... 1-7
Safety Belts
.............................................. 1-8
Child Restraints
.......................................1-27
Air Bag System
.......................................1-48
Restraint System Check
............................1-61
Features and Controls..................................... 2-1
Keys
........................................................ 2-2
Doors and Locks
....................................... 2-6
Windows
.................................................. 2-8
Theft-Deterrent Systems
............................2-10
Starting and Operating Your Vehicle
...........2-11
Mirrors
....................................................2-39
Storage Areas
.........................................2-41
Instrument Panel............................................. 3-1
Instrument Panel Overview
.......................... 3-4
Climate Controls
......................................3-19
Warning Lights, Gages, and Indicators
........3-23
Audio System(s)
.......................................3-45
Driving Your Vehicle....................................... 4-1
Your Driving, the Road, and Your Vehicle
..... 4-2
Towing
...................................................4-31Service and Appearance Care.......................... 5-1
Service
..................................................... 5-3
Fuel
......................................................... 5-6
Checking Things Under the Hood
...............5-18
Rear Axle
...............................................5-61
Noise Control System
...............................5-62
Bulb Replacement
....................................5-63
Windshield Wiper Blade Replacement
.........5-63
Other Service Items
..................................5-64
Tires
......................................................5-68
Appearance Care
.....................................5-76
Vehicle Identification
.................................5-85
Electrical System
......................................5-86
Capacities and Specifications
.....................5-93
Normal Maintenance Replacement Parts
....5-100
Maintenance Schedule..................................... 6-1
Maintenance Schedule
................................ 6-2
Customer Assistance and Information.............. 7-1
Customer Assistance and Information
........... 7-2
Reporting Safety Defects
............................ 7-6
Index.................................................................1
2004 Chevrolet Kodiak Owner ManualM
Page 4 of 366
Vehicle Damage Warnings
Also, in this book you will find these notices:
Notice:These mean there is something that could
damage your vehicle.
A notice will tell you about something that can damage
your vehicle. Many times, this damage would not be
covered by your warranty, and it could be costly. But the
notice will tell you what to do to help avoid the
damage.
When you read other manuals, you might see
CAUTION and NOTICE warnings in different colors
or in different words.
You’ll also see warning labels on your vehicle. They use
the same words, CAUTION or NOTICE.
Vehicle Symbols
Your vehicle has components and labels that use
symbols instead of text. Symbols, used on your vehicle,
are shown along with the text describing the operation
or information relating to a specific component, control,
message, gage or indicator.
If you need help figuring out a specific name of a
component, gage or indicator, reference the following
topics:
•Seats and Restraint Systems in Section 1
•Features and Controls in Section 2
•Instrument Panel Overview in Section 3
•Climate Controls in Section 3
•Warning Lights, Gages and Indicators in Section 3
•Audio System(s) in Section 3
•Engine Compartment Overview in Section 5
iv
Page 90 of 366
When the engine is started, it will slowly ramp up to the
high idle speed after a delay of a few seconds up to
about two minutes. For this method to work properly
there must be no throttle or brake pedal faults, and the
throttle pedal must not fall below 75 percent of wide
open throttle while pressing the brake pedal.
The engine idle speed will return to normal once the
following conditions are met:
•Once engine coolant temperature reaches
150°F (65°C).
•Air intake temperature reaches 41°F (5°C).
The high idle speed will be temporarily interrupted and
the engine speed will return to normal if any of the
following conditions occur:
•The brake pedal is applied.
•The accelerator pedal is pressed.
•The automatic transmission is shifted out of
PARK (P) or NEUTRAL (N).
•The clutch pedal on the manual transmission is
pressed.
•Vehicle speed is detected.
Once these inputs are removed, the engine idle speed
will slowly ramp back up to high idle after the normal
delay, if the conditions for engine coolant temperature
and air intake temperature are still met.
Engine Checks Before Operating
When you’ve started your engine, let it run for
20 to 30 seconds before you put a load on the engine.
Butdon’tleave the vehicle while the engine is running.
Avoid unnecessary idling of diesel engine equipped
vehicles.
If the engine idles too long, the temperature of the
engine coolant will fall below the normal operating
range. Low engine operating temperature causes
several conditions which affect engine operation and
reduce engine life.
The engine should be permitted to go through a
warm-up period. Operate the vehicle at a minimum of
600 rpm during the warm-up period. During this
period and during operation, the following observations
should be made.
During this warm-up period, check your warning lights
and gages:
•If oil pressure doesn’t begin to rise within
15 seconds of starting, stop the engine and find the
cause.
•If the engine coolant temperature gage needle goes
into the hot area on the gage, stop the engine and
find the cause of the overheating.
2-22
Page 111 of 366
Instrument Panel Overview...............................3-4
Hazard Warning Flashers................................3-5
Other Warning Devices...................................3-6
Horn.............................................................3-6
Tilt Wheel.....................................................3-7
Turn Signal/Multifunction Lever.........................3-7
Exterior Lamps.............................................3-13
Interior Lamps..............................................3-15
Instrument Panel Switchbank..........................3-16
Accessory Power Outlets...............................3-17
Ashtrays and Cigarette Lighter........................3-18
Climate Controls............................................3-19
Climate Control System.................................3-19
Outlet Adjustment.........................................3-22
Rear Heating System....................................3-23
Warning Lights, Gages, and Indicators............3-23
Instrument Panel Cluster................................3-24
Speedometer and Odometer...........................3-25
Tachometer.................................................3-26
Safety Belt Reminder Light.............................3-26
Safety Belt Reminder Tone............................3-26
Air Bag Readiness Light................................3-27
Air Bag Off Light..........................................3-28Charging System Light..................................3-30
Voltmeter Gage............................................3-30
Service Transmission Warning Light................3-31
Range Inhibit Warning Indicator......................3-31
Brake System Warning Light..........................3-31
Parking Brake Warning Light..........................3-34
Anti-Lock Brake System Warning Light.............3-34
Trailer Anti-Lock Brake System
Warning Light...........................................3-35
Engine Coolant Temperature Gage..................3-35
Low Coolant Warning Light............................3-36
Wait to Start Indicator...................................3-36
Malfunction Indicator Lamp.............................3-37
Oil Pressure Gage........................................3-37
Low Oil Level Light.......................................3-38
Change Engine Oil Light................................3-39
Engine Overspeed Warning Light....................3-39
Engine Shutdown Warning Light.....................3-39
Transmission Temperature Gage.....................3-40
Exhaust Brake Indicator Light.........................3-40
Differential Lock Indicator Light.......................3-40
Reduced Engine Power Light.........................3-41
Daytime Running Lamps Indicator Light...........3-41
Section 3 Instrument Panel
3-1
Page 115 of 366
A. Air Outlets. SeeOutlet Adjustment on page 3-22.
B. Instrument Panel Cluster. SeeInstrument Panel
Cluster on page 3-24.
C. Shift Lever. SeeStarting Your Gasoline Engine on
page 2-12,Starting Your Diesel Engine on page 2-14
andStarting Your DURAMAX™ Diesel Engine on
page 2-19.
D. Air Brake Controls. See ‘‘Air Brake’’ underParking
on page 2-33.
E. Auxiliary Gages. SeeWarning Lights, Gages, and
Indicators on page 3-23.
F. Exterior Lamp Control. SeeExterior Lamps on
page 3-13.
G. Turn Signal/Multifunction Lever. SeeTurn
Signal/Multifunction Lever on page 3-7.
H. Hazard Warning Flashers Button. SeeHazard
Warning Flashers on page 3-5.
I. Audio System(s). SeeAudio System(s) on
page 3-45.
J. Climate Controls. SeeClimate Control System on
page 3-19.
K. Instrument Panel Switchbank. SeeInstrument Panel
Switchbank on page 3-16.
L. Air Bag Off Switch. SeeAir Bag Off Switch on
page 1-55.
M. Accessory Power Outlets. SeeAccessory Power
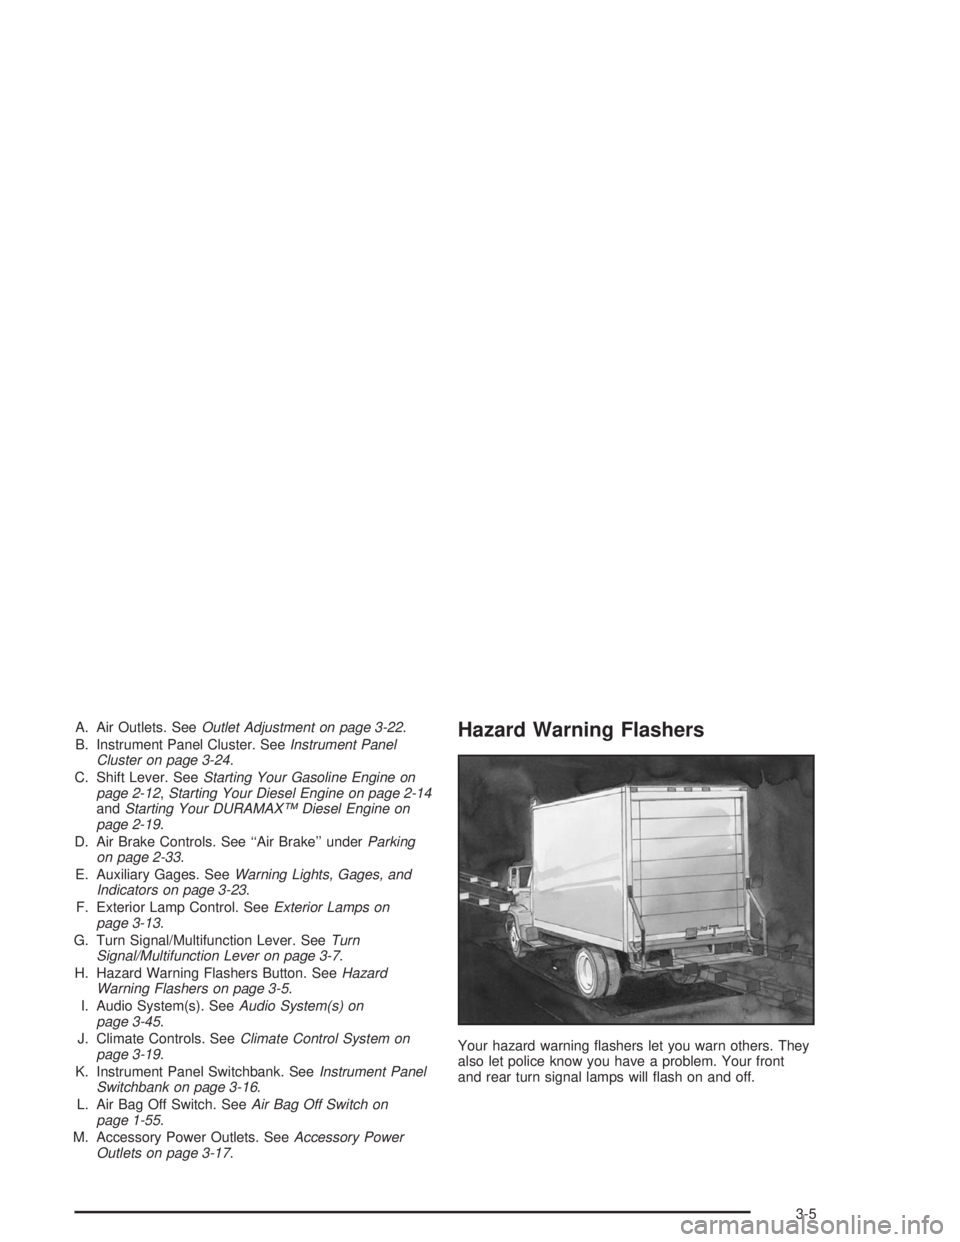
Outlets on page 3-17.Hazard Warning Flashers
Your hazard warning flashers let you warn others. They
also let police know you have a problem. Your front
and rear turn signal lamps will flash on and off.
3-5
Page 133 of 366
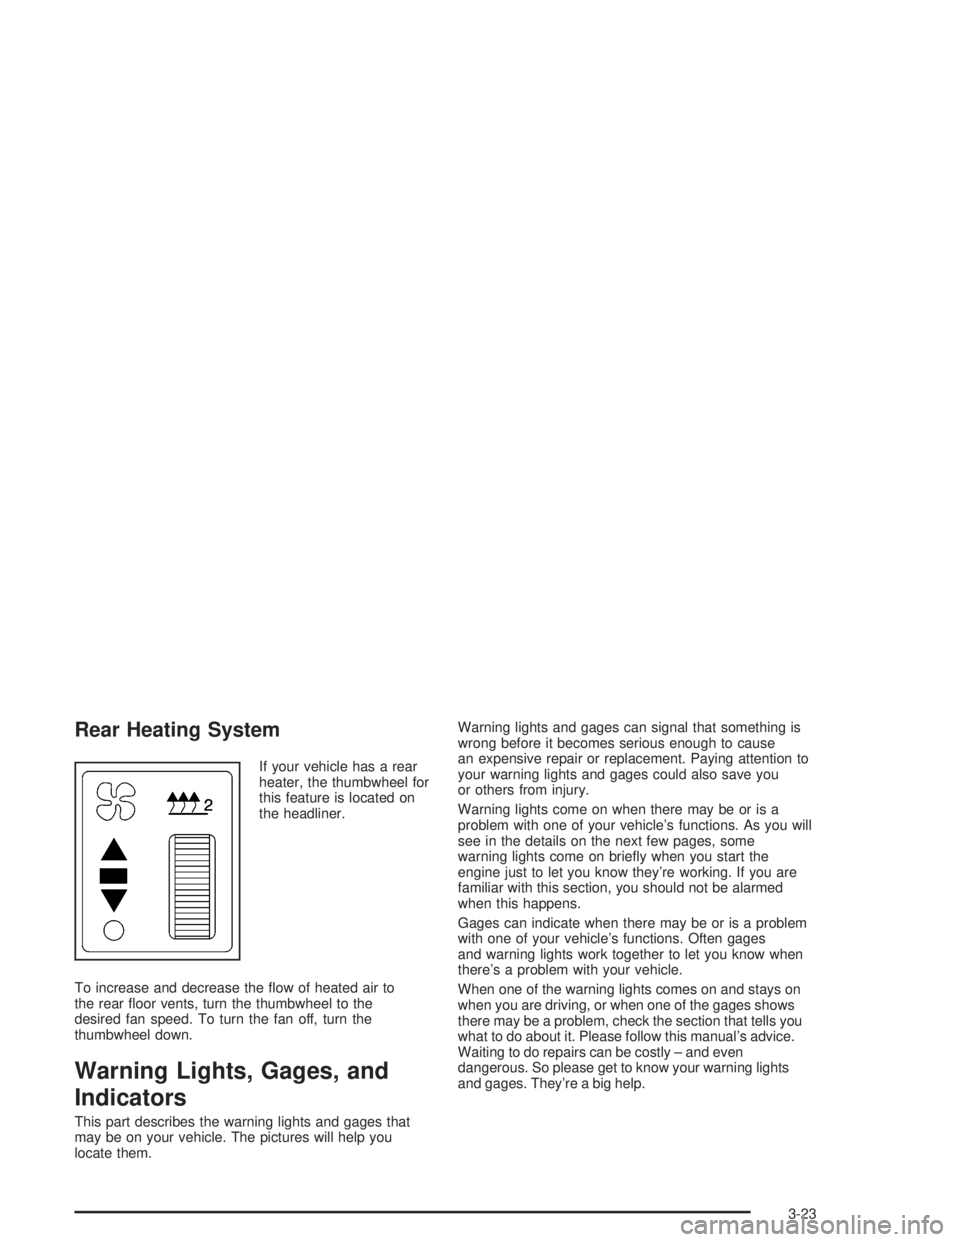
Rear Heating System
If your vehicle has a rear
heater, the thumbwheel for
this feature is located on
the headliner.
To increase and decrease the flow of heated air to
the rear floor vents, turn the thumbwheel to the
desired fan speed. To turn the fan off, turn the
thumbwheel down.
Warning Lights, Gages, and
Indicators
This part describes the warning lights and gages that
may be on your vehicle. The pictures will help you
locate them.Warning lights and gages can signal that something is
wrong before it becomes serious enough to cause
an expensive repair or replacement. Paying attention to
your warning lights and gages could also save you
or others from injury.
Warning lights come on when there may be or is a
problem with one of your vehicle’s functions. As you will
see in the details on the next few pages, some
warning lights come on briefly when you start the
engine just to let you know they’re working. If you are
familiar with this section, you should not be alarmed
when this happens.
Gages can indicate when there may be or is a problem
with one of your vehicle’s functions. Often gages
and warning lights work together to let you know when
there’s a problem with your vehicle.
When one of the warning lights comes on and stays on
when you are driving, or when one of the gages shows
there may be a problem, check the section that tells you
what to do about it. Please follow this manual’s advice.
Waiting to do repairs can be costly – and even
dangerous. So please get to know your warning lights
and gages. They’re a big help.
3-23
Page 140 of 366
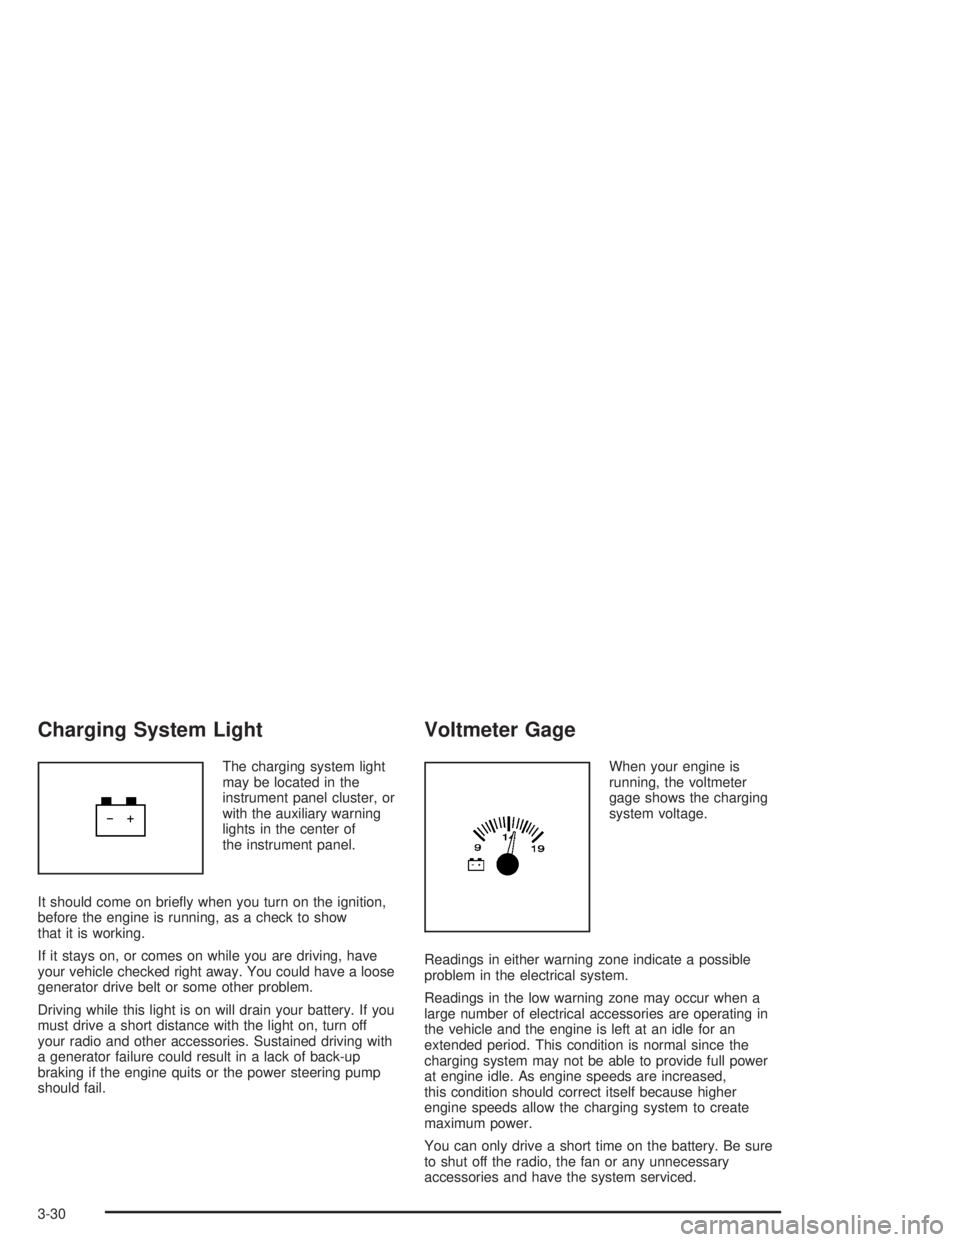
Charging System Light
The charging system light
may be located in the
instrument panel cluster, or
with the auxiliary warning
lights in the center of
the instrument panel.
It should come on briefly when you turn on the ignition,
before the engine is running, as a check to show
that it is working.
If it stays on, or comes on while you are driving, have
your vehicle checked right away. You could have a loose
generator drive belt or some other problem.
Driving while this light is on will drain your battery. If you
must drive a short distance with the light on, turn off
your radio and other accessories. Sustained driving with
a generator failure could result in a lack of back-up
braking if the engine quits or the power steering pump
should fail.
Voltmeter Gage
When your engine is
running, the voltmeter
gage shows the charging
system voltage.
Readings in either warning zone indicate a possible
problem in the electrical system.
Readings in the low warning zone may occur when a
large number of electrical accessories are operating in
the vehicle and the engine is left at an idle for an
extended period. This condition is normal since the
charging system may not be able to provide full power
at engine idle. As engine speeds are increased,
this condition should correct itself because higher
engine speeds allow the charging system to create
maximum power.
You can only drive a short time on the battery. Be sure
to shut off the radio, the fan or any unnecessary
accessories and have the system serviced.
3-30
Page 141 of 366
Service Transmission Warning Light
If your vehicle has an Allison automatic transmission,
certain transmission malfunctions will turn this light on.
This light is located with
the auxiliary warning lights
in the center of the
instrument panel.
If this light comes on while you are driving, do not use
the transmission shift control or you may lose forward
gears. The computer for the transmission senses
a problem and chooses a gear to stay in so that you
can drive the vehicle in that gear. You may not be able
to drive as fast or back up when this light is on.
Notice:If you continue driving your vehicle after
the transmission warning light comes on, you could
damage the transmission. While this light is on,
the transmission cannot operate in all gears. If you
attempt to shift gears, the vehicle may not
continue to move. Do not attempt to shift gears
while the transmission warning light is on. Instead,
drive directly to a GM dealer for service. If you
cannot drive to a dealer immediately, have the
vehicle towed.
Range Inhibit Warning Indicator
If your vehicle has an Allison
1000/2000/2200/2400 series automatic transmission, a
lighted bar under the current gear selected will flash.
If your vehicle has an Allison MD automatic
transmission, the current gear selected on the
pushbutton display will flash.
The flashing bar or gear selection indicates that
transmission range shifts may not occur.
For detailed information on shift inhibit limitations, see
the Allison Automatic Transmission Operator’s Manual in
your vehicle for further information.
Brake System Warning Light
Your vehicle has either hydraulic or air brakes. Each
system has different warning lights.
3-31
Page 142 of 366
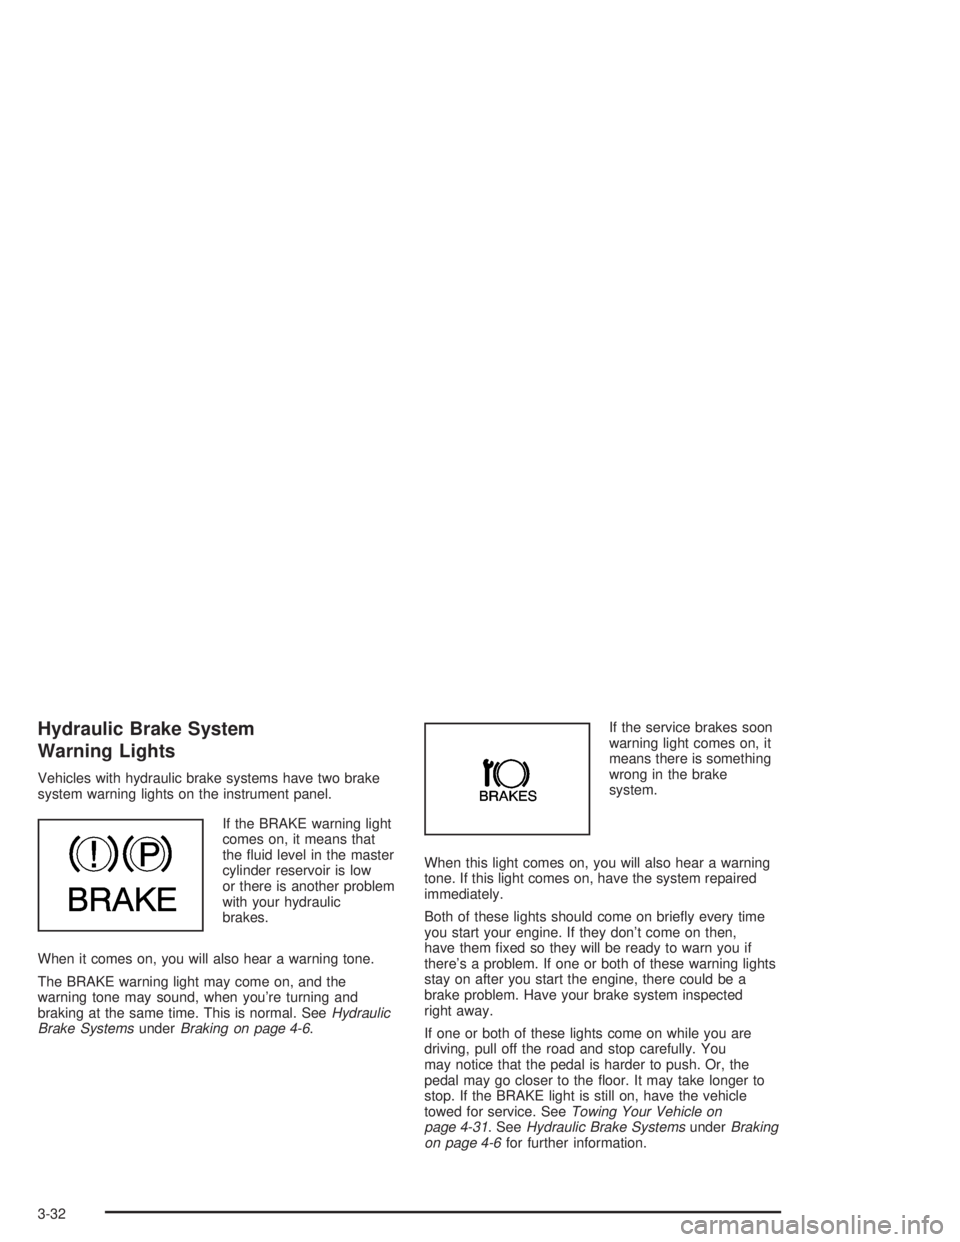
Hydraulic Brake System
Warning Lights
Vehicles with hydraulic brake systems have two brake
system warning lights on the instrument panel.
If the BRAKE warning light
comes on, it means that
the fluid level in the master
cylinder reservoir is low
or there is another problem
with your hydraulic
brakes.
When it comes on, you will also hear a warning tone.
The BRAKE warning light may come on, and the
warning tone may sound, when you’re turning and
braking at the same time. This is normal. SeeHydraulic
Brake SystemsunderBraking on page 4-6.If the service brakes soon
warning light comes on, it
means there is something
wrong in the brake
system.
When this light comes on, you will also hear a warning
tone. If this light comes on, have the system repaired
immediately.
Both of these lights should come on briefly every time
you start your engine. If they don’t come on then,
have them fixed so they will be ready to warn you if
there’s a problem. If one or both of these warning lights
stay on after you start the engine, there could be a
brake problem. Have your brake system inspected
right away.
If one or both of these lights come on while you are
driving, pull off the road and stop carefully. You
may notice that the pedal is harder to push. Or, the
pedal may go closer to the floor. It may take longer to
stop. If the BRAKE light is still on, have the vehicle
towed for service. SeeTowing Your Vehicle on
page 4-31. SeeHydraulic Brake SystemsunderBraking
on page 4-6for further information.
3-32
Page 239 of 366
The following explains your cooling system and how to
add coolant when it is low. If you have a problem
with engine overheating, seeEngine Overheating on
page 5-36.
A 50/50 mixture of clean, drinkable water and
DEX-COOL
®coolant will:
•Give freezing protection down to−34°F (−37°C).
•Give boiling protection up to 252°F (122°C).
•Protect against rust and corrosion.
•Help keep the proper engine temperature.
•Let the warning lights and gages work as they
should.
Notice:Using coolant other than DEX-COOL
®may
cause premature engine, heater core or radiator
corrosion. In addition, the engine coolant may
require changing sooner, at 30,000 miles (50 000 km)
or 24 months, whichever occurs �rst. Any repairs
would not be covered by your warranty. Always use
DEX-COOL
®(silicate-free) coolant in your vehicle.
What to Use
Use a mixture of one-halfclean, drinkable waterand
one-half DEX-COOL®coolant which won’t damage
aluminum parts. If you use this coolant mixture,
you don’t need to add anything else.
{CAUTION:
Adding only plain water to your cooling
system can be dangerous. Plain water, or
some other liquid such as alcohol, can boil
before the proper coolant mixture will. Your
vehicle’s coolant warning system is set for the
proper coolant mixture. With plain water or the
wrong mixture, your engine could get too hot
but you would not get the overheat warning.
Your engine could catch �re and you or others
could be burned. Use a 50/50 mixture of clean,
drinkable water and DEX-COOL
®coolant.
Notice:If you use an improper coolant mixture,
your engine could overheat and be badly damaged.
The repair cost would not be covered by your
warranty. Too much water in the mixture can freeze
and crack the engine, radiator, heater core and
other parts.
If you have to add coolant more than four times a year,
have your dealer check your cooling system.
Notice:If you use the proper coolant, you do not
have to add extra inhibitors or additives which claim
to improve the system. These can be harmful.
5-33