seat adjustment CHEVROLET KODIAK 2007 Owners Manual
[x] Cancel search | Manufacturer: CHEVROLET, Model Year: 2007, Model line: KODIAK, Model: CHEVROLET KODIAK 2007Pages: 430, PDF Size: 6.06 MB
Page 7 of 430
Front Seats..................................................... 9
Bucket Seats................................................ 9
Split Bench Seat (80/20 Split)..................... 13
Air Suspension Seats.................................. 13
Rear Seats.................................................... 20
Rear Seat Operation................................... 20
Safety Belts.................................................. 21
Safety Belts: They Are for Everyone........... 21
Questions and Answers About
Safety Belts............................................. 25
How to Wear Safety Belts Properly............. 26
Driver Position............................................. 26
Shoulder Belt Height Adjustment................. 35
Safety Belt Use During Pregnancy.............. 36
Right Front Passenger Position................... 36
Center Passenger Position.......................... 37
Rear Outside Passenger Positions
(Crew Cab).............................................. 38
Safety Belt Extender................................... 41Child Restraints............................................ 42
Older Children............................................. 42
Infants and Young Children......................... 45
Child Restraint Systems.............................. 49
Where to Put the Restraint
(Regular Cab Models).............................. 54
Where to Put the Restraint
(Crew Cab Models).................................. 55
Lower Anchors and Tethers for
Children (LATCH).................................... 57
Securing a Child Restraint in a
Rear Outside Seat Position
(Crew Cab Models).................................. 58
Securing a Child Restraint in the
Center Rear Seat Position (Crew Cab)
or Center Front Position............................ 60
Securing a Child Restraint in the
Right Front Seat Position......................... 63
Section 1 Seats and Restraint Systems
7
Page 9 of 430
Front Seats
Bucket Seats
If your vehicle has bucket seats, you can adjust
the seats several different ways.
Fore-and-Aft Adjustment
{CAUTION:
You can lose control of the vehicle if you
try to adjust the seat while the vehicle is
moving. The sudden movement could
startle and confuse you, or make you
push a pedal when you do not want to.
Adjust the driver’s seat only when the
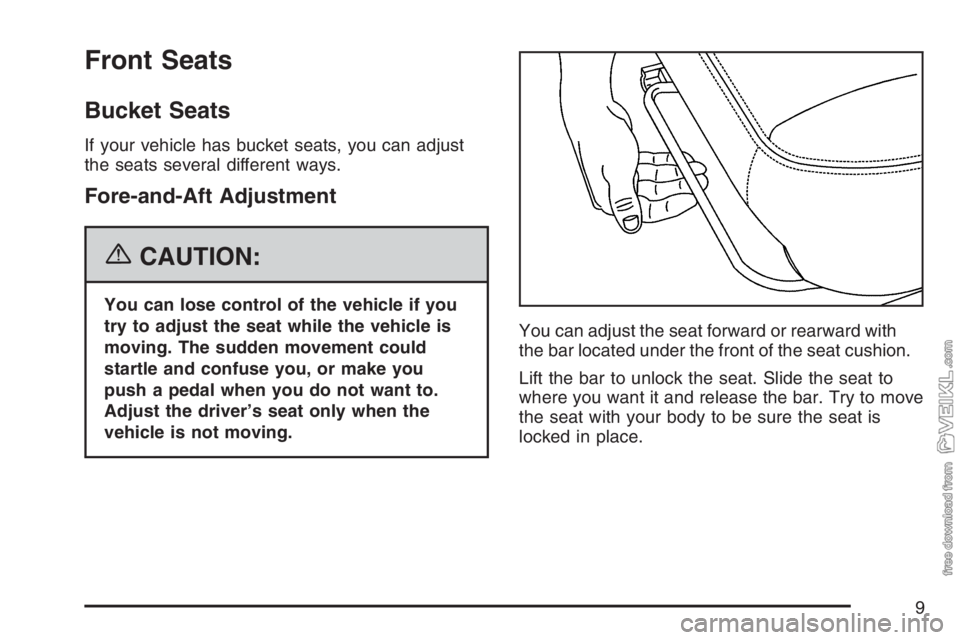
vehicle is not moving.You can adjust the seat forward or rearward with
the bar located under the front of the seat cushion.
Lift the bar to unlock the seat. Slide the seat to
where you want it and release the bar. Try to move
the seat with your body to be sure the seat is
locked in place.
9
Page 10 of 430
Lumbar Adjustment
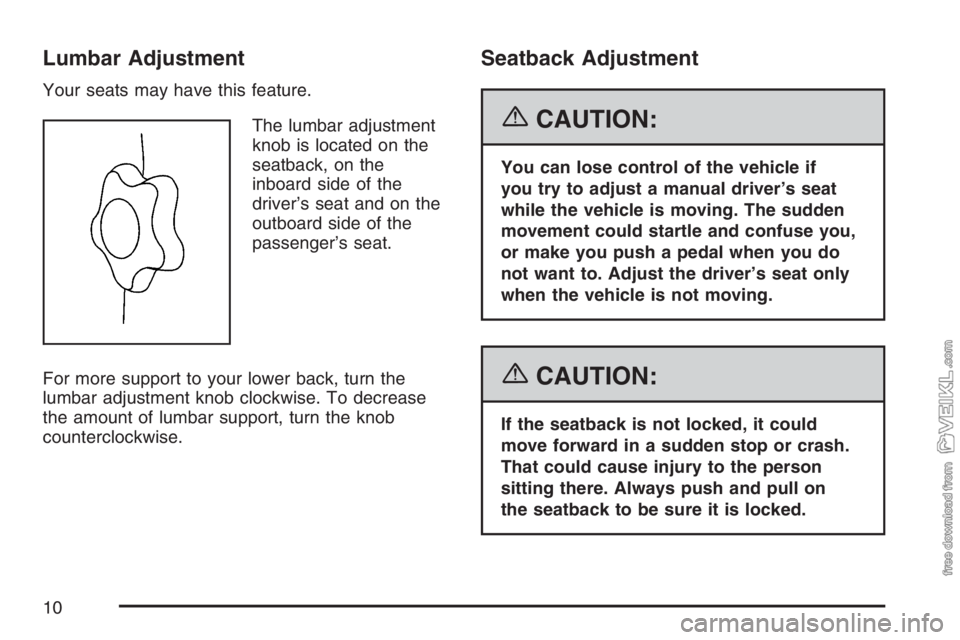
Your seats may have this feature.
The lumbar adjustment
knob is located on the
seatback, on the
inboard side of the
driver’s seat and on the
outboard side of the
passenger’s seat.
For more support to your lower back, turn the
lumbar adjustment knob clockwise. To decrease
the amount of lumbar support, turn the knob
counterclockwise.
Seatback Adjustment
{CAUTION:
You can lose control of the vehicle if
you try to adjust a manual driver’s seat
while the vehicle is moving. The sudden
movement could startle and confuse you,
or make you push a pedal when you do
not want to. Adjust the driver’s seat only
when the vehicle is not moving.
{CAUTION:
If the seatback is not locked, it could
move forward in a sudden stop or crash.
That could cause injury to the person
sitting there. Always push and pull on
the seatback to be sure it is locked.
10
Page 13 of 430
Split Bench Seat (80/20 Split)
If your vehicle has a split bench seat, the
passenger seat is not adjustable.
There is a storage area underneath the seat
cushion. SeeStorage Areas on page 135.
Air Suspension Seats
Your vehicle may have a low-back or high-back
air suspension seat. There are several ways
to adjust the seat.
Fore-and-Aft Adjustment
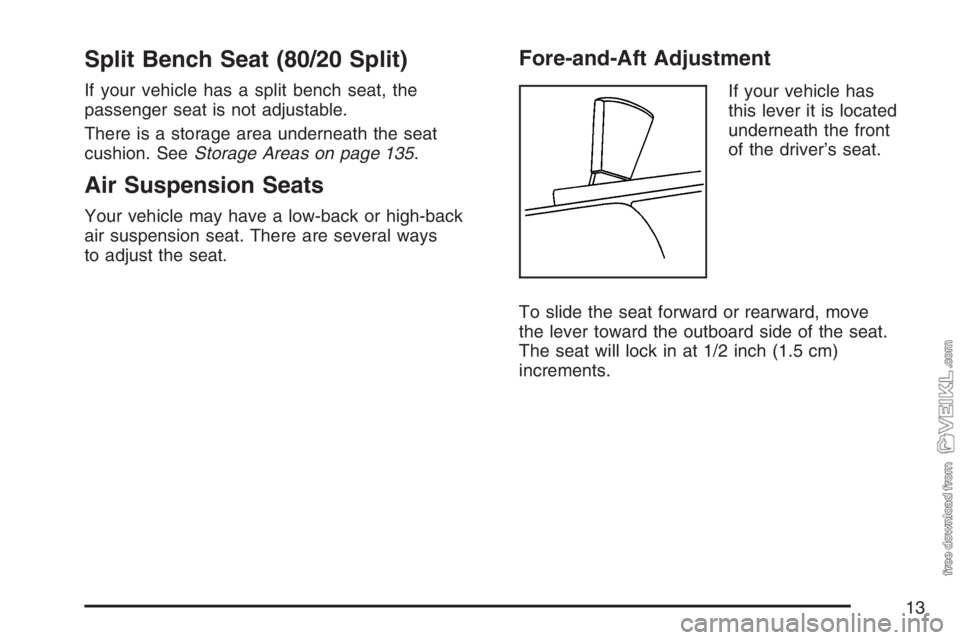
If your vehicle has
this lever it is located
underneath the front
of the driver’s seat.
To slide the seat forward or rearward, move
the lever toward the outboard side of the seat.
The seat will lock in at 1/2 inch (1.5 cm)
increments.
13
Page 14 of 430
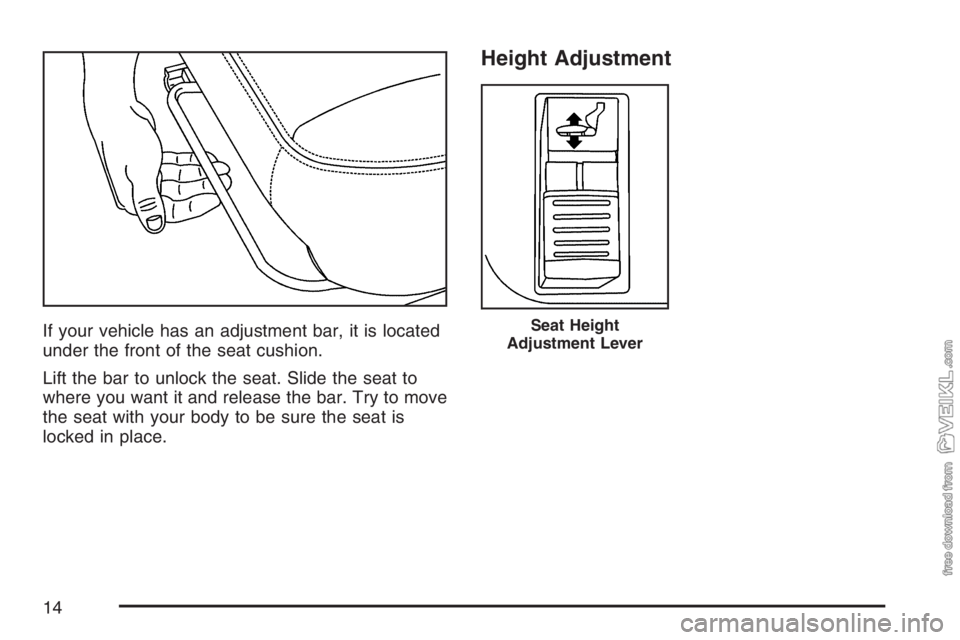
If your vehicle has an adjustment bar, it is located
under the front of the seat cushion.
Lift the bar to unlock the seat. Slide the seat to
where you want it and release the bar. Try to move
the seat with your body to be sure the seat is
locked in place.
Height Adjustment
Seat Height
Adjustment Lever
14
Page 15 of 430
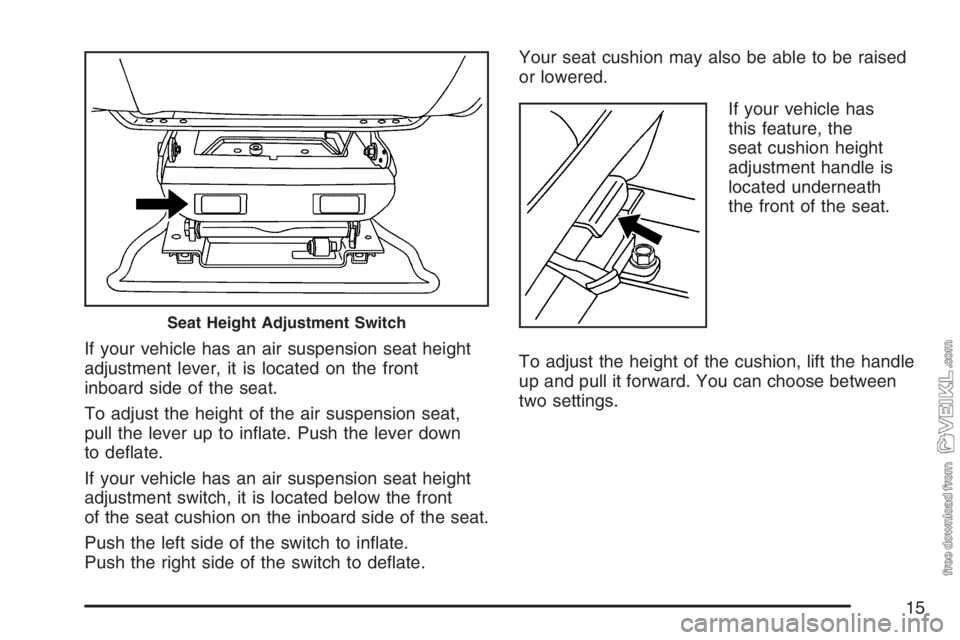
If your vehicle has an air suspension seat height
adjustment lever, it is located on the front
inboard side of the seat.
To adjust the height of the air suspension seat,
pull the lever up to inflate. Push the lever down
to deflate.
If your vehicle has an air suspension seat height
adjustment switch, it is located below the front
of the seat cushion on the inboard side of the seat.
Push the left side of the switch to inflate.
Push the right side of the switch to deflate.Your seat cushion may also be able to be raised
or lowered.
If your vehicle has
this feature, the
seat cushion height
adjustment handle is
located underneath
the front of the seat.
To adjust the height of the cushion, lift the handle
up and pull it forward. You can choose between
two settings.
Seat Height Adjustment Switch
15
Page 16 of 430
Lumbar Adjustment
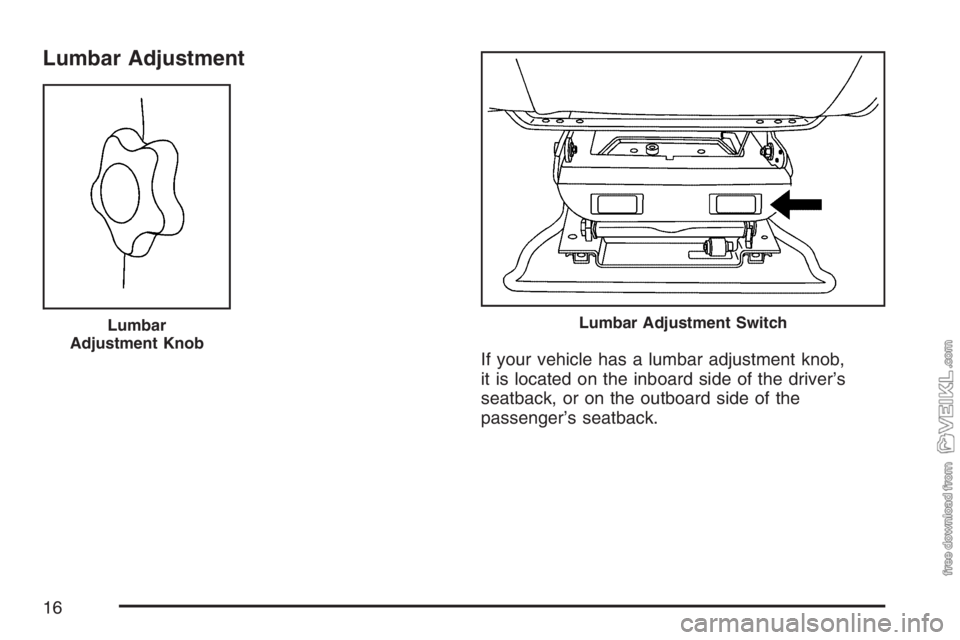
If your vehicle has a lumbar adjustment knob,
it is located on the inboard side of the driver’s
seatback, or on the outboard side of the
passenger’s seatback.
Lumbar
Adjustment KnobLumbar Adjustment Switch
16
Page 17 of 430
For more support to your lower back, turn the
lumbar adjustment knob clockwise. To decrease
the amount of lumbar support, turn the knob
counterclockwise.
If your vehicle has a lumbar adjustment switch,
it is located below the front of the seat cushion
on the outboard side of the seat.
For more support to your lower back, push
the right side of the switch. To decrease the
amount of lumbar support, press the left side
of the switch.Seatback Adjustment
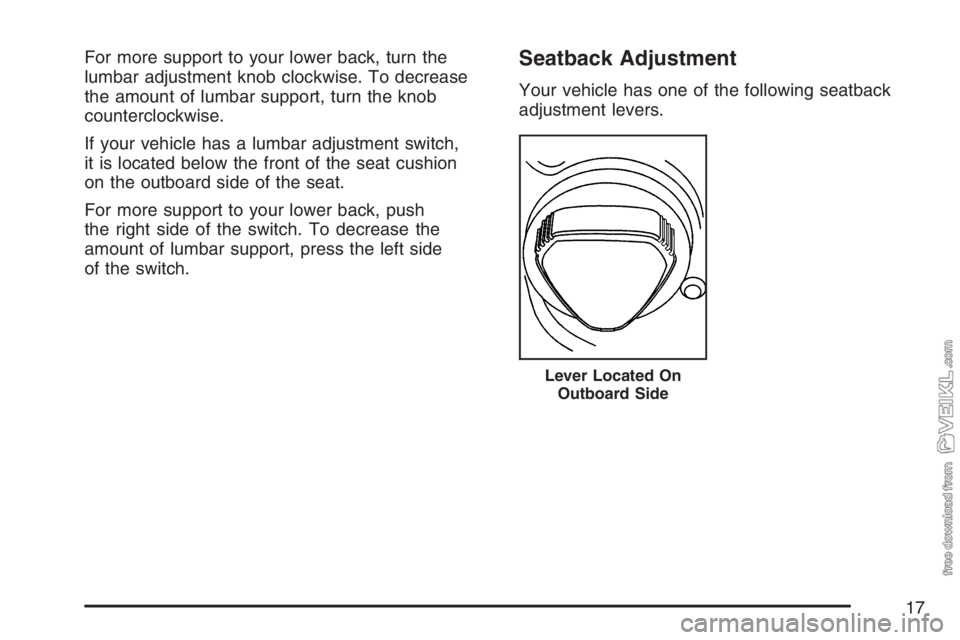
Your vehicle has one of the following seatback
adjustment levers.
Lever Located On
Outboard Side
17
Page 160 of 430
Rear Window Defogger
The rear window defogger uses a warming grid to
remove fog or frost from the rear window.
Be sure to clear as much snow from the rear
window as possible.
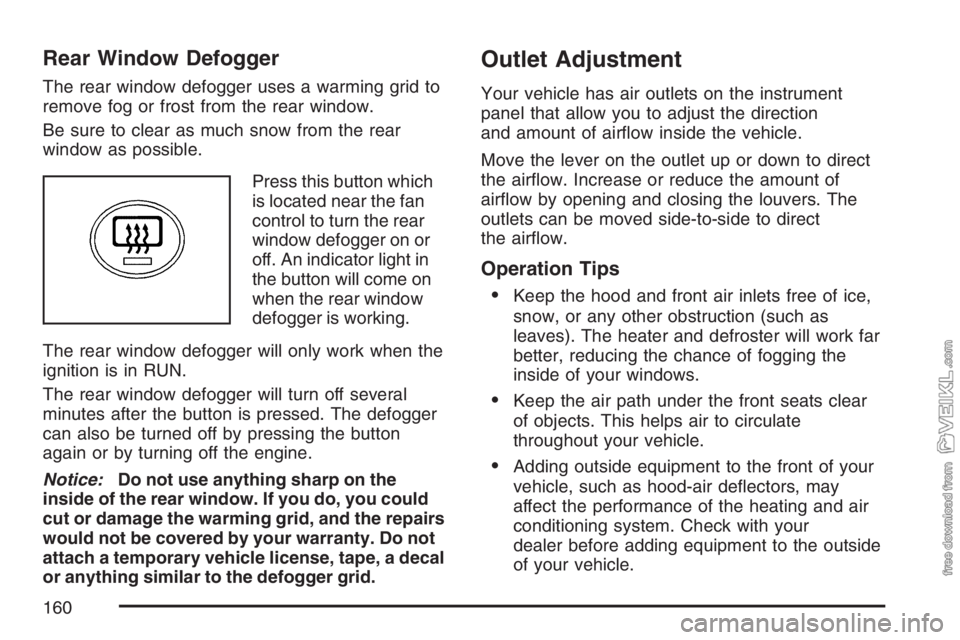
Press this button which
is located near the fan
control to turn the rear
window defogger on or
off. An indicator light in
the button will come on
when the rear window
defogger is working.
The rear window defogger will only work when the
ignition is in RUN.
The rear window defogger will turn off several
minutes after the button is pressed. The defogger
can also be turned off by pressing the button
again or by turning off the engine.
Notice:Do not use anything sharp on the
inside of the rear window. If you do, you could
cut or damage the warming grid, and the repairs
would not be covered by your warranty. Do not
attach a temporary vehicle license, tape, a decal
or anything similar to the defogger grid.
Outlet Adjustment
Your vehicle has air outlets on the instrument
panel that allow you to adjust the direction
and amount of airflow inside the vehicle.
Move the lever on the outlet up or down to direct
the airflow. Increase or reduce the amount of
airflow by opening and closing the louvers. The
outlets can be moved side-to-side to direct
the airflow.
Operation Tips
•
Keep the hood and front air inlets free of ice,
snow, or any other obstruction (such as
leaves). The heater and defroster will work far
better, reducing the chance of fogging the
inside of your windows.
•Keep the air path under the front seats clear
of objects. This helps air to circulate
throughout your vehicle.
•Adding outside equipment to the front of your
vehicle, such as hood-air deflectors, may
affect the performance of the heating and air
conditioning system. Check with your
dealer before adding equipment to the outside
of your vehicle.
160
Page 301 of 430
Electric Air Compressor
Your vehicle may have an electric air compressor.
This compressor is used to run options that
require pressurized air, such as an air horn, air
seat, 7.8L engine exhaust restrictor, or 7.8L engine
exhaust brake.
The air compressor is used when vehicles do not
have an air brake system.
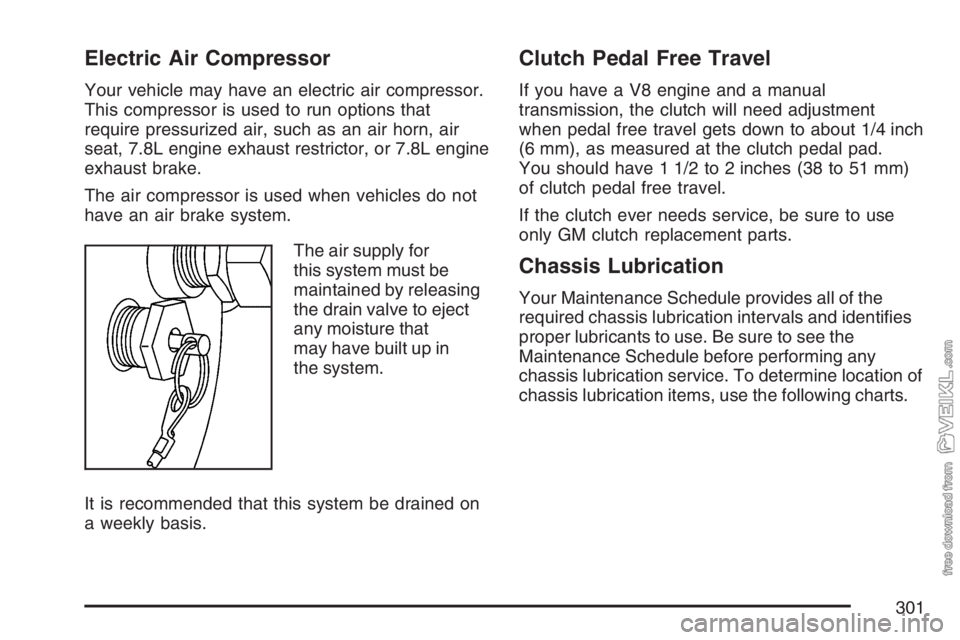
The air supply for
this system must be
maintained by releasing
the drain valve to eject
any moisture that
may have built up in
the system.
It is recommended that this system be drained on
a weekly basis.
Clutch Pedal Free Travel
If you have a V8 engine and a manual
transmission, the clutch will need adjustment
when pedal free travel gets down to about 1/4 inch
(6 mm), as measured at the clutch pedal pad.
You should have 1 1/2 to 2 inches (38 to 51 mm)
of clutch pedal free travel.
If the clutch ever needs service, be sure to use
only GM clutch replacement parts.
Chassis Lubrication
Your Maintenance Schedule provides all of the
required chassis lubrication intervals and identifies
proper lubricants to use. Be sure to see the
Maintenance Schedule before performing any
chassis lubrication service. To determine location of
chassis lubrication items, use the following charts.
301