fuse CHEVROLET KODIAK 2008 Owners Manual
[x] Cancel search | Manufacturer: CHEVROLET, Model Year: 2008, Model line: KODIAK, Model: CHEVROLET KODIAK 2008Pages: 384, PDF Size: 5.4 MB
Page 6 of 384
Front Seats
Bucket Seats
If your vehicle has bucket seats, you can adjust the
seats several different ways.
Fore-and-Aft Adjustment
{CAUTION:
You can lose control of the vehicle if you try to
adjust the seat while the vehicle is moving.
The sudden movement could startle and
confuse you, or make you push a pedal when
you do not want to. Adjust the driver’s seat
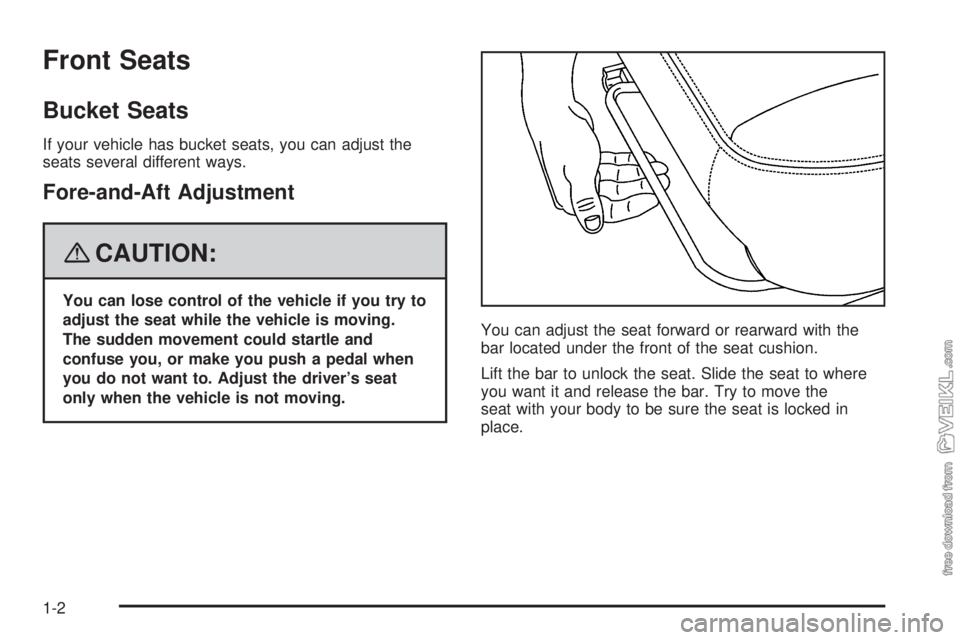
only when the vehicle is not moving.You can adjust the seat forward or rearward with the
bar located under the front of the seat cushion.
Lift the bar to unlock the seat. Slide the seat to where
you want it and release the bar. Try to move the
seat with your body to be sure the seat is locked in
place.
1-2
Page 7 of 384
Lumbar Adjustment
Your seats may have this feature.
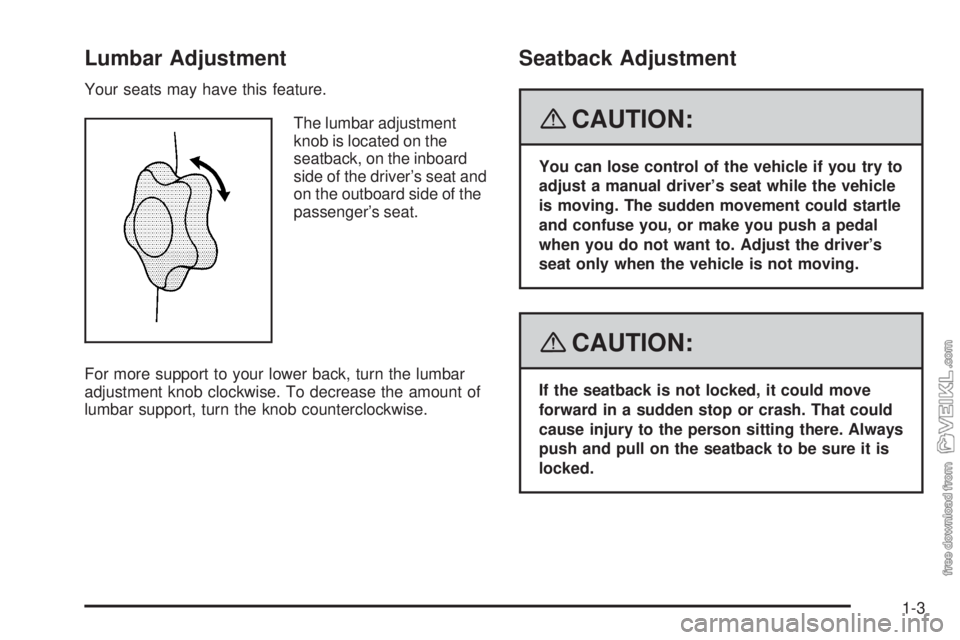
The lumbar adjustment
knob is located on the
seatback, on the inboard
side of the driver’s seat and
on the outboard side of the
passenger’s seat.
For more support to your lower back, turn the lumbar
adjustment knob clockwise. To decrease the amount of
lumbar support, turn the knob counterclockwise.
Seatback Adjustment
{CAUTION:
You can lose control of the vehicle if you try to
adjust a manual driver’s seat while the vehicle
is moving. The sudden movement could startle
and confuse you, or make you push a pedal
when you do not want to. Adjust the driver’s
seat only when the vehicle is not moving.
{CAUTION:
If the seatback is not locked, it could move
forward in a sudden stop or crash. That could
cause injury to the person sitting there. Always
push and pull on the seatback to be sure it is
locked.
1-3
Page 128 of 384
Turn and Lane-Change Signals
The turn signal has two upward (for right) and two
downward (for left) positions. These positions allow you
to signal a turn or a lane change.
To signal a turn, move the lever all the way up or
down. When the turn is finished, the lever will return
automatically.
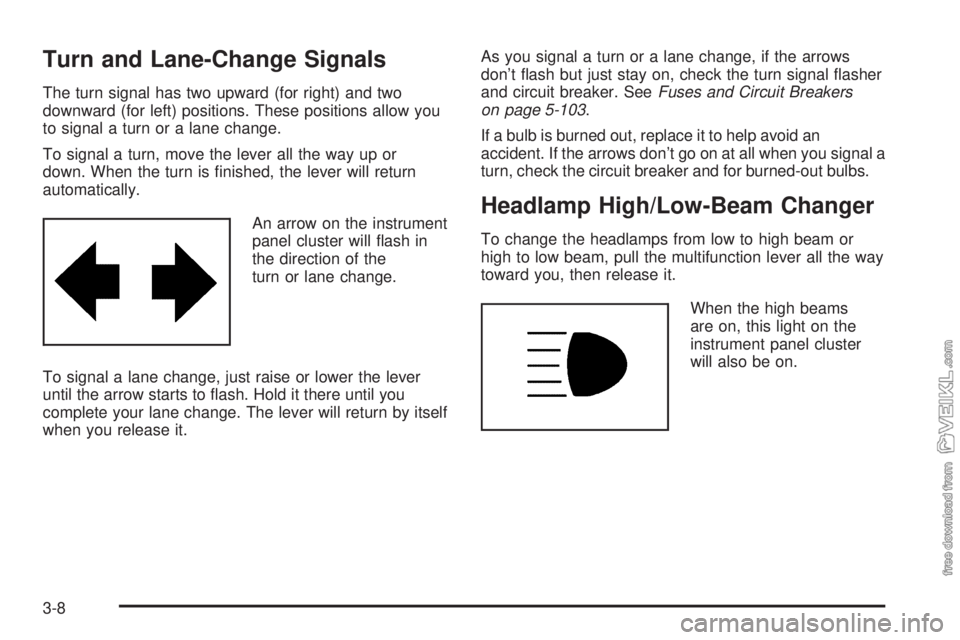
An arrow on the instrument
panel cluster will flash in
the direction of the
turn or lane change.
To signal a lane change, just raise or lower the lever
until the arrow starts to flash. Hold it there until you
complete your lane change. The lever will return by itself
when you release it.As you signal a turn or a lane change, if the arrows
don’t flash but just stay on, check the turn signal flasher
and circuit breaker. SeeFuses and Circuit Breakers
on page 5-103.
If a bulb is burned out, replace it to help avoid an
accident. If the arrows don’t go on at all when you signal a
turn, check the circuit breaker and for burned-out bulbs.
Headlamp High/Low-Beam Changer
To change the headlamps from low to high beam or
high to low beam, pull the multifunction lever all the way
toward you, then release it.
When the high beams
are on, this light on the
instrument panel cluster
will also be on.
3-8
Page 129 of 384
Windshield Wipers
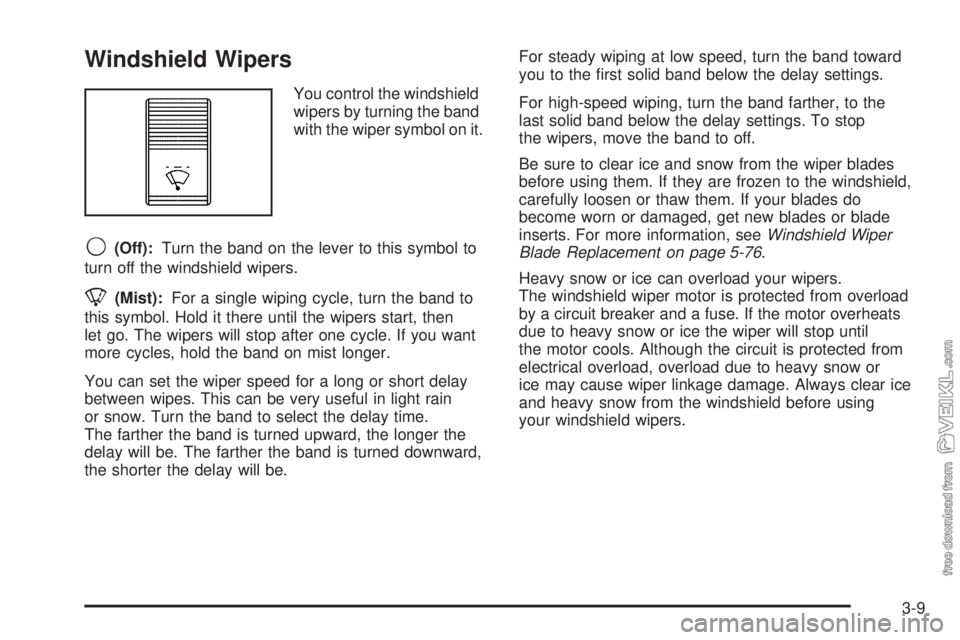
You control the windshield
wipers by turning the band
with the wiper symbol on it.
9(Off):Turn the band on the lever to this symbol to
turn off the windshield wipers.
8(Mist):For a single wiping cycle, turn the band to
this symbol. Hold it there until the wipers start, then
let go. The wipers will stop after one cycle. If you want
more cycles, hold the band on mist longer.
You can set the wiper speed for a long or short delay
between wipes. This can be very useful in light rain
or snow. Turn the band to select the delay time.
The farther the band is turned upward, the longer the
delay will be. The farther the band is turned downward,
the shorter the delay will be.For steady wiping at low speed, turn the band toward
you to the first solid band below the delay settings.
For high-speed wiping, turn the band farther, to the
last solid band below the delay settings. To stop
the wipers, move the band to off.
Be sure to clear ice and snow from the wiper blades
before using them. If they are frozen to the windshield,
carefully loosen or thaw them. If your blades do
become worn or damaged, get new blades or blade
inserts. For more information, seeWindshield Wiper
Blade Replacement on page 5-76.
Heavy snow or ice can overload your wipers.
The windshield wiper motor is protected from overload
by a circuit breaker and a fuse. If the motor overheats
due to heavy snow or ice the wiper will stop until
the motor cools. Although the circuit is protected from
electrical overload, overload due to heavy snow or
ice may cause wiper linkage damage. Always clear ice
and heavy snow from the windshield before using
your windshield wipers.
3-9
Page 139 of 384
l(Differential Lock Control Switch):SeeRear
Axle Differential Lock Control on page 4-7.
c(Airbag On/Off Switch):SeeAirbag Off Switch on
page 1-56.
If your vehicle does not have some of the features
controlled by these switches, a blank switch marker is
in its place.
Accessory Power Outlet(s)
With accessory power outlets, you can plug in auxiliary
electrical equipment such as a cellular telephone or
CB radio.
The accessory power outlet is located on the
passenger’s side of the instrument panel.
To use an outlet, pull the cover down. When not
using it, always cover the outlet with the protective cap.
This circuit is protected by a fuse and has a maximum
current level.
Notice:Leaving electrical equipment on for
extended periods will drain the battery. Always turn
off electrical equipment when not in use and do
not plug in equipment that exceeds the maximum
amperage rating.Certain electrical accessories may not be compatible
with the accessory power outlet and could result
in blown vehicle or adapter fuses. If you experience a
problem, see your dealer for additional information
on accessory power outlets.
Notice:Adding any electrical equipment to your
vehicle may damage it or keep other components
from working as they should. The repairs would not
be covered by your warranty. Do not use equipment
exceeding maximum amperage rating of 20 amperes.
Check with your dealer/retailer before adding
electrical equipment.
When adding electrical equipment, be sure to follow the
proper installation instructions included with the
equipment.
Notice:Improper use of the power outlet can cause
damage not covered by your warranty. Do not
hang any type of accessory or accessory bracket
from the plug because the power outlets are
designed for accessory power plugs only.
3-19
Page 140 of 384
Ashtray(s) and Cigarette Lighter
Your vehicle may have an ashtray and a cigarette lighter
located in the center floor console. To open the
removable ashtray, flip open the top.
Notice:If you put papers, pins, or other �ammable
items in the ashtray, hot cigarettes or other
smoking materials could ignite them and possibly
damage your vehicle. Never put �ammable items in
the ashtray.
To use the cigarette lighter, push it in all the way and
let it go. When it’s ready, it will pop back out by itself.
Notice:Holding a cigarette lighter in while it is
heating does not let the lighter back away from the
heating element when it is hot. Damage from
overheating can occur to the lighter or heating
element, or a fuse could be blown. Do not hold a
cigarette lighter in while it is heating.
Climate Controls
Climate Control System
With these systems, you can control the heating,
cooling, and ventilation for your vehicle.
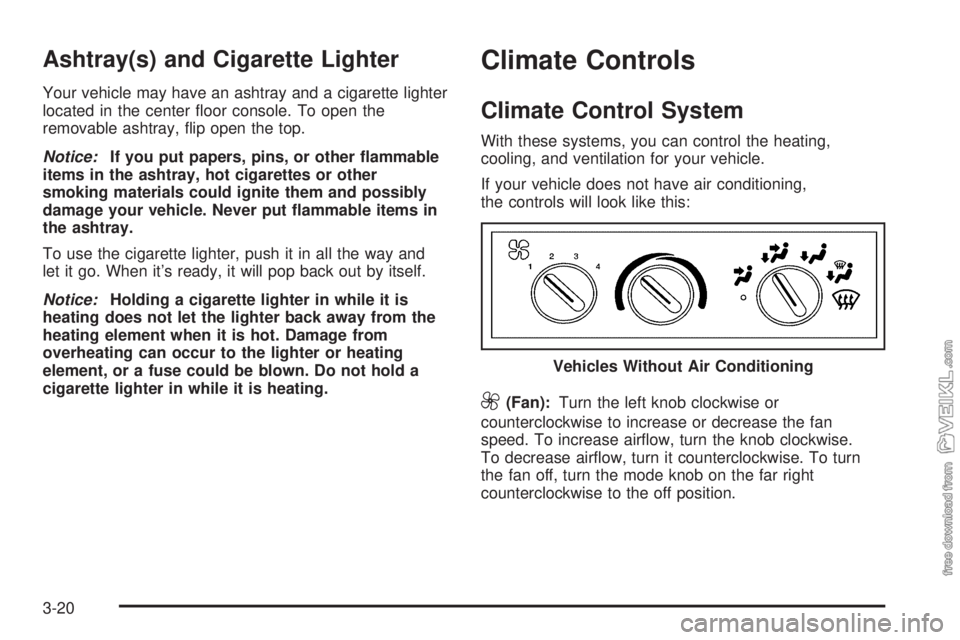
If your vehicle does not have air conditioning,
the controls will look like this:
9(Fan):Turn the left knob clockwise or
counterclockwise to increase or decrease the fan
speed. To increase airflow, turn the knob clockwise.
To decrease airflow, turn it counterclockwise. To turn
the fan off, turn the mode knob on the far right
counterclockwise to the off position.Vehicles Without Air Conditioning
3-20
Page 207 of 384
Vehicle Identi�cation.....................................5-101
Vehicle Identification Number (VIN)................5-101
Service Parts Identification Label...................5-102
Electrical System..........................................5-102
Add-On Electrical Equipment.........................5-102
Headlamp Wiring........................................5-102
Windshield Wiper Fuses...............................5-102
Fusible Links..............................................5-103Power Windows and Other Power Options......5-103
Fuses and Circuit Breakers..........................5-103
Instrument Panel Fuse Block........................5-103
Underhood Fuse Block................................5-106
Capacities and Speci�cations........................5-109
Maintenance Replacement Parts....................5-115
Engine Drive Belt Routing............................5-117
Section 5 Service and Appearance Care
5-3
Page 210 of 384
Doing Your Own Service Work
{CAUTION:
You can be injured and your vehicle could be
damaged if you try to do service work on a
vehicle without knowing enough about it.
Be sure you have sufficient knowledge,
experience, the proper replacement parts,
and tools before you attempt any vehicle
maintenance task.
Be sure to use the proper nuts, bolts, and
other fasteners. English and metric
fasteners can be easily confused. If you
use the wrong fasteners, parts can later
break or fall off. You could be hurt.
If you want to do some of your own service work, you
will want to use the proper service manual. It tells you
much more about how to service your vehicle than this
manual can. To order the proper service manual, see
Service Publications Ordering Information on page 7-10.
Your vehicle has an airbag system. Before attempting to
do your own service work, seeServicing Your
Airbag-Equipped Vehicle on page 1-59.You should keep a record with all parts receipts and list
the mileage and the date of any service work you
perform. SeePart D: Maintenance Record on page 6-33.
Engine Fan Breakage
{CAUTION:
Changing the Fan Drive Ratio or Engine
Governed Speed:
If you change the fan drive ratio or increase
the governed speed of the engine, you may
increase stress and the fan could eventually fail.
If the fan breaks apart while it is rotating, pieces
can cause severe injury to anyone — such as a
service technician — who is nearby. And, of
course, the pieces can severely damage the
vehicle. Do not change the fan drive ratio or
increase the governed speed of the vehicle
without getting the necessary information from
your dealer.
CAUTION: (Continued)
5-6
Page 306 of 384
Service Parts Identi�cation Label
This label is in a location determined by the body
manufacturer. It is very helpful if you ever need to order
parts. The label has the following information:
•Vehicle Identification Number (VIN)
•Model designation
•Paint information
•Production options and special equipment
Do not remove this label from the vehicle.
Electrical System
Add-On Electrical Equipment
Notice:Do not add anything electrical to your
vehicle unless you check with your dealer/retailer
�rst. Some electrical equipment can damage your
vehicle and the damage would not be covered by
your warranty. Some add-on electrical equipment can
keep other components from working as they should.
Add-on equipment can drain your vehicle’s battery, even
if your vehicle is not operating.Your vehicle has an airbag system. Before attempting to
add anything electrical to your vehicle, seeServicing
Your Airbag-Equipped Vehicle on page 1-59.
Headlamp Wiring
The headlamp wiring is protected by a circuit breaker in
the light switch. An electrical overload will cause the
lights to go on and off, or in some cases to remain off.
If this happens, have your headlamp wiring checked
right away.
Windshield Wiper Fuses
The windshield wiper motor is protected by a circuit
breaker inside the motor and a circuit breaker or fuse in
the fuse block. If the motor overheats, the wipers will
stop until the motor cools. If the overload is caused by
an electrical problem, be sure to get it fixed.
5-102
Page 307 of 384
Fusible Links
A fusible link is a short piece of wire several gauge
sizes smaller than the circuit it protects. It will melt in an
overload situation, opening the circuit.
Your starter and other circuits have these fusible links.
The size is printed on the insulation. If the insulation
is burned beyond recognition, consult your dealer for the
proper size. Replace a fusible link with one of the same
size and insulation type. Fusible link insulation is a
special purpose high-temperature material.
Some examples of circuits with fusible links are the
hydraulic brake booster motor feed circuit, the generator
output circuit, and the intake heater feed circuit in
vehicles with a diesel engine.
Power Windows and Other Power
Options
Circuit breakers in the fuse panel protect the power
windows and other power accessories. When the current
load is too heavy, the circuit breaker opens. This
protects the circuit until the current load returns to normal
or the problem is fixed.
Fuses and Circuit Breakers
The wiring circuits in your vehicle are protected from
short circuits by a combination of fuses, circuit breakers,
maxi-fuses and fusible links. This greatly reduces the
chance of a fire caused by an electrical problem. There
may be a fuse taped to the wiring harness near the
hydraulic brake booster.
Instrument Panel Fuse Block
There are two instrument panel fuse blocks located
behind the instrument panel on the passenger side of
the vehicle.
Be sure to replace fuses with fuses of the same rating.
Do not use fuses of higher amperage than those
indicated on the fuse block.
5-103