maintenance schedule CHEVROLET KODIAK 2008 Owners Manual
[x] Cancel search | Manufacturer: CHEVROLET, Model Year: 2008, Model line: KODIAK, Model: CHEVROLET KODIAK 2008Pages: 384, PDF Size: 5.4 MB
Page 1 of 384
Seats and Restraint Systems........................... 1-1
Front Seats
............................................... 1-2
Rear Seats
..............................................1-10
Safety Belts
.............................................1-11
Child Restraints
.......................................1-28
Airbag System
.........................................1-48
Restraint System Check
............................1-60
Features and Controls..................................... 2-1
Keys
........................................................ 2-2
Doors and Locks
....................................... 2-6
Windows
.................................................. 2-8
Starting and Operating Your Vehicle
...........2-10
Mirrors
....................................................2-51
Storage Areas
.........................................2-53
Instrument Panel............................................. 3-1
Instrument Panel Overview
.......................... 3-4
Climate Controls
......................................3-20
Warning Lights, Gages, and Indicators
........3-24
Audio System(s)
.......................................3-47
Driving Your Vehicle....................................... 4-1
Your Driving, the Road, and Your Vehicle
..... 4-2
Towing
...................................................4-24Service and Appearance Care.......................... 5-1
Service
..................................................... 5-4
Fuel
......................................................... 5-7
Checking Things Under the Hood
...............5-22
Rear Axle
...............................................5-72
Four-Wheel Drive
.....................................5-73
Front Axle
...............................................5-74
Noise Control System
...............................5-75
Bulb Replacement
....................................5-76
Windshield Wiper Blade Replacement
.........5-76
Other Service Items
..................................5-78
Tires
......................................................5-82
Appearance Care
.....................................5-94
Vehicle Identification
...............................5-101
Electrical System
....................................5-102
Capacities and Specifications
...................5-109
Maintenance Replacement Parts
...............5-115
Maintenance Schedule..................................... 6-1
Maintenance Schedule
................................ 6-2
Customer Assistance Information.................... 7-1
Customer Assistance and Information
........... 7-2
Reporting Safety Defects
............................ 7-9
Vehicle Data Recording and Privacy
...........7-11
Index................................................................ 1
2008 Chevrolet Kodiak Owner ManualM
Page 65 of 384
Airbags
The airbag system does not need regularly scheduled
maintenance or replacement. Make sure the airbag
readiness light is working. SeeAirbag Readiness Light
on page 3-28for more information.
Notice:If an airbag covering is damaged, opened,
or broken, the airbag may not work properly. Do
not open or break the airbag coverings. If there are
any opened or broken airbag covers, have the
airbag covering and/or airbag module replaced. For
the location of the airbag modules, seeWhat
Makes an Airbag Inflate? on page 1-53. See your
dealer/retailer for service.
Replacing Restraint System Parts
After a Crash
{CAUTION:
A crash can damage the restraint systems in
your vehicle. A damaged restraint system may
not properly protect the person using it,
resulting in serious injury or even death in a
crash. To help make sure your restraint systems
are working properly after a crash, have them
inspected and any necessary replacements
made as soon as possible.
If you have had a crash, do you need new belts?
After a very minor crash, nothing may be necessary. But
the belt assemblies that were used during any crash may
have been stressed or damaged. See your dealer/retailer
to have your safety belt assemblies inspected or
replaced.
New parts and repairs may be necessary even if the belt
was not being used at the time of the crash.
If an airbag inflates, if your vehicle has these, you will
need to replace airbag system parts. See the part on the
airbag system earlier in this section.
1-61
Page 106 of 384
Parking Brake Adjustment (Hand Lever
System Only)
Make sure the parking brake burnish procedure has
been previously followed before continuing with any park
brake adjustment. SeeParking Brake Burnish
Procedure on page 2-43for more information. Parking
brake adjustment may be necessary after the burnish
procedure or at the scheduled maintenance intervals.
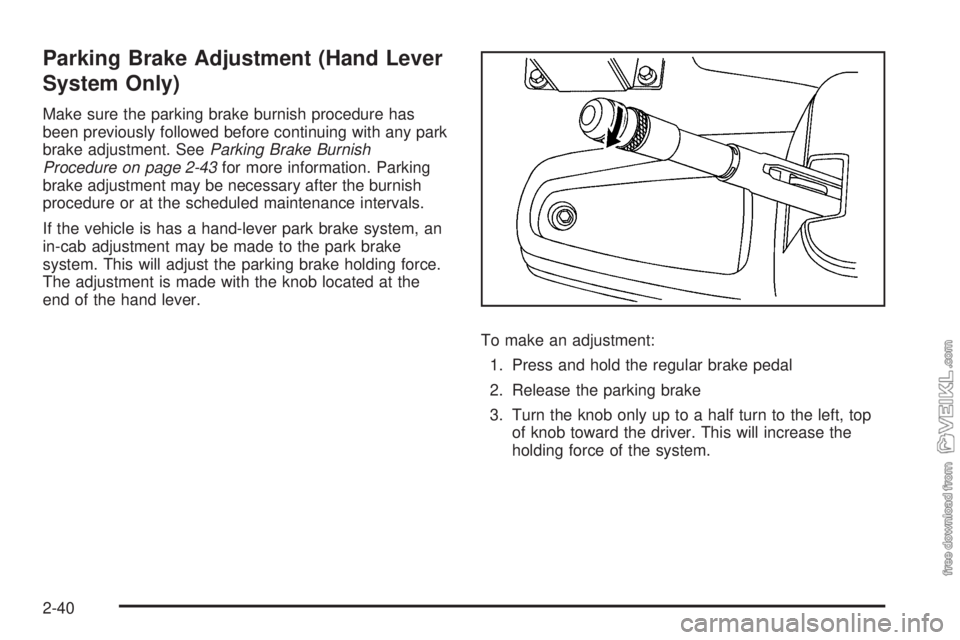
If the vehicle is has a hand-lever park brake system, an
in-cab adjustment may be made to the park brake
system. This will adjust the parking brake holding force.
The adjustment is made with the knob located at the
end of the hand lever.
To make an adjustment:
1. Press and hold the regular brake pedal
2. Release the parking brake
3. Turn the knob only up to a half turn to the left, top
of knob toward the driver. This will increase the
holding force of the system.
2-40
Page 107 of 384
4. Check to see if the vehicle moves by slowly
removing your foot from the regular brake pedal.
5. If the vehicle moves, press the regular brake and
repeat the adjustment procedure.
Notice:Over-tightening the park brake lever can
cause damage to the park brake system.
Over-tightening is possible by turning the knob
more than half a turn.
Over-tightening is similar to driving down the road with
your regular brakes applied. If your park brake system is
over-tightened your vehicle may seem sluggish to
accelerate, and/or your park brake hand lever maybe
very hard to pull up and apply the park brake.
If the park brake is over-tightened turn the knob to the
left until it stops and follow the parking brake adjustment
procedure.
Vehicles with a foot-pedal park brake system must be
serviced to make this adjustment. SeeScheduled
Maintenance on page 6-5for more information.Parking Brake (With Air Brakes)
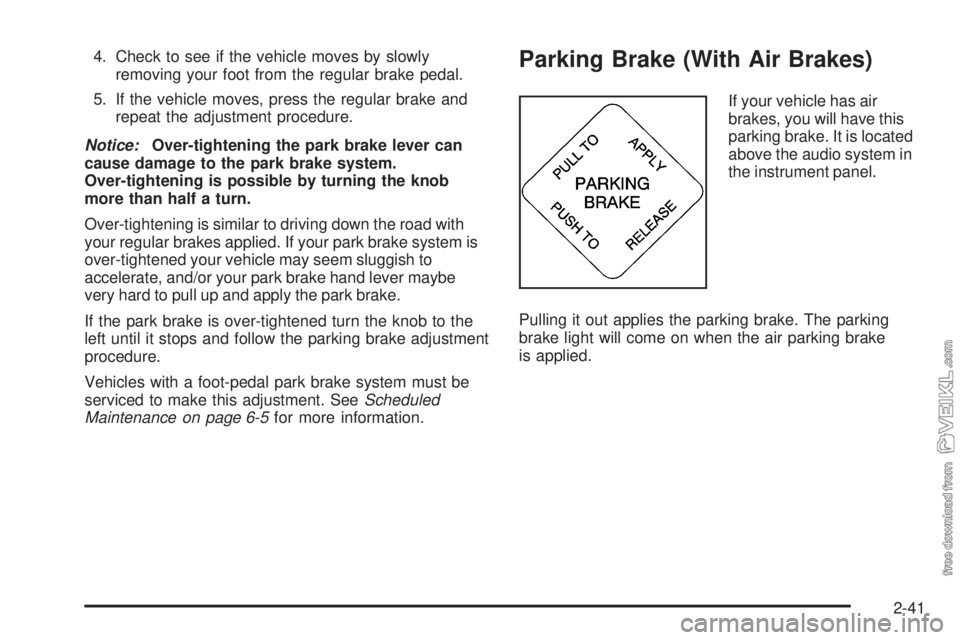
If your vehicle has air
brakes, you will have this
parking brake. It is located
above the audio system in
the instrument panel.
Pulling it out applies the parking brake. The parking
brake light will come on when the air parking brake
is applied.
2-41
Page 157 of 384
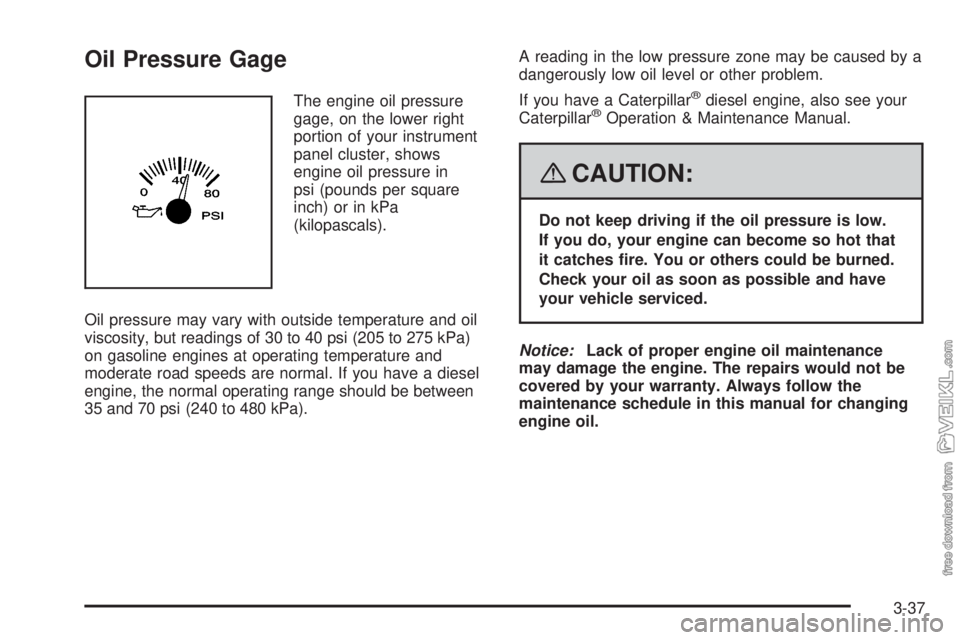
Oil Pressure Gage
The engine oil pressure
gage, on the lower right
portion of your instrument
panel cluster, shows
engine oil pressure in
psi (pounds per square
inch) or in kPa
(kilopascals).
Oil pressure may vary with outside temperature and oil
viscosity, but readings of 30 to 40 psi (205 to 275 kPa)
on gasoline engines at operating temperature and
moderate road speeds are normal. If you have a diesel
engine, the normal operating range should be between
35 and 70 psi (240 to 480 kPa).A reading in the low pressure zone may be caused by a
dangerously low oil level or other problem.
If you have a Caterpillar®diesel engine, also see your
Caterpillar®Operation & Maintenance Manual.
{CAUTION:
Do not keep driving if the oil pressure is low.
If you do, your engine can become so hot that
it catches �re. You or others could be burned.
Check your oil as soon as possible and have
your vehicle serviced.
Notice:Lack of proper engine oil maintenance
may damage the engine. The repairs would not be
covered by your warranty. Always follow the
maintenance schedule in this manual for changing
engine oil.
3-37
Page 158 of 384
Low Oil Level Light
Your vehicle may have a
low oil level light.
This light should come on as a check, when you start
your engine. If the light fails to come on, have it repaired
as soon as possible so you will be aware when the oil
level is low.
Vehicles that have Caterpillar
®diesel engines may not
have a low oil level light. In this case, the light will
neither come on as a check when you start your engine,
nor will it come on to indicate a low oil level.
If this light comes on and stays on, it means your
engine is low on oil. You need to check the oil level
right away. SeeEngine Oil (Caterpillar
®Diesel Engine)
on page 5-23orEngine Oil (Gasoline Engine) on
page 5-24orEngine Oil (DURAMAX
®Diesel Engine) on
page 5-28orEngine Oil (Isuzu Diesel Engine) on
page 5-32for further information.
Notice:Lack of proper engine oil maintenance may
damage the engine. The repairs would not be covered
by your warranty. Always follow the maintenance
schedule in this manual for changing engine oil.
Change Engine Oil Light
The change engine oil light
should come on briefly as
a bulb check when you
start the engine. If the light
does not come on, have
it serviced.
If the change engine oil light comes on and stays on
after you start the engine, have the oil changed.
For additional information on when to change engine oil
for gasoline engines or DURAMAX
®diesel engines,
seeEngine Oil (Caterpillar®Diesel Engine) on page 5-23
orEngine Oil (Gasoline Engine) on page 5-24or
Engine Oil (DURAMAX
®Diesel Engine) on page 5-28or
Engine Oil (Isuzu Diesel Engine) on page 5-32and
Scheduled Maintenance on page 6-5. To reset the
change engine oil light, seeEngine Oil Life System
(Gasoline Engine) on page 5-36orEngine Oil Life
System (DURAMAX
®/Isuzu Diesel Engines) on
page 5-37orEngine Oil Life System (Caterpillar®Diesel
Engine) on page 5-39.
3-38
Page 235 of 384
•SAE 15W-40
As shown in the viscosity chart, SAE 15W-40 is best
for your vehicle. When it is very cold, below 0°F
(−18°C), you should use SAE 5W-40 to improve cold
starting.
These numbers on the oil container show its
viscosity, or thickness. Do not use other viscosity
oils such as SAE 10W-30, SAE 10W-40, or
SAE 20W-50.
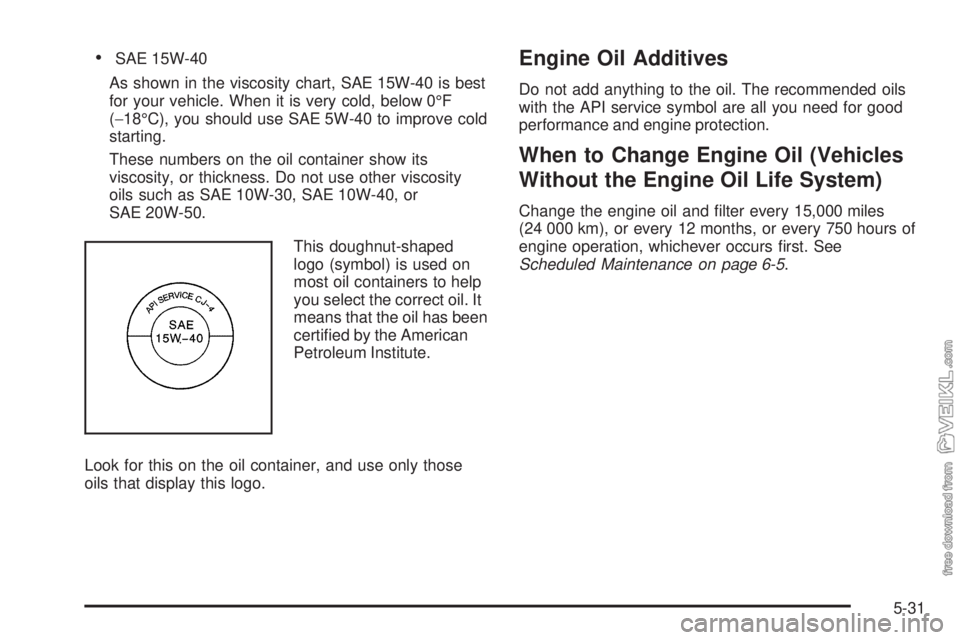
This doughnut-shaped
logo (symbol) is used on
most oil containers to help
you select the correct oil. It
means that the oil has been
certified by the American
Petroleum Institute.
Look for this on the oil container, and use only those
oils that display this logo.Engine Oil Additives
Do not add anything to the oil. The recommended oils
with the API service symbol are all you need for good
performance and engine protection.
When to Change Engine Oil (Vehicles
Without the Engine Oil Life System)
Change the engine oil and filter every 15,000 miles
(24 000 km), or every 12 months, or every 750 hours of
engine operation, whichever occurs first. See
Scheduled Maintenance on page 6-5.
5-31
Page 239 of 384
•SAE 10W-40 or SAE 15W-40
As shown in the viscosity chart, SAE 10W-40 or
SAE 15W-40 is best for your vehicle. When it is very
cold, below 0°F (−18°C), you should use SAE 5W-40
to improve cold starting.
These numbers on the oil container show its
viscosity, or thickness. Do not use other viscosity
oils such as SAE 10W-30 or SAE 20W-50.
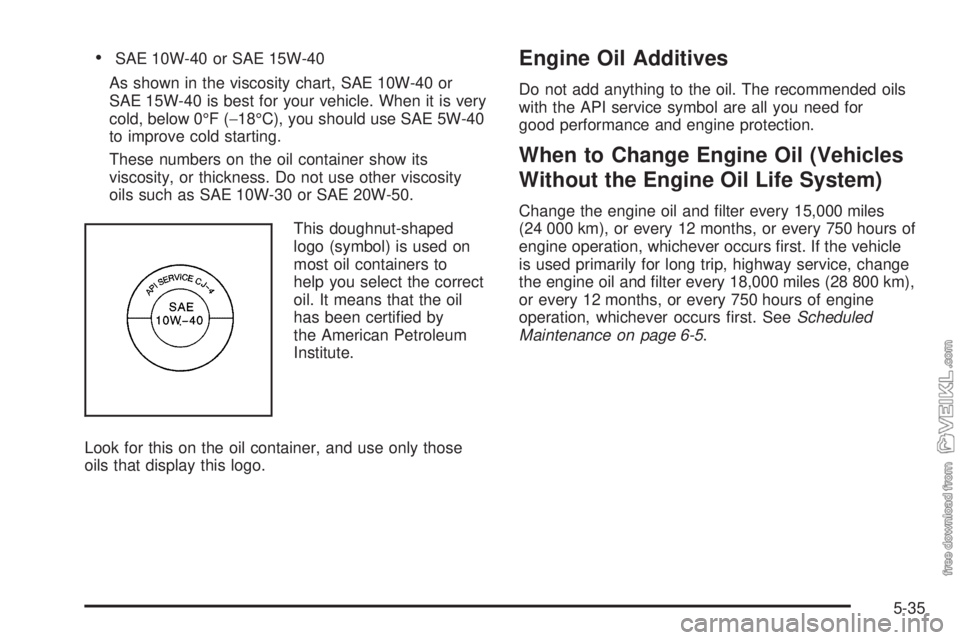
This doughnut-shaped
logo (symbol) is used on
most oil containers to
help you select the correct
oil. It means that the oil
has been certified by
the American Petroleum
Institute.
Look for this on the oil container, and use only those
oils that display this logo.Engine Oil Additives
Do not add anything to the oil. The recommended oils
with the API service symbol are all you need for
good performance and engine protection.
When to Change Engine Oil (Vehicles
Without the Engine Oil Life System)
Change the engine oil and filter every 15,000 miles
(24 000 km), or every 12 months, or every 750 hours of
engine operation, whichever occurs first. If the vehicle
is used primarily for long trip, highway service, change
the engine oil and filter every 18,000 miles (28 800 km),
or every 12 months, or every 750 hours of engine
operation, whichever occurs first. SeeScheduled
Maintenance on page 6-5.
5-35
Page 247 of 384
Automatic Transmission Fluid
When to Check
A good time to check your automatic transmission fluid
level is when the engine oil is checked. See your
Allison Automatic Transmission Operator’s Manual to
find out when to change your transmission fluid
and filters.
How to Check and What to Use
The Allison Automatic Transmission Operator’s Manual
that came with the vehicle shows how to check the
automatic transmission fluid and what fluid to use.
Automatic Transmission External Filter
Your automatic transmission filter requires periodic
replacement.
Consult the Allison Automatic Transmission Operator’s
Manual that came with the vehicle for proper change
intervals.
Manual Transmission Fluid
When to Check
A good time to have it checked is when the engine oil is
checked. Refer to the Maintenance Schedule to find
out when to check and change your manual
transmission fluid. SeeScheduled Maintenance on
page 6-5.
How to Check and What to Use
Check the fluid level only when your engine is off, the
vehicle is parked on a level place, and the transmission
is cool enough for you to rest your fingers on the
transmission case.
To check the transmission fluid level, do the following:
1. Remove the filler plug.
2. Check to be sure that the lubricant level is up to the
bottom of the fill opening. On heavy duty
transmissions, an inch of oil level equals about one
gallon of fluid.
3. If the fluid level is good, reinstall the plug and be
sure it is fully seated. If the fluid level is low, add
more fluid as described in the next steps. Refer to
the Maintenance Schedule to determine what kind
of fluid to use. SeePart C: Recommended Fluids and
Lubricants on page 6-31.
5-43
Page 248 of 384
How to Add Fluid
To add transmission fluid, do the following:
1. Remove the filler plug.
2. Add fluid at the filler plug hole. Add only enough
fluid to bring the fluid level up to the bottom of
the fill opening. Refer to the Maintenance
Schedule to determine the proper fluid to use.
SeePart C: Recommended Fluids and Lubricants
on page 6-31.
3. Reinstall the filler plug. Be sure the plug is fully
seated.
Engine Coolant (Caterpillar®Diesel
Engines)
If your vehicle has a Caterpillar®diesel engine, see the
Caterpillar®Diesel Engine Operation & Maintenance
Manual provided with your vehicle to find out what to
add, as well as when and how to service your cooling
system.
Engine Coolant (Gas and
DURAMAX
®/Isuzu 7.8L L6 Engines)
The cooling system in your vehicle is filled with
DEX-COOL®engine coolant. This coolant is designed
to remain in your vehicle for five years or 150,000 miles
(240 000 km), whichever occurs first, if you add only
DEX-COOL
®extended life coolant.
The following explains your cooling system and how to
add coolant when it is low. If you have a problem with
engine overheating, seeEngine Overheating on
page 5-48.
A 50/50 mixture of clean, drinkable water and
DEX-COOL
®coolant will:
•Give freezing protection down to−34°F (−37°C).
•Give boiling protection up to 265°F (129°C).
•Protect against rust and corrosion.
•Help keep the proper engine temperature.
•Let the warning lights and gages work as they
should.
Notice:Using coolant other than DEX-COOL
®may
cause premature engine, heater core or radiator
corrosion. In addition, the engine coolant may
require changing sooner, at 30,000 miles (50 000 km)
or 24 months, whichever occurs �rst. Any repairs
would not be covered by your warranty. Always use
DEX-COOL
®(silicate-free) coolant in your vehicle.
5-44