headlamp CHEVROLET KODIAK 2009 Owners Manual
[x] Cancel search | Manufacturer: CHEVROLET, Model Year: 2009, Model line: KODIAK, Model: CHEVROLET KODIAK 2009Pages: 376, PDF Size: 5.39 MB
Page 4 of 376
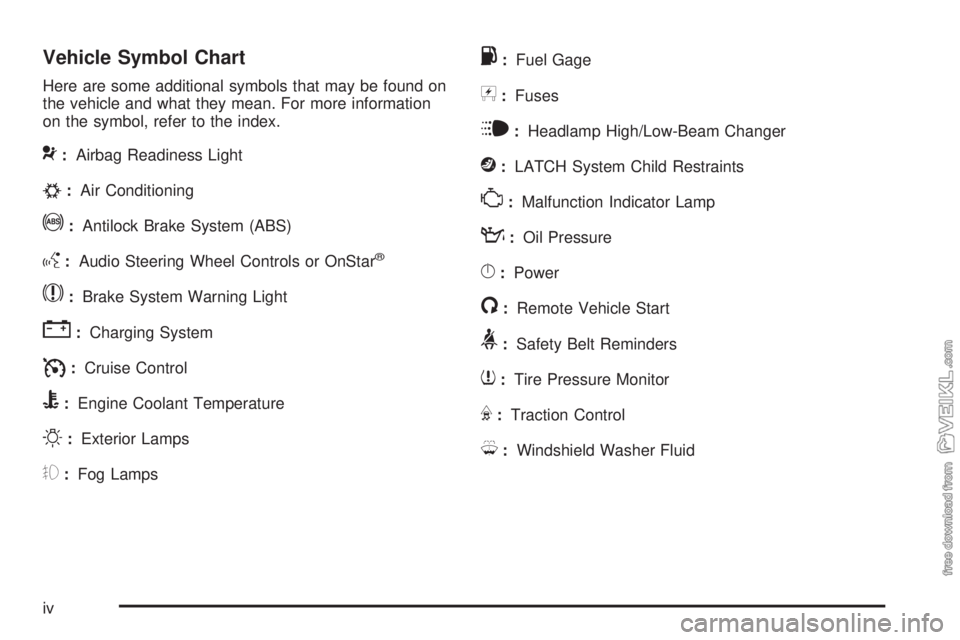
Vehicle Symbol Chart
Here are some additional symbols that may be found on
the vehicle and what they mean. For more information
on the symbol, refer to the index.
9:Airbag Readiness Light
#:Air Conditioning
!:Antilock Brake System (ABS)
g:Audio Steering Wheel Controls or OnStar®
$:Brake System Warning Light
":Charging System
I:Cruise Control
B:Engine Coolant Temperature
O:Exterior Lamps
#:Fog Lamps
.:Fuel Gage
+:Fuses
i:Headlamp High/Low-Beam Changer
j:LATCH System Child Restraints
*:Malfunction Indicator Lamp
::Oil Pressure
}:Power
/:Remote Vehicle Start
>:Safety Belt Reminders
7:Tire Pressure Monitor
F:Traction Control
M:Windshield Washer Fluid
iv
Page 115 of 376
Mirrors
Manual Rearview Mirror
Hold the inside rearview mirror in the center to move
it for a clearer view behind your vehicle. Adjust the
mirror to avoid glare from the headlamps behind you.
Push the tab forward for daytime use and pull it for
nighttime use.
Outside Manual Mirrors
Adjust the outside rearview mirrors to see a little of the
side of your vehicle, and the area beside your vehicle.
Manually fold the mirrors inward to prevent damage when
going through an automatic car wash. To fold, push the
mirror toward the vehicle. Push the mirror outward, to
return to its original position.
Outside Power Mirrors
If the vehicle has outside power mirrors, they can be
adjusted from the inside of the vehicle.
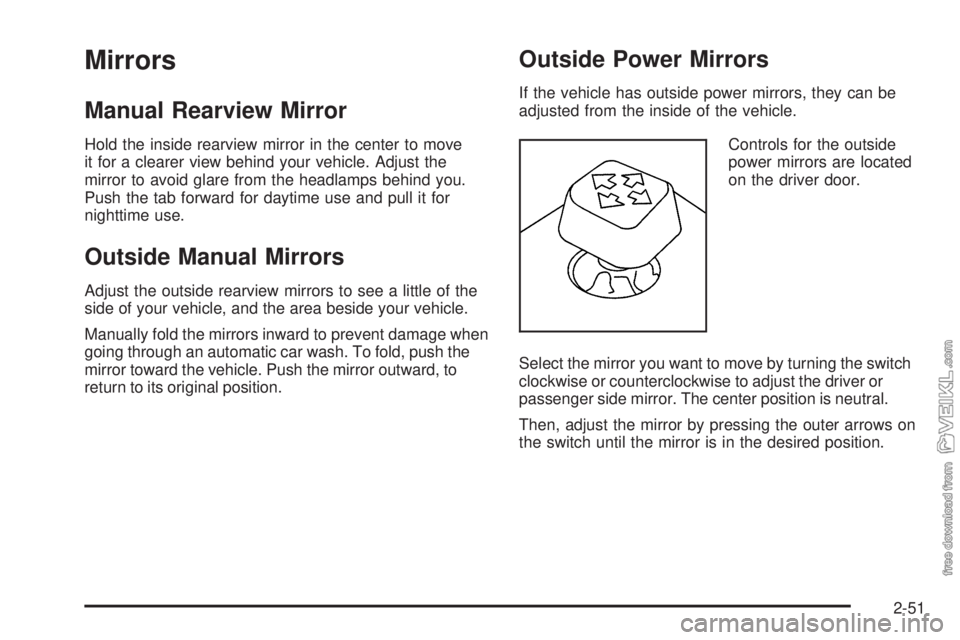
Controls for the outside
power mirrors are located
on the driver door.
Select the mirror you want to move by turning the switch
clockwise or counterclockwise to adjust the driver or
passenger side mirror. The center position is neutral.
Then, adjust the mirror by pressing the outer arrows on
the switch until the mirror is in the desired position.
2-51
Page 119 of 376
Instrument Panel Overview...............................3-4
Hazard Warning Flashers................................3-6
Horn .............................................................3-6
Tilt Wheel.....................................................3-6
Turn Signal/Multifunction Lever.........................3-7
Turn and Lane-Change Signals........................3-7
Headlamp High/Low-Beam Changer..................3-8
Windshield Wipers..........................................3-8
Windshield Washer.........................................3-9
Cruise Control..............................................3-10
Exterior Lamps.............................................3-14
Headlamps on Reminder................................3-14
Daytime Running Lamps (DRL).......................3-15
Marker Lamps..............................................3-16
Instrument Panel Brightness...........................3-16
Dome Lamps ...............................................3-16
Entry Lighting...............................................3-17
Reading Lamps............................................3-17
Instrument Panel Switchbank..........................3-18
Accessory Power Outlet(s).............................3-19
Ashtray(s) and Cigarette Lighter......................3-19Climate Controls............................................3-20
Climate Control System.................................3-20
Outlet Adjustment.........................................3-22
Rear Heating System....................................3-23
Warning Lights, Gages, and Indicators............3-23
Instrument Panel Cluster................................3-24
Speedometer and Odometer...........................3-25
Trip Odometer..............................................3-25
Tachometer.................................................3-25
Engine Speed Limiter....................................3-25
Safety Belt Reminders...................................3-26
Airbag Readiness Light..................................3-27
Airbag Off Light............................................3-28
Charging System Light
..................................3-29
Voltmeter Gage............................................3-30
Service Transmission Warning Light................3-30
Range Inhibit Warning Indicator......................3-31
Brake System Warning Light..........................3-31
Antilock Brake System (ABS) Warning Light........3-33
Trailer Antilock Brake System Warning Light.......3-34
Engine Coolant Temperature Gage..................3-34
Section 3 Instrument Panel
3-1
Page 125 of 376
Turn Signal/Multifunction Lever
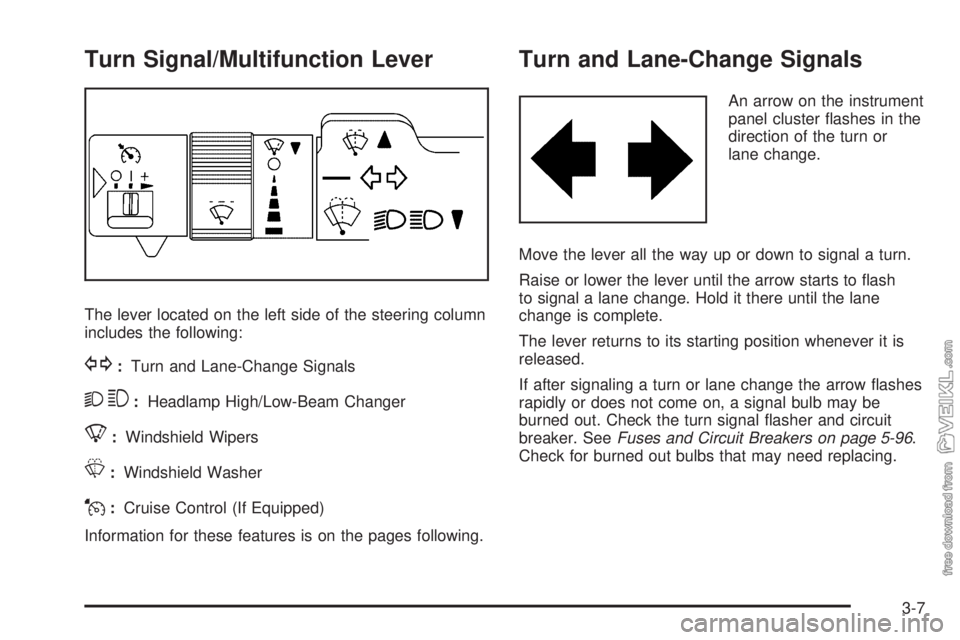
The lever located on the left side of the steering column
includes the following:
G:Turn and Lane-Change Signals
23:Headlamp High/Low-Beam Changer
8:Windshield Wipers
L:Windshield Washer
J:Cruise Control (If Equipped)
Information for these features is on the pages following.
Turn and Lane-Change Signals
An arrow on the instrument
panel cluster flashes in the
direction of the turn or
lane change.
Move the lever all the way up or down to signal a turn.
Raise or lower the lever until the arrow starts to flash
to signal a lane change. Hold it there until the lane
change is complete.
The lever returns to its starting position whenever it is
released.
If after signaling a turn or lane change the arrow flashes
rapidly or does not come on, a signal bulb may be
burned out. Check the turn signal flasher and circuit
breaker. SeeFuses and Circuit Breakers on page 5-96.
Check for burned out bulbs that may need replacing.
3-7
Page 126 of 376
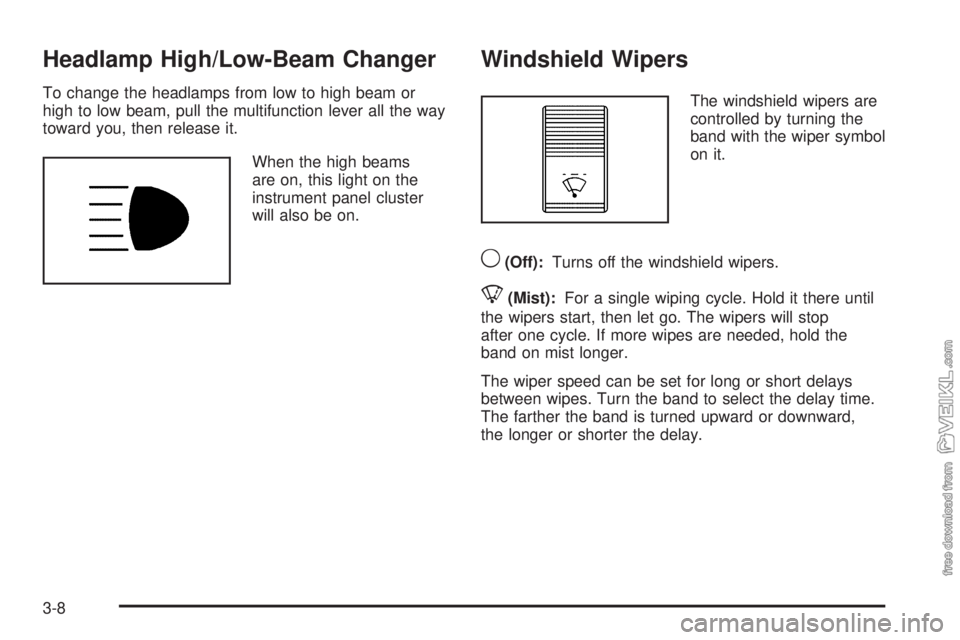
Headlamp High/Low-Beam Changer
To change the headlamps from low to high beam or
high to low beam, pull the multifunction lever all the way
toward you, then release it.
When the high beams
are on, this light on the
instrument panel cluster
will also be on.
Windshield Wipers
The windshield wipers are
controlled by turning the
band with the wiper symbol
on it.
9(Off):Turns off the windshield wipers.
8(Mist):For a single wiping cycle. Hold it there until
the wipers start, then let go. The wipers will stop
after one cycle. If more wipes are needed, hold the
band on mist longer.
The wiper speed can be set for long or short delays
between wipes. Turn the band to select the delay time.
The farther the band is turned upward or downward,
the longer or shorter the delay.
3-8
Page 132 of 376
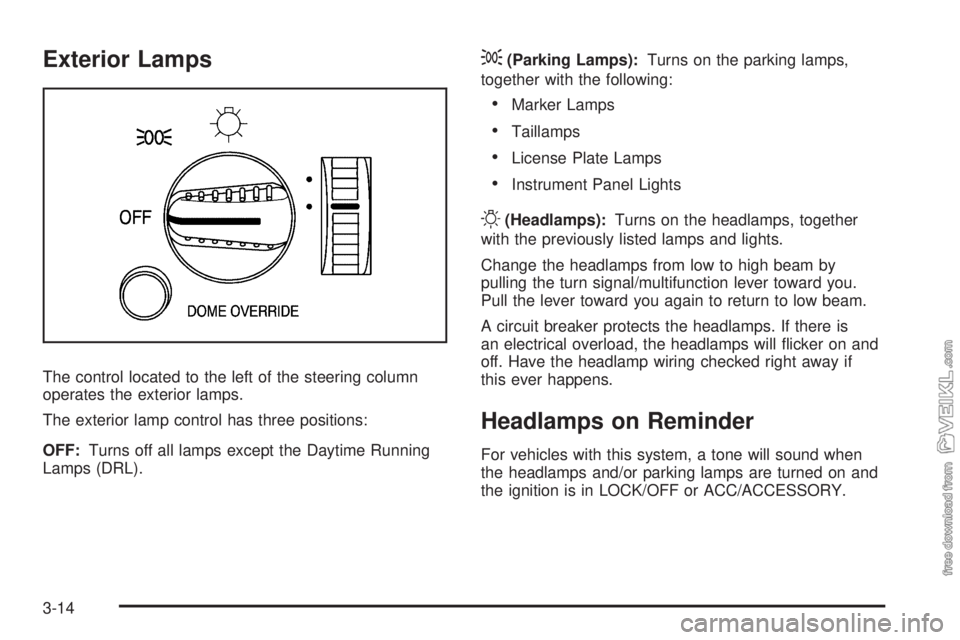
Exterior Lamps
The control located to the left of the steering column
operates the exterior lamps.
The exterior lamp control has three positions:
OFF:Turns off all lamps except the Daytime Running
Lamps (DRL).
;(Parking Lamps):Turns on the parking lamps,
together with the following:
•Marker Lamps
•Taillamps
•License Plate Lamps
•Instrument Panel Lights
O(Headlamps):Turns on the headlamps, together
with the previously listed lamps and lights.
Change the headlamps from low to high beam by
pulling the turn signal/multifunction lever toward you.
Pull the lever toward you again to return to low beam.
A circuit breaker protects the headlamps. If there is
an electrical overload, the headlamps will flicker on and
off. Have the headlamp wiring checked right away if
this ever happens.
Headlamps on Reminder
For vehicles with this system, a tone will sound when
the headlamps and/or parking lamps are turned on and
the ignition is in LOCK/OFF or ACC/ACCESSORY.
3-14
Page 133 of 376
Daytime Running Lamps (DRL)
Daytime Running Lamps (DRL) can make it easier for
others to see the front of your vehicle during the
day. Fully functional daytime running lamps are required
on all vehicles first sold in Canada.
The DRL system will make the headlamps come on
at reduced brightness when the following conditions
are met:
•The ignition is on,
•the exterior lamp control is off, and
•the parking brake is released.
When the DRL are on, only the headlamps will be on.
The taillamps, sidemarker, instrument panel lights,
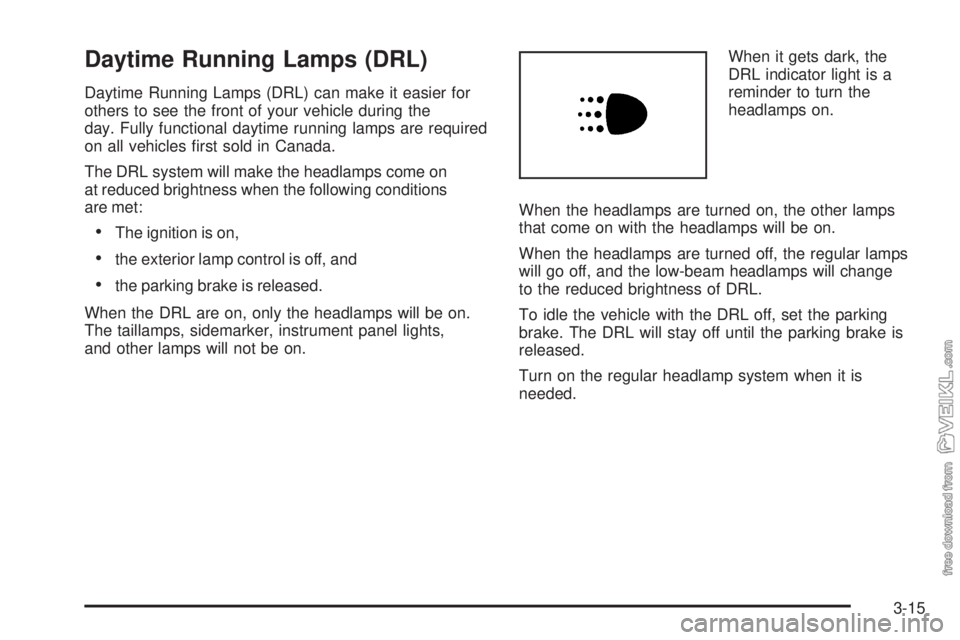
and other lamps will not be on.When it gets dark, the
DRL indicator light is a
reminder to turn the
headlamps on.
When the headlamps are turned on, the other lamps
that come on with the headlamps will be on.
When the headlamps are turned off, the regular lamps
will go off, and the low-beam headlamps will change
to the reduced brightness of DRL.
To idle the vehicle with the DRL off, set the parking
brake. The DRL will stay off until the parking brake is
released.
Turn on the regular headlamp system when it is
needed.
3-15
Page 160 of 376
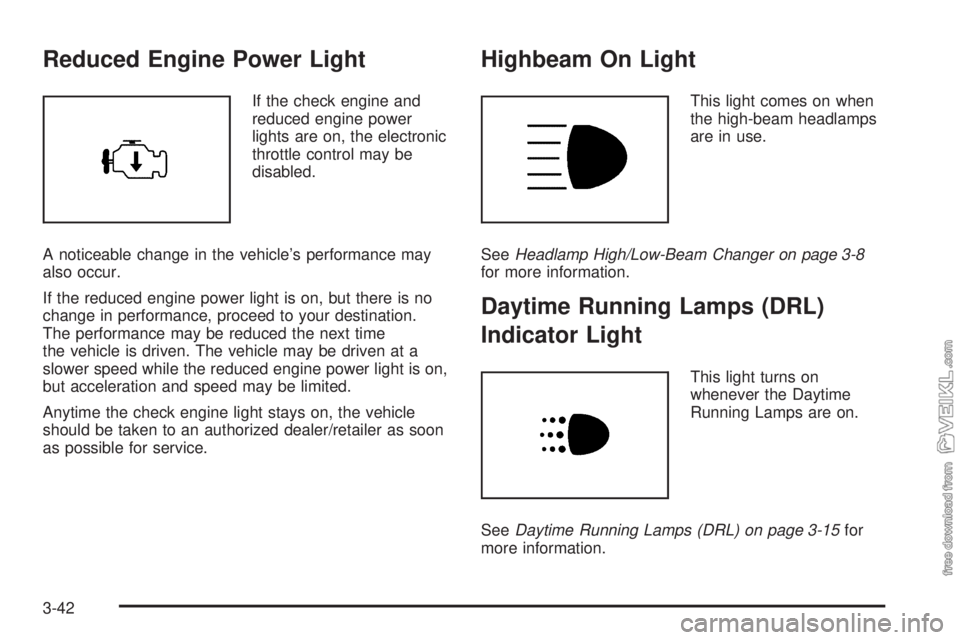
Reduced Engine Power Light
If the check engine and
reduced engine power
lights are on, the electronic
throttle control may be
disabled.
A noticeable change in the vehicle’s performance may
also occur.
If the reduced engine power light is on, but there is no
change in performance, proceed to your destination.
The performance may be reduced the next time
the vehicle is driven. The vehicle may be driven at a
slower speed while the reduced engine power light is on,
but acceleration and speed may be limited.
Anytime the check engine light stays on, the vehicle
should be taken to an authorized dealer/retailer as soon
as possible for service.
Highbeam On Light
This light comes on when
the high-beam headlamps
are in use.
SeeHeadlamp High/Low-Beam Changer on page 3-8
for more information.
Daytime Running Lamps (DRL)
Indicator Light
This light turns on
whenever the Daytime
Running Lamps are on.
SeeDaytime Running Lamps (DRL) on page 3-15for
more information.
3-42
Page 189 of 376
Driving at Night
Night driving is more dangerous than day driving because
some drivers are likely to be impaired — by alcohol or
drugs, with night vision problems, or by fatigue.
Night driving tips include:
•Drive defensively.
•Do not drink and drive.
•Reduce headlamp glare by adjusting the inside
rearview mirror.
•Slow down and keep more space between you and
other vehicles because headlamps can only light up
so much road ahead.
•Watch for animals.
•When tired, pull off the road.
•Do not wear sunglasses.
•Avoid staring directly into approaching headlamps.
•Keep the windshield and all glass on your vehicle
clean — inside and out.
•Keep your eyes moving, especially during turns or
curves.
No one can see as well at night as in the daytime.
But, as we get older, these differences increase.
A 50-year-old driver might need at least twice as much
light to see the same thing at night as a 20-year-old.
4-13
Page 195 of 376
Repeat this until help arrives but only when you feel
really uncomfortable from the cold. Moving about
to keep warm also helps.
If it takes some time for help to arrive, now and then
when you run the engine, push the accelerator
pedal slightly so the engine runs faster than the idle
speed. This keeps the battery charged to restart
the vehicle and to signal for help with the headlamps.
Do this as little as possible to save fuel.
If Your Vehicle is Stuck in Sand,
Mud, Ice, or Snow
Slowly and cautiously spin the wheels to free the
vehicle when stuck in sand, mud, ice, or snow. See
Rocking Your Vehicle to Get It Out on page 4-19.
If the vehicle has a traction system, it can often help to
free a stuck vehicle. Refer to the vehicle’s traction
system in the Index. If stuck too severely for the traction
system to free the vehicle, turn the traction system off
and use the rocking method.
{CAUTION:
If you let your vehicle’s tires spin at high speed,
they can explode, and you or others could be
injured. The vehicle can overheat, causing an
engine compartment fire or other damage. Spin the
wheels as little as possible and avoid going above
35 mph (55 km/h) as shown on the speedometer.
Rocking Your Vehicle to Get It Out
Turn the steering wheel left and right to clear the area
around the front wheels. For four-wheel-drive vehicles,
shift into 4HI. Turn off any traction system. Shift back and
forth between R (Reverse) and a forward gear, or with a
manual transmission, between 1 (First) or 2 (Second) and
R (Reverse), spinning the wheels as little as possible.
To prevent transmission wear, wait until the wheels stop
spinning before shifting gears. Release the accelerator
pedal while shifting, and press lightly on the accelerator
pedal when the transmission is in gear. Slowly spinning
the wheels in the forward and reverse directions causes a
rocking motion that could free the vehicle. If that does not
get the vehicle out after a few tries, it might need to be
towed out. If the vehicle does need to be towed out, see
Towing Your Vehicle on page 4-23.
4-19