air CHEVROLET MALIBU 1997 5.G Owner's Manual
[x] Cancel search | Manufacturer: CHEVROLET, Model Year: 1997, Model line: MALIBU, Model: CHEVROLET MALIBU 1997 5.GPages: 354, PDF Size: 18.87 MB
Page 110 of 354
Downloaded from www.Manualslib.com manuals search engine Gages can indicate when there may be or is a problem
with one of
your vehicle’s functions. Often gages and
warning lights work together to let you
know when
there’s a problem with your vehicle.
When one of the warning lights comes on and stays on
when you
are driving, or when one of the gages shows
there may be a problem, check the section that tells you
what to do about it. Please follow this manual’s advice.
Waiting to do repairs can be costly
-- and even
dangerous.
So please get to know your warning lights
and gages. They’re a big help.
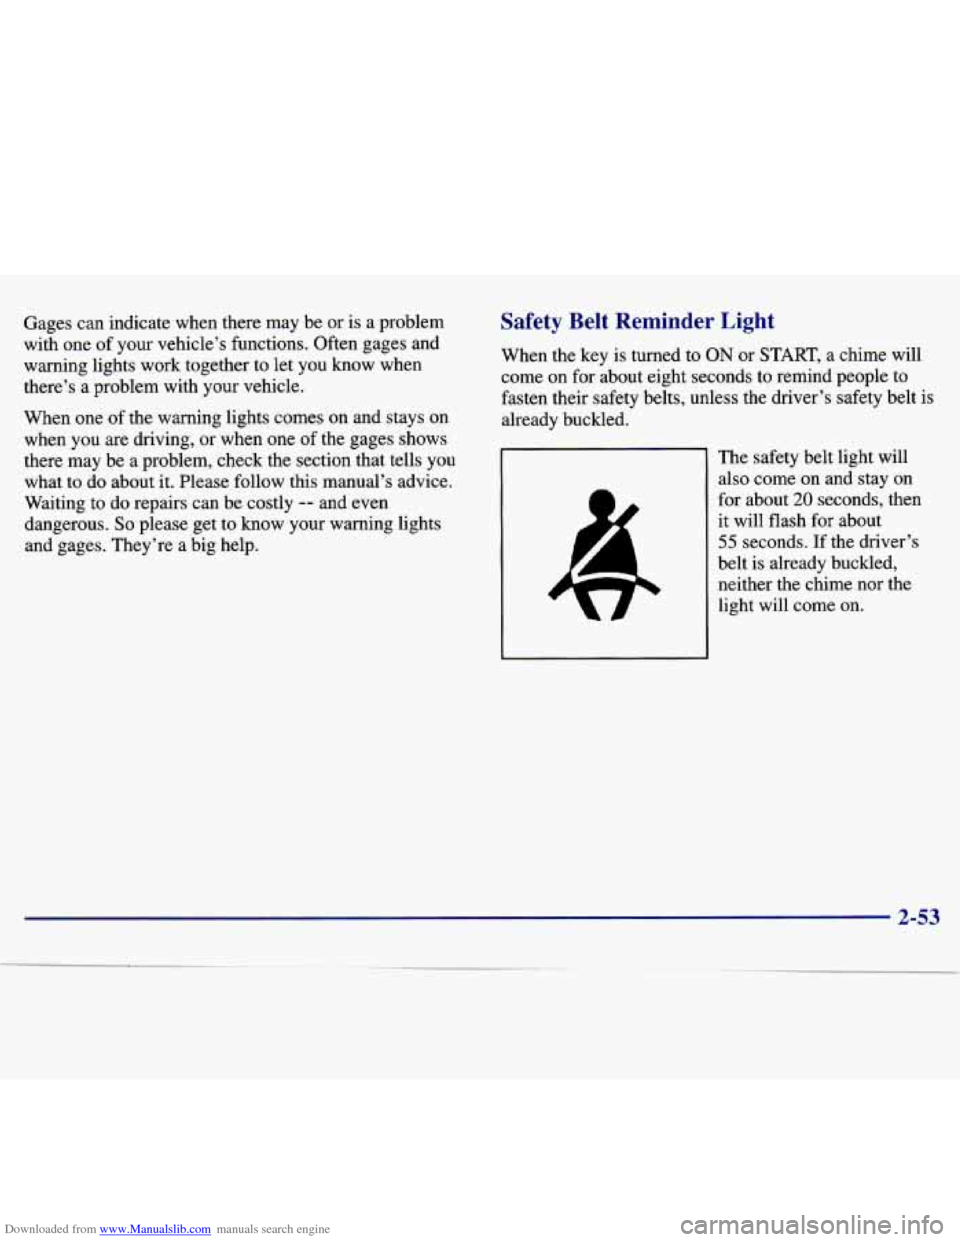
Safety Belt Reminder Light
When the key is turned to ON or START, a chime will
come on for about eight seconds to remind people to
fasten their safety belts, unless the driver’s safety belt i\
s
already buckled.
The safety belt light
will
also come on and stay on
for about
20 seconds, then
it will flash for about
55 seconds. If the driver’s
belt is already buckled, neither the chime nor the
light will come
on.
2-53
Page 111 of 354
Downloaded from www.Manualslib.com manuals search engine Air Bag Readiness Light
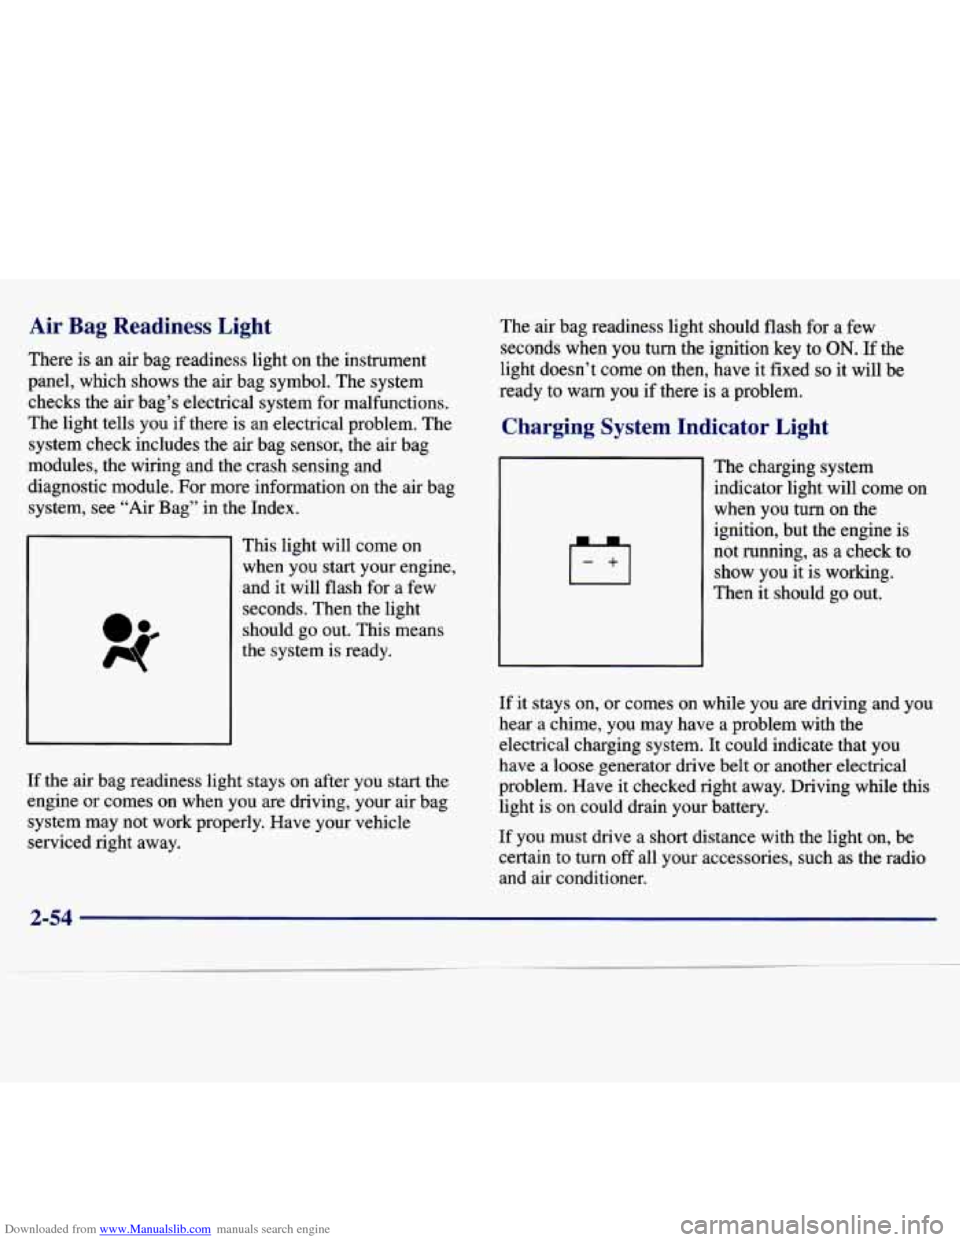
There is an air bag readiness light on the instrument
panel, which shows the air bag symbol. The system
checks the air bag’s electrical system for malfunctions.
The light tells you if there is an electrical problem. The
system check includes the air bag sensor, the air bag
modules, the wiring and the crash sensing and
diagnostic module. For more information on the air bag
system, see “Air Bag” in the Index.
This light will. come
on
~ when you start your engine,
and it will flash for a few
seconds. Then the light
should go out. This means
the system is ready.
If the air bag readiness light stays on after you start the
engine or comes on when you are driving, your air bag
system may not work properly. Have your vehicle
serviced right away. The
air bag readiness light should flash for a few
seconds when you turn the ignition key to
ON. If the
light doesn’t come on then, have it fixed
so it will be
ready to warn you if there is a problem.
Charging System Indicator Light
The charging system
indicator light will come on
when you turn on the ignition, but the engine
is
not running, as a check to show you
it is working.
Then it should go out.
If it stays on,
or comes on while yoa aye- driving and you
hear
a chime, you may have a problem with the
electrical charging system. It could indicate that you
have a loose generator drive belt or another electrical
problem. Have it checked right away. Driving while this
light is on could drain your battery.
If you must drive a short distance with the light on, be
certain to
turn off all your accessories, such as the radio
and air conditioner.
2-54
Page 115 of 354
Downloaded from www.Manualslib.com manuals search engine NOTICE:
If you keep driving your vehicle with this light
on, after a while, your emission controls may not
work as
well, your fuel economy may not be as
good and your engine may not run as smoothly.
This could lead to costly repairs that may not be
covered by your warranty. If the Light
Is Flashing
The following may prevent more serious damage
to
your vehicle:
0 Reducing vehicle speed.
Avoiding hard accelerations.
0 Avoiding steep uphill grades.
If you are towing a trailer, reduce the amount of cargo being hauled as soon as it is possible.
If the light stops flashing and remains on steady, see “If
the Light
Is On Steady” following.
If the light continues to flash, when it
is safe to do so,
stop the vehick. Find a safe place to park your vehicle.
Turn the key
off, wait at least 10 seconds and restart the
engine. If the light remains on steady, see “If the Light
Is On Steady” following. If the light is still flashing,
follow the previous steps, and drive the vehicle to your dealer or qualified service center for service.
This
light should come on, as a check to show you
it is
working, when the ignition is on and the engine is not
running. If the light doesn’t come on, have it repaired.
This light will
also come on during a malfunction in one
of two ways:
Light Flashing -- A misfire condition has been
detected. A misfire increases vehicle emissions and
may damage the emission control system on your
vehicle. Dealer or qualified service center diagnosis and service is required.
Light On Steady -- An emission control system
malfunction has been detected on your vehicle.
Dealer or qualified service center diagnosis and service may be required.
2-58
Page 122 of 354
Downloaded from www.Manualslib.com manuals search engine U Section 3 Comfort Controls and Audio Systems
In this section, you'll find out how to operate the comfort control and audio systems offered with your Chevrolet. Be
sure to read about the particular systems supplied with your vehicle.
3-2
3-2
3-4
3-4
3-5
3-6
3-7
3-7
3-9 3-13 Climate Controls
Air Conditioning
Heating
Tips for Defogging and Defrosting
Rear Window Defogger
Ventilation System and Tips Setting the Clock
A" Stereo
A" Stereo with Cassette and ATC
CD Adapter Kits
3- 14
3-18
3- 19
3-22
3-22
3-22 3-23
3-24
3-24 A" Stereo with CD and ATC
Remote Cassette Player
Theft-Deterrent Feature
Adding Sound Equipment to Your Vehicle
Understanding Radio Reception Tips About Your Audio System
Care of Your Cassette Tape Player
Care of Your Compact Discs
Antenna
3-1
Page 123 of 354
Downloaded from www.Manualslib.com manuals search engine Comfort Controls
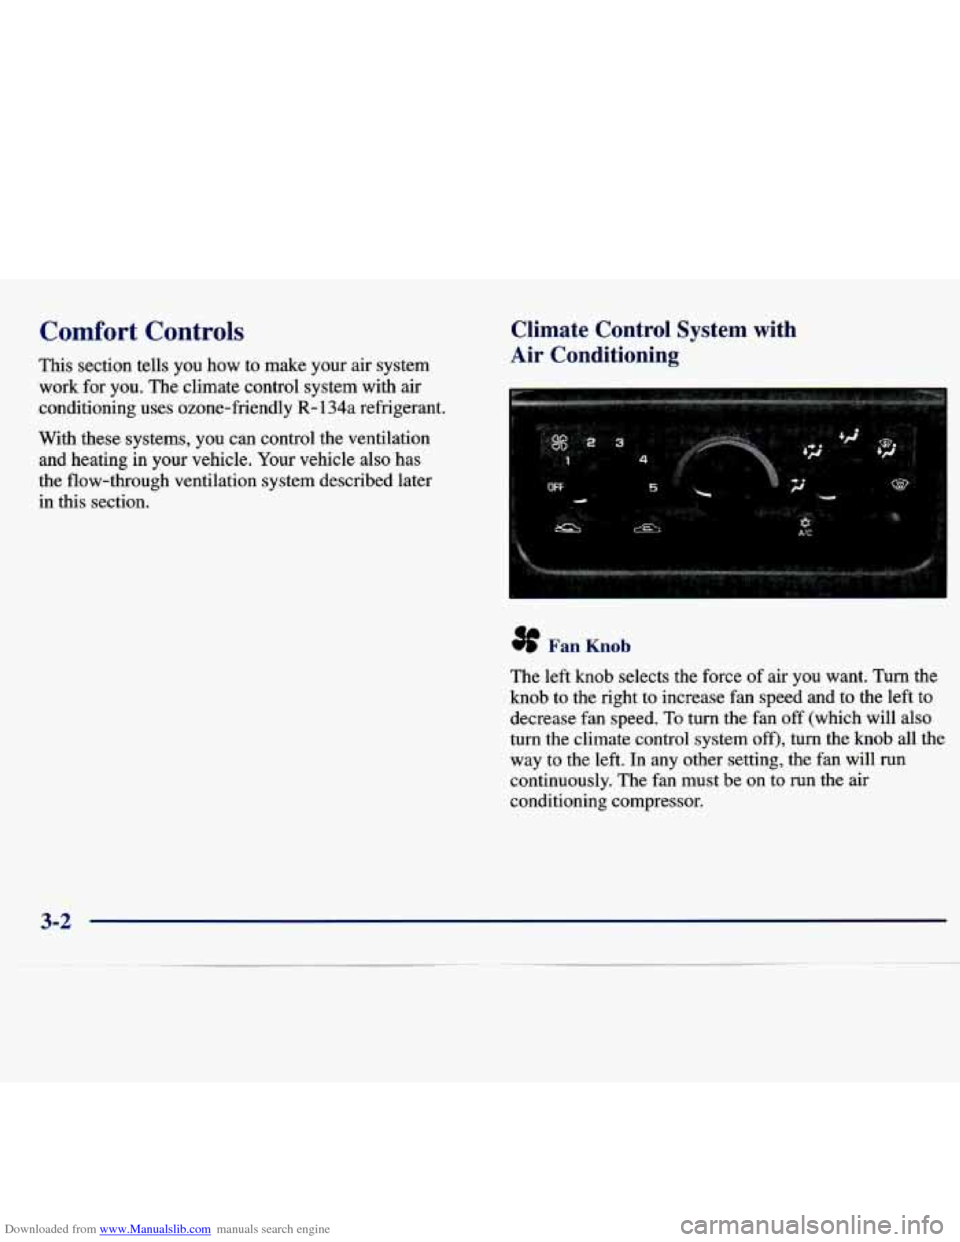
This section tells you how to make your air system
work for you. The climate control system with air
conditioning uses ozone-friendly
R- 134a refrigerant.
With these systems, you can control the ventilation and heating in your vehicle. Your vehicle also has
the flow-through ventilation system described later
in this section.
Climate Control System with
Air Conditioning
8 Fan Knob
The left knob selects the force of air you want. Turn the
knob to the right to increase fan speed and
to the left to
decrease fan speed. To
turn the fan off (which will also
turn the climate control system
off), turn the knob all the
way to the left. In any other setting, the fan will run
continuously. The fan must be
on to run the air
conditioning compressor.
3-2
Page 124 of 354
Downloaded from www.Manualslib.com manuals search engine Temperature Knob
The center knob regulates the temperature of the air
coming through the system.
Mode Knob
The right control knob changes the functions of the
system.
-0
/J VENT In this position the airflow comes through
the instrument panel outlets. Set the center control
knob to the temperature desired.
*H BI-LEVEL In this position the airflow comes
through the instrument panel outlets and through the
floor outlets. Set the center control knob to the
temperature desired.
+’ FLOOR In this position the airflow comes
through the floor outlet. Set the center control
knob
to the temperature desired.
+H DEFOG This position divides the airflow between
the floor ducts and the windshield defroster vents.
DEFROST This position directs the airflow
+o
e
we
through the windshield defroster vents on the top of
the instrument panel.
Air Conditioning Compressor Button
Press A/C to operate the air conditioner compressor.
The indicator light will glow when the button is pressed
to indicate that the air conditioning system has been
turned on.
Recirculation Button
Press RECIRCULATION to close all outside vents.
The indicator light on the button will glow when it is
pressed. RECIRCULATION is available in all modes,
except DEFOG and DEFROST.
Outside Air
Press OUTSIDE AIR to allow the circulation of outside
air in the vehicle. The indicator light on the button will
glow when pressed. OUTSIDE AIR is available in all
modes including
OFF and is automatically activated in
DEFOG and DEFROST.
3-3
Page 125 of 354
Downloaded from www.Manualslib.com manuals search engine Air Conditioning Heating
On cold
days, use FLOOR with the temperature knob
all the way in the red area. The system will bring in
outside air, heat it and send it to the floor ducts.
The
air conditioner and heater work best if you keep
your windows closed while using them. Your vehicle also has the flow-through ventilation system described
later in this section.
On very hot days, open the windows long enough to
let hot inside air escape. This reduces the time it takes
for your vehicle to cool down, which should help
fuel economy.
On cool, but sunny days, the sun may warm your upper
body, but your lower body may not be
warm enough.
You can use
BI-LEVEL with the temperature knob in
the middle and the A/C button pushed in. The system
will bring in outside air and direct slightly warmer air
to your lower body.
For quick cool-down on very hot days, use
VENT with
the temperature knob all the way in the blue area and the
A/C and RECIRCULATION buttons pressed. If this
setting is used for long periods of time, the air in your
vehicle may become too dry.
For normal cooling on hot days, use
VENT with the
temperature knob in the blue area and the
NC button
pushed
in. The system will bring in outside air and cool it.
Your vehicle has heat ducts that are directed toward the
rear seat. Keep the area under the front seats clear
of
obstructions so the heated air can reach the rear seat
passengers.
If your vehicle has an engine coolant heater, you can use it to help your system provide warm air faster when it’s
cold outside
(0°F (-18°C) or lower). An engine coolant
heater warms the coolant your engine and heating system use to provide heat. See “Engine Coolant
Heater” in the Index.
Defogging and Defrosting Windows
Your system has two settings for clearing the front and
side windows. For each setting, adjust the temperature
control as desired.
To defrost the windows quickly, rotate the temperature control knob
all the way in the red area. Use DEFROST
and adjust the fan to the highest speed. To warm
passengers while keeping the windows clean, use DEFOG.
3-4
Page 126 of 354
Downloaded from www.Manualslib.com manuals search engine Your vehicle is equipped with side window defogger
vents. The side window defogger vents are located on
the outside of the side instrument panel vents. For
additional side window defogging, rotate the mode
control to VENT, rotate the fan control to the highest
speed, press
A/C and aim the side vents on the
instrument panel to the windows. For increased
airflow to the side windows, close the center vents.
RECIRCULATION will not work in DEFROST and
DEFOG. This is done to prevent recirculation of humid
inside air and allow the system to work properly.
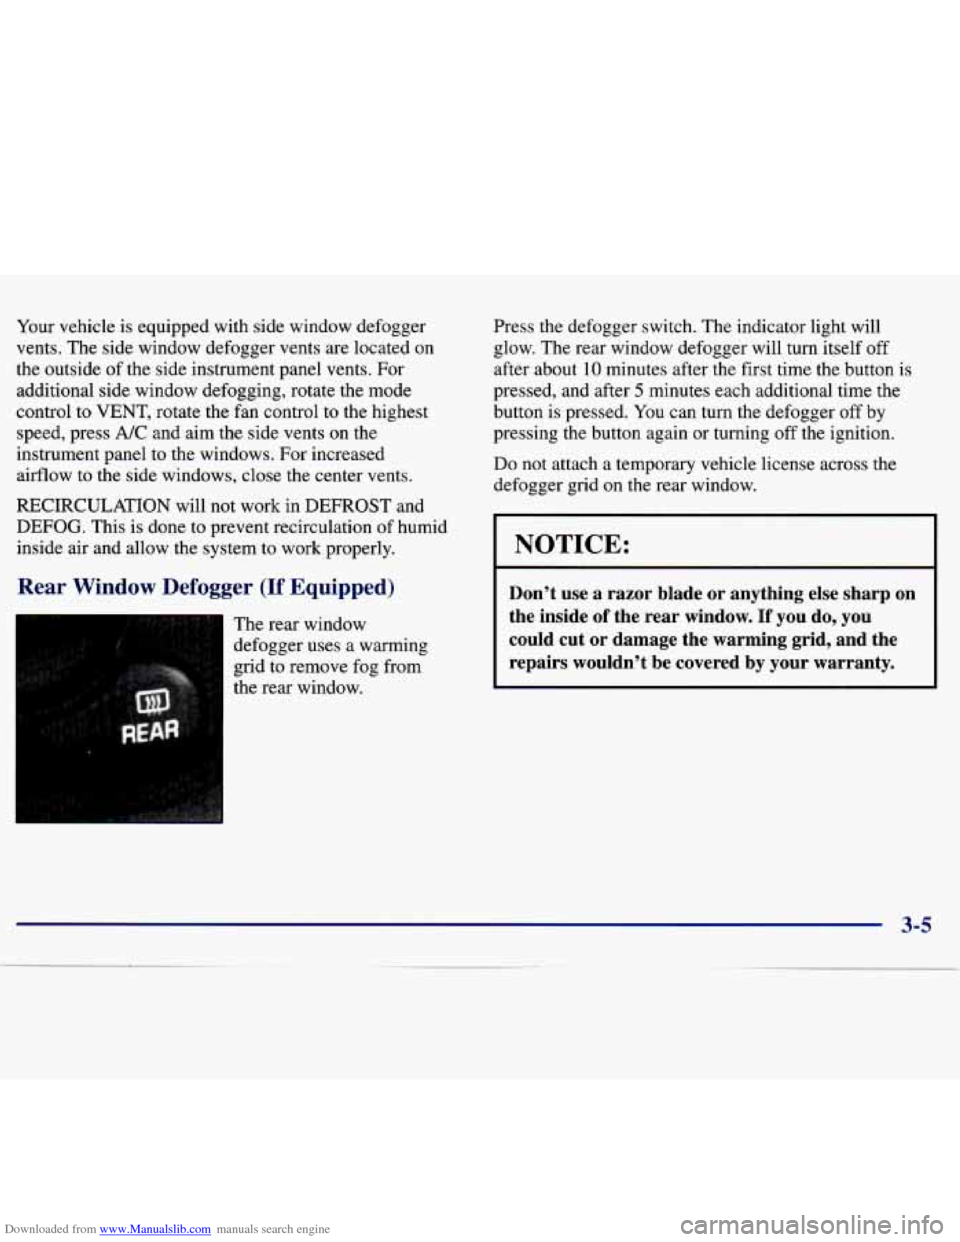
Rear Window Defogger (If Equipped)
I The rear window
defogger uses a warming
grid to remove fog from
the rear window. Press the defogger switch.
The indicator light will
glow. The rear window defogger will turn itself
off
after about 10 minutes after the first time the button is
pressed, and after
5 minutes each additional time the
button is pressed. You can turn the defogger off
by
pressing the button again or turning off the ignition.
Do not attach a temporary vehicle license across the
defogger grid on the rear window.
NOTICE:
Don’t use a razor blade or anything else sharp on
the inside
of the rear window. If you do, you
could cut or damage the warming grid, and the repairs wouldn’t be covered by your warranty.
3-5
Page 127 of 354
Downloaded from www.Manualslib.com manuals search engine Ventilation System Ventilation Tips
For mild outside temperatures when little heating or
cooling is needed, use VENT to direct outside
air
through your vehicle. Your vehicle also has the
flow-through ventilation system.
Your vehicle’s flow-through ventilation system supplies
outside air into the vehicle when
it is moving. Outside
air will also enter the vehicle when the air conditioning
fan
is running.
0
0
0
0
Keep the hood and front air inlet free of ice, snow or
any other obstruction, such as leaves. The heater and
defroster will work far better, reducing
. : chance of
fogging the inside of your windows.
When you enter a vehicle in cold weather, adjust the mode
knob to FLOOR and the fan to the highest
speed for a few moments before driving
off. This
helps clear the intake ducts of snow and moisture
and reduces the chance
of fogging the inside of
your windows.
Keep the air path under the front seats clear
of objects.
This helps air circulate throughout
your vehicle.
To prevent circulation of outside air, press the
recirculation button. This will close all outside vents.
3-6
Page 129 of 354
Downloaded from www.Manualslib.com manuals search engine Finding a Station 3. Tune in the desired station.
AM-FM: Press the lower knob to switch between AM
and FM. The display shows your selection.
TUNE: Turn the lower knob to choose radio stations.
SEEK: Press the right or left arrow to go to the next
higher or lower station and stay there.
SCAN: Press and hold one of the SEEK arrows, then
press the other
SEEK arrow; SCAN will appear on the
display. Use
SCAN to listen to stations for a few
seconds. The radio will go to a station, stop for a few
seconds, then
go on to the next station. The radio will
scan up or down the radio band, depending on the arrow
you pressed first. Press both SEEK arrows or the upper
knob to stop scanning.
PUSHBUTTONS: The four numbered pushbuttons let
you return to your favorite stations. You can set up to
14 stations (seven AM and seven FM). Just:
1. Turn the radio on.
2. Press AM-FM to select the band.
4. Press SET. (SET will appear on the display.)
5. Press and hold one of the four numbered buttons,
within five seconds. The sound will mute. When it
returns, release the button. Whenever you press that
numbered button, the station
you set will return.
6. Repeat the steps for each pushbutton.
In addition to the four stations already set, up to three
more stations may be preset
on each band by pressing
two adjoining buttons at the same time. Just:
1. Tune in the desired station.
2. Press SET. (SET will appear on the display.)
3. Press any two adjoining pushbuttons at the same
time, within five seconds. The sound will mute.
When
it returns, release the buttons. Whenever
you press the same buttons, the station you set
will return.
4. Repeat the steps for each pair of pushbuttons.
3-8