brakes CHEVROLET MALIBU 1997 5.G Owner's Manual
[x] Cancel search | Manufacturer: CHEVROLET, Model Year: 1997, Model line: MALIBU, Model: CHEVROLET MALIBU 1997 5.GPages: 354, PDF Size: 18.87 MB
Page 247 of 354

Downloaded from www.Manualslib.com manuals search engine I What to Add
When you do need brake fluid, use only DOT-3 brake
fluid -- such as Delco Supreme 11 @ (GM Part
No. 12377967). Use new brake fluid from a sealed
container
only.
Always clean the brake fluid reservoir cap and the area
around the cap before removing it. This will help keep
dirt frm entering the reservoir.
A CAUTION:
With the wrong kind of fluid in your brake
system,
your brakes may not work well, or they
may not even work at all. This could cause a
crash. Always
use the proper brake fluid.
NOTICE:
0 Using the wrong fluid can badly damage
brake system parts. For example,
just a few
drops of mineral-based oil, such as engine
oil, in your brake system can damage brake
system parts
so badly that they’ll have to be
replaced. Don’t let someone put
in the
wrong kind
of fluid.
If you spiII brake fluid on your vehicle’s
painted surfaces, the paint
finish can be
damaged. Be
careful not to spill brake fluid
on your vehicle. If you do, wash it off
immediately. See “Appearance Care” in
the Index.
6-26
Page 248 of 354

Downloaded from www.Manualslib.com manuals search engine Brake Wear
Your Chevrolet has front disc brakes and rear drum brakes.
Disc brake pads have built-in wear indicators that make a
high-pitched warning sound when the brake pads are worn and new pads
are needed. The sound may come and go or
be heard
all the time your vehicle is moving (except when
you
are pushing on the brake pedal firmly).
A CAUTION:
The brake wear warning sound means that soon
your brakes won’t work well. That could lead to
an accident. When you hear the brake wear
warning sound, have your vehicle serviced.
NOTICE:
Continuing to drive with worn-out brake pads
could result
in costly brake repair.
Some driving conditions or climates may cause a brake
squeal when the brakes are first applied or lightly
applied.
This does not mean something is wrong with
your brakes.
Properly torqued wheel nuts are necessary to help
prevent brake pulsation. When tires are rotated, inspect
brake pads for wear and evenly torque wheel nuts in the
proper sequence to GM specifications.
Your rear drum brakes don’t have wear indicators, but
if
you ever hear a rear brake rubbing noise, have the rear
brake linings inspected.
Also, the rear brake drums
should be removed and inspected each time the tires are
removed for rotation or changing. When you have the
front brake pads replaced, have the rear brakes
inspected, too.
Brake linings should always be replaced as complete
axle sets.
See “Brake System Inspection” in Section 7 of this manual
under
Part C “Periodic Maintenance Inspections.”
6-27
Page 249 of 354

Downloaded from www.Manualslib.com manuals search engine Brake Pedal Travel
See your dealer if the brake pedal does not return to
normal height, or if there is a rapid increase in pedal
travel. This could be
a sign of brake trouble.
Brake Adjustment
Every time you make a moderate brake stop, your disc
brakes adjust for wear.
If you rarely make a moderate or
heavier stop, then your brakes might not adjust correctly. If you drive in that way, then
-- very carefully -- make
a few moderate brake stops about every
1,000 miles
(1 600 km), so your brakes will adjust properly.
If your brake pedal goes down farther than normal, your
rear drum brakes may need adjustment. Adjust them by
pumping the brake pedal repeatedly while the engine is
running with the shift lever
in PARK (P).
Replacing Brake System Parts
The braking system on a modern vehicle is complex. Its
many parts have to be
of top quality and work well
together if the vehicle is to have really good braking.
Your vehicle was designed and tested with top-quality
GM brake parts. When you replace parts of your braking system
-- for example, when your brake linings wear
down and you have to have new ones put
in -- be sure
you get new approved GM replacement parts.
If you
don’t, your brakes may no longer work properly. For
example, if someone puts in brake linings that
are wrong
for your vehicle, the balance between your front and
rear brakes can change
-- for the worse. The braking
performance you’ve come to expect can change in many
other ways if someone puts in the wrong replacement
brake parts.
Battery
Every new Chevrolet has a Delco Freedom@ battery.
You never have to add water to one of these. When it’s
time for a new battery, we recommend a Delco Freedom
battery. Get one that has the replacement number shown
on the original battery’s label.
Page 280 of 354

Downloaded from www.Manualslib.com manuals search engine 3)
4)
Left-Hand Electrical
Center-Stoplamps, Hazard Lamps,
Body Function Control Module, Cluster, Climate Control System
Right-hand Electrical Center-Fog
Lamps, Radio, Body Function Control Module, Interior Lamps
Ignition Switch
Not Used
Anti-Lock Brakes
Cooling Fans
Rear Defog
Not Used Anti-Lock
Brakes
Cooling Fan
HVAC Blower (Climate Control)
Cooling Fans
Cooling Fans
35)
36)
37)
3
8)
Air Conditioning Compressor
Not Used
Fuel Pump
Automatic Light Control Automatic Light Control
Horn
Daytime Running Lamps
Spare Fuses
Rear Defog Accessory Power Outlets,
Cigar Lighter
Anti-Lock Brakes
Anti-Lock Brakes
Air Conditioning Compressor,
Body Function Control Module
Automatic Transaxle
6-59
Page 281 of 354

Downloaded from www.Manualslib.com manuals search engine Mini-Fuses 39) Powertrain Control
Module, Ignition
Anti-Lock Brakes
Ignition System
Back-up Lamps, Brake-Transaxle
Shift Interlock
Horn
Powertrain Control Module
Parking Lamps
Rear Defog, Daytime Running
Lamps, Climate Control System Mini-Fuses
47) Canister Purge Valve, Powertrain
Control Module, Exhaust Gas
Recirculation, Heated
02 Sensor
Fuel Pump, Injectors
Generator
Right-Hand Headlamp
Left-Hand Headlamp
Cooling Fan
WAC Blower (Climate Control
)
Fuse Puller for Mini-Fuses
Tach Test Point for
Diagnostic Testing
6-60
Page 290 of 354
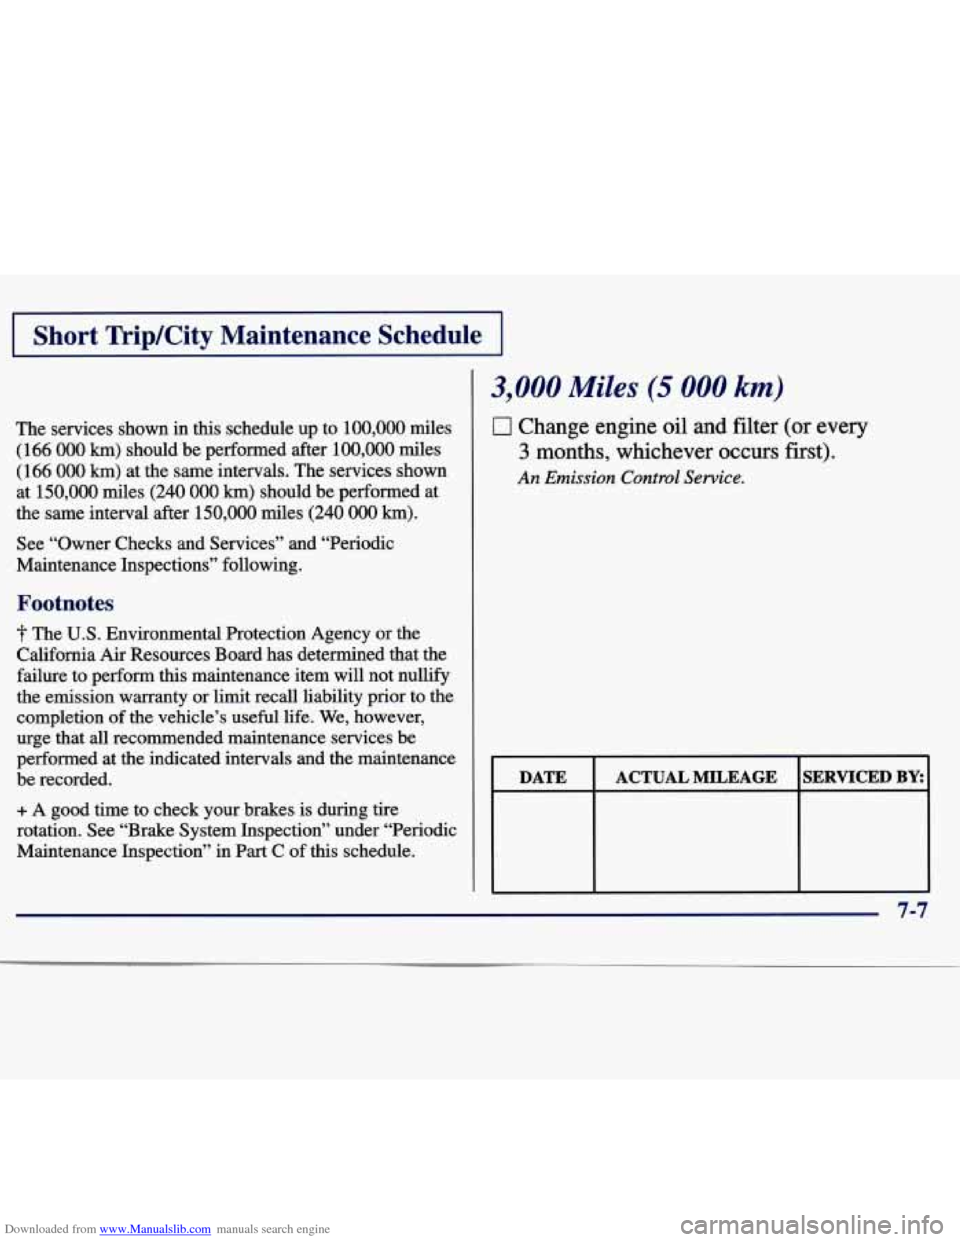
Downloaded from www.Manualslib.com manuals search engine IShort TripKity Maintenance Schedule I
The services shown in this schedule up to 100,000 miles
(166
000 km) should be performed after 100,000 miles
(166
000 km) at the same intervals. The services shown
at 150,000 miles
(240 000 km) should be performed at
the same interval after
150,000 miles (240 000 km).
See “Owner Checks and Services” and “Periodic
Maintenance Inspections” following.
Footnotes
The U.S. Environmental Protection Agency or the
California Air Resources Board has determined that the
failure to perform this maintenance item will not nullify
the emission warranty or limit recall liability prior
to the
completion of the vehicle’s useful life. We, however,
urge that
all recommended maintenance services be
performed at the indicated intervals and the maintenance
be recorded.
+ A good time to check your brakes is during tire
rotation. See “Brake System Inspection” under “Periodic
Maintenance Inspection” in Part
C of this schedule.
3,000 Miles (5 000 km)
0 Change engine oil and filter (or every
3 months, whichever occurs first).
An Emission Control Service.
DATE ACTUAL MILEAGE SERVICED BY: I
7-7
Page 310 of 354
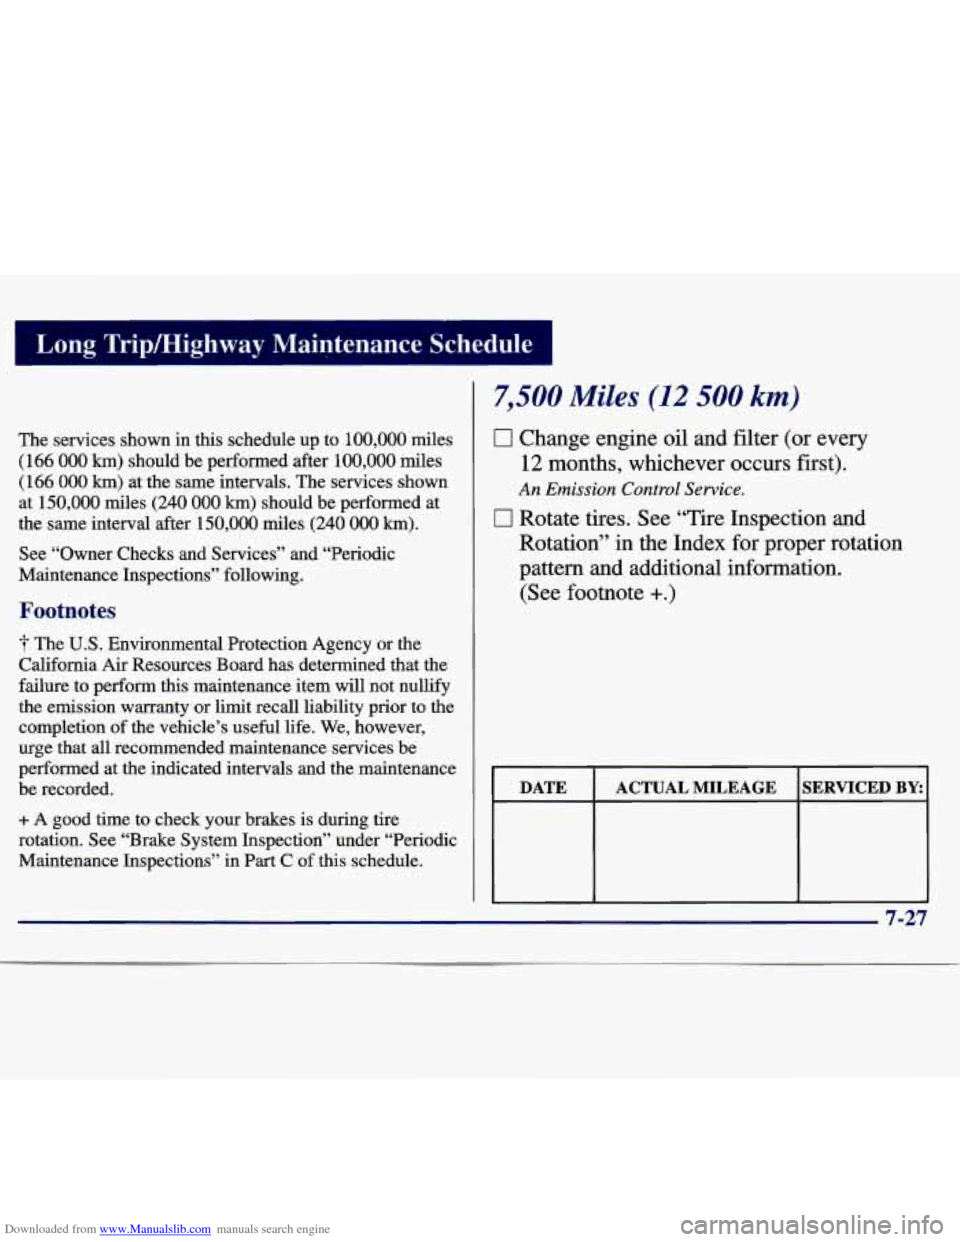
Downloaded from www.Manualslib.com manuals search engine Long Trip/Highway Maintenance Schedule
The services shown in this schedule up to 100,000 miles
(166
000 km) should be performed after 100,000 miles
(166
000 km) at the same intervals. The services shown
at
150,000 miles (240 000 km) should be performed at
the same interval after 150,000 miles (240
000 km).
See “Owner Checks and Services” and “Periodic
Maintenance Inspections” following.
Footnotes
The U.S. Environmental Protection Agency or the
California Air Resources Board has determined that the
failure to perform this maintenance item will not nullify
the emission warranty or limit recall liability prior to the
completion of the vehicle’s useful
life. We, however,
urge that all recommended maintenance services be
performed at the indicated intervals and the maintenance
be recorded.
+ A good time to check your brakes is during tire
rotation. See “Brake System Inspection” under “Periodic
Maintenance Inspections” in
Part C of this schedule.
7,500 Miles (12 500 km)
0 Change engine oil and filter (or every
12 months, whichever occurs first).
I7 Rotate tires. See “Tire Inspection and
Rotation” in the Index for proper rotation
pattern and additional information. (See footnote
+.)
An Emission Control Service.
I DATE ACTUAL MILEAGE SERVICED BY:
7-27
Page 323 of 354

Downloaded from www.Manualslib.com manuals search engine Ignition Transaxle Lock Check
While parked, and with the parking brake set, try to turn
the ignition key to
OFF in each shift lever position.
The key should turn to OFF only when the shift lever
On all vehicles, the key should come out only in OFF.
is in PARK (P) .
Parking Brake and Automatic Transaxle PARK (P)
When you are doing this check, your vehicle
could begin to move. You or others could be
injured and property could be damaged. Make
sure there
is room in front of your vehicle in case
it begins to roll. Be ready to apply the regular
brake at once should the vehicle begin to move. Park on a fairly steep hill, with the vehicle facing
downhill. Keeping your foot on
the regular brake, set
the
parking brake.
To check the parking brake’s holding ability: With
the engine running and transaxle in NEUTRAL
(N),
slowly remove foot pressure from the regular brake
pedal.
Do this until the vehicle is held by the parking
brake only.
To check the PARK (P) mechanism’s holding ability:
With
the engine running, shift to PARK (P). Then
release all brakes.
Underbody Flushing Service
At least every spring, use plain water to flush any
corrosive materials from the underbody. Take care to
clean thoroughly any areas where mud and other debris
can collect.
7-40
Page 324 of 354

Downloaded from www.Manualslib.com manuals search engine Part C: Periodic Maintenance
Inspections
Listed below are inspections and services which should be
performed at least twice a year (for instance, each spring
and
fall). You should let your GM dealer’s service
department or other qualified service center do these jobs.
Make sure any necessary repairs are completed at once.
Proper procedures to perform these services may be found in a
GM service manual. See “Service and Owner
Publications” in the Index.
Steering, Suspension and Front Drive Axle
Boot and Seal Inspection
Inspect the front and rear suspension and steenng
system for damaged, loose or missing parts, signs of
wear or lack of lubrication. Inspect the power steering
lines and hoses for proper hook-up, binding, leaks,
cracks, chafing, etc. Clean and then inspect the drive
axle boot seals for damage, tears or leakage. Replace
seals
if necessary.
Exhaust System Inspection
Inspect the complete exhaust system. Inspect the body near
the exhaust system. Look for broken, damaged, missing or out-of-position parts
as well as open seams, holes, loose connections or other conditions which could cause a heat
build-up in the floor pan or could let exhaust fumes into
the vehicle. See “Engine Exhaust” in the Index.
Radiator and Heater Hose Inspection
Inspect the hoses and have them replaced if they are
cracked, swollen or deteriorated. Inspect all pipes,
fittings and clamps; replace as needed.
Throttle Linkage Inspection
Inspect the throttle linkage for interference or binding,
and for damaged or missing parts. Replace parts as
needed. Replace any cables that have high effort or
excessive wear.
Do not lubricate accelerator and cruise
control cables.
Brake System Inspection
Inspect the complete system. Inspect brake lines and
hoses for proper hook-up, binding,
leaks, cracks,
chafing, etc. Inspect disc brake pads for wear and rotors
for surface condition. Also inspect drum brake linings
for wear and cracks. Inspect other brake parts, including
drums, wheel cylinders, calipers, parking brake, etc. The
parking brake is self-adjusting and no manual adjustment is required. You may need to have your
brakes inspected more often
if your driving habits or
conditions result in frequent braking.
7-41
Page 339 of 354

Downloaded from www.Manualslib.com manuals search engine 1997 CHEVROLET/GEO SERVICE PUBLICATIONS ORDERING INFORMATIC
The following publications covering the operation and servicing of y\
our vehicle can be purchased by filling OL
the Service Publication Order Form in this book and mailing it in with your check, money order,
or credit card information to Helm, Incorporated (address below.) \
CURRENT PUBLICATIONS FOR 1997 CHEVROLET/GEO
SERVICE MANUALS
Service Manuals have the diagnosis and repair information
on engines, transmission, axle, suspension, brakes, electrical, steering, body, etc. RETAIL SELL PRICE:
$90.00
TRANSMISSION, TRANSAXLE, TRANSFER CASE
UNIT REPAIR MANUAL
This manual provides information on unit repair service
procedures, adjustments and specifications for the
1997 GM transmissions, transaxles and transfer cases.
RETAIL SELL PRICE:
$40.00
SERVICE BULLETINS
Service Bulletins give technical service information needed
to knowledgeably service General Motors cars and trucks. Each bulletin contains instructions to assist in the
diagnosis and service of your vehicle.
OWNER’S INFORMATION
Owner publications are written directly for Owners and
intended to provide basic operational information about tht
vehicle. The owner’s manual will include the Maintenance
Schedule for
all models.
In-Portfolio: Includes a Portfolio, Owner’s Manual and
Warranty Booklet. RETAIL SELL PRICE:
$1 5.00
Without Portfolio: Owner’s Manual only.
RETAIL
SELL PRICE: $10.00
CURRENT & PAST MODEL ORDER FORMS
Service Publications are available for current and past model
GM vehicles. To request an order form, please
specify year and model name of the vehicle.