rear CHEVROLET MALIBU 2004 5.G Owners Manual
[x] Cancel search | Manufacturer: CHEVROLET, Model Year: 2004, Model line: MALIBU, Model: CHEVROLET MALIBU 2004 5.GPages: 426, PDF Size: 3.98 MB
Page 1 of 426
Seats and Restraint Systems........................... 1-1
Front Seats
............................................... 1-2
Rear Seats
............................................... 1-7
Safety Belts
.............................................1-10
Child Restraints
.......................................1-31
Air Bag Systems
......................................1-52
Restraint System Check
............................1-60
Features and Controls..................................... 2-1
Keys
........................................................ 2-3
Doors and Locks
......................................2-10
Windows
.................................................2-16
Theft-Deterrent Systems
............................2-18
Starting and Operating Your Vehicle
...........2-22
Mirrors
....................................................2-35
OnStar
®System
......................................2-38
HomeLink®Transmitter
.............................2-40
Storage Areas
.........................................2-44
Sunroof
..................................................2-48
Instrument Panel............................................. 3-1
Instrument Panel Overview
.......................... 3-4
Climate Controls
......................................3-21
Warning Lights, Gages, and Indicators
........3-31Driver Information Center (DIC)
..................3-45
Audio System(s)
.......................................3-52
Driving Your Vehicle....................................... 4-1
Your Driving, the Road, and Your Vehicle
..... 4-2
Towing
...................................................4-31
Service and Appearance Care.......................... 5-1
Service
..................................................... 5-3
Fuel
......................................................... 5-5
Checking Things Under the Hood
...............5-12
Bulb Replacement
....................................5-45
Windshield Wiper Blade Replacement
.........5-49
Tires
......................................................5-50
Appearance Care
.....................................5-78
Vehicle Identication
.................................5-86
Electrical System
......................................5-87
Capacities and Specications
.....................5-96
Maintenance Schedule..................................... 6-1
Maintenance Schedule
................................ 6-2
Customer Assistance and Information.............. 7-1
Customer Assistance and Information
........... 7-2
Reporting Safety Defects
...........................7-11
Index................................................................ 1
2004 Chevrolet Malibu Owner ManualM
Page 7 of 426
Front Seats......................................................1-2
Manual Seats................................................1-2
Six-Way Power Driver Seat..............................1-3
Manual Lumbar..............................................1-3
Heated Seats.................................................1-4
Reclining Seatbacks........................................1-4
Head Restraints.............................................1-6
Passenger Folding Seatback............................1-6
Rear Seats.......................................................1-7
Rear Seat Operation.......................................1-7
Safety Belts...................................................1-10
Safety Belts: They Are for Everyone................1-10
Questions and Answers About Safety Belts......1-14
How to Wear Safety Belts Properly.................1-15
Driver Position..............................................1-16
Safety Belt Use During Pregnancy..................1-23
Right Front Passenger Position.......................1-24
Rear Seat Passengers..................................1-24
Rear Safety Belt Comfort Guides for Children
and Small Adults.......................................1-28
Safety Belt Pretensioners...............................1-30
Safety Belt Extender.....................................1-30
Child Restraints.............................................1-31
Older Children..............................................1-31
Infants and Young Children............................1-34Child Restraint Systems.................................1-38
Where to Put the Restraint.............................1-41
Top Strap....................................................1-42
Top Strap Anchor Location.............................1-43
Lower Anchorages and Top Tethers for
Children (LATCH System)...........................1-44
Securing a Child Restraint Designed for the
LATCH System.........................................1-46
Securing a Child Restraint in a Rear Seat
Position...................................................1-46
Securing a Child Restraint in the Right Front
Seat Position............................................1-49
Air Bag Systems............................................1-52
Where Are the Air Bags?...............................1-54
When Should an Air Bag Inate?....................1-57
What Makes an Air Bag Inate?.....................1-58
How Does an Air Bag Restrain?.....................1-58
What Will You See After an Air Bag Inates?.......1-58
Servicing Your Air Bag-Equipped Vehicle.........1-60
Restraint System Check..................................1-60
Checking Your Restraint Systems...................1-60
Replacing Restraint System Parts After
a Crash...................................................1-61
Section 1 Seats and Restraint Systems
1-1
Page 8 of 426
Front Seats
Manual Seats
{CAUTION:
You can lose control of the vehicle if you try to
adjust a manual driver’s seat while the vehicle
is moving. The sudden movement could startle
and confuse you, or make you push a pedal
when you don’t want to. Adjust the driver’s
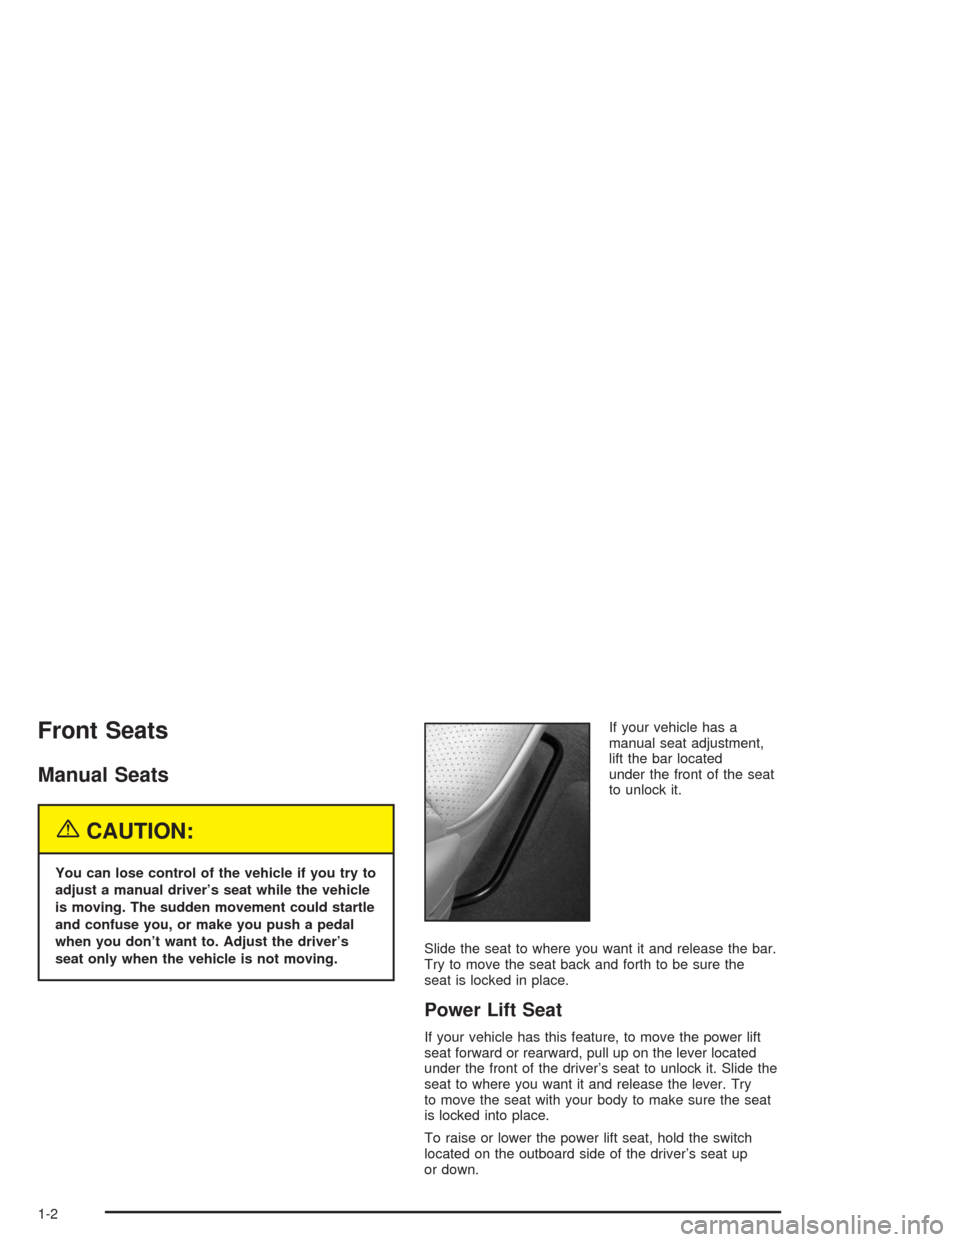
seat only when the vehicle is not moving.If your vehicle has a
manual seat adjustment,
lift the bar located
under the front of the seat
to unlock it.
Slide the seat to where you want it and release the bar.
Try to move the seat back and forth to be sure the
seat is locked in place.
Power Lift Seat
If your vehicle has this feature, to move the power lift
seat forward or rearward, pull up on the lever located
under the front of the driver’s seat to unlock it. Slide the
seat to where you want it and release the lever. Try
to move the seat with your body to make sure the seat
is locked into place.
To raise or lower the power lift seat, hold the switch
located on the outboard side of the driver’s seat up
or down.
1-2
Page 9 of 426
Six-Way Power Driver Seat
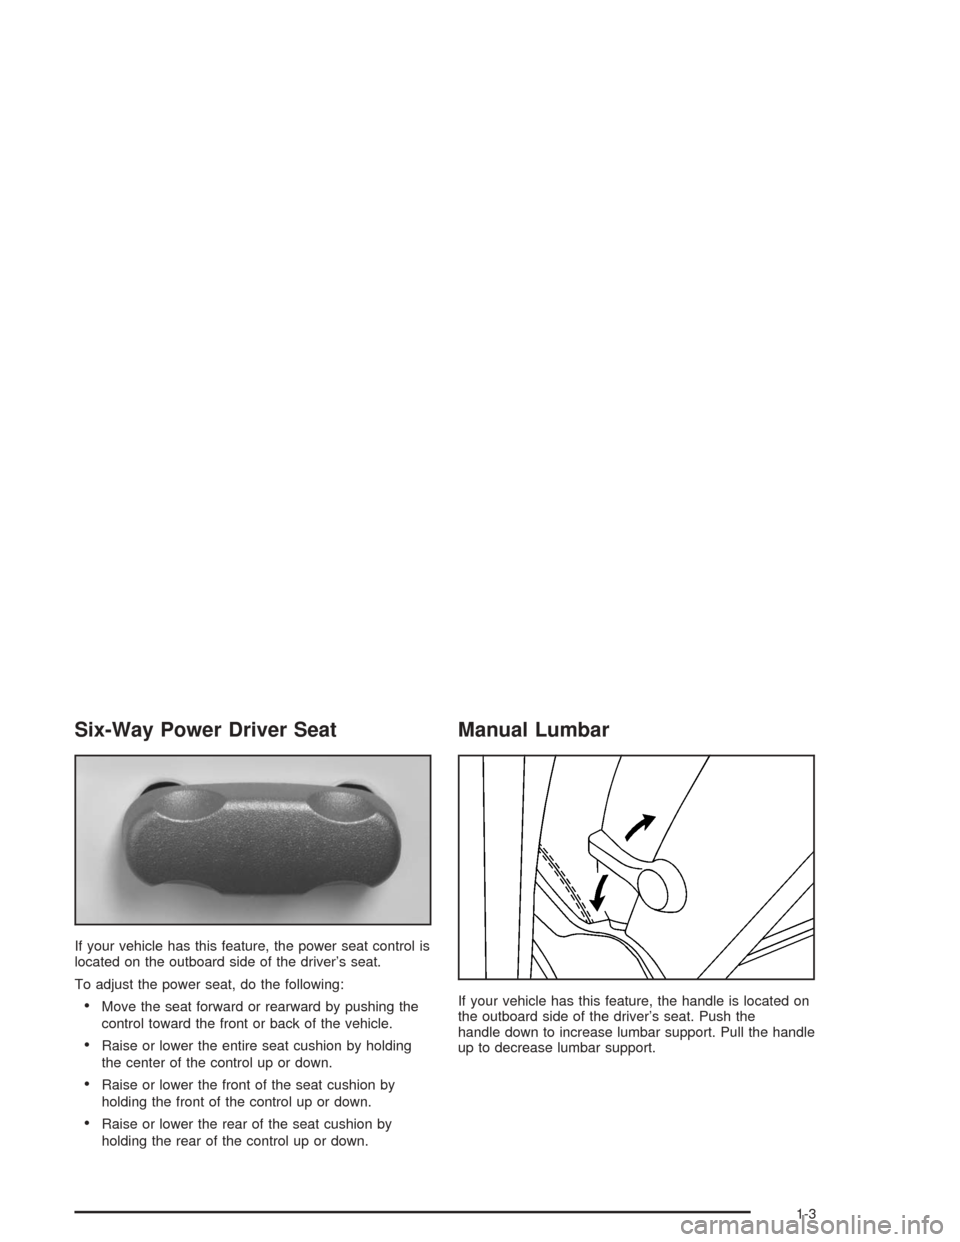
If your vehicle has this feature, the power seat control is
located on the outboard side of the driver’s seat.
To adjust the power seat, do the following:
Move the seat forward or rearward by pushing the
control toward the front or back of the vehicle.
Raise or lower the entire seat cushion by holding
the center of the control up or down.
Raise or lower the front of the seat cushion by
holding the front of the control up or down.
Raise or lower the rear of the seat cushion by
holding the rear of the control up or down.
Manual Lumbar
If your vehicle has this feature, the handle is located on
the outboard side of the driver’s seat. Push the
handle down to increase lumbar support. Pull the handle
up to decrease lumbar support.
1-3
Page 13 of 426
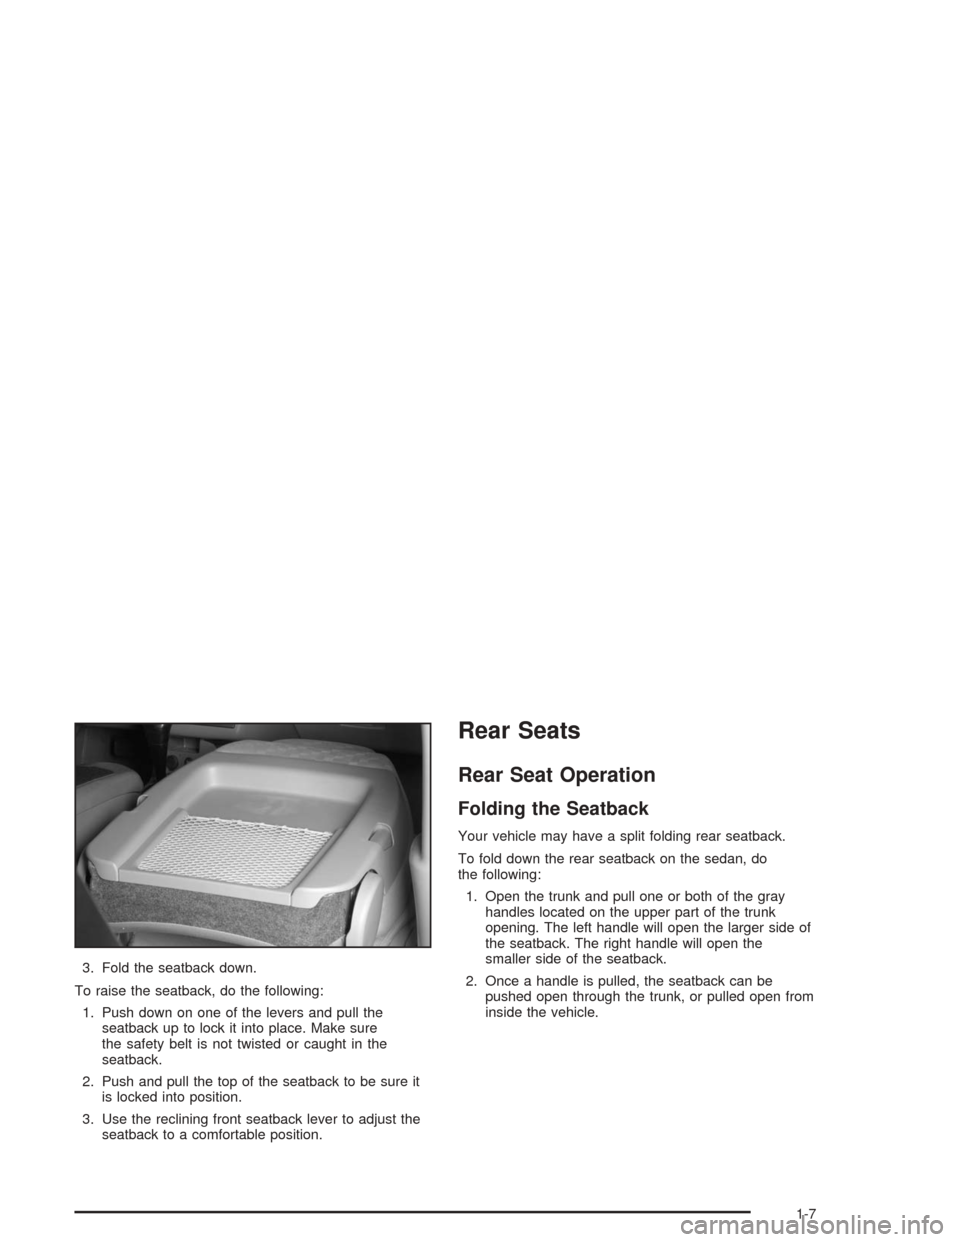
3. Fold the seatback down.
To raise the seatback, do the following:
1. Push down on one of the levers and pull the
seatback up to lock it into place. Make sure
the safety belt is not twisted or caught in the
seatback.
2. Push and pull the top of the seatback to be sure it
is locked into position.
3. Use the reclining front seatback lever to adjust the
seatback to a comfortable position.
Rear Seats
Rear Seat Operation
Folding the Seatback
Your vehicle may have a split folding rear seatback.
To fold down the rear seatback on the sedan, do
the following:
1. Open the trunk and pull one or both of the gray
handles located on the upper part of the trunk
opening. The left handle will open the larger side of
the seatback. The right handle will open the
smaller side of the seatback.
2. Once a handle is pulled, the seatback can be
pushed open through the trunk, or pulled open from
inside the vehicle.
1-7
Page 14 of 426
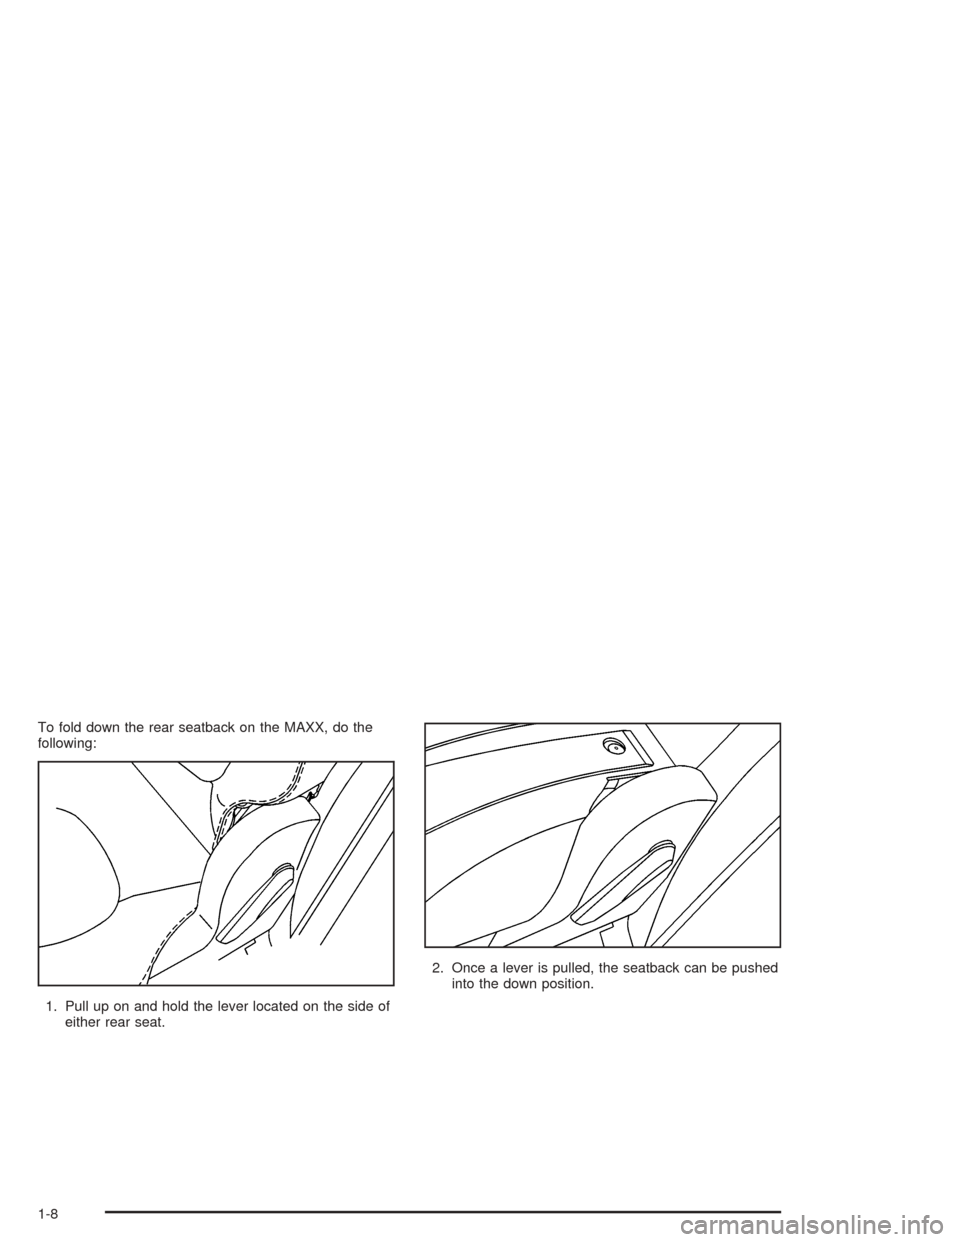
To fold down the rear seatback on the MAXX, do the
following:
1. Pull up on and hold the lever located on the side of
either rear seat.2. Once a lever is pulled, the seatback can be pushed
into the down position.
1-8
Page 15 of 426
{CAUTION:
If the seatback isn’t locked, it could move
forward in a sudden stop or crash. That could
cause injury to the person sitting there. Always
press rearward on the seatback to be sure it is
locked.
{CAUTION:
A safety belt that is improperly routed, not
properly attached, or twisted won’t provide the
protection needed in a crash. The person
wearing the belt could be seriously injured.
After raising the rear seatback, always check
to be sure that the safety belts are properly
routed and attached, and are not twisted.
To return the seatback to the upright position, push the
seatback up until you hear a click. Then pull on the
seatback to make sure it is secure.
Rear Sliding Seat (MAXX Only)
If your vehicle is the MAXX model your rear seat will
slide forward or rearward to allow more cargo space in
the rear.
Lift the bar located under the front of the seat to unlock
the seat. Slide the seat to where you want it and
release the bar. Try to move the seat back and forth to
be sure the seat is locked in place.
If your vehicle has the rear seat entertainment system,
the rear seat should only be moved forward to a
certain point in order to use the DVD player properly.
Slide the rear seat up so the front edge of the seat
cushion is lined up with the mark on the carpet retainer
trim on the oor of the driver’s side rear seat. If the
rear seat is up past the mark, you will not be able
to open the DVD screen.
1-9
Page 30 of 426
The best way to protect the fetus is to protect the
mother. When a safety belt is worn properly, it’s more
likely that the fetus won’t be hurt in a crash. For
pregnant women, as for anyone, the key to making
safety belts effective is wearing them properly.
Right Front Passenger Position
To learn how to wear the right front passenger’s safety
belt properly, seeDriver Position on page 1-16.
The right front passenger’s safety belt works the same
way as the driver’s safety belt – except for one thing.
If you ever pull the shoulder portion of the belt out all the
way, you will engage the child restraint locking feature.
If this happens, just let the belt go back all the way
and start again.
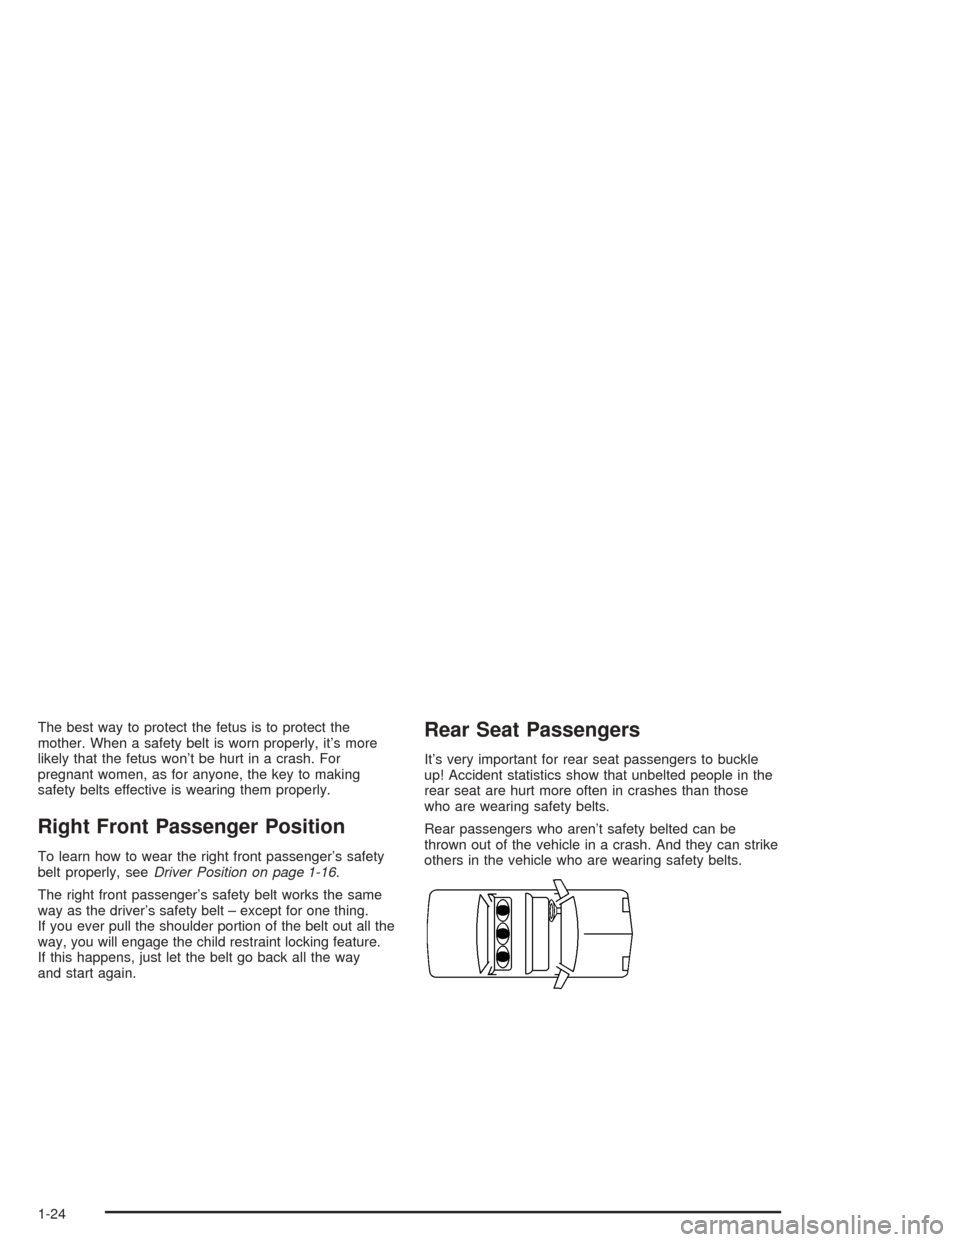
Rear Seat Passengers
It’s very important for rear seat passengers to buckle
up! Accident statistics show that unbelted people in the
rear seat are hurt more often in crashes than those
who are wearing safety belts.
Rear passengers who aren’t safety belted can be
thrown out of the vehicle in a crash. And they can strike
others in the vehicle who are wearing safety belts.
1-24
Page 31 of 426
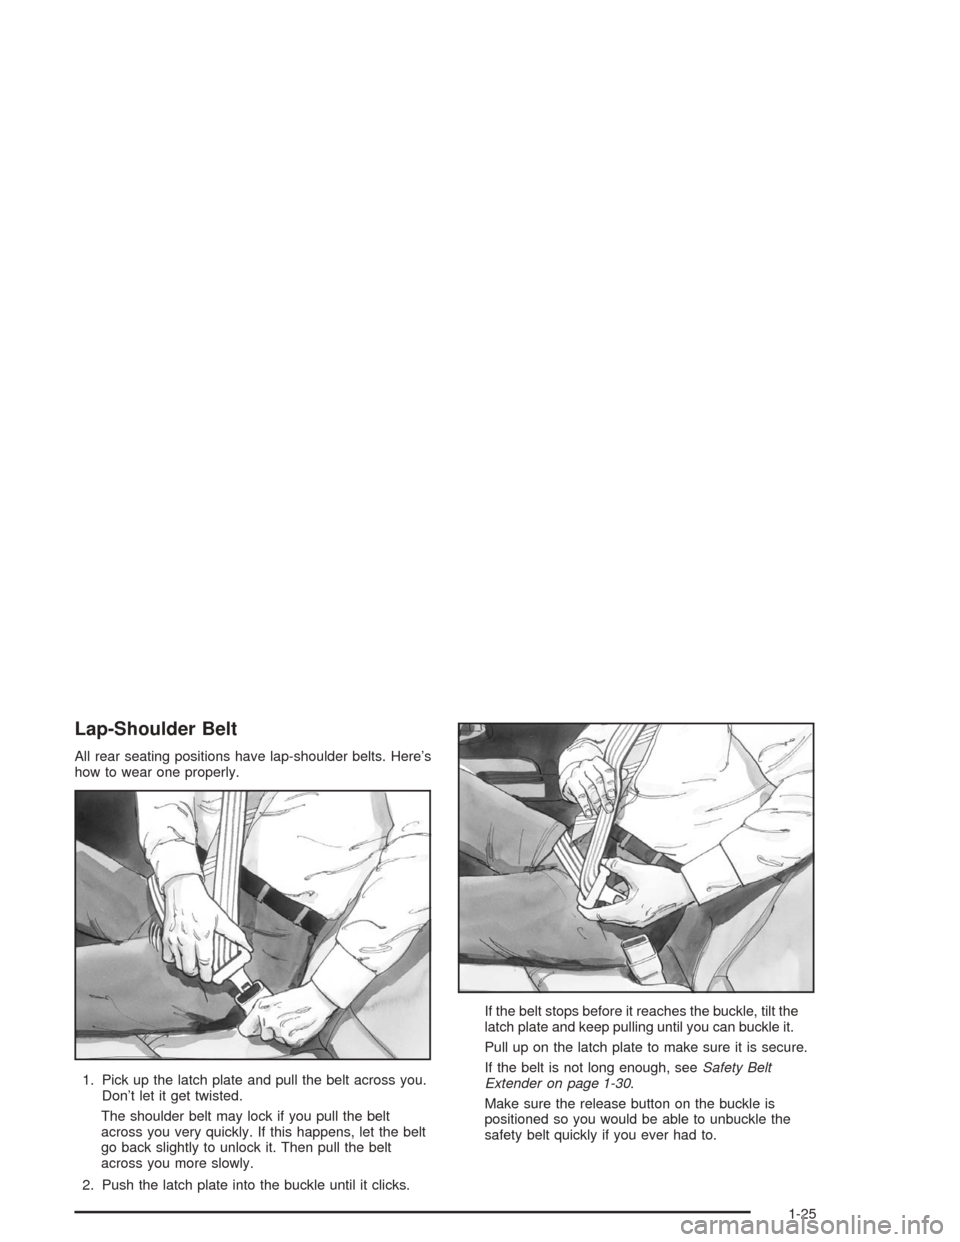
Lap-Shoulder Belt
All rear seating positions have lap-shoulder belts. Here’s
how to wear one properly.
1. Pick up the latch plate and pull the belt across you.
Don’t let it get twisted.
The shoulder belt may lock if you pull the belt
across you very quickly. If this happens, let the belt
go back slightly to unlock it. Then pull the belt
across you more slowly.
2. Push the latch plate into the buckle until it clicks.If the belt stops before it reaches the buckle, tilt the
latch plate and keep pulling until you can buckle it.
Pull up on the latch plate to make sure it is secure.
If the belt is not long enough, seeSafety Belt
Extender on page 1-30.
Make sure the release button on the buckle is
positioned so you would be able to unbuckle the
safety belt quickly if you ever had to.
1-25
Page 34 of 426
Rear Safety Belt Comfort Guides for
Children and Small Adults
Rear shoulder belt comfort guides will provide added
safety belt comfort for older children who have outgrown
booster seats and for small adults. When installed on
a shoulder belt, the comfort guide better positions
the belt away from the neck and head.
There is one guide for each outside passenger position
in the rear seat. To provide added safety belt comfort
for children who have outgrown child restraints and
booster seats and for smaller adults, the comfort guides
may be installed on the shoulder belts. Here is how
to install a comfort guide and use the safety belt:
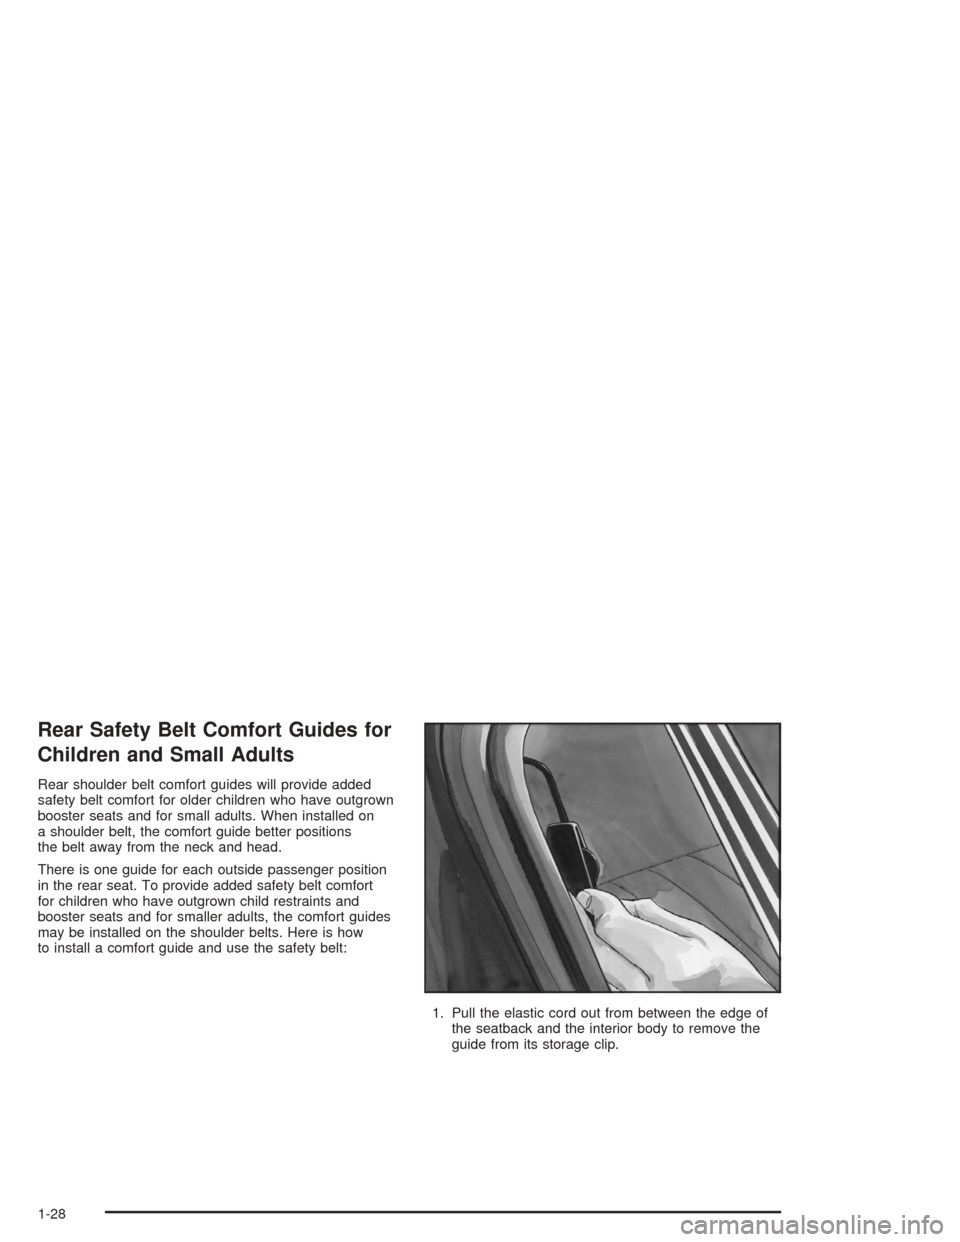
1. Pull the elastic cord out from between the edge of
the seatback and the interior body to remove the
guide from its storage clip.
1-28