change wheel CHEVROLET MALIBU 2005 5.G Owners Manual
[x] Cancel search | Manufacturer: CHEVROLET, Model Year: 2005, Model line: MALIBU, Model: CHEVROLET MALIBU 2005 5.GPages: 434, PDF Size: 2.61 MB
Page 106 of 434
Adjustable Throttle and Brake Pedal
If your vehicle has this feature, you can change the
position of the throttle and brake pedals. This feature is
designed for shorter drivers, since the pedals cannot
move farther away from the standard position, but can
move rearward for better pedal reach.
The vehicle must be in PARK (P) or have the ignition off
for this feature to operate. If the system senses unusually
high resistance while the pedals are being adjusted, such
as a driver’s foot pushing the brake pedal, it is designed
to disable the switch. Simply remove the obstruction and
try to adjust the pedals again.
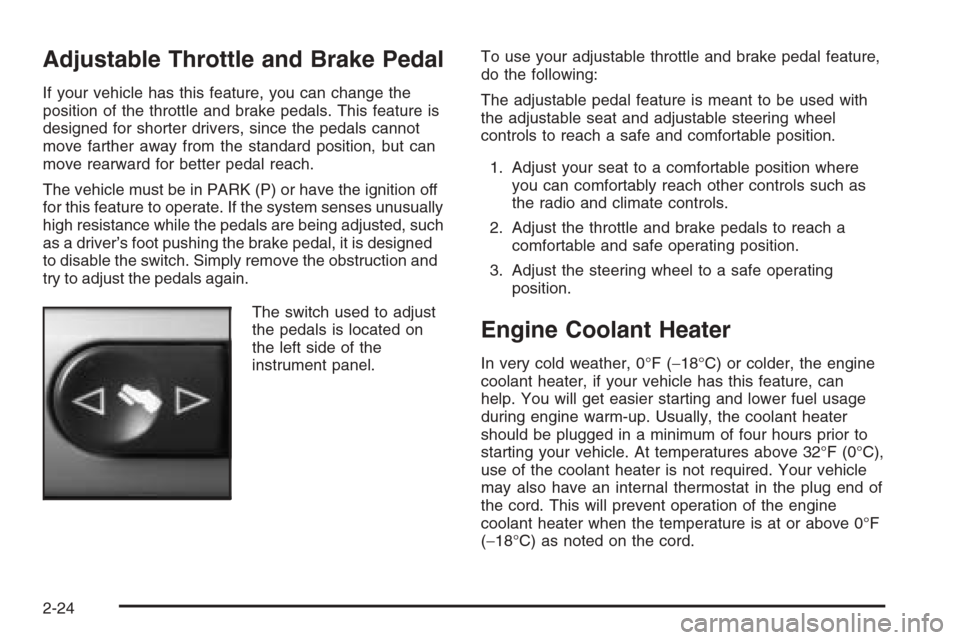
The switch used to adjust
the pedals is located on
the left side of the
instrument panel.To use your adjustable throttle and brake pedal feature,
do the following:
The adjustable pedal feature is meant to be used with
the adjustable seat and adjustable steering wheel
controls to reach a safe and comfortable position.
1. Adjust your seat to a comfortable position where
you can comfortably reach other controls such as
the radio and climate controls.
2. Adjust the throttle and brake pedals to reach a
comfortable and safe operating position.
3. Adjust the steering wheel to a safe operating
position.
Engine Coolant Heater
In very cold weather, 0°F (−18°C) or colder, the engine
coolant heater, if your vehicle has this feature, can
help. You will get easier starting and lower fuel usage
during engine warm-up. Usually, the coolant heater
should be plugged in a minimum of four hours prior to
starting your vehicle. At temperatures above 32°F (0°C),
use of the coolant heater is not required. Your vehicle
may also have an internal thermostat in the plug end of
the cord. This will prevent operation of the engine
coolant heater when the temperature is at or above 0°F
(−18°C) as noted on the cord.
2-24
Page 131 of 434
Instrument Panel Overview...............................3-4
Hazard Warning Flashers................................3-6
Other Warning Devices...................................3-6
Horn .............................................................3-6
Tilt Wheel.....................................................3-7
Turn Signal/Multifunction Lever.........................3-7
Turn and Lane-Change Signals........................3-8
Headlamp High/Low-Beam Changer..................3-8
Flash-to-Pass.................................................3-8
Windshield Wipers..........................................3-9
Windshield Washer.......................................3-10
Cruise Control..............................................3-10
Exterior Lamps.............................................3-13
Headlamps on Reminder................................3-16
Headlamps Off in PARK (P)...........................3-16
Delayed Headlamps......................................3-16
Daytime Running Lamps (DRL).......................3-16
Automatic Headlamp System..........................3-17
Fog Lamps ..................................................3-18
Instrument Panel Brightness...........................3-18
Dome Lamp .................................................3-18
Entry/Exit Lighting.........................................3-19
Front Reading Lamps....................................3-19
Rear Reading Lamps....................................3-19
Trunk Lamp.................................................3-19Cargo Lamp.................................................3-19
Battery Run-Down Protection..........................3-20
Accessory Power Outlet(s).............................3-20
Climate Controls............................................3-21
Climate Control System.................................3-21
Automatic Climate Control System...................3-25
Outlet Adjustment.........................................3-29
Warning Lights, Gages, and Indicators............3-30
Instrument Panel Cluster................................3-31
Speedometer and Odometer...........................3-32
Trip Odometer..............................................3-32
Tachometer.................................................3-32
Safety Belt Reminder Light.............................3-33
Passenger Safety Belt Reminder Light.............3-33
Airbag Readiness Light..................................3-34
Passenger Airbag Status Indicator...................3-35
Charging System Light..................................3-37
Brake System Warning Light..........................3-37
Anti-Lock Brake System Warning Light.............3-38
Enhanced Traction System Warning Light.........3-39
Enhanced Traction System Active Light............3-39
Engine Coolant Temperature Warning Light......3-40
Engine Coolant Temperature Gage..................3-40
Malfunction Indicator Lamp.............................3-41
Section 3 Instrument Panel
3-1
Page 137 of 434
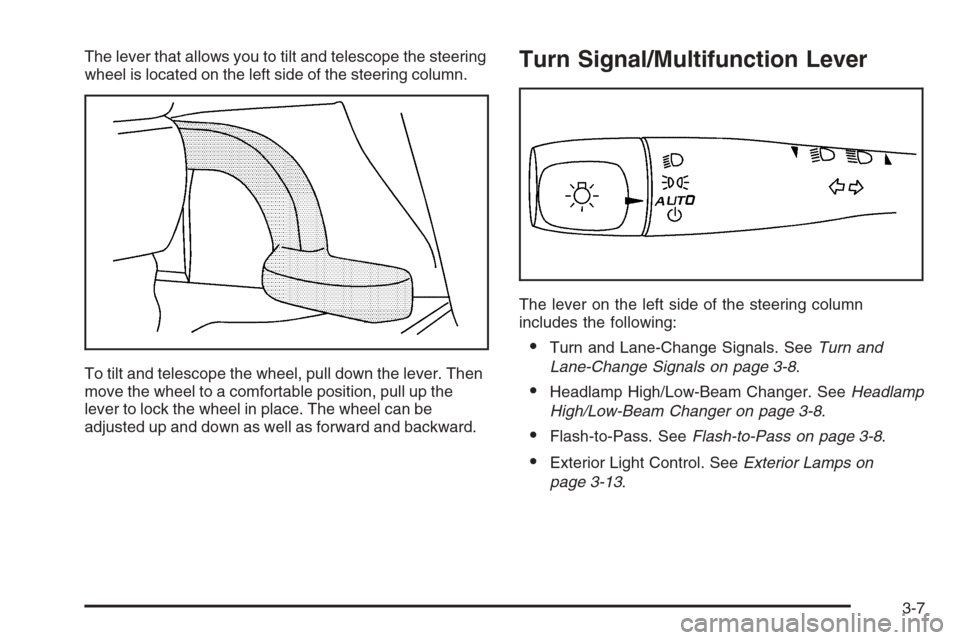
The lever that allows you to tilt and telescope the steering
wheel is located on the left side of the steering column.
To tilt and telescope the wheel, pull down the lever. Then
move the wheel to a comfortable position, pull up the
lever to lock the wheel in place. The wheel can be
adjusted up and down as well as forward and backward.Turn Signal/Multifunction Lever
The lever on the left side of the steering column
includes the following:
Turn and Lane-Change Signals. SeeTurn and
Lane-Change Signals on page 3-8.
Headlamp High/Low-Beam Changer. SeeHeadlamp
High/Low-Beam Changer on page 3-8.
Flash-to-Pass. SeeFlash-to-Pass on page 3-8.
Exterior Light Control. SeeExterior Lamps on
page 3-13.
3-7
Page 141 of 434
Cruise Control
If your vehicle has cruise control, you can maintain a
speed of about 25 mph (40 km/h) or more without
keeping your foot on the accelerator. This can really
help on long trips. Cruise control does not work at
speeds below 25 mph (40 km/h).
{CAUTION:
Cruise control can be dangerous where you
cannot drive safely at a steady speed. So, do
not use your cruise control on winding roads
or in heavy traffic.
Cruise control can be dangerous on slippery
roads. On such roads, fast changes in tire
traction can cause needless wheel spinning,
and you could lose control. Do not use cruise
control on slippery roads.
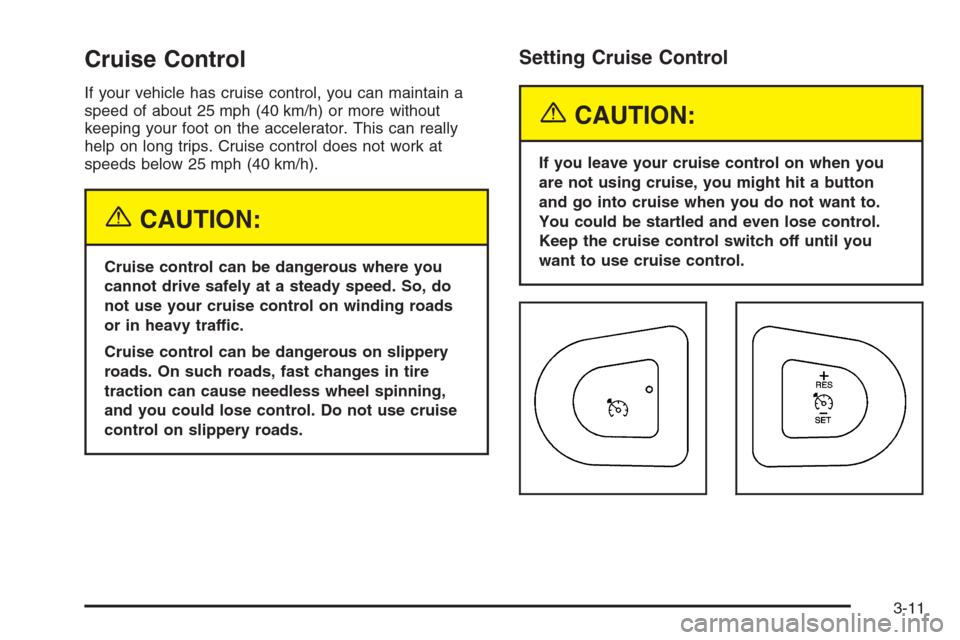
Setting Cruise Control
{CAUTION:
If you leave your cruise control on when you
are not using cruise, you might hit a button
and go into cruise when you do not want to.
You could be startled and even lose control.
Keep the cruise control switch off until you
want to use cruise control.
3-11
Page 148 of 434
There is a delay in the transition between the daytime
and nighttime operation of the automatic lamp control
system so that driving under bridges or bright overhead
street lights does not affect the system. The automatic
lamp control system will only be affected when the
light sensor sees a change in lighting lasting longer
than this delay.
If you start your vehicle in a dark garage, the automatic
lamp system will come on immediately. Once you
leave the garage, it will take about one minute for
the automatic lamp system to change to DRL if it is light
outside. During that delay, your instrument panel
cluster may not be as bright as usual. Make sure
your instrument panel brightness control is in the full
bright position. SeeInstrument Panel Brightness
on page 3-19.
To idle your vehicle with the system off, turn the
ignition on and rotate the exterior light switch to the
off/on position. For Canadian vehicles, the transaxle
must stay in PARK (P) for this function.
As with any vehicle, you should turn on the regular
headlamps when you need them.Fog Lamps
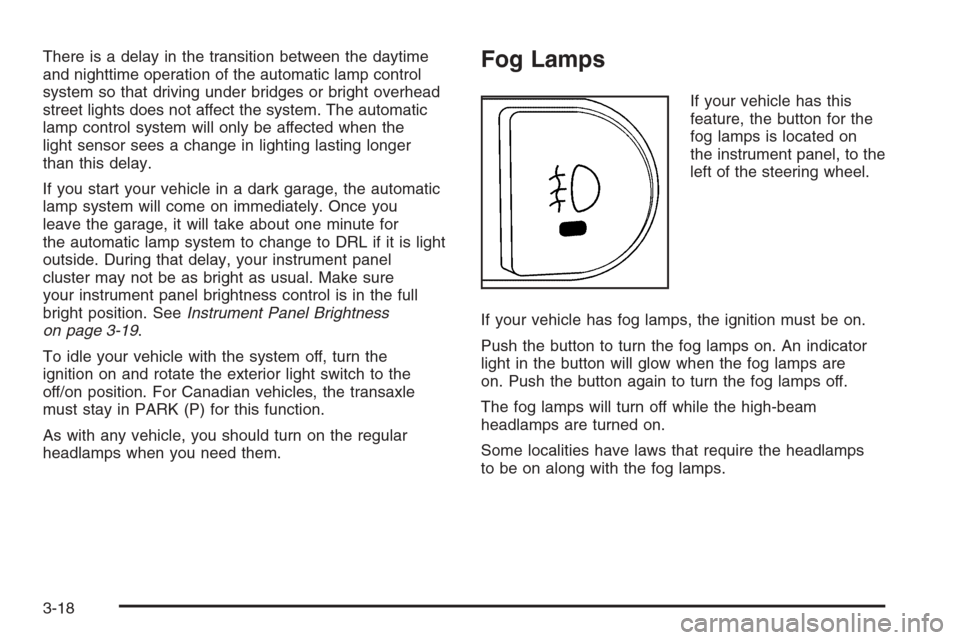
If your vehicle has this
feature, the button for the
fog lamps is located on
the instrument panel, to the
left of the steering wheel.
If your vehicle has fog lamps, the ignition must be on.
Push the button to turn the fog lamps on. An indicator
light in the button will glow when the fog lamps are
on. Push the button again to turn the fog lamps off.
The fog lamps will turn off while the high-beam
headlamps are turned on.
Some localities have laws that require the headlamps
to be on along with the fog lamps.
3-18
Page 161 of 434
If your vehicle has the remote start feature, the rear
defogger and heated mirrors will automatically be
turned on if it is cold outside. The indicator light will
not be on. When the vehicle transitions out of remote
start mode the rear defogger and heated mirrors will
turn off.
Notice:Do not use a razor blade or sharp object
to clear the inside rear window. Do not adhere
anything to the defogger grid lines in the rear glass.
These actions may damage the rear defogger.
Repairs would not be covered by your warranty.
Outlet Adjustment
Use the thumbwheels on the air outlets, located on the
center and on the sides of the instrument panel, to
change the horizontal direction of the air�ow. Use the
tabs on the outlet vanes to change the vertical direction
of the air�ow. Use the tabs on the outlet vanes to
shut off air�ow to the outlets.
The two upper outlets in the center of the instrument
panel are dedicated to the rear seats. These outlets
are �xed to aim air�ow into the rear seats to help
cool the rear occupants in hot weather. Air�ow can
be shut off at the upper outlets by turning the vertical
thumbwheel. The louvers are �xed, do not attempt
to move them or they may break.
Operation Tips
Clear away any ice, snow or leaves from the air
inlets at the base of the windshield that may
block the �ow of air into your vehicle.
Use of non-GM approved hood de�ectors may
adversely affect performance of the system.
Keep the path under the front seats clear of objects
to help circulate the air inside of your vehicle more
effectively.
When an objectionable odor outside the vehicle
is encountered, use the recirculation mode, with
the temperature knob at a comfortable setting
to prevent the odor from entering the vehicle through
the ventilation system. This can be helpful when
driving through a long tunnel with poor ventilation.
However, extended usage of this mode in cold or
cool weather can cause window fogging.
3-31
Page 253 of 434
Audio Steering Wheel Controls
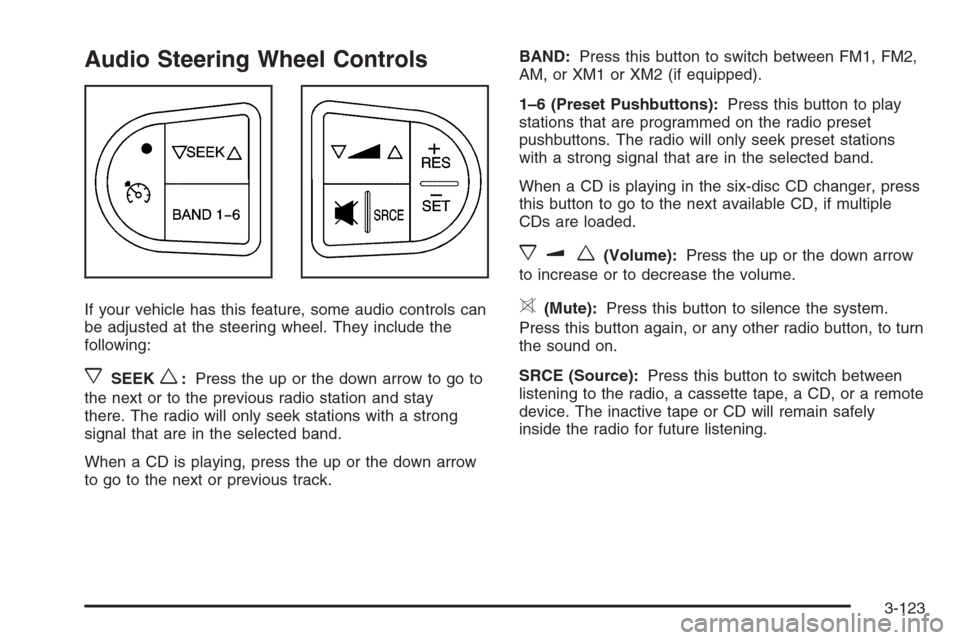
If your vehicle has this feature, some audio controls can
be adjusted at the steering wheel. They include the
following:
xSEEKw:Press the up or the down arrow to go to
the next or to the previous radio station and stay
there. The radio will only seek stations with a strong
signal that are in the selected band.
When a CD is playing, press the up or the down arrow
to go to the next or previous track.BAND:Press this button to switch between FM1, FM2,
AM, or XM1 or XM2 (if equipped).
1–6 (Preset Pushbuttons):Press this button to play
stations that are programmed on the radio preset
pushbuttons. The radio will only seek preset stations
with a strong signal that are in the selected band.
When a CD is playing in the six-disc CD changer, press
this button to go to the next available CD, if multiple
CDs are loaded.
xuw(Volume):Press the up or the down arrow
to increase or to decrease the volume.
>(Mute):Press this button to silence the system.
Press this button again, or any other radio button, to turn
the sound on.
SRCE (Source):Press this button to switch between
listening to the radio, a cassette tape, a CD, or a remote
device. The inactive tape or CD will remain safely
inside the radio for future listening.
3-123
Page 263 of 434
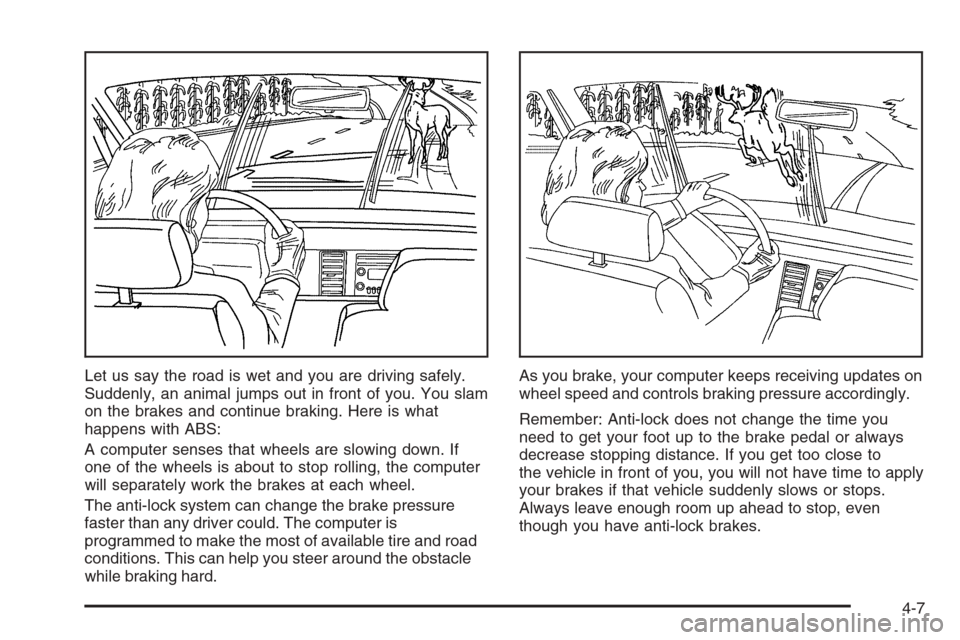
Let us say the road is wet and you are driving safely.
Suddenly, an animal jumps out in front of you. You slam
on the brakes and continue braking. Here is what
happens with ABS:
A computer senses that wheels are slowing down. If
one of the wheels is about to stop rolling, the computer
will separately work the brakes at each wheel.
The anti-lock system can change the brake pressure
faster than any driver could. The computer is
programmed to make the most of available tire and road
conditions. This can help you steer around the obstacle
while braking hard.As you brake, your computer keeps receiving updates on
wheel speed and controls braking pressure accordingly.
Remember: Anti-lock does not change the time you
need to get your foot up to the brake pedal or always
decrease stopping distance. If you get too close to
the vehicle in front of you, you will not have time to apply
your brakes if that vehicle suddenly slows or stops.
Always leave enough room up ahead to stop, even
though you have anti-lock brakes.
4-7
Page 266 of 434
Steering
Electric Power Steering
If the engine stalls while you are driving, the power
steering assist system will continue to operate until you
are able to stop your vehicle. If you lose power
steering assist because the electric power steering
system is not functioning, you can steer, but it will take
more effort.
If you turn the steering wheel in either direction several
times until it stops, or hold the steering wheel in the
stopped position for an extended amount of time, you
may notice a reduced amount of power steering
assist. The normal amount of power steering assist
should return shortly after a few normal steering
movements.
The electric power steering system does not require
regular maintenance. If you suspect steering system
problems, contact your dealer for service repairs.
SeeDIC Warnings and Messages on page 3-52and
Service Vehicle Soon Light on page 3-45.
Steering Tips
Driving on Curves
It is important to take curves at a reasonable speed.
A lot of the “driver lost control” accidents mentioned on
the news happen on curves. Here is why:
Experienced driver or beginner, each of us is subject to
the same laws of physics when driving on curves.
The traction of the tires against the road surface makes
it possible for the vehicle to change its path when
you turn the front wheels. If there is no traction, inertia
will keep the vehicle going in the same direction. If
you have ever tried to steer a vehicle on wet ice, you
will understand this.
The traction you can get in a curve depends on the
condition of your tires and the road surface, the angle at
which the curve is banked, and your speed. While
you are in a curve, speed is the one factor you
can control.
Suppose you are steering through a sharp curve.
Then you suddenly apply the brakes. Both control
systems — steering and braking — have to do their work
where the tires meet the road. Unless you have
four-wheel anti-lock brakes, adding the hard braking can
demand too much of those places. You can lose control.
4-10
Page 270 of 434
Check your mirrors, glance over your shoulder, and
start your left lane change signal before moving out
of the right lane to pass. When you are far
enough ahead of the passed vehicle to see its front
in your inside mirror, activate your right lane
change signal and move back into the right lane.
Remember that your right outside mirror is convex.
The vehicle you just passed may seem to be
farther away from you than it really is.
Try not to pass more than one vehicle at a time on
two-lane roads. Reconsider before passing the
next vehicle.
Do not overtake a slowly moving vehicle too rapidly.
Even though the brake lamps are not �ashing, it
may be slowing down or starting to turn.
If you are being passed, make it easy for the
following driver to get ahead of you. Perhaps
you can ease a little to the right.
Loss of Control
Let us review what driving experts say about what
happens when the three control systems — brakes,
steering, and acceleration — do not have enough
friction where the tires meet the road to do what the driver
has asked.
In any emergency, do not give up. Keep trying to steer
and constantly seek an escape route or area of less
danger.
Skidding
In a skid, a driver can lose control of the vehicle.
Defensive drivers avoid most skids by taking reasonable
care suited to existing conditions, and by not overdriving
those conditions. But skids are always possible.
The three types of skids correspond to your vehicle’s
three control systems. In the braking skid, your wheels
are not rolling. In the steering or cornering skid, too much
speed or steering in a curve causes tires to slip and lose
cornering force. And in the acceleration skid, too much
throttle causes the driving wheels to spin.
A cornering skid and an acceleration skid are best
handled by easing your foot off the accelerator pedal.
4-14