instrument panel CHEVROLET MALIBU 2015 8.G User Guide
[x] Cancel search | Manufacturer: CHEVROLET, Model Year: 2015, Model line: MALIBU, Model: CHEVROLET MALIBU 2015 8.GPages: 399, PDF Size: 5.55 MB
Page 75 of 399
Black plate (22,1)Chevrolet Malibu Owner Manual (GMNA-Localizing-U.S./Canada/Mexico-
7575972) - 2015 - crc - 4/1/14
3-22 Seats and Restraints
It depends on what is hit, the
direction of the impact, and how
quickly the vehicle slows down.
Frontal airbags may inflate at
different crash speeds depending on
whether the vehicle hits an object
straight on or at an angle, and
whether the object is fixed or
moving, rigid or deformable, narrow
or wide.
Frontal airbags are not intended to
inflate during vehicle rollovers, in
rear impacts, or in many side
impacts.
In addition, the vehicle has
advanced technology frontal
airbags. Advanced technology
frontal airbags adjust the restraint
according to crash severity.
Knee airbags are designed to inflate
in moderate to severe frontal or
near frontal impacts. Knee airbags
are not designed to inflate during
vehicle rollovers, in rear impacts,
or in many side impacts.Seat-mounted side impact airbags
are designed to inflate in moderate
to severe side crashes depending
on the location of the impact.
Seat-mounted side impact airbags
are not designed to inflate in frontal
impacts, near frontal impacts,
rollovers, or rear impacts.
A seat-mounted side impact airbag
is designed to inflate on the side of
the vehicle that is struck.
Roof-rail airbags are designed to
inflate in moderate to severe side
crashes depending on the location
of the impact. In addition, these
roof-rail airbags are designed to
inflate during a rollover or in a
severe frontal impact. Roof-rail
airbags are not designed to inflate in
rear impacts. Both roof-rail airbags
will inflate when either side of the
vehicle is struck, if the sensing
system predicts that the vehicle is
about to roll over on its side, or in a
severe frontal impact.
In any particular crash, no one can
say whether an airbag should have
inflated simply because of the
vehicle damage or repair costs.
What Makes an Airbag
Inflate?
In a deployment event, the sensing
system sends an electrical signal
triggering a release of gas from the
inflator. Gas from the inflator fills the
airbag causing the bag to break out
of the cover. The inflator, the airbag,
and related hardware are all part of
the airbag module.
For airbag locations, see
Where Are
the Airbags? on page 3-20.
How Does an Airbag
Restrain?
In moderate to severe frontal or
near frontal collisions, even belted
occupants can contact the steering
wheel or the instrument panel. In
Page 81 of 399
Black plate (28,1)Chevrolet Malibu Owner Manual (GMNA-Localizing-U.S./Canada/Mexico-
7575972) - 2015 - crc - 4/1/14
3-28 Seats and Restraints
2. Remove any additional materialfrom the seat, such as blankets,
cushions, seat covers, seat
heaters, or seat massagers.
Also, remove laptops, or other
electronic devices.
3. Place the seatback in the fully upright position.
4. Have the person sit upright in the seat, centered on the seat
cushion, with legs comfortably
extended.
5. Restart the vehicle and have the person remain in this position for
two to three minutes after the on
indicator is lit.
{Warning
If the front outboard passenger
airbag is turned off for an
adult-sized occupant, the airbag
will not be able to inflate and help
protect that person in a crash,
resulting in an increased risk of
(Continued)
Warning (Continued)
serious injury or even death. An
adult-sized occupant should not
ride in the front outboard
passenger seat, if the passenger
airbag off indicator is lit.
Additional Factors Affecting
System Operation
Safety belts help keep the
passenger in position on the seat
during vehicle maneuvers and
braking, which helps the passenger
sensing system maintain the
passenger airbag status. See
“Safety Belts”and“Child Restraints”
in the Index for additional
information about the importance of
proper restraint use.
A thick layer of additional material,
such as a blanket or cushion,
or aftermarket equipment such as
seat covers, seat heaters, and seat
massagers can affect how well the
passenger sensing system operates. We recommend that you
not use seat covers or other
aftermarket equipment except when
approved by GM for your specific
vehicle. See
Adding Equipment to
the Airbag-Equipped Vehicle on
page 3-29 for more information
about modifications that can affect
how the system operates.
A wet seat can affect the
performance of the passenger
sensing system. Here is how:.The passenger sensing system
may turn off the passenger
airbag(s) when liquid is soaked
into the seat. If this happens, the
off indicator will be lit, and the
airbag readiness light on the
instrument panel will also be lit.
.Liquid pooled on the seat that
has not soaked in may make it
more likely that the passenger
sensing system will turn on the
passenger airbag(s) while a
child restraint or child occupant
Page 82 of 399
Black plate (29,1)Chevrolet Malibu Owner Manual (GMNA-Localizing-U.S./Canada/Mexico-
7575972) - 2015 - crc - 4/1/14
Seats and Restraints 3-29
is on the seat. If the passenger
airbag(s) are turned on, the on
indicator will be lit.
If the passenger seat gets wet, dry
the seat immediately. If the airbag
readiness light is lit, do not install a
child restraint or allow anyone to
occupy the seat. See Airbag
Readiness Light on page 5-11 for
important safety information.
The on indicator may be lit if an
object, such as a briefcase,
handbag, grocery bag, laptop,
or other electronic device is put on
an unoccupied seat. If this is not
desired remove the object from
the seat.
{Warning
Stowing of articles under the
passenger seat or between the
passenger seat cushion and
seatback may interfere with the
proper operation of the passenger
sensing system.
Servicing the
Airbag-Equipped Vehicle
Airbags affect how the vehicle
should be serviced. There are parts
of the airbag system in several
places around the vehicle. Your
dealer and the service manual have
information about servicing the
vehicle and the airbag system. To
purchase a service manual, see
Service Publications Ordering
Information on page 13-11.
{Warning
For up to 10 seconds after the
vehicle is turned off and the
battery is disconnected, an airbag
can still inflate during improper
service. You can be injured if you
are close to an airbag when it
inflates. Avoid yellow connectors.
They are probably part of the
airbag system. Be sure to follow
(Continued)
Warning (Continued)
proper service procedures, and
make sure the person performing
work for you is qualified to do so.
Adding Equipment to the
Airbag-Equipped Vehicle
Adding accessories that change the
vehicle's frame, bumper system,
height, front end, or side sheet
metal, may keep the airbag system
from working properly. The
operation of the airbag system can
also be affected by changing any
parts of the front seats, safety belts,
the airbag sensing and diagnostic
module, steering wheel, instrument
panel, any of the airbag modules,
ceiling or pillar garnish trim, front
sensors, side impact sensors,
or airbag wiring.
Page 106 of 399
Black plate (1,1)Chevrolet Malibu Owner Manual (GMNA-Localizing-U.S./Canada/Mexico-
7575972) - 2015 - crc - 4/1/14
Storage 4-1
Storage
Storage Compartments
Storage Compartments . . . . . . . 4-1
Instrument Panel Storage . . . . . 4-1
Glove Box . . . . . . . . . . . . . . . . . . . . 4-1
Cupholders . . . . . . . . . . . . . . . . . . . 4-2
Center Console Storage . . . . . . 4-2
Additional Storage Features
Cargo Tie-Downs . . . . . . . . . . . . . 4-2
Convenience Net . . . . . . . . . . . . . 4-2
Storage
Compartments
{Warning
Do not store heavy or sharp
objects in storage compartments.
In a crash, these objects may
cause the cover to open and
could result in injury.
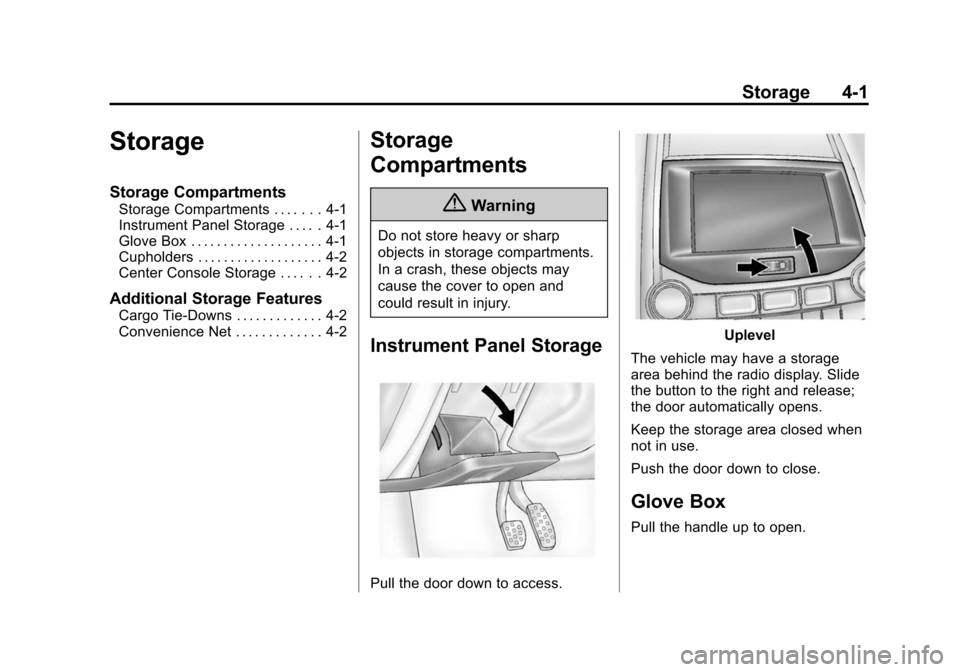
Instrument Panel Storage
Pull the door down to access.
Uplevel
The vehicle may have a storage
area behind the radio display. Slide
the button to the right and release;
the door automatically opens.
Keep the storage area closed when
not in use.
Push the door down to close.
Glove Box
Pull the handle up to open.
Page 122 of 399
Black plate (15,1)Chevrolet Malibu Owner Manual (GMNA-Localizing-U.S./Canada/Mexico-
7575972) - 2015 - crc - 4/1/14
Instruments and Controls 5-15
Emissions Inspection and
Maintenance Programs
Depending on where you live, your
vehicle may be required to
participate in an emission control
system inspection and maintenance
program. For the inspection, the
emission system test equipment will
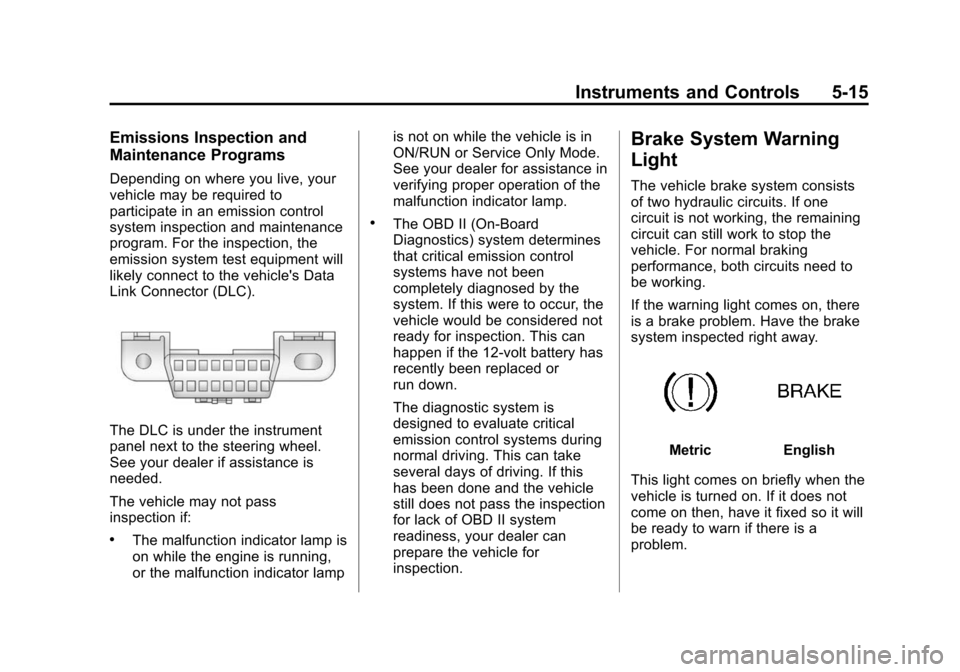
likely connect to the vehicle's Data
Link Connector (DLC).
The DLC is under the instrument
panel next to the steering wheel.
See your dealer if assistance is
needed.
The vehicle may not pass
inspection if:
.The malfunction indicator lamp is
on while the engine is running,
or the malfunction indicator lampis not on while the vehicle is in
ON/RUN or Service Only Mode.
See your dealer for assistance in
verifying proper operation of the
malfunction indicator lamp.
.The OBD II (On-Board
Diagnostics) system determines
that critical emission control
systems have not been
completely diagnosed by the
system. If this were to occur, the
vehicle would be considered not
ready for inspection. This can
happen if the 12-volt battery has
recently been replaced or
run down.
The diagnostic system is
designed to evaluate critical
emission control systems during
normal driving. This can take
several days of driving. If this
has been done and the vehicle
still does not pass the inspection
for lack of OBD II system
readiness, your dealer can
prepare the vehicle for
inspection.
Brake System Warning
Light
The vehicle brake system consists
of two hydraulic circuits. If one
circuit is not working, the remaining
circuit can still work to stop the
vehicle. For normal braking
performance, both circuits need to
be working.
If the warning light comes on, there
is a brake problem. Have the brake
system inspected right away.
MetricEnglish
This light comes on briefly when the
vehicle is turned on. If it does not
come on then, have it fixed so it will
be ready to warn if there is a
problem.
Page 150 of 399
Black plate (1,1)Chevrolet Malibu Owner Manual (GMNA-Localizing-U.S./Canada/Mexico-
7575972) - 2015 - crc - 4/1/14
Lighting 6-1
Lighting
Exterior Lighting
Exterior Lamp Controls . . . . . . . . 6-1
Exterior Lamps OffReminder . . . . . . . . . . . . . . . . . . . . 6-2
Headlamp High/Low-Beam Changer . . . . . . . . . . . . . . . . . . . . . 6-2
Flash-to-Pass . . . . . . . . . . . . . . . . . 6-2
Daytime Running Lamps (DRL) . . . . . . . . . . . . . . . . 6-2
Automatic Headlamp System . . . . . . . . . . . . . . . . . . . . . . 6-3
Hazard Warning Flashers . . . . . 6-3
Turn and Lane-Change Signals . . . . . . . . . . . . . . . . . . . . . . 6-4
Fog Lamps . . . . . . . . . . . . . . . . . . . . 6-4
Interior Lighting
Instrument Panel Illumination Control . . . . . . . . . . . . . . . . . . . . . . 6-5
Courtesy Lamps . . . . . . . . . . . . . . 6-5
Dome Lamps . . . . . . . . . . . . . . . . . 6-5
Reading Lamps . . . . . . . . . . . . . . . 6-5
Lighting Features
Entry Lighting . . . . . . . . . . . . . . . . . 6-6
Exit Lighting . . . . . . . . . . . . . . . . . . . 6-6
Battery Load Management . . . . 6-7
Exterior Lighting
Exterior Lamp Controls
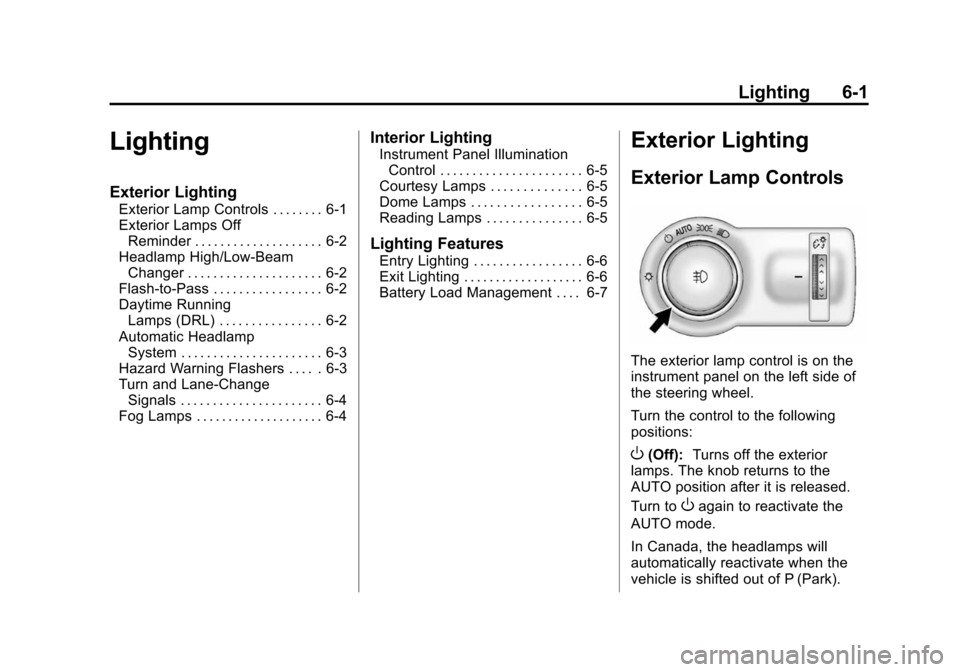
The exterior lamp control is on the
instrument panel on the left side of
the steering wheel.
Turn the control to the following
positions:
O(Off): Turns off the exterior
lamps. The knob returns to the
AUTO position after it is released.
Turn to
Oagain to reactivate the
AUTO mode.
In Canada, the headlamps will
automatically reactivate when the
vehicle is shifted out of P (Park).
Page 151 of 399
Black plate (2,1)Chevrolet Malibu Owner Manual (GMNA-Localizing-U.S./Canada/Mexico-
7575972) - 2015 - crc - 4/1/14
6-2 Lighting
AUTO (Automatic):Automatically
turns the exterior lamps on and off,
depending on outside lighting.
;(Parking Lamps): Turns on the
parking lamps including all lamps,
except the headlamps.
2(Headlamps): Turns on the
headlamps together with the parking
lamps and instrument panel lights.
Exterior Lamps Off
Reminder
A warning chime sounds if the driver
door is opened while the ignition is
off and the exterior lamps are on.
Headlamp High/
Low-Beam Changer
2 3
(Headlamp High/Low-Beam
Changer): Push the turn signal
lever away from you and release, to
turn the high beams on. To return to
low beams, push the lever again or
pull it toward you and release.
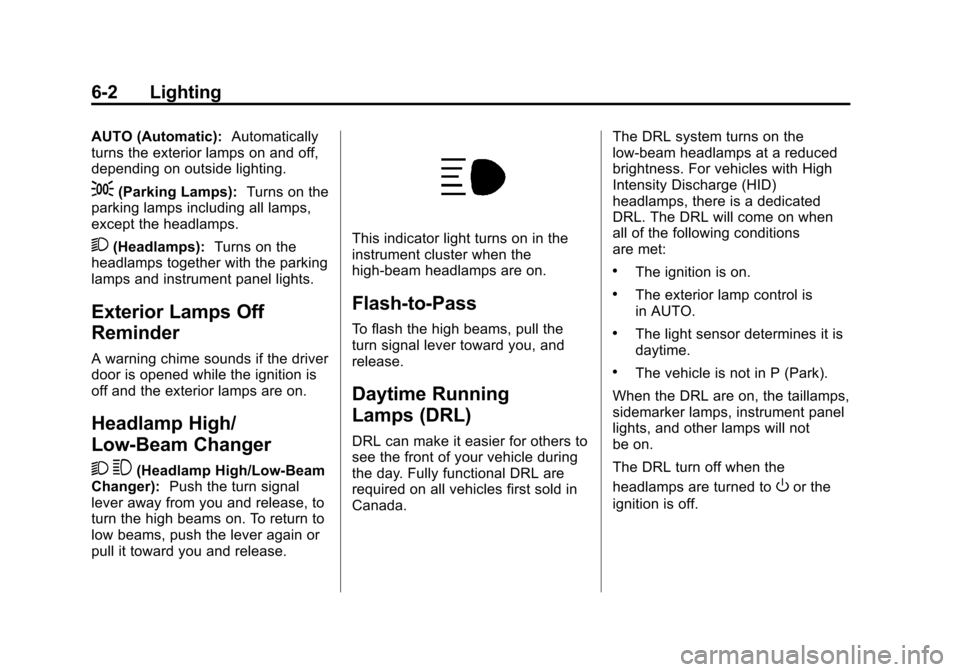
This indicator light turns on in the
instrument cluster when the
high-beam headlamps are on.
Flash-to-Pass
To flash the high beams, pull the
turn signal lever toward you, and
release.
Daytime Running
Lamps (DRL)
DRL can make it easier for others to
see the front of your vehicle during
the day. Fully functional DRL are
required on all vehicles first sold in
Canada. The DRL system turns on the
low-beam headlamps at a reduced
brightness. For vehicles with High
Intensity Discharge (HID)
headlamps, there is a dedicated
DRL. The DRL will come on when
all of the following conditions
are met:
.The ignition is on.
.The exterior lamp control is
in AUTO.
.The light sensor determines it is
daytime.
.The vehicle is not in P (Park).
When the DRL are on, the taillamps,
sidemarker lamps, instrument panel
lights, and other lamps will not
be on.
The DRL turn off when the
headlamps are turned to
Oor the
ignition is off.
Page 152 of 399
Black plate (3,1)Chevrolet Malibu Owner Manual (GMNA-Localizing-U.S./Canada/Mexico-
7575972) - 2015 - crc - 4/1/14
Lighting 6-3
This vehicle may have a DRL
disabling function. When the DRL
are on and a turn signal is activated,
the DRL on that side will be off until
the turn signal goes off.
Automatic Headlamp
System
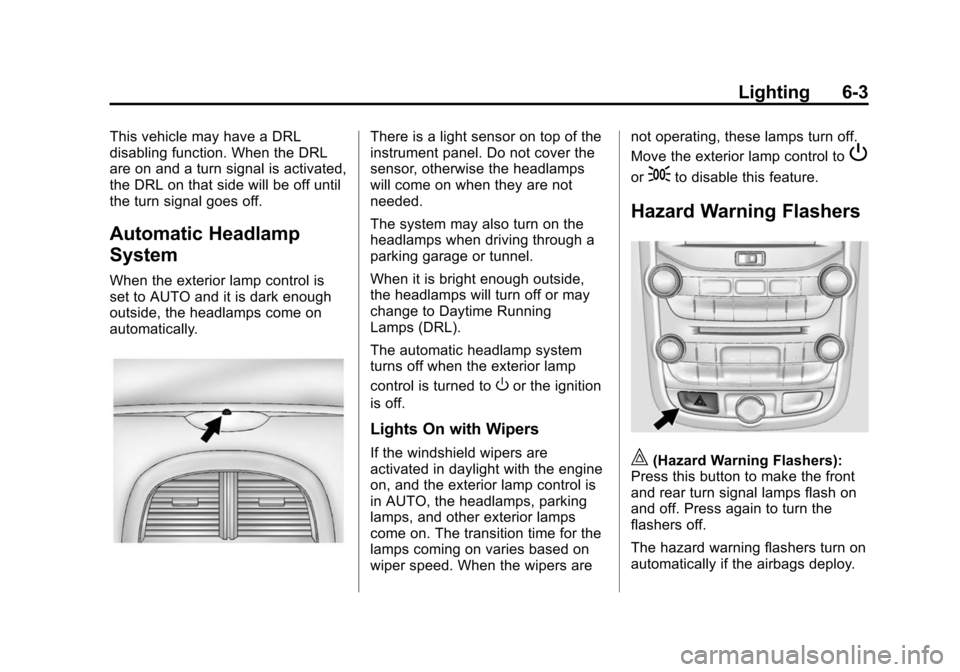
When the exterior lamp control is
set to AUTO and it is dark enough
outside, the headlamps come on
automatically.
There is a light sensor on top of the
instrument panel. Do not cover the
sensor, otherwise the headlamps
will come on when they are not
needed.
The system may also turn on the
headlamps when driving through a
parking garage or tunnel.
When it is bright enough outside,
the headlamps will turn off or may
change to Daytime Running
Lamps (DRL).
The automatic headlamp system
turns off when the exterior lamp
control is turned to
Oor the ignition
is off.
Lights On with Wipers
If the windshield wipers are
activated in daylight with the engine
on, and the exterior lamp control is
in AUTO, the headlamps, parking
lamps, and other exterior lamps
come on. The transition time for the
lamps coming on varies based on
wiper speed. When the wipers are not operating, these lamps turn off.
Move the exterior lamp control to
P
or;to disable this feature.
Hazard Warning Flashers
|(Hazard Warning Flashers):
Press this button to make the front
and rear turn signal lamps flash on
and off. Press again to turn the
flashers off.
The hazard warning flashers turn on
automatically if the airbags deploy.
Page 154 of 399
Black plate (5,1)Chevrolet Malibu Owner Manual (GMNA-Localizing-U.S./Canada/Mexico-
7575972) - 2015 - crc - 4/1/14
Lighting 6-5
Interior Lighting
Instrument Panel
Illumination Control
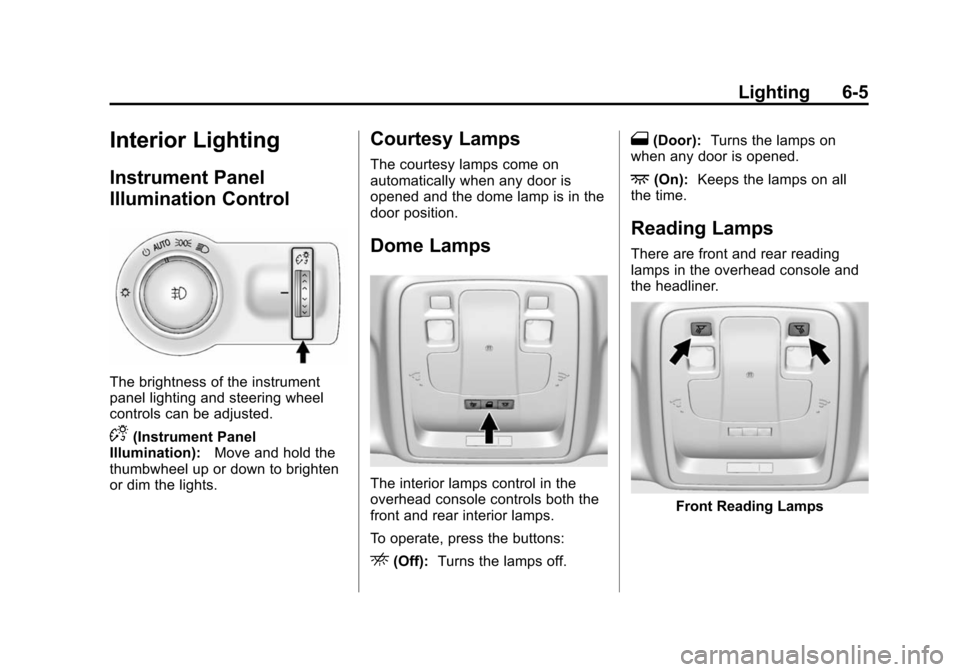
The brightness of the instrument
panel lighting and steering wheel
controls can be adjusted.
D(Instrument Panel
Illumination): Move and hold the
thumbwheel up or down to brighten
or dim the lights.
Courtesy Lamps
The courtesy lamps come on
automatically when any door is
opened and the dome lamp is in the
door position.
Dome Lamps
The interior lamps control in the
overhead console controls both the
front and rear interior lamps.
To operate, press the buttons:
E(Off): Turns the lamps off.
1(Door): Turns the lamps on
when any door is opened.
+(On): Keeps the lamps on all
the time.
Reading Lamps
There are front and rear reading
lamps in the overhead console and
the headliner.
Front Reading Lamps
Page 189 of 399
Black plate (2,1)Chevrolet Malibu Owner Manual (GMNA-Localizing-U.S./Canada/Mexico-
7575972) - 2015 - crc - 4/1/14
8-2 Climate Controls
Certain climate control settings can
lead to higher fuel usage and/or
fewer auto stops.
The following are climate control
settings that use more fuel:
.Comfort air conditioning mode.
.Defrost mode.
.Setting the climate control to the
coldest or hottest temperature.
.High fan speed settings.
To help reduce fuel usage:
.Use eco air conditioning, instead
of the comfort air conditioning.
.Select a temperature setting that
is higher in hot weather and
lower in cold weather.
.Turn off the air conditioning
when it is not needed.
.Only use defrost to clear the
windows.
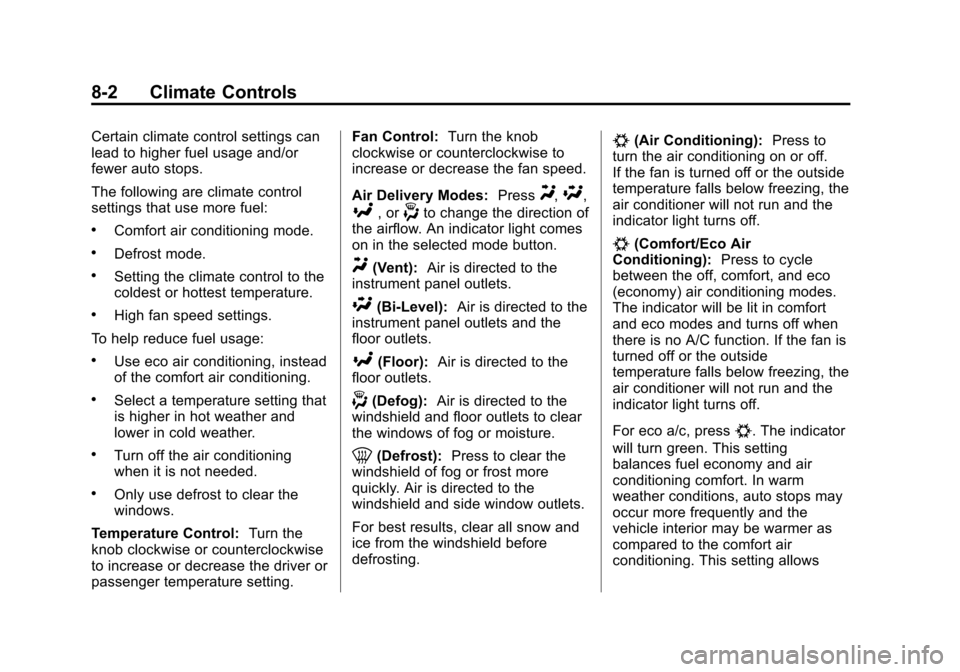
Temperature Control: Turn the
knob clockwise or counterclockwise
to increase or decrease the driver or
passenger temperature setting. Fan Control:
Turn the knob
clockwise or counterclockwise to
increase or decrease the fan speed.
Air Delivery Modes: Press
Y,\,
[, or-to change the direction of
the airflow. An indicator light comes
on in the selected mode button.
Y(Vent): Air is directed to the
instrument panel outlets.
\(Bi-Level): Air is directed to the
instrument panel outlets and the
floor outlets.
[(Floor): Air is directed to the
floor outlets.
-(Defog): Air is directed to the
windshield and floor outlets to clear
the windows of fog or moisture.
0(Defrost): Press to clear the
windshield of fog or frost more
quickly. Air is directed to the
windshield and side window outlets.
For best results, clear all snow and
ice from the windshield before
defrosting.
#(Air Conditioning): Press to
turn the air conditioning on or off.
If the fan is turned off or the outside
temperature falls below freezing, the
air conditioner will not run and the
indicator light turns off.
#(Comfort/Eco Air
Conditioning): Press to cycle
between the off, comfort, and eco
(economy) air conditioning modes.
The indicator will be lit in comfort
and eco modes and turns off when
there is no A/C function. If the fan is
turned off or the outside
temperature falls below freezing, the
air conditioner will not run and the
indicator light turns off.
For eco a/c, press
#. The indicator
will turn green. This setting
balances fuel economy and air
conditioning comfort. In warm
weather conditions, auto stops may
occur more frequently and the
vehicle interior may be warmer as
compared to the comfort air
conditioning. This setting allows