ECU CHEVROLET MONTE CARLO 1995 5.G User Guide
[x] Cancel search | Manufacturer: CHEVROLET, Model Year: 1995, Model line: MONTE CARLO, Model: CHEVROLET MONTE CARLO 1995 5.GPages: 324, PDF Size: 16.74 MB
Page 51 of 324
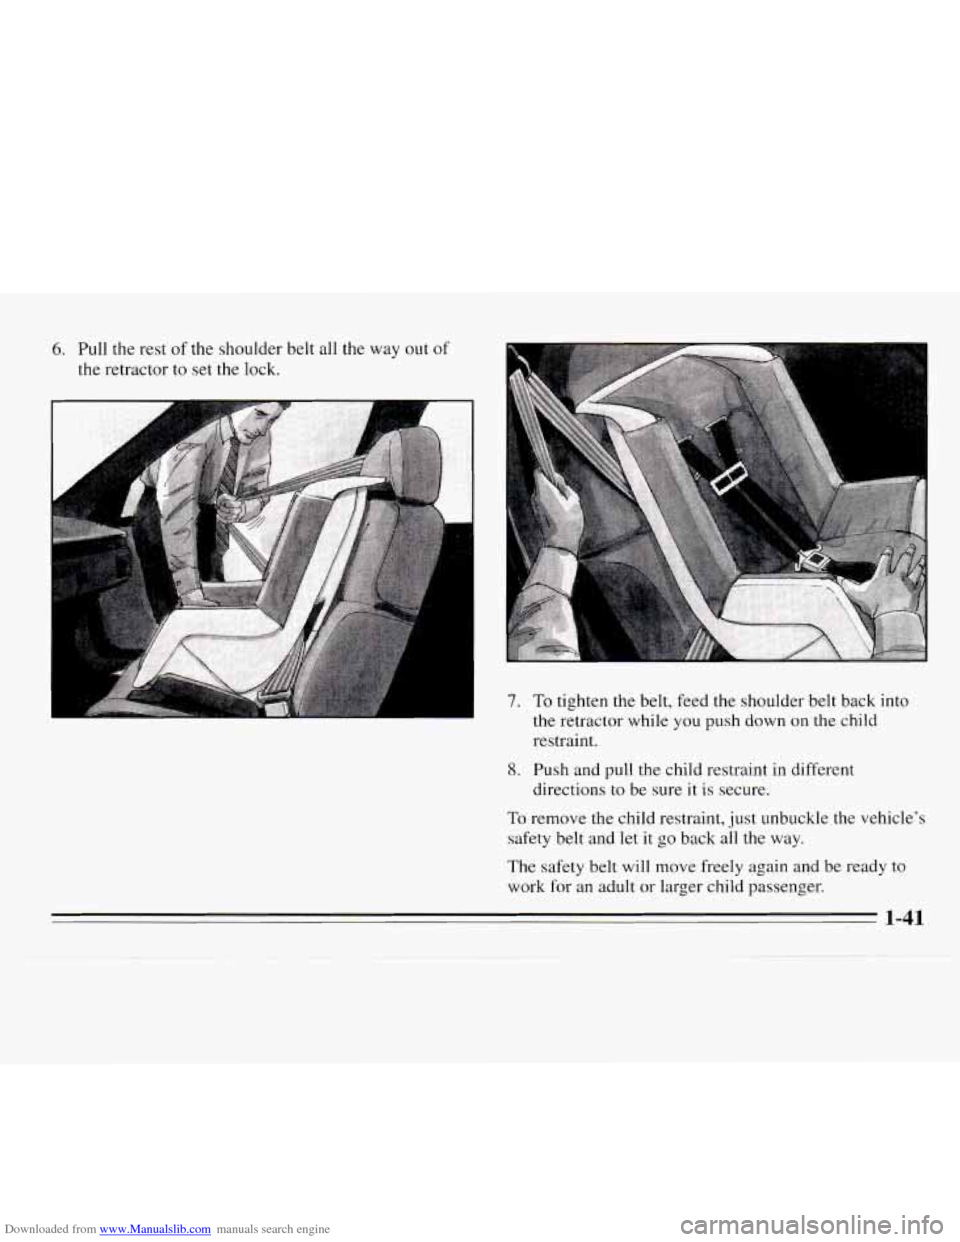
Downloaded from www.Manualslib.com manuals search engine 6. Pull the rest of the shoulder belt all the way out of
the retractor to set the lock.
-
7. To tighten the belt, feed the shoulder belt back into
the retractor while you push down on the child
restraint
.
8. Push and pull the child restraint in different
directions
to be sure it is secure.
To remove the child restraint, just unbuckle the vehicle’s
safety belt and let
it go back all the way.
The safety belt will move freely again and be ready to
work for an adult or larger child passenger.
1-41
Page 65 of 324
Downloaded from www.Manualslib.com manuals search engine PASS-Key@II
Your vehicle is equipped with the PASS-Key@II
(Personalized Automotive Security System) theft
deterrent system. PASS-Key’II is a passive theft
deterrent system. This means you don’t have to do
anything different to arm or disarm the system. It works
when you insert or remove the key from the ignition.
PASS-Key@II uses a resistor pellet
in the ignition key
that matches a decoder in your vehicle.
When the PASS-Key@II system senses that someone
is
using the wrong key, it shuts down the vehicle’s starter
and fuel systems. For about three minutes, the starter
won’t work and fuel won’t go to the engine. If someone
tries to start your vehicle again or uses another key
during this time, the vehicle will not start. This
discourages someone from randomly trying different
keys with different resistor pellets in an attempt
to make
a match.
The ignition key must be clean and dry before it’s
inserted in the ignition or the engine may not start.
If the
engine does not start and the SECURITY light is on, the
key may be dirty or wet. Turn the ignition off.
Clean and dry the key. Wait about three minutes and try
again. The SECURITY light may remain on during this
time. If the starter still won’t work, and the key appears
to be clean and dry, wait about three minutes and try
another ignition key. At this time,
you may also want to
check the fuses (see “Fuses and Circuit Breakers” in
the
Index). If the starter won’t work with the other key, your
vehicle needs service. If your vehicle does start, the first
ignition key may be faulty. See your Chevrolet dealer or
a locksmith who can service the PASS-Key@II.
If you accidentally use a key that has a damaged or
missing resistor pellet, the starter won’t work, and the
SECURITY light will come on. But
you don’t have to
wait three minutes before trying another ignition key.
See your Chevrolet dealer or a locksmith who can
service the PASS-Key@II to have a new key made.
If you’re ever driving and the SECURITY light comes
on and stays on, you will be able to restart your engine if
you turn it off. Your PASS-Key@II system, however,
is
not working properly and must be serviced by your
Chevrolet dealer. Your vehicle
is not protected by the
PASS-Key@II system.
If you lose or damage a PASS-Key% ignition key,
see your Chevrolet dealer or a locksmith who can
service PASS-Key@II to have a new key made.
In an
emergency, call the Chevrolet Roadside Assistance
Program at
1 -800-CHEV USA (1 -800-243-8872).
2-9
Page 107 of 324
Downloaded from www.Manualslib.com manuals search engine Security Light
Low Oil Level Light
Your engine is equipped
with an oil level monitoring
system. When the ignition
key is turned on, the LOW
OIL light will briefly flash.
If the light does not flash,
have
it fixed so it will be
ready to warn you if there’s
a problem.
If the light stays on, stop the vehicle on a level surface and
turm the engine off. Check the oil level using the engine oil
dipstick. (See “Engine Oil” in the Index.) If the light does
not flash, have the low oil level sensor system repaired
so
it will be ready to warn you if there’s a problem.
The oil level monitoring system only checks oil
level
during the brief period between key on and engine
crank. It does not monitor engine oil level when the
engine is running. Additionally, an oil level check is
only performed if the engine has been turned off for a
considerable period of time, allowing the oil normally
in
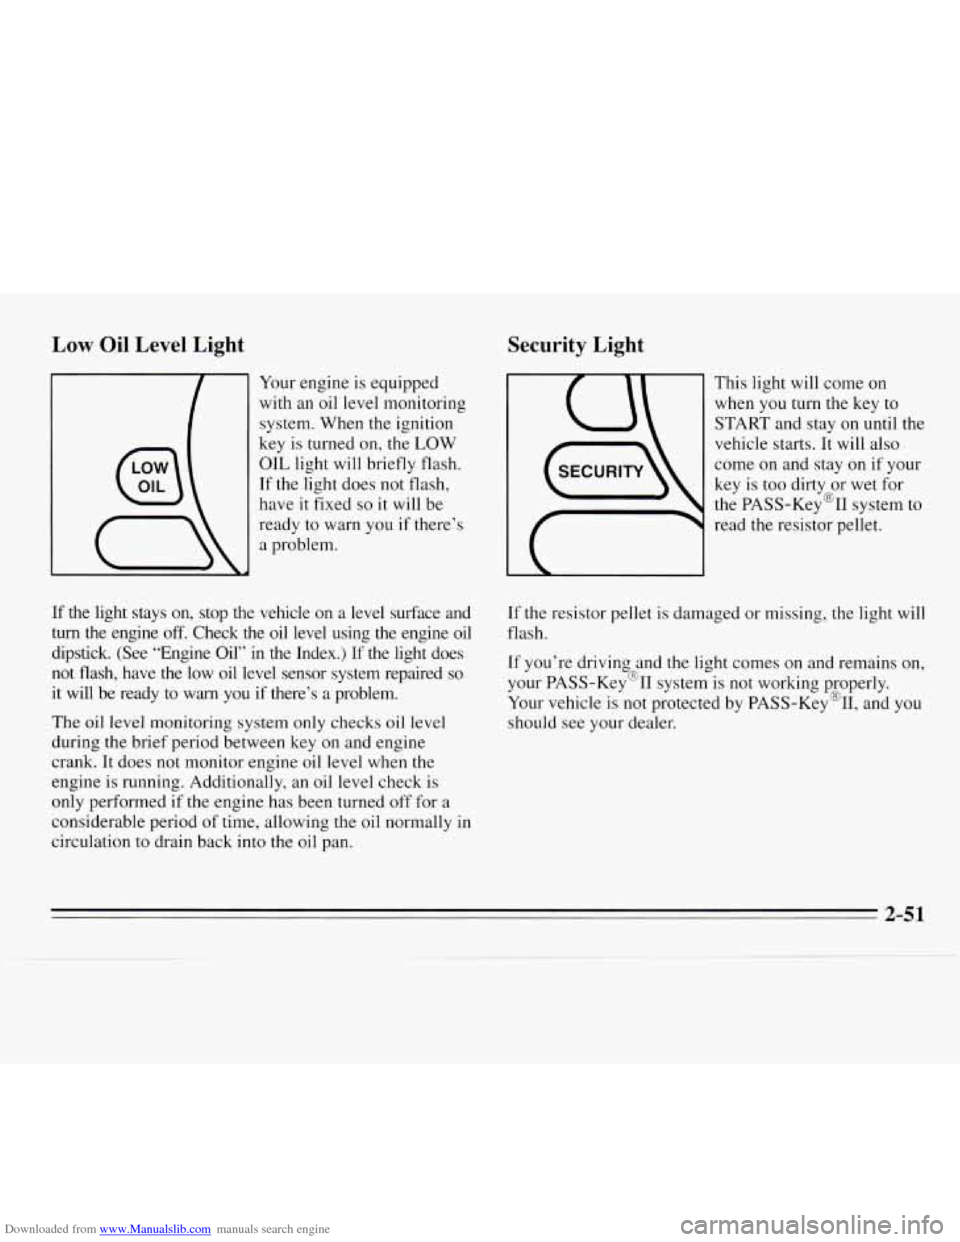
circulation to drain back into the oil pan. This light
will come on
when you turn the key to
START and stay on until the
vehicle starts. It will also
come on and stay on if your
key is too dirty or wet for
the PASS-Key@II system to
read the resistor pellet.
If the resistor pellet is damaged or missing, the light will
flash.
If you’re driving and the light comes on and remains on,
your PASS-Key% system is
not working properly.
Your vehicle is not protected by PASS-Key@II, and you
should see your dealer.
2-51
Page 123 of 324
Downloaded from www.Manualslib.com manuals search engine AM FM: Press this button to play the radio when a disc
is in the player. The letters
CD will go off the display.
CD AUX: Press this button to change to the disc
function when the radio is on.
CD will appear on the
display when the disc is active.
EJECT Press this button to remove the disc. The radio
will play.
If you turn off the ignition or radio with
a disc in the
player,
it will stay in the player. When you turn on the
ignition or system, the disc will start playing where
it
was stopped. If you press EJECT but don’t remove the
disc within
25 seconds, the player will pull the disc back
in
to protect it.
THEFTLOCK TM
Your system has this feature if it shows THEFTLOCK
on its face. THEFTLOCK is a theft-deterrent feature
that can
be used or ignored. If you ignore it, your system
will play normally. If you use it, your system can’t be
turned on if it is stolen because
it locks anytime battery
power is removed. To unlock it,
a code must be entered.
These instructions
will tell you how to enter a code into
your system. They
also tell you how to unlock the
system with your code and how to shut off the
THEFTLOCK system.
Entering a Code
1. Write down any number from 000 to 1999. This is
your code.
2. Turn the ignition to ACC or RUN.
3. Turn the radio off.
4. Press the 1 and 4 preset buttons at the same time and
hold until
“- - -7’ shows on the display.
You now have only 15 seconds between each of the
following steps.
5. Press MN and “OOO” will appear on the display.
6. Press MN again and hold until the last two digits of
your code appear.
7. Press and hold HR until the first digit or digits of
your code appear.
8. Press AM FM after you make sure the code matches
the one you wrote down. “rEP” will appear on the
display, meaning you should repeat Steps
5 through 7.
should appear on the display, meaning your system is
secured. If your ignition is off, THEFTLOCK will
flash in the display.
Store the paper with your code written on it
in a safe
place (not
in your vehicle).
9. After you repeat the steps, press AM FM. SEC
3-13
Page 124 of 324
Downloaded from www.Manualslib.com manuals search engine Unlocking the System
If battery power is removed for any reason, LOC will
appear on the display when power is reapplied.
You will
need to enter your code to unlock the system. You have
only
15 seconds between each of the following steps.
Disabling THEFTLOCK
If you want to turn off THEFTLOCK, you will need to
enter your code. If
you lose or forget your code, see
your dealer.
1. Turn the ignition on and the radio off.
2. Press the 1 and 4 preset buttons at the same time and
hold until
SEC shows on the display.
1. Turn the ignition on. LOC will appear on the display.
2. Press MN and “000” will appear on the display.
3. Press MN again and hold until the last two digits of
your code appear.
your code appear.
4. Press and hold HR until the first digit or digits of
5. Press AM FM after you make sure the code matches
the one you wrote down. SEC should appear on the
display, meaning you can now use your system, and
it is secured. If LOC appears, you entered the wrong
code and the system is still locked.
If you lose
or forget your code and cannot unlock the
system, contact your dealer.
You now have only 15 seconds between each of the
following steps.
3. Press
MN and “000” will appear on the display.
4. Press MN again and hold until the last two digits of
your code appear.
5. Press and hold HR until the first digit or digits of
your code appear.
6. Press AM FM after you make sure the code matches
the one you wrote down.
“- - -” should appear on the
display, meaning your system is unsecured.
If SEC
appears, you entered the wrong code and the system
is still secured.
3-14
Page 150 of 324
Downloaded from www.Manualslib.com manuals search engine Winter Driving
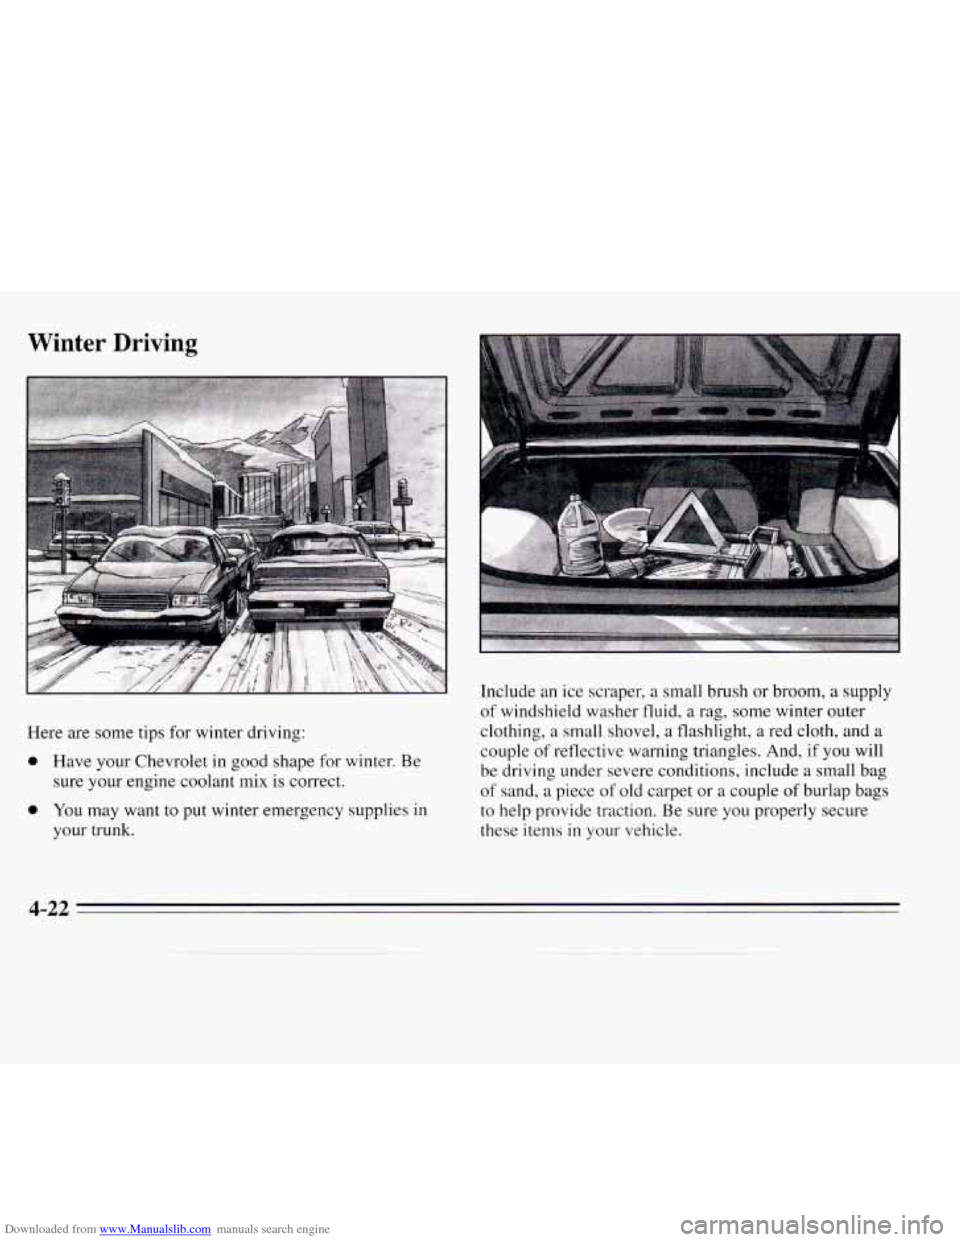
Here are some tips for winter driving:
0 Have your Chevrolet in good shape for winter. Be
sure your engine coolant mix is correct.
0 You may want to put winter emergency supplies in
your trunk. Include
an ice scraper, a small brush or broom,
a supply
of windshield washer fluid, a rag, some winter outer
clothing,
a small shovel, a flashlight, a red cloth, and a
couple of reflective warning triangles. And, if you will
be driving under severe conditions, include a small bag
of sand, a piece of old carpet or a couple of burlap bags
to help provide traction. Be sure you properly secure
these items
in your vehicle.
4-22
Page 160 of 324
Downloaded from www.Manualslib.com manuals search engine Driving with a Trailer
Towing a trailer requires a certain amount of experience.
Before setting out for the open road, you’ll want to get
to know your rig. Acquaint yourself with the feel of
handling and braking with the added weight of the
trailer. And always keep in mind that the vehicle
you are
driving is now
a good deal longer and not nearly as
responsive
as your vehicle is by itself.
Before you start, check the trailer hitch and platform
(and attachments), safety chains, electrical connector,
lamps, tires and mirror adjustment. If the trailer has
electric brakes, start your vehicle and trailer moving and
then apply the trailer brake controller by hand to be sure
the brakes are working. This lets you check your
electrical connection at the same time.
During your trip, check occasionally to be sure that the
load
is secure, and that the lamps and any trailer brakes
are still working.
Following Distance
Stay at least twice as far behind the vehicle ahead as you
would when driving your vehicle without a trailer. This
can
help you avoid situations that require heavy braking
and sudden turns.
Passing
You’ll need more passing distance up ahead when
you’re towing a trailer. And, because you’re a good deal
longer, you’ll need to go much farther beyond the
passed vehicle before you can return
to your lane.
Backing Up
Hold the bottom of the steering wheel with one hand.
Then, to move the trailer to the left, just move that hand
to
the left. To move the trailer to the right, move your
hand to the right. Always back up slowly and, if
possible, have someone guide you.
Making Turns
I NOTICE:
Making very sharp turns while trailering could
cause the trailer to come in contact with the
vehicle.
Your vehicle could be damaged. Avoid
making very sharp turns while trailering.
When you’re turning with a trailer, make wider turns than
normal.
Do this so your trailer won’t strike soft shoulders,
curbs, road signs, trees, or other objects. Avoid jerky or
sudden maneuvers. Signal well
in advance.
4-32
Page 191 of 324
Downloaded from www.Manualslib.com manuals search engine Don’t try to put a wheel cover on your compact spare
tire.
It won’t fit. Store the wheel cover in the trunk until
you have the flat tire repaired or replaced.
NOTICE:
Wheel covers won’t fit on your compact spare. If
you try to put a wheel cover on your compact
spare, you could damage the cover or the spare.
After you’ve put the compact spare tire on your vehicle
you’ll need to store the flat tire in your trunk. Use the
following procedure
to secure the flat tire in the trunk.
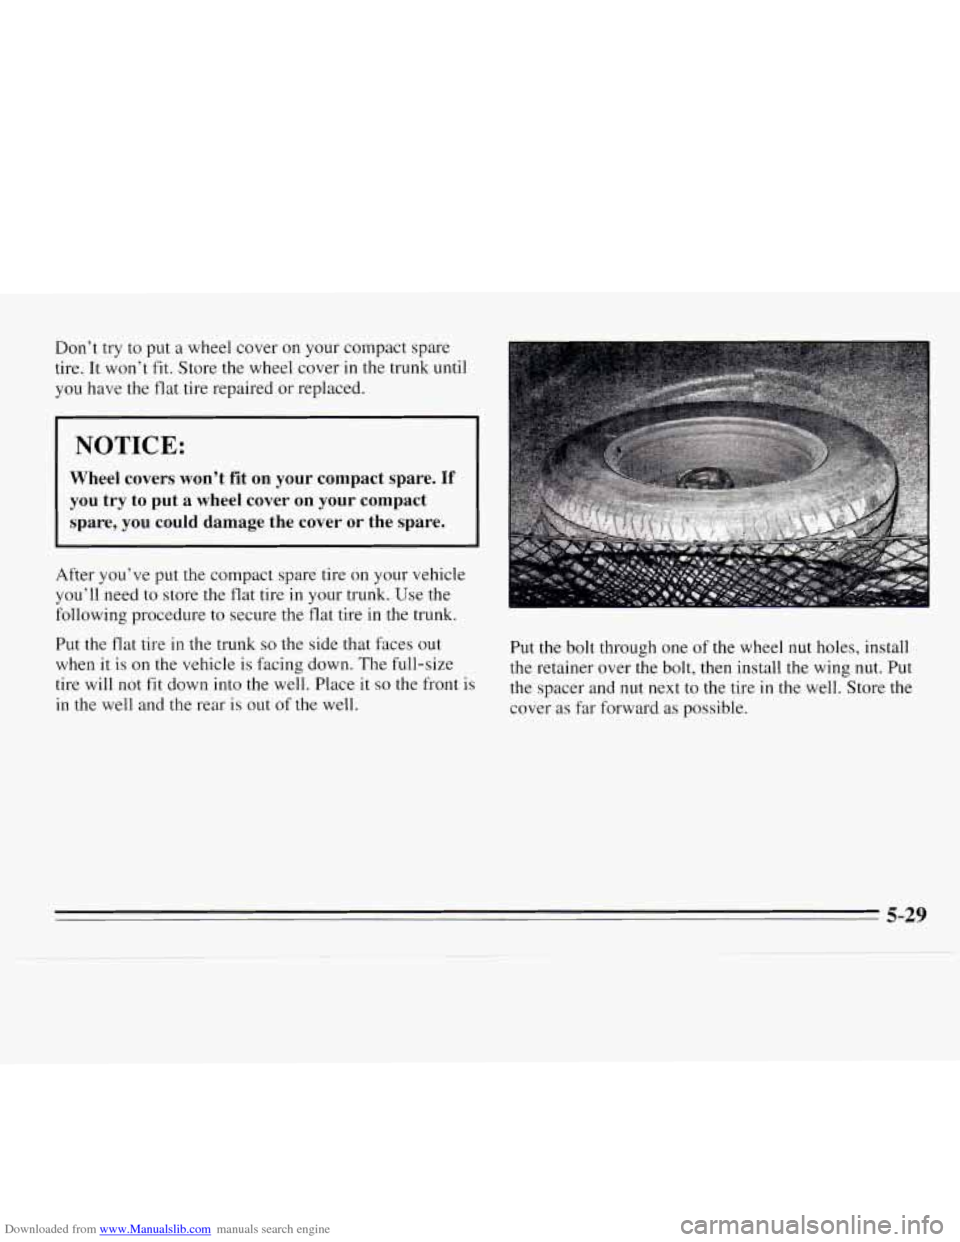
Put the flat tire
in the trunk so the side that faces out
when
it is on the vehicle is facing down. The full-size
tire will not fit down into the well. Place it
so the front is
in the well and the rear is out of the well. Put the bolt through
one of the wheel
nut holes, install
the retainer over the bolt, then install
the wing nut. Put
the spacer and
nut next to the tire in the well. Store the
cover as far forward as possible.
5-29
Page 229 of 324
Downloaded from www.Manualslib.com manuals search engine Back-up Lamp
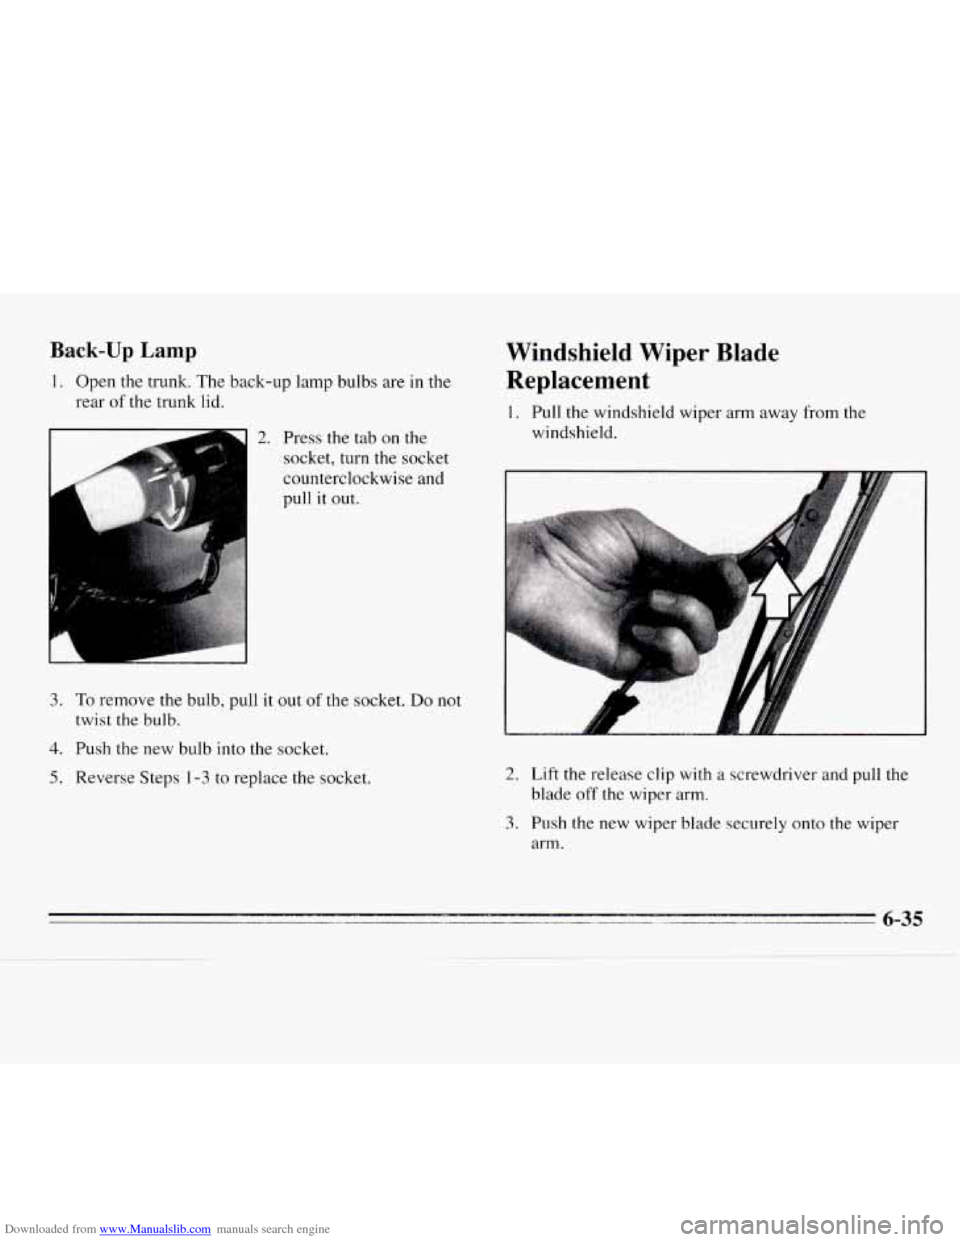
1. Open the trunk. The back-up lamp bulbs are in the
rear
of the trunk lid.
2. Press the tab on the
socket, turn the socket
counterclockwise and
pull it out.
I
3. To remove the bulb, pull it out of the socket. Do not
twist the
bulb.
4. Push the new bulb into the socket.
5. Reverse Steps 1-3 to replace the socket.
Windshield Wiper Blade
Replacement
1. Pull the windshield wiper arm away from the
windshield.
___\_
2. Lift the release clip with a screwdriver and pull the
blade
off the wiper arm.
3. Push the new wiper blade securely onto the wiper
arm.
Page 237 of 324
Downloaded from www.Manualslib.com manuals search engine NOTICE:
The wrong wheel can also cause problems with
bearing life, brake cooling, speedometer/odometer
calibration, headlamp
aim, bumper height, vehicle
ground clearance, and
tire or tire chain clearance
to the body and chassis.
Used Replacement Wheels
Tire Chains
NOTICE:
If your Chevrolet has P215/60R16 or P225/60R16
size tires, don’t use tire chains; they can damage
your vehicle.
If you have other tires, use tire chains only where
legal and only when you must. Use only
SAE
Class “S” type chains that are the proper size for
your tires. Install them on the front tires and
tighten them
as tightly as possible with the ends
securely fastened. Drive slowly and follow the
chain manufacturer’s instructions.
If you can
hear the chains contacting your vehicle, stop and
retighten them. If the contact continues, slow
down until
it stops. Driving too fast or spinning
the wheels with chains on will damage your
vehicle.
6-43