coolant CHEVROLET MONTE CARLO 1995 5.G User Guide
[x] Cancel search | Manufacturer: CHEVROLET, Model Year: 1995, Model line: MONTE CARLO, Model: CHEVROLET MONTE CARLO 1995 5.GPages: 324, PDF Size: 16.74 MB
Page 178 of 324
Downloaded from www.Manualslib.com manuals search engine How to Add Coolant to the Coolant
Recovery Tank
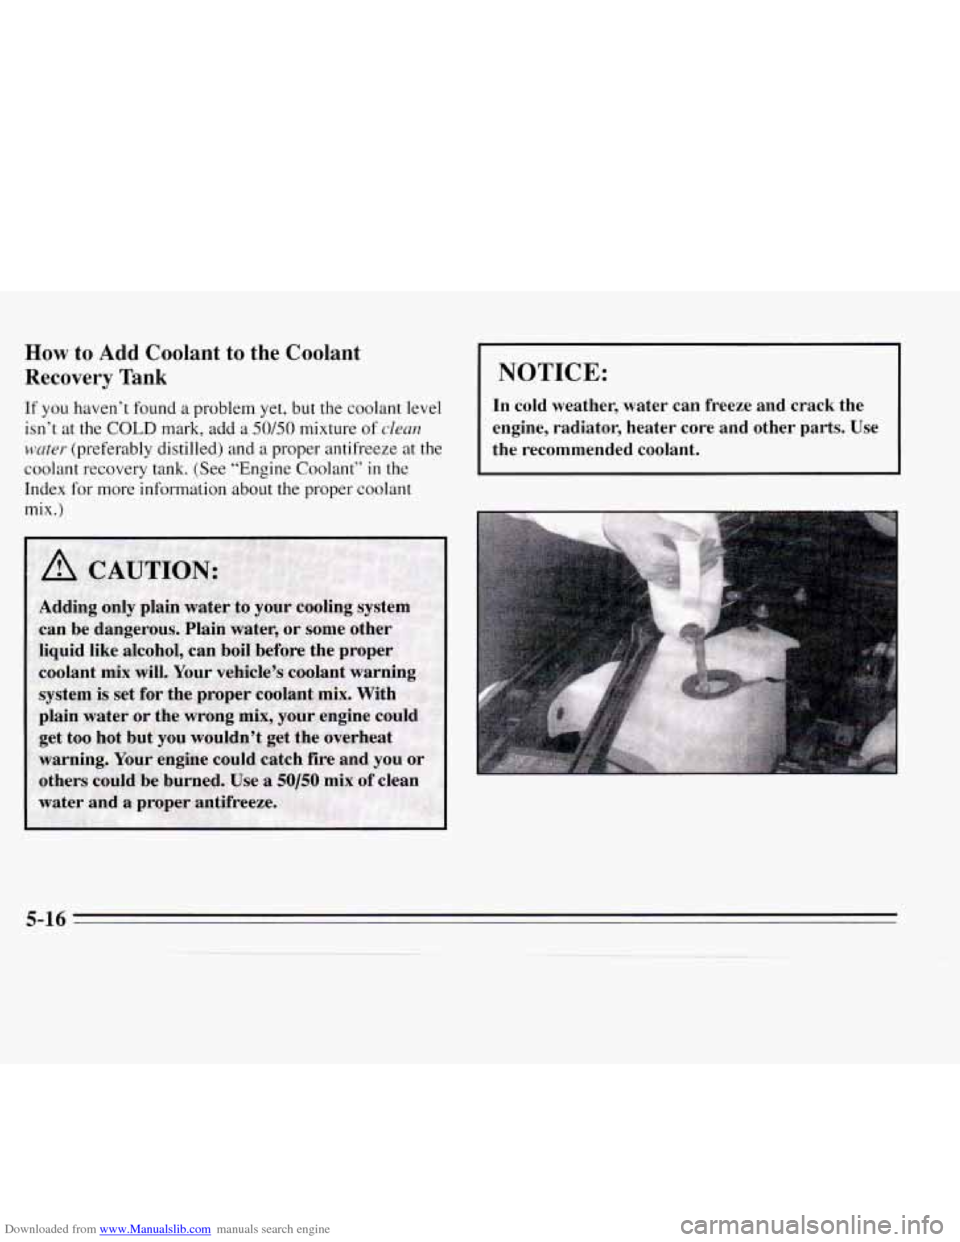
If you haven’t found a problem yet, but the coolant level
isn’t at the COLD mark, add a
50/50 mixture of clean
water (preferably distilled) and a proper antifreeze at the
coolant recovery tank. (See “Engine Coolant’’
in the
Index
for more information about the proper coolant
mix. j
I NOTICE:
In cold weather, water can freeze and crack the
engine, radiator, heater core and other parts.
Use
the recommended coolant.
5-16
Page 179 of 324
Downloaded from www.Manualslib.com manuals search engine When the coolant in the coolant recovery tank is at the
COLD mark, start your vehicle.
If the overheat warning continues, there's one more
thing you can try.
You can add the proper coolant mix
directly
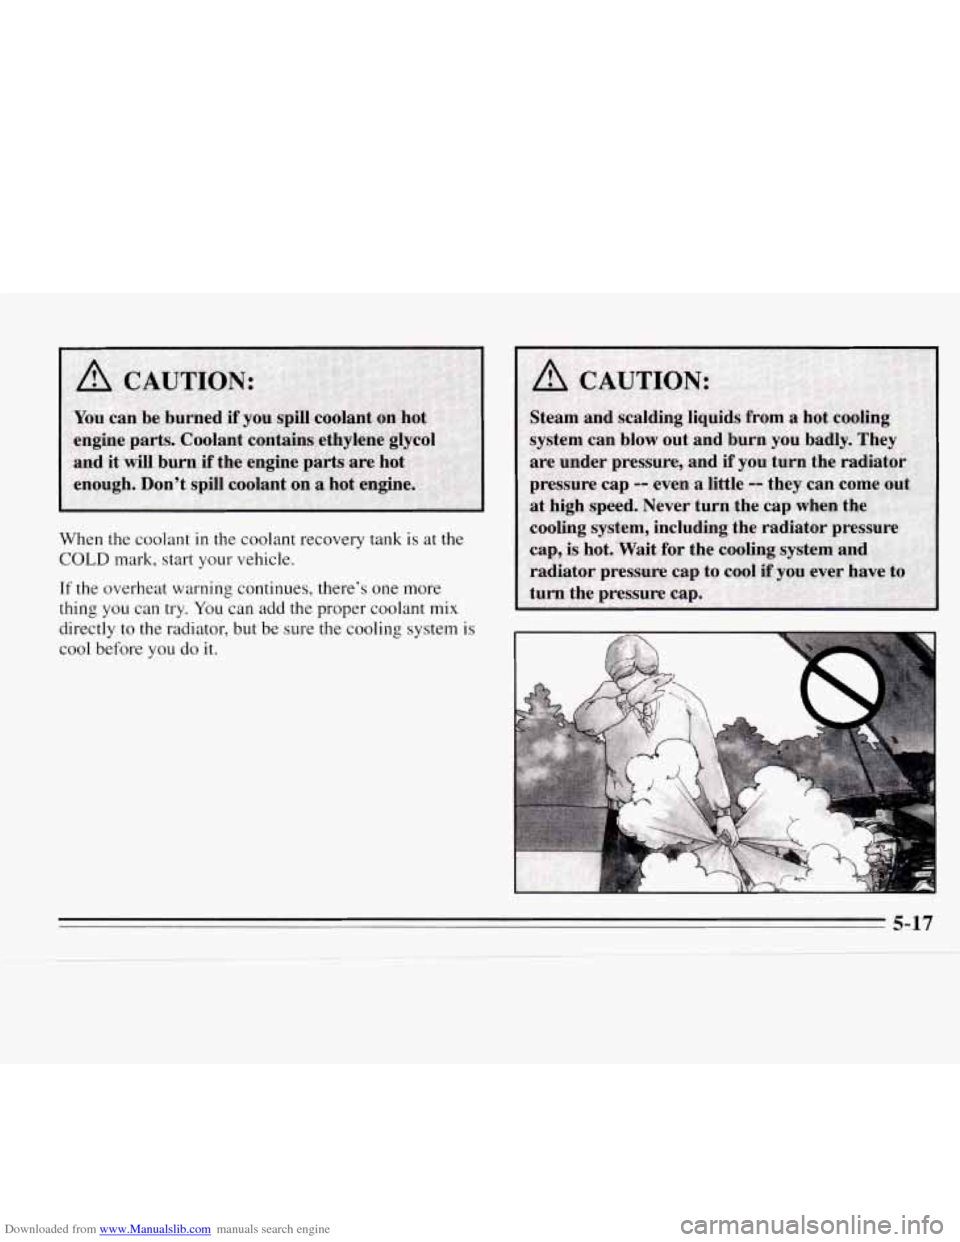
to the radiator, but be sure the cooling system is
cool before you do it.
5-17
Page 180 of 324
Downloaded from www.Manualslib.com manuals search engine How to Add Coolant to the Radiator
NOTICE:
Your engine has a specific radiator fill procedure.
Failure to follow this procedure could cause
your
engine to overheat and be severely damaged.
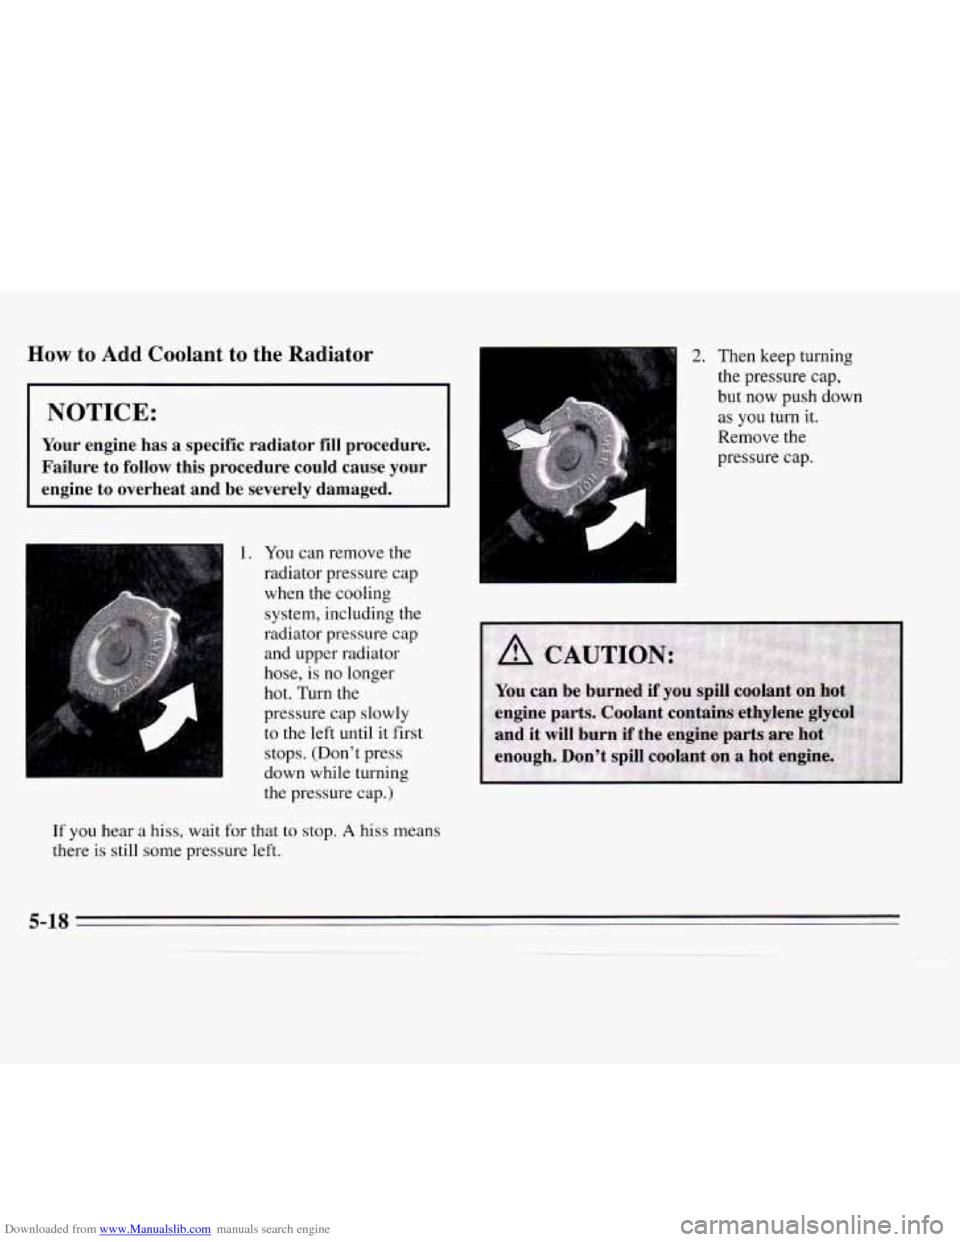
r 1. You can remove the
radiator pressure cap
when the cooling system, including the
radiator pressure cap
and upper radiator
hose, is no longer
hot.
Turn the
pressure cap slowly
to the left until it first
stops. (Don't press
down while turning
the pressure cap.)
If you hear a hiss, wait for that to stop. A hiss means
there is still some pressure left.
-1 2. Then keep turning
I the pressure cap,
but now push down
as you turn it.
Remove the
pressure cap.
5-18
Page 181 of 324
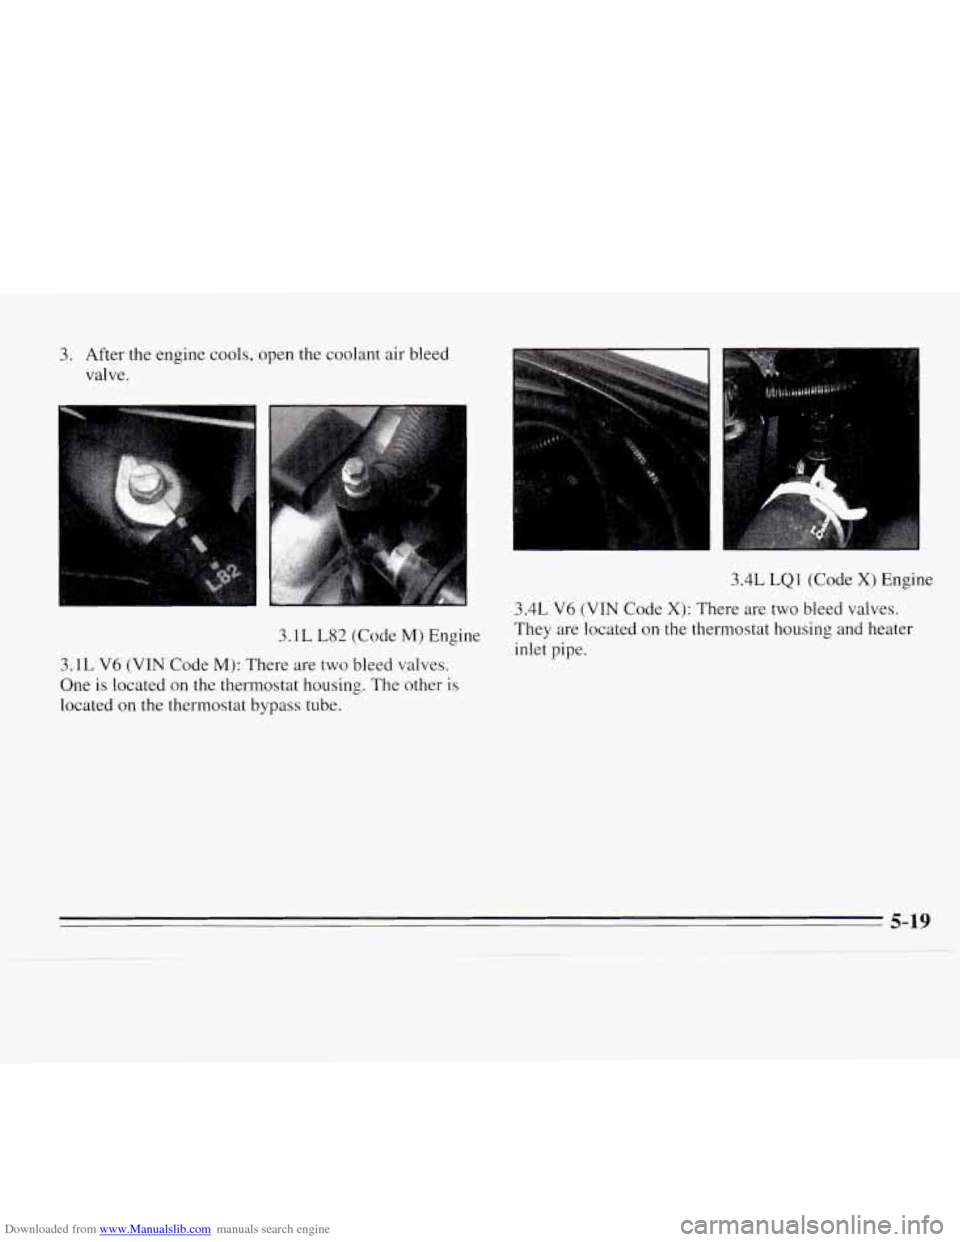
Downloaded from www.Manualslib.com manuals search engine 3. After the engine cools, open the coolant air bleed
valve.
3.1 L L82 (Code M) Engine
3.1L V6 (VIN Code M): There are two bleed valves.
One
is located on the thermostat housing. The other is
located on the thermostat bypass tube.
31
3.4L LQl (Code X) Engine
3.4L V6 (VIN Code X): There are two bleed valves.
They are located on
the thermostat housing and heater
inlet pipe.
5-19
Page 182 of 324
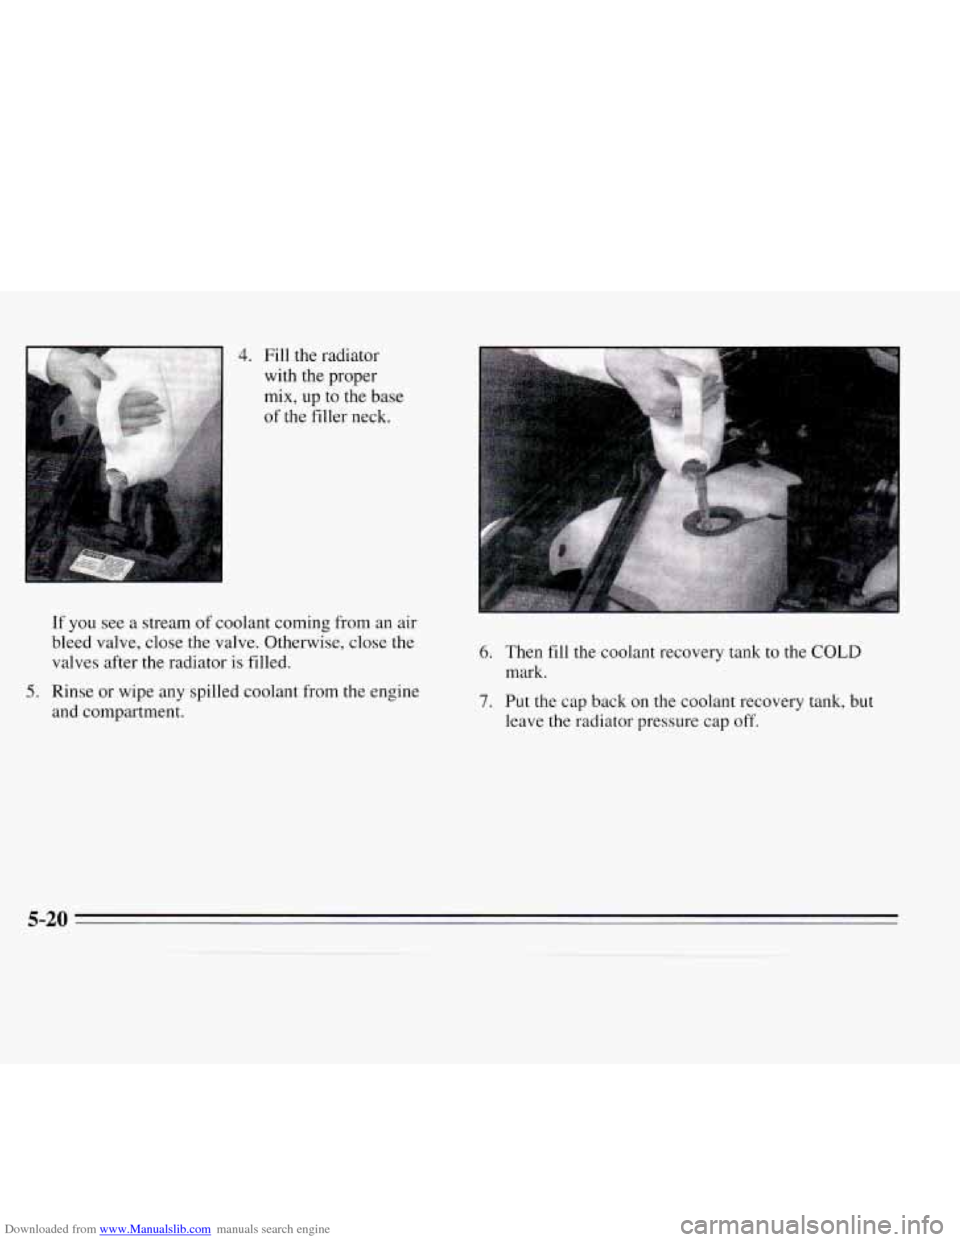
Downloaded from www.Manualslib.com manuals search engine If you see a stream of coolant coming from an air
bleed valve, close the valve. Otherwise, close the
valves after the radiator is filled.
5. Rinse or wipe any spilled coolant from the engine
and compartment.
I
6. Then fill the coolant recovery tank to the COLD
mask.
7. Put the cap back on the coolant recovery tank, but
leave
the radiator pressure cap off.
Page 183 of 324
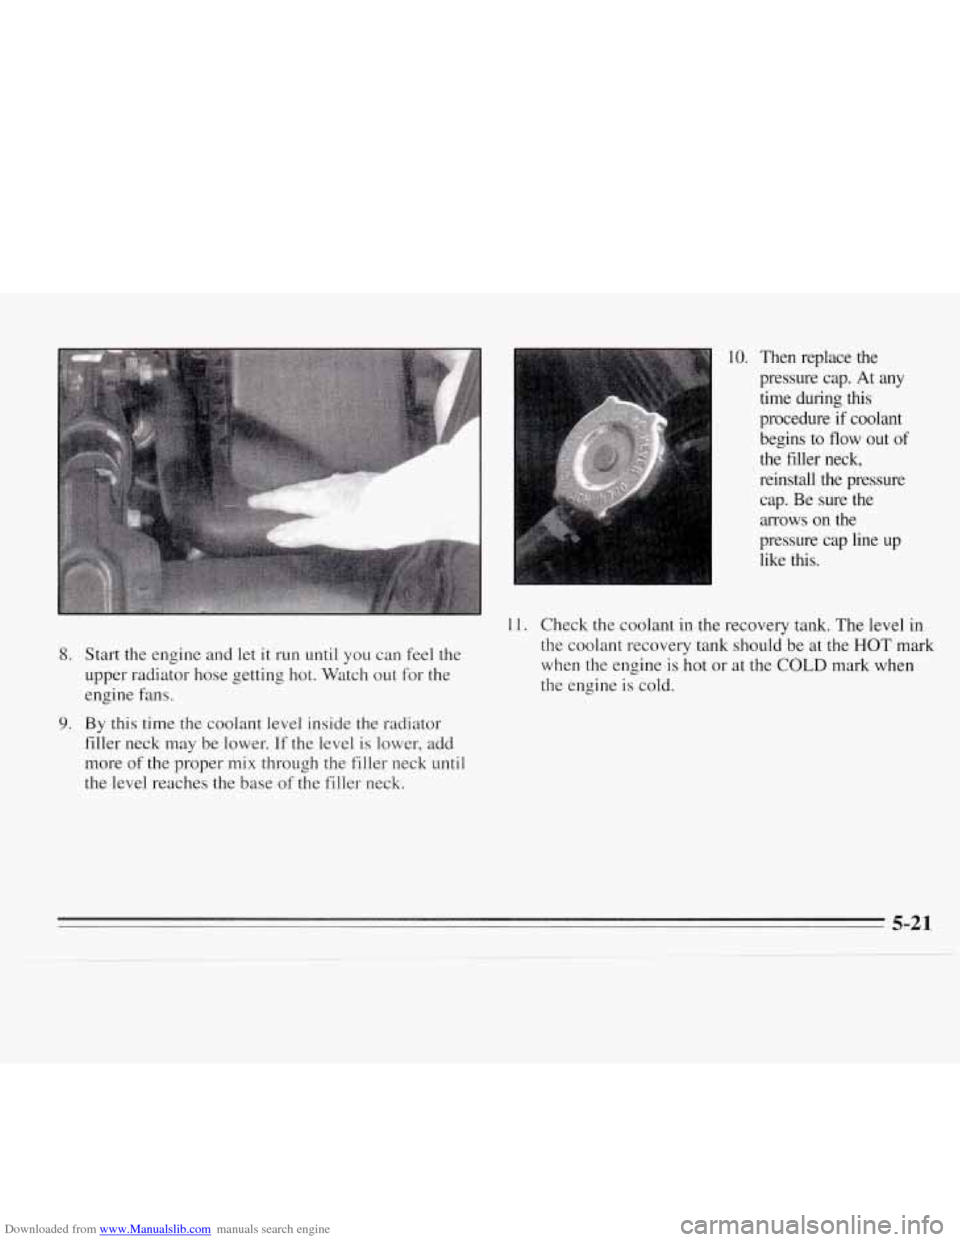
Downloaded from www.Manualslib.com manuals search engine 10. Then replace the
pressure cap. At any
time during this
procedure if coolant
begins
to flow out of
the filler neck,
reinstall the pressure cap. Be sure the
arrows on the
pressure cap line up
like
this.
8. Start the engine and let it run until you can feel the
upper radiator hose getting hot. Watch out for the
engine fans.
9. By this time the coolant level inside the radiator
filler neck may be lower.
If the level is lower, add
more
of the proper mix through the filler neck until
the level reaches the base of the filler neck. 11.
Check the coolant in the recovery tank. The level in
the coolant recovery tank should be at
the HOT mark
when the engine is hot or at the
COLD mark when
the engine is cold.
5-21
Page 202 of 324
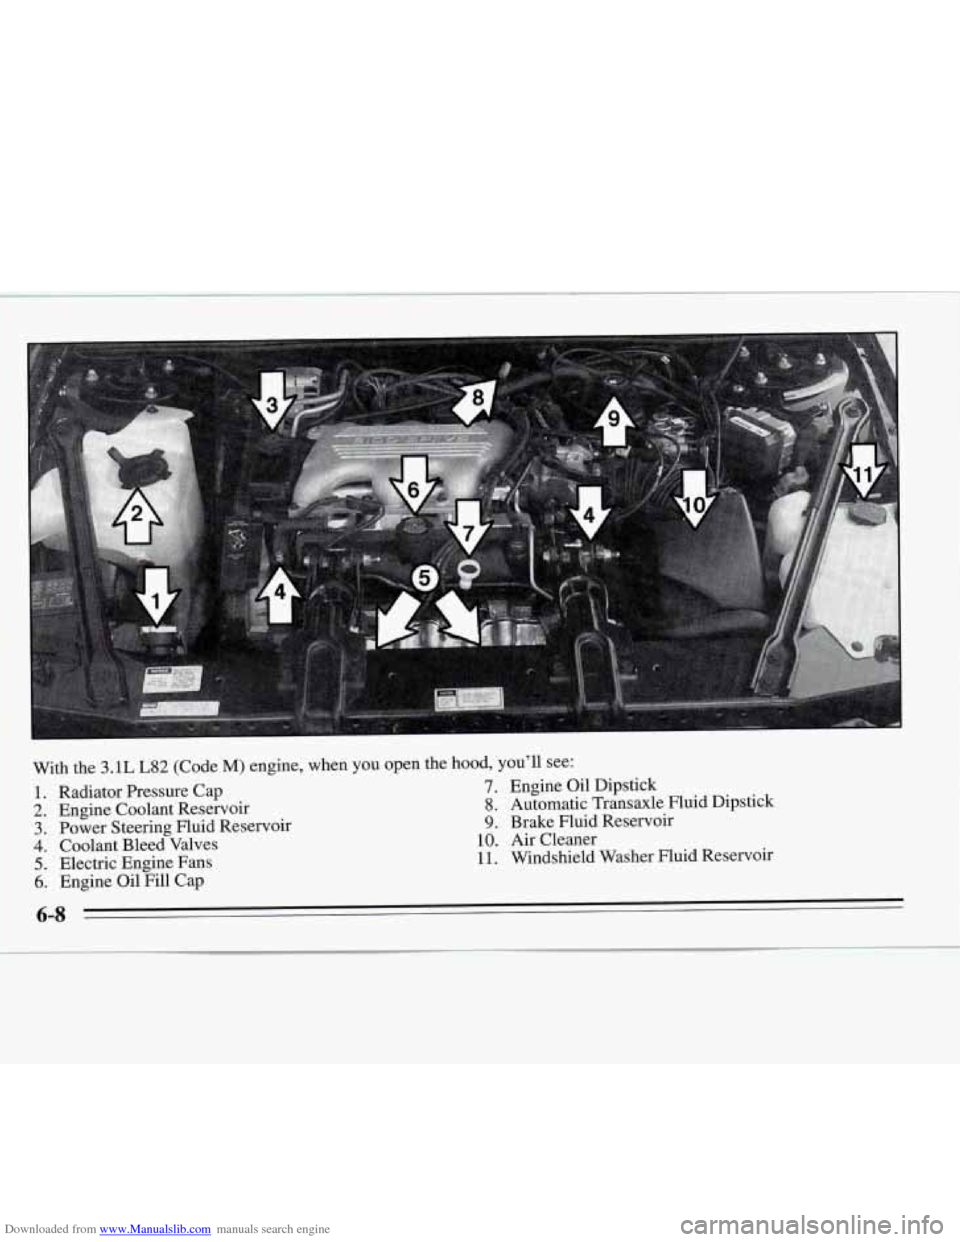
Downloaded from www.Manualslib.com manuals search engine 1 LA
1. Radiator Pressure Cap
2. Engine Coolant Reservoir
3. Power Steering Fluid Reservoir
4. Coolant Bleed Valves
5. Electric Engine Fans
7. Engine Oil Dipstick
8. Automatic Transaxle Fluid Dipstick
9. Brake Fluid Reservoir
10. Air Cleaner
11. Windshield Washer Fluid Reservoir
6. Engine OilFill Cap
6-8
Page 203 of 324
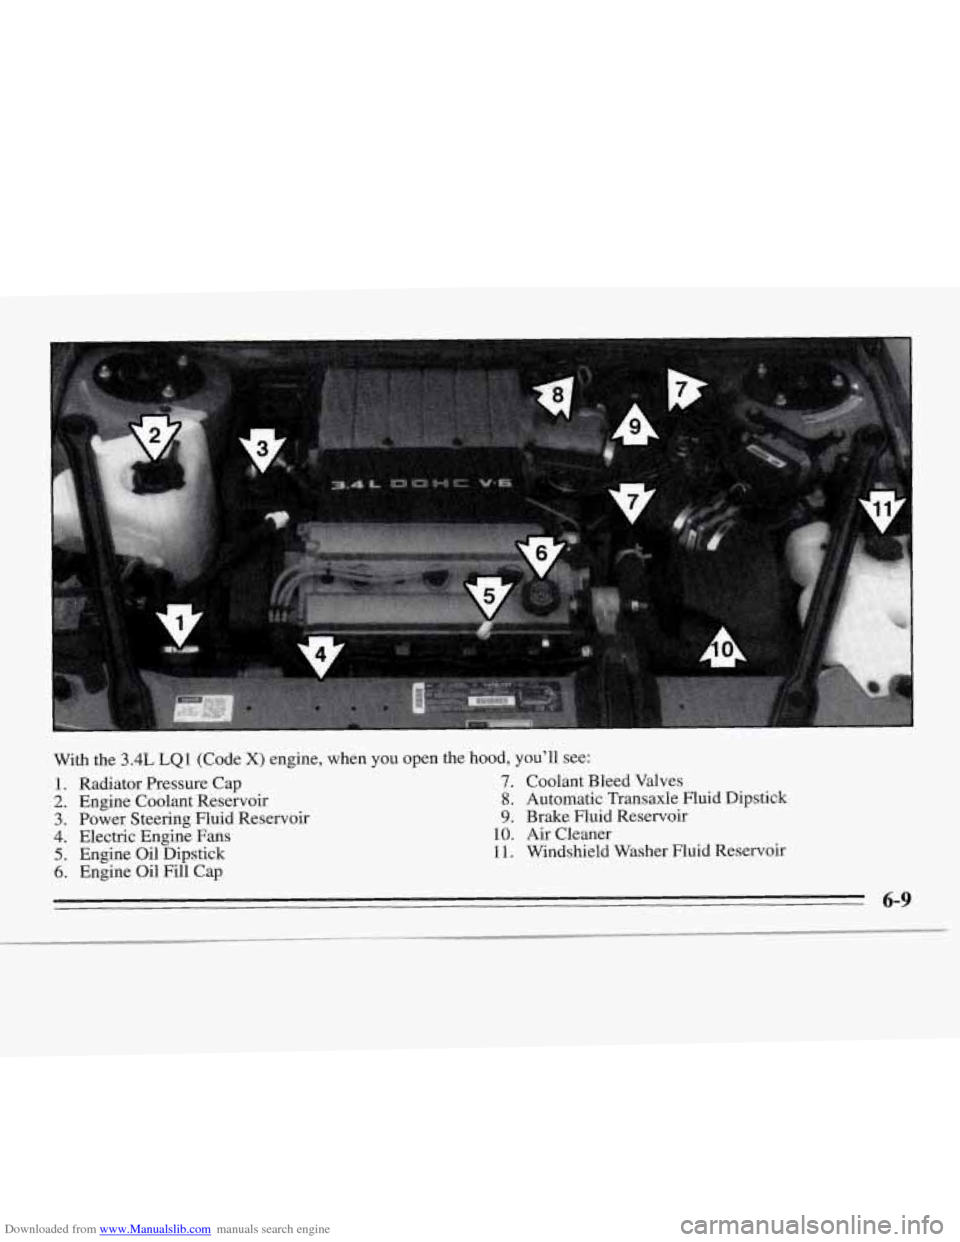
Downloaded from www.Manualslib.com manuals search engine 1.
2.
3.
4.
5.
6.
With the 3.4L LQ1 (Code X) engine, when you open the hood, you’ll see:
Radiator Pressure Cap Engine Coolant Reservoir
Power Steering Fluid Reservoir
Electric Engine Fans
Engine Oil Dipstick
Engine Oil
Fill Cap
7. Coolant Bleed Valves
8. Automatic Transaxle Fluid Dipstick
9. Brake Fluid Reservoir
10. Air Cleaner
11. Windshield Washer Fluid Reservoir
6-9
Page 208 of 324
Downloaded from www.Manualslib.com manuals search engine When to Change Engine Oil
See if any one of these is true for you:
0
0
0
0
Most trips are less than 5 to 10 miles (8 to 16 km).
This is particularly important when outside
temperatures are below freezing.
Most trips include extensive idling (such as frequent
driving in stop-and-go traffic).
Most trips are through dusty areas.
You frequently tow a trailer or use
a carrier on top of
your vehicle.
If any one of these is true for your vehicle, then you
need
to change your oil and filter every 3,000 miles
(5 000 km) or 3 months -- whichever comes first.
If none of them
is true, change the oil and filter every
7,500 miles (1 2 500 km) or 12 months -- whichever
comes first.
Engine Coolant Heater
An engine coolant heater can be a big help if you have
to park outside in very cold weather,
0°F (- 18OC) or
colder. If your vehicle has this option, see “Engine
Coolant Heater”
in the Index.
What to Do with Used Oil
Did you know that used engine oil contains certain
elements that may be unhealthy for your skin and could
even cause cancer? Don’t let used oil stay on your skin
for very long. Clean your skin and nails with soap and
water, or a good hand cleaner. Wash or properly throw
away clothing or rags containing used engine oil. (See
the manufacturer’s warnings about the use and disposal
of oil products.)
Used oil can be a real threat to the environment. If you
change your own oil, be sure to drain all free-flowing oil
from the filter before disposal. Don’t ever dispose
of oil
by putting it
in the trash, pouring it on the ground, into
sewers, or into streams or bodies
of water. Instead,
recycle
it by taking it to a place that collects used oil. If
you have a problem properly disposing of your used oil,
ask your dealer, a service station or a local recycling
center for help.
Page 213 of 324
Downloaded from www.Manualslib.com manuals search engine How to Add Fluid
Refer to the Maintenance Schedule to determine what
kind of transaxle fluid to use. See “Recommended
Fluids and Lubricants” in the Index.
If the fluid level is low, add only enough of the proper
fluid
to bring the level into the cross-hatched area on the
dipstick.
1. Pull out the dipstick.
2. Using a long-neck funnel, add enough fluid at the
dipstick hole to bring it
to the proper level.
It doesn’t take much fluid, generally less than a pint
(OSL). Don’t overfill. We recommend you use only fluid
labeled DEXRON@-111, because fluid with that label is
made especially for your automatic transaxle. Damage
caused by fluid other than DEXRON@-III
is not covered
by your new vehicle warranty.
After adding fluid, recheck the fluid level as
described under “How
to Check.”
When the correct fluid level is obtained, push the
dipstick back in all the way.
Engine Coolant
The following explains your cooling system and how to
add coolant when
it is low. If you have a problem with
engine overheating or if you need to add coolant to your
radiator, see “Engine Overheating” in the Index.
The proper coolant for your Chevrolet will:
0 Give freezing protection down to -34°F (-37°C).
Give boiling protection up to 262 OF ( 128 O C).
Protect against rust and corrosion.
Help keep the proper engine temperature.
Let the warning lights work as they should.
What to Use
Use a mixture of one-half clean water (preferably
distilled) and one-half antifreeze that meets
“GM
Specification 1825-M,” which won’t damage aluminum
parts. You can also use
a recycled coolant conforming to
GM Specification 1825-M with a complete coolant flush
and refill. Use GM Engine Coolant Supplement (sealer)
with any complete coolant flush and refill. If you use
this mixture, you don’t need to add anything else.
6-19