bulb CHEVROLET MONTE CARLO 1995 5.G Owners Manual
[x] Cancel search | Manufacturer: CHEVROLET, Model Year: 1995, Model line: MONTE CARLO, Model: CHEVROLET MONTE CARLO 1995 5.GPages: 324, PDF Size: 16.74 MB
Page 82 of 324
Downloaded from www.Manualslib.com manuals search engine As you signal a turn or a lane change, if the arrow
flashes faster than normal, a signal bulb may be burned
out and other drivers won’t
see your turn signal.
If a bulb is burned out, replace it to help avoid an
accident. If the green arrows don’t
go on at all when you
signal a turn, check the fuse (see “Fuses and Circuit
Breakers’’ in the Index) and for burned-out bulbs.
A chime will sound if you leave your turn signal on for
more than
1/2 mile (0.8 km).
Headlamp High-Low Beam Windshield Wipers
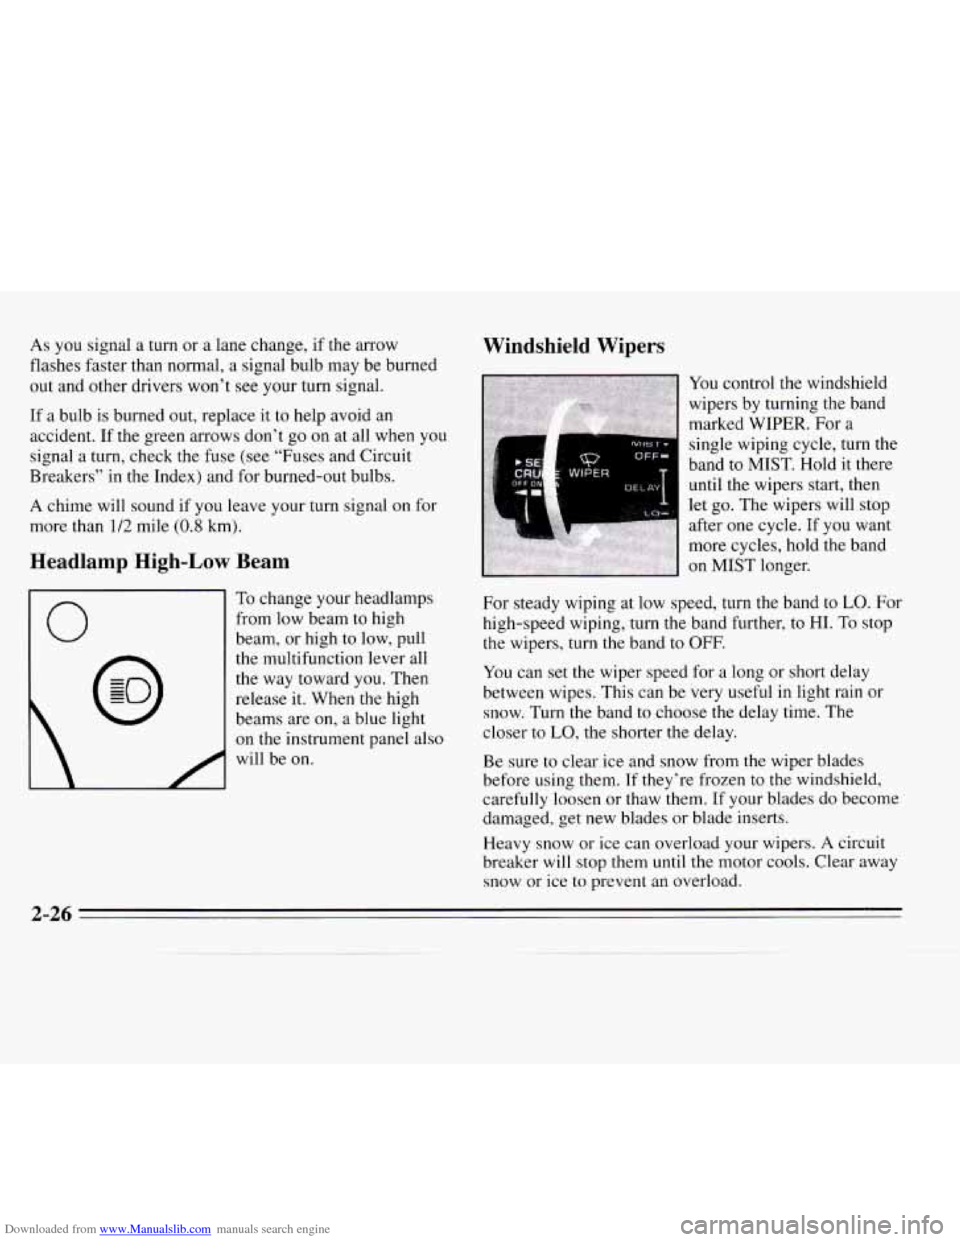
You control the windshield
wipers by turning the band
marked WIPER. For a
6s WIPER
single wiping cycle, turn the
band to
MIST. Hold it there
until the wipers start, then
let
EO. The wipers will stop
0
To change your headlamps
from low beam
to high
beam, or high to low, pull
the multifunction lever all
the way toward you. Then
release it. When
the high
beams are on, a blue light
on the instrument panel also
will be on.
For steady wiping at low speed, turn the band to LO. For
high-speed wiping, turn the band further, to
HI. To stop
the wipers, turn the band
to OFF.
You can set the wiper speed for a long or short delay
between wipes. This can be very useful in light rain or
snow.
Turn the band to choose the delay time. The
closer to
LO, the shorter the delay.
Be sure to clear ice and
snow from the wiper blades
before using them.
If they’re frozen to the windshield,
carefully loosen or thaw them, If your blades
do become
damaged, get new blades or blade inserts.
Heavy snow or ice can overload your wipers.
A circuit
breaker will stop them until the motor cools. Clear away
snow or ice to prevent an overload.
2-26
Page 103 of 324
Downloaded from www.Manualslib.com manuals search engine Anti-Lock Brake System Active Light
x 1000
LOW
TRAC
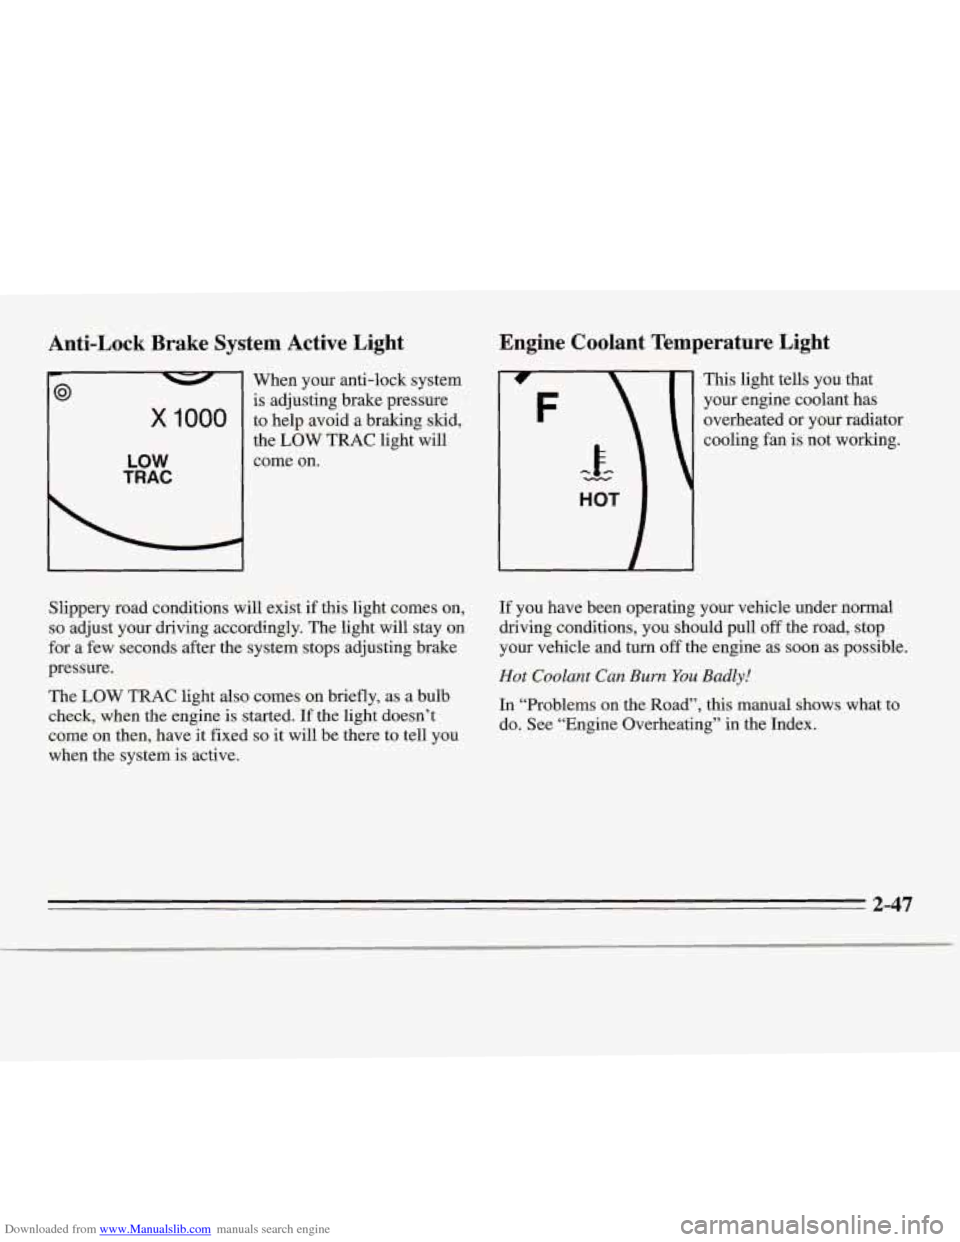
When your anti-lock system
is adjusting brake pressure
to help avoid a braking skid,
the
LOW TRAC light will
come on.
Engine Coolant Temperature Light
This light tells you that
your engine coolant has
overheated
or your radiator
cooling
fan is not working.
Slippery road conditions will exist if this light comes on,
so adjust your driving accordingly. The light will stay on
for a few seconds after the system stops adjusting brake
pressure.
The
LOW TRAC light also comes on briefly, as a bulb
check, when the engine is started.
If the light doesn’t
come on then, have
it fixed so it will be there to tell you
when the system is active. If you
have been operating your vehicle under normal
driving conditions, you should pull
off the road, stop
your vehicle and
turn off the engine as soon as possible.
Hot Coolant Can Burn You Badly!
In “Problems on the Road”, this manual shows what to
do. See “Engine Overheating” in the Index.
2-47
Page 106 of 324
Downloaded from www.Manualslib.com manuals search engine Oil Warning Light
E
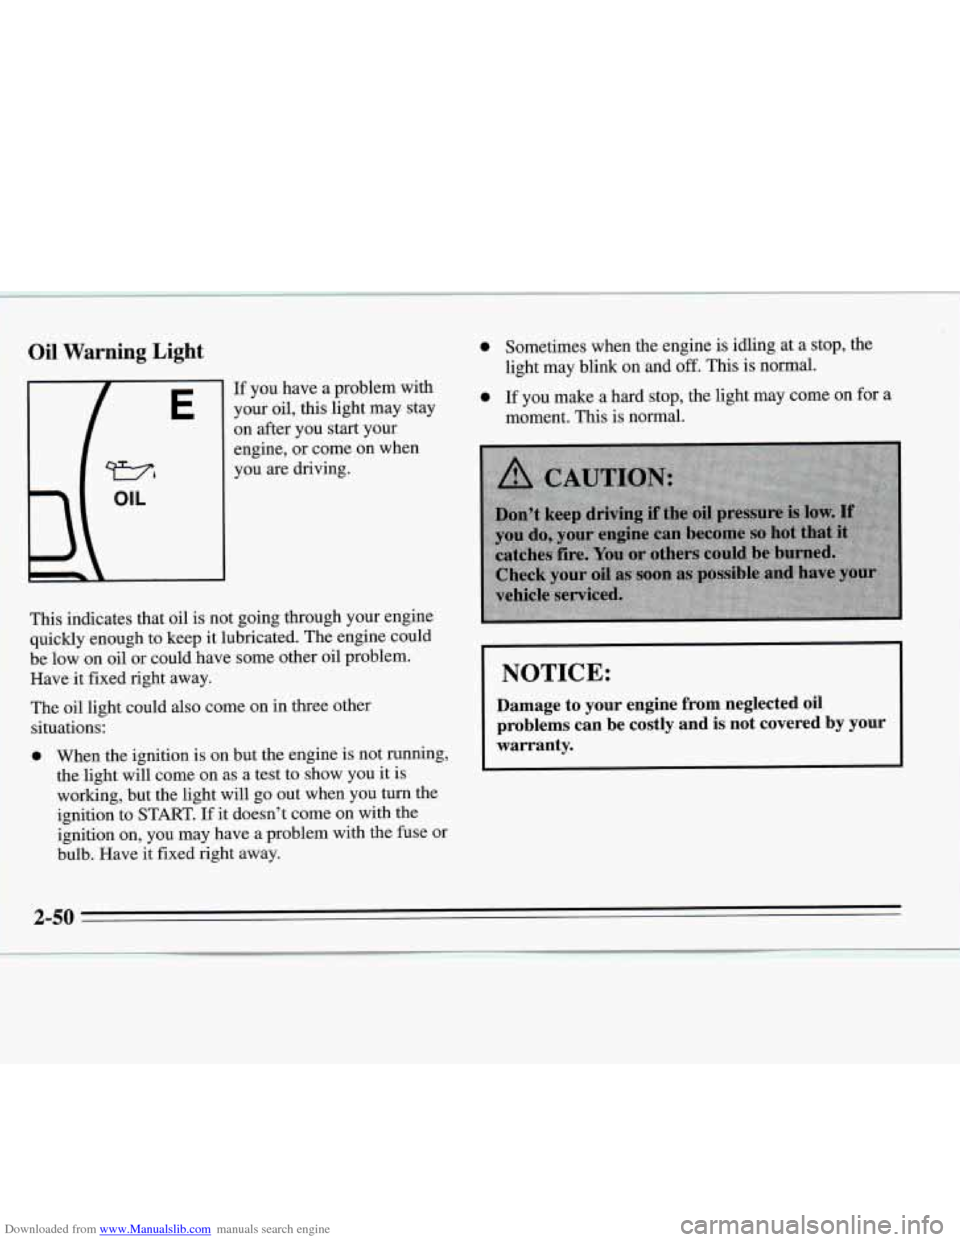
If you have a problem with
your oil,
this light may stay
on after you start your
engine, or come on when
you
are driving.
This indicates that oil is not going through your engine
quickly enough to keep
it lubricated. The engine could
be low on oil
or could have some other oil problem.
Have it fixed right away.
The oil light could also come on in three other
situations:
0 When the ignition is on but the engine is not running,
the light will come on as
a test to show you it is
working, but the light will go out when you
turn the
ignition to
START. If it doesn’t come on with the
ignition on, you may have a problem with the fuse or
bulb. Have it fixed right away.
0 Sometimes when the engine is idling at a stop, the
light may blink on and
off. This is normal.
0 If you make a hard stop, the light may come on for a
moment. This is normal.
I NOTICE:
Damage to your engine from neglected oil
problems can be costly and is not covered by your
warranty.
2-50
Page 161 of 324
Downloaded from www.Manualslib.com manuals search engine Turn Signals When Towing a Trailer
When you tow a trailer, your vehicle has to have a
different
turn signal flasher and extra wiring. The green
arrows on your instrument panel will flash whenever
you signal a turn or lane change. Properly hooked up,
the trailer lamps will also flash, telling other drivers
you’re about to turn, change lanes or stop.
When towing a trailer, the green arrows
on your
instrument panel will flash for turns even if the bulbs on
the trailer are burned out. Thus, you may think drivers
behind
you are seeing your signal when they are not. It’s
important to check occasionally to be sure the trailer
bulbs are still working.
Driving On Grades
Reduce speed and shift to a lower gear before you start
down a long or steep downgrade. If you don’t shift
down, you might have to use your brakes
so much that
they would get hot and no longer work well.
On a long uphill grade, shift down and reduce your
speed
to around 45 mph (70 km/h) to reduce the
possibility of engine and transaxle overheating. If
you are towing a trailer, you may want to drive in
DRIVE (D) instead
of OVERDRIVE (0) (or, as you
need to, a lower gear).
Parking on Hills
You really should not park your vehicle, with a trailer
attached, on
a hill. If something goes wrong, your rig
could start to move. People can be injured, and both
your vehicle and the trailer can be damaged.
But
if you ever have to park your rig on a hill, here’s
how to do it:
1. Apply your regular brakes, but don’t shift into
PARK (P) yet.
2. Have someone place chocks under the trailer wheels.
3. When the wheel chocks are in place, release the
regular brakes until the chocks absorb the load.
4. Reapply the regular brakes. Then apply your parking
brake, and then shift to PARK (P).
5. Release the regular brakes.
4-33
Page 222 of 324
Downloaded from www.Manualslib.com manuals search engine Vehicle Storage
If you’re not going to drive your vehicle for 25 days or
more, take
off the black, negative (-) cable from the
battery. This will help keep your battery from running
down.
Halogen Bulbs
bulb you should use.
Contact your dealer to learn how to prepare your vehicle
for longer storage periods.
6-28
Page 223 of 324
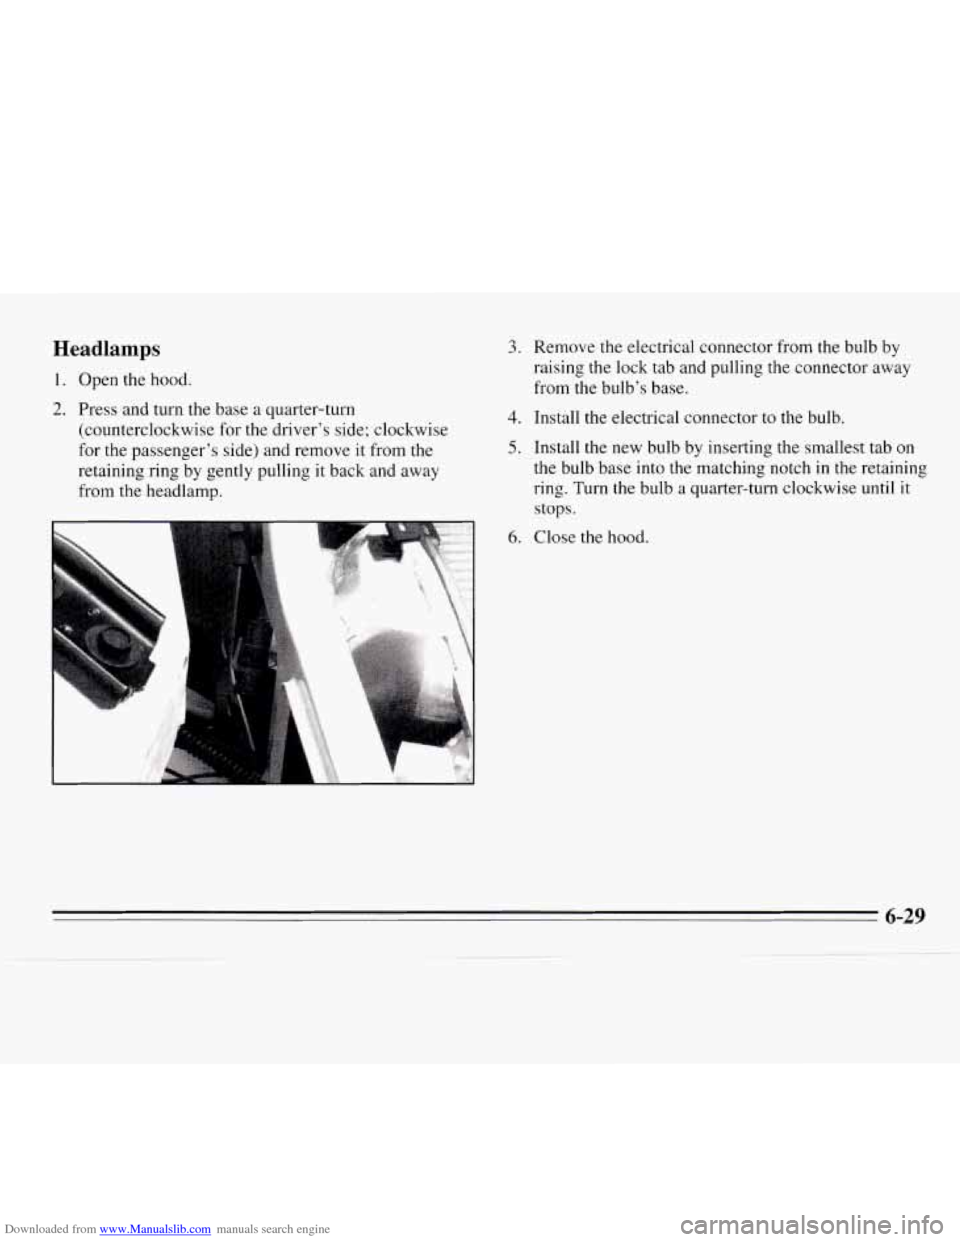
Downloaded from www.Manualslib.com manuals search engine Headlamps
1. Open the hood.
2. Press and turn the base a quarter-turn
(counterclockwise for the driver’s side; clockwise
for the passenger’s side) and remove it from the
retaining ring by gently pulling it back and away
from the headlamp.
-
3. Remove the electrical connector from the bulb by
raising the lock tab and pulling the connector away
from the bulb’s base.
4. Install the electrical connector to the bulb.
5. Install the new bulb by inserting the smallest tab on
the bulb base
into the matching notch in the retaining
ring. Turn the bulb a quarter-turn clockwise until
it
stops.
6. Close the hood.
6-29
Page 225 of 324
Downloaded from www.Manualslib.com manuals search engine 1
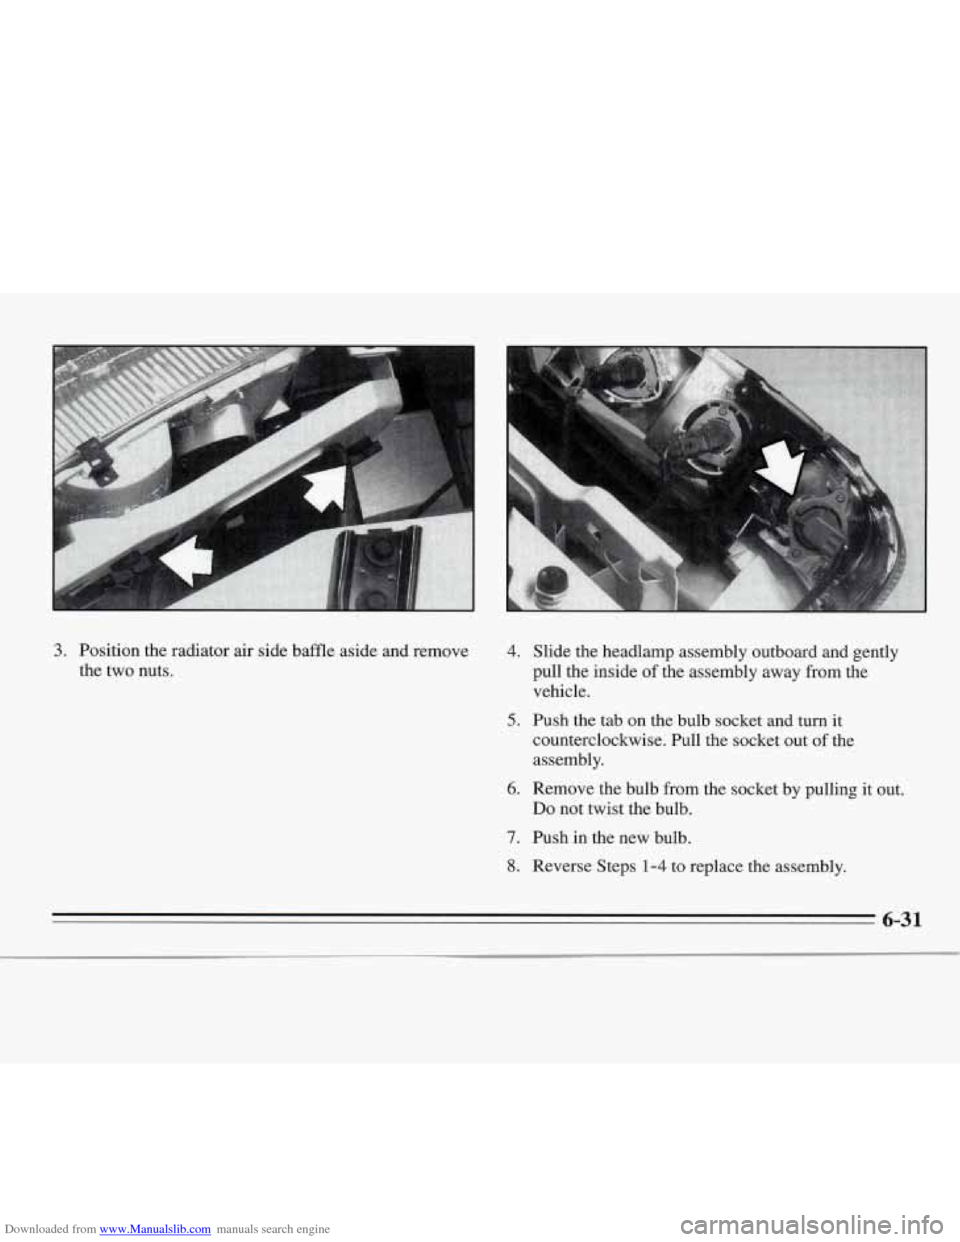
3. Position the radiator air side baffle aside and remove
the two nuts. 4. Slide the headlamp assembly outboard and gently
pull the inside of the assembly away from the
vehicle.
5. Push the tab on the bulb socket and turn it
counterclockwise. Pull the socket out of the
assembly.
Do not twist the bulb.
6. Remove the bulb from the socket by pulling it out.
7. Push in the new bulb.
8. Reverse Steps 1-4 to replace the assembly.
6-3 1
Page 226 of 324
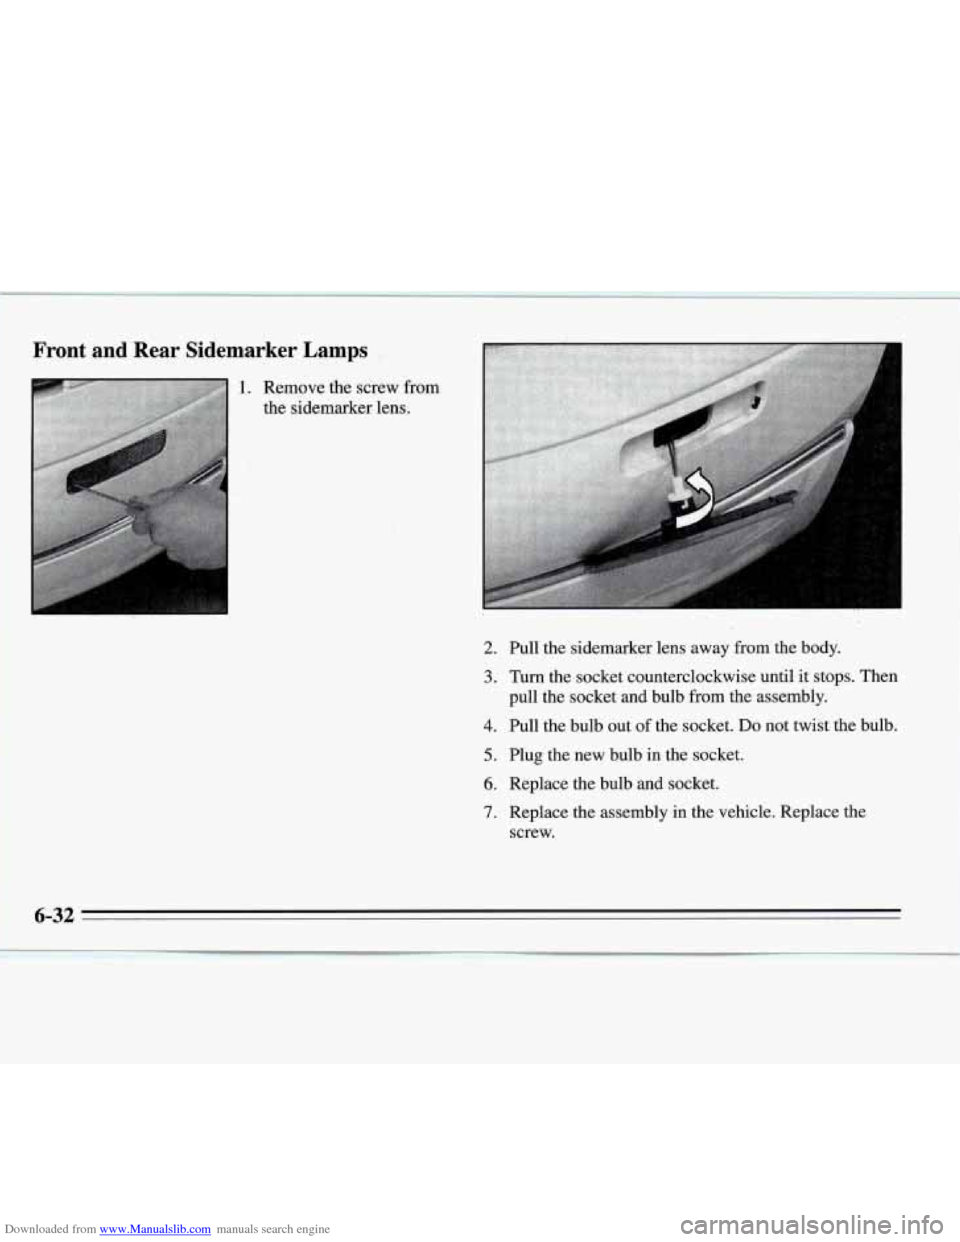
Downloaded from www.Manualslib.com manuals search engine Front and Rear Sidemarker Lamps
2.
3.
4.
5.
6.
7.
Pull the sidemarker lens away from the body.
Turn the socket counterclockwise until it stops. Then
pull the socket and bulb
from the assembly.
Pull the bulb out of the socket.
Do not twist the bulb.
Plug the new bulb in the socket.
Replace the bulb and socket.
Replace the assembly in the vehicle. Replace the
screw.
Page 227 of 324
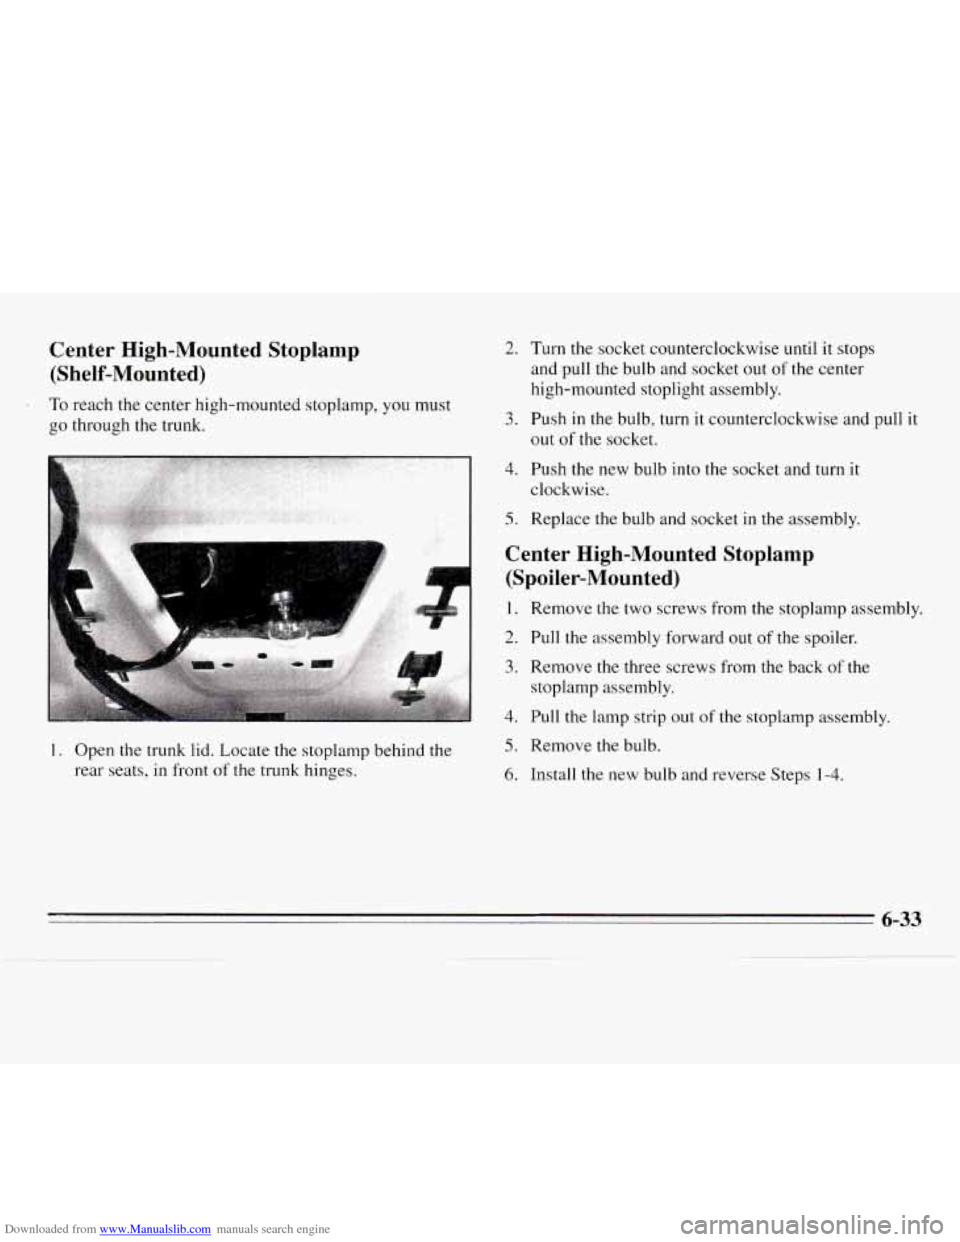
Downloaded from www.Manualslib.com manuals search engine Center High-Mounted Stoplamp (Shelf-Mounted)
To reach the center high-mounted stoplamp, you must
go through the trunk.
1. Open the trunk lid. Locate the stoplamp behind the
rear seats, in front
of the trunk hinges.
2. Turn the socket counterclockwise until it stops
and pull the bulb and socket out of the center
high-mounted stoplight assembly.
3. Push in the bulb, turn it counterclockwise and pull it
out of the socket.
4. Push the new bulb into the socket and turn it
clockwise.
5. Replace the bulb and socket in the assembly.
Center High-Mounted Stoplamp
(Spoiler-Mounted)
1. Remove the two screws from the stoplamp assembly.
2. Pull the assembly forward out of the spoiler.
3. Remove the three screws from the back of the
stoplamp assembly.
4. Pull the lamp strip out of the stoplamp assembly.
5. Remove the bulb.
6. Install the new bulb and reverse Steps 1-4.
6-33
Page 228 of 324
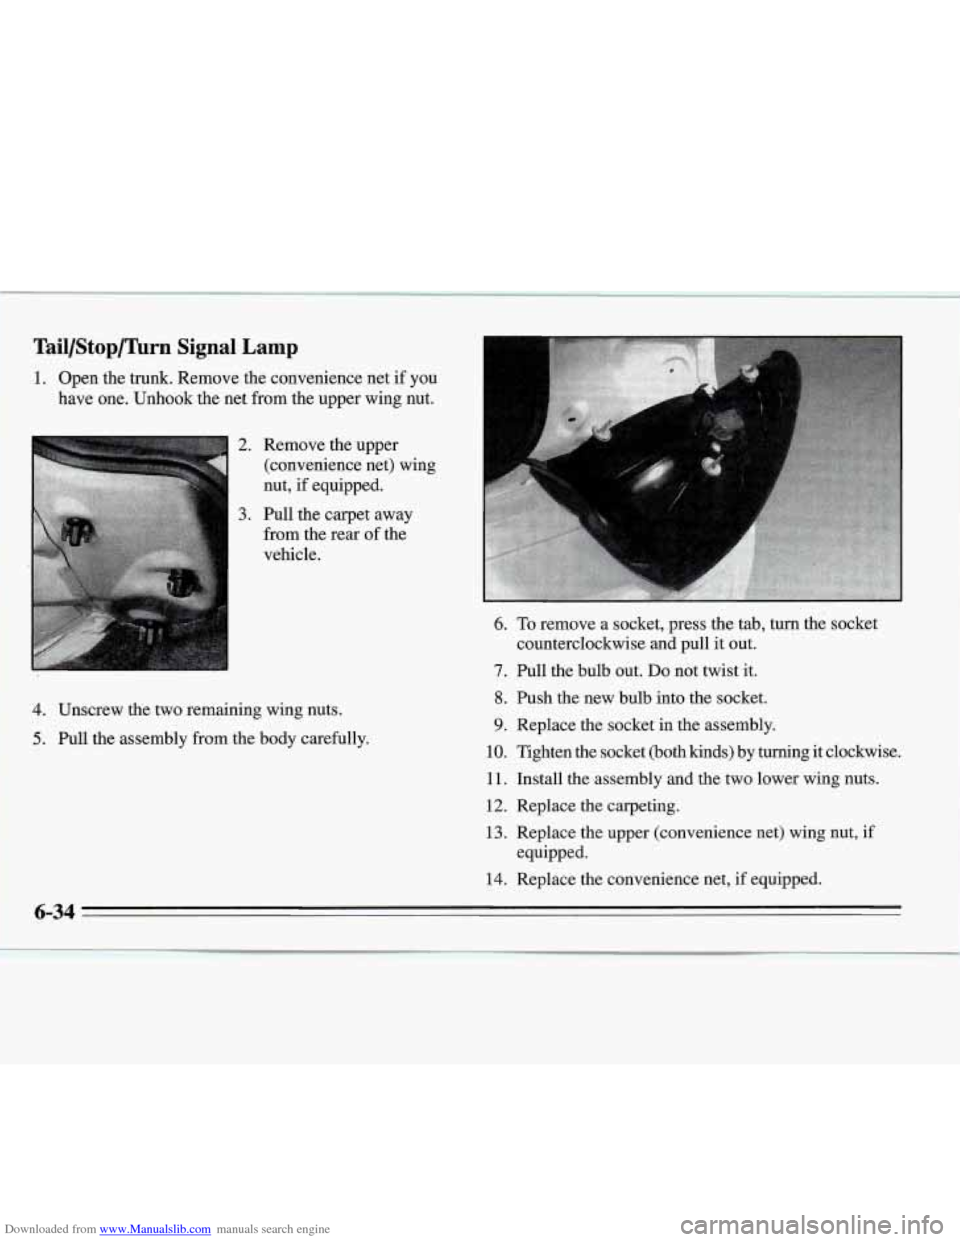
Downloaded from www.Manualslib.com manuals search engine Tail/Stop/Thm Signal Lamp
1. Open the trunk. Remove the convenience net if you
have one. Unhook the net from the upper wing nut.
2. Remove the upper
(convenience net) wing
nut, if equipped.
3. Pull the carpet away
from the rear of the
vehicle.
4. Unscrew the two remaining wing nuts.
5. Pull the assembly from the body carefully.
6. To remove a socket, press the tab, turn the socket
counterclockwise
and pull it out.
7. Pull the bulb out. Do not twist it.
8. Push the new bulb into the socket.
9. Replace the socket in the assembly.
10. Tighten the socket (both kinds) by turning it clockwise.
11. Install the assembly and the two lower wing nuts.
12. Replace the carpeting.
13. Replace the upper (convenience net) wing nut, if
14. Replace the convenience net, if equipped.
equipped.
6-34