CHEVROLET MONTE CARLO 1999 5.G Owners Manual
MONTE CARLO 1999 5.G
CHEVROLET
CHEVROLET
https://www.carmanualsonline.info/img/24/8243/w960_8243-0.png
CHEVROLET MONTE CARLO 1999 5.G Owners Manual
Trending: jacking, trailer, length, trunk release, lock, brake sensor, oil viscosity
Page 101 of 336
yellowblue
2-39 Convex Outside Mirror
Your passenger's side mirror is convex. A convex
mirror's surface is curved so you can see more from the
driver's seat.
CAUTION:
A convex mirror can make things (like other
vehicles) look farther away than they really are.
If you cut too sharply into the right lane, you
could hit a vehicle on your right. Check your
inside mirror or glance over your shoulder before
changing lanes.
Storage Compartments
Glove Box
Use the door key to lock and unlock the glove box. To
open, lift the latch.
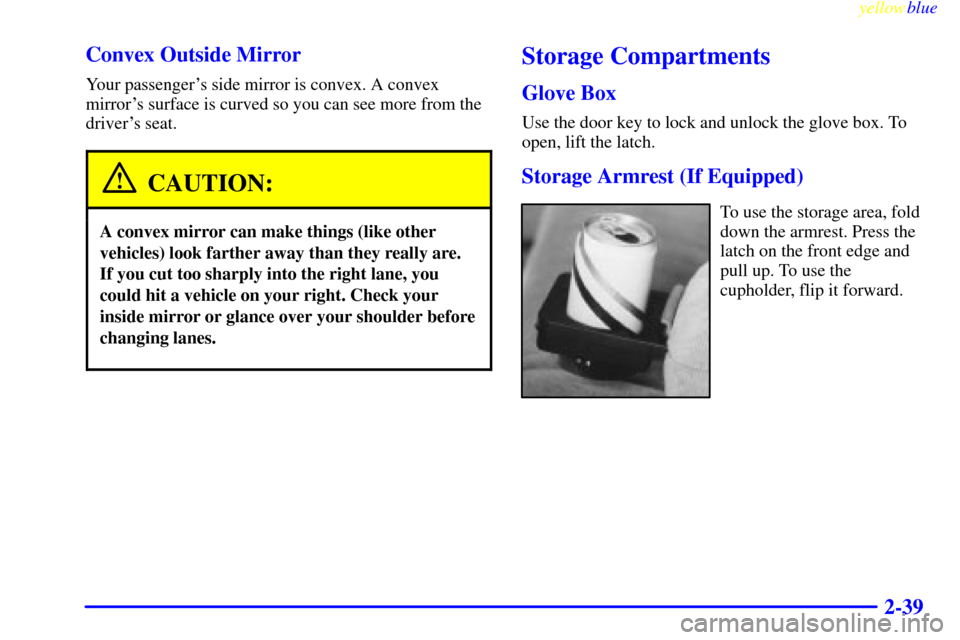
Storage Armrest (If Equipped)
To use the storage area, fold
down the armrest. Press the
latch on the front edge and
pull up. To use the
cupholder, flip it forward.
Page 102 of 336
yellowblue
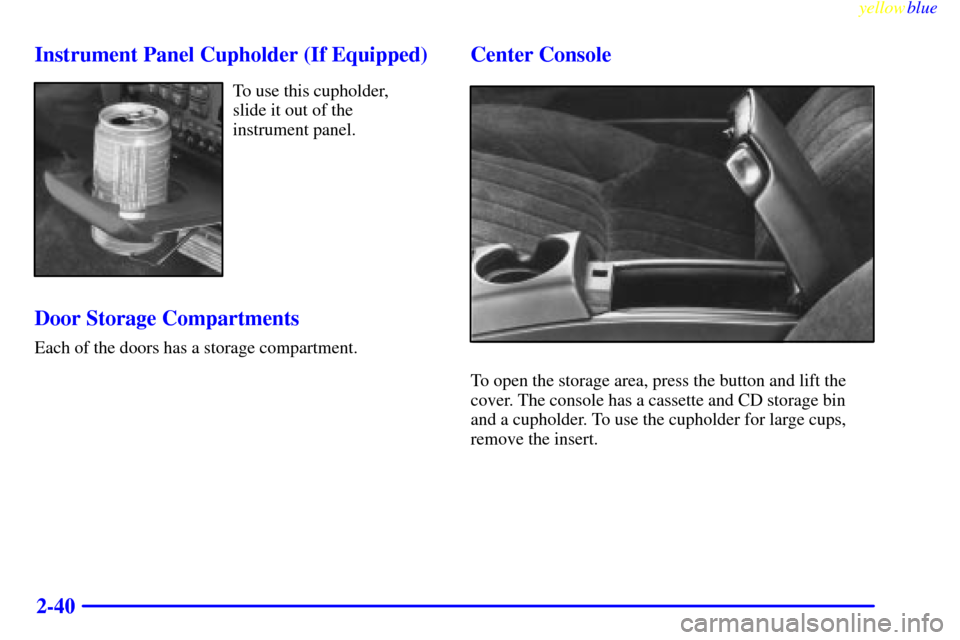
2-40 Instrument Panel Cupholder (If Equipped)
To use this cupholder,
slide it out of the
instrument panel.
Door Storage Compartments
Each of the doors has a storage compartment.
Center Console
To open the storage area, press the button and lift the
cover. The console has a cassette and CD storage bin
and a cupholder. To use the cupholder for large cups,
remove the insert.
Page 103 of 336
yellowblue
2-41 Convenience Net (Option)
Your vehicle may have a convenience net. You'll see it
just inside the back wall of the trunk.
Put small loads, like grocery bags, behind the net. It can
help keep them from falling over during sharp turns or
quick starts and stops.
The net isn't for larger, heavier loads. Store them in the
trunk as far forward as you can.
You can unhook the net so that it will lie flat when
you're not using it.
Ashtrays and Cigarette Lighter
The center front ashtray may be on the instrument panel
or on the console. To remove the instrument panel
ashtray, open it, push down on the locking tab and pull
out the ashtray.
Your vehicle may be equipped with a rear ashtray. It is
located within a small door at the rear of your console.
Push on the right side of the door. The ashtray will then
rotate to the right for usage. You can only access the
ashtray by pushing on the door's right side. To remove
the rear ashtray, push down on the snuffer located in the
middle of the ashtray and lift it out.
NOTICE:
Don't put papers and other things that burn into
your ashtrays. If you do, cigarettes or other
smoking materials could set them on fire,
causing damage.
To use the lighter, just push it in all the way and let go.
When it's ready, it will pop back by itself.
NOTICE:
Don't hold a cigarette lighter in with your hand
while it is heating. If you do, it won't be able to
back away from the heating element when it's
ready. That can make it overheat, damaging the
lighter and the heating element.
Page 104 of 336
yellowblue
2-42
Sun Visors
To block out glare, you can swing down the visors. You
can also move them from side to side.
Visor Vanity Mirrors
Open the cover to expose the vanity mirror. For the
driver's mirror, slide the cover to the side. For the
passenger's mirror, lift the cover. The lamps will come
on when you open the cover on the passenger's visor.
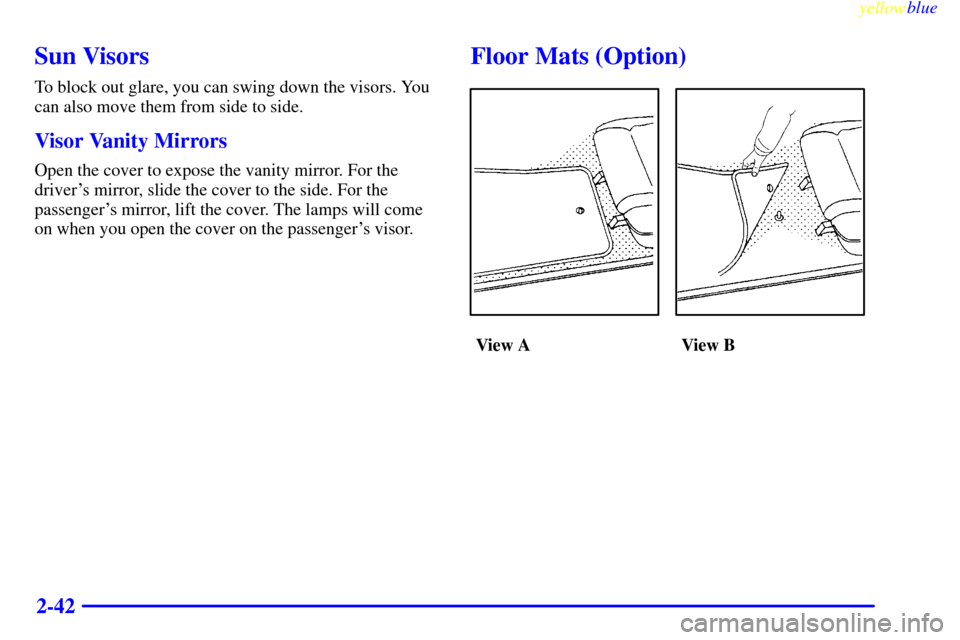
Floor Mats (Option)
View A View B
Page 105 of 336

yellowblue
2-43
Installation
1. Move the driver's seat to its most rearward position.
2. Place the driver's side floor mat in the vehicle with
the rear of the mat against the left (outboard)
front edge of the seat track mounting bracket
(see view A).
3. Use a screwdriver to screw the locator post into the
vehicle's carpeting. Press down while turning to
allow the locator to pierce the floor carpet. The
locator will not screw down tightly, but will rotate
freely when installed properly.
Usage
�To remove the mat, pull up on the rear of the mat to
unsnap it from the locator post (see view B).
�To r e
-install the mat, align the grommet in the mat
over the locator post and push down to snap the mat
into place (see view B).
Auxiliary Power Connection
Your vehicle is equipped
with auxiliary power leads.
These leads can be used to
power aftermarket electrical
equipment added to
your vehicle.
They are located on the passenger's side of the vehicle,
below the glove box and behind what is referred to as a
ªhush panel.º For additional information on accessing
these leads and electrical hookup, please refer to the
service manual.
Page 106 of 336
yellowblue
2-44
NOTICE:
Adding some electrical equipment to your vehicle
can damage it or keep other things from working
as they should. This wouldn't be covered by your
warranty. Check with your dealer before adding
electrical equipment, and never use anything that
exceeds the fuse rating.
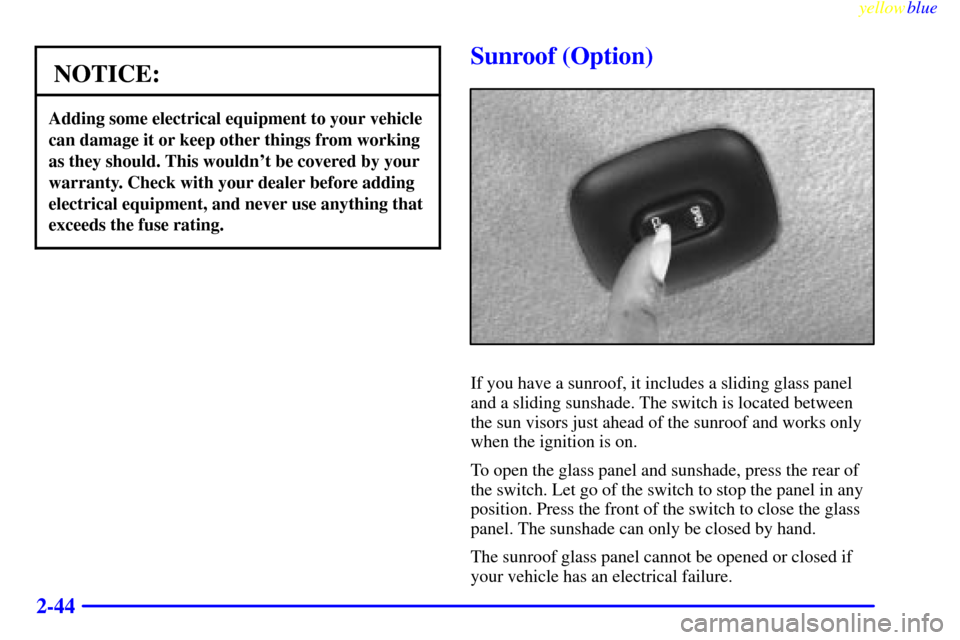
Sunroof (Option)
If you have a sunroof, it includes a sliding glass panel
and a sliding sunshade. The switch is located between
the sun visors just ahead of the sunroof and works only
when the ignition is on.
To open the glass panel and sunshade, press the rear of
the switch. Let go of the switch to stop the panel in any
position. Press the front of the switch to close the glass
panel. The sunshade can only be closed by hand.
The sunroof glass panel cannot be opened or closed if
your vehicle has an electrical failure.
Page 107 of 336
yellowblue
2-45
Cellular Telephone (Option)
Your vehicle has been prewired for dealer installation
of a Chevrolet fixed mobile or portable hand
-held
cellular telephone. For more information, see your
Chevrolet dealer.
OnStar�(Option)
Your vehicle has been prewired for installation of
OnStar. This feature may be obtained from your
Chevrolet dealer. The following services are available
24 hours a day:
�Notification of Air Bag Deployment
�Emergency Services
�Stolen
-Vehicle Tracking
�Remote Door Unlock
�Roadside Assistance with Location
�Route Support
�Convenience Services
�Remote Diagnostics
�Hands
-Free, Voice-Activated Cellular Telephone
For more information, contact your Chevrolet dealer.
Page 108 of 336
yellowblue
2-46
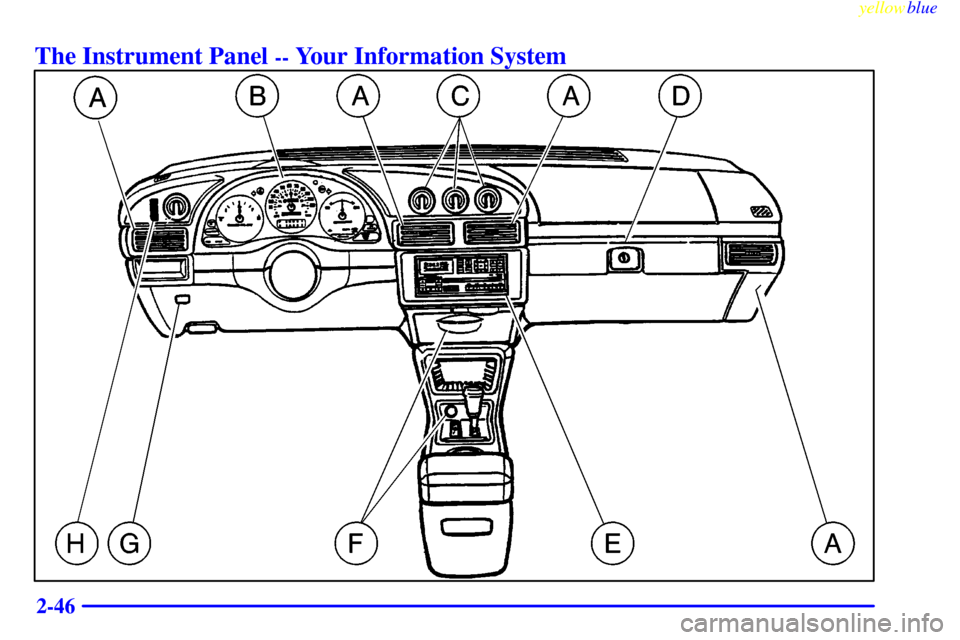
The Instrument Panel -- Your Information System
Page 109 of 336
yellowblue
2-47
A. Vents
B. Instrument Panel Cluster
C. Climate Controls/Rear Window Defogger
D. Glove BoxE. Audio System
F. Ashtray and Cigarette Lighter
G. Remote Trunk Release
H. Lamp Controls
Page 110 of 336
yellowblue
2-48
Instrument Panel Cluster
Standard Cluster: United States Version Shown, Canadian Similar
Your instrument panel cluster is designed to let you know at a glance how your vehicle is running. You'll
know how fast you're going, about how much fuel is in your tank and many other things you need to drive safely
and economically.
Trending: checking oil, radiator cap, heater, oil dipstick, oil, dimensions, service interval
