radiator cap CHEVROLET MONTE CARLO 2003 6.G Owners Manual
[x] Cancel search | Manufacturer: CHEVROLET, Model Year: 2003, Model line: MONTE CARLO, Model: CHEVROLET MONTE CARLO 2003 6.GPages: 394, PDF Size: 2.73 MB
Page 249 of 394

Service............................................................5-3
Doing Your Own Service Work.........................5-3
Adding Equipment to the Outside of
Your Vehicle..............................................5-4
Fuel................................................................5-4
Gasoline Octane............................................5-4
Gasoline Speci®cations....................................5-5
California Fuel...............................................5-5
Additives.......................................................5-6
Fuels in Foreign Countries...............................5-6
Filling Your Tank............................................5-7
Filling a Portable Fuel Container.......................5-9
Checking Things Under
the Hood....................................................5-10
Hood Release..............................................5-10
Engine Compartment Overview.......................5-12
Engine Oil...................................................5-16
Engine Air Cleaner/Filter................................5-22
Automatic Transaxle Fluid..............................5-24
Engine Coolant.............................................5-26
Radiator Pressure Cap..................................5-29
Engine Overheating.......................................5-29
Cooling System............................................5-32
Power Steering Fluid.....................................5-42
Windshield Washer Fluid................................5-43
Brakes........................................................5-44Battery........................................................5-47
Jump Starting...............................................5-48
Headlamp Aiming...........................................5-53
Bulb Replacement..........................................5-54
Halogen Bulbs..............................................5-54
Headlamps, Front Turn Signal, Sidemarker,
and Parking Lamps....................................5-54
Taillamps, Turn Signal, Stoplamps and
Sidemarker Lamps.....................................5-56
Back-Up Lamps............................................5-57
Replacement Bulbs.......................................5-57
Windshield Wiper Blade Replacement..............5-58
Tires..............................................................5-59
In¯ation -- Tire Pressure................................5-60
Tire Pressure Monitor System.........................5-61
Tire Inspection and Rotation...........................5-63
When It Is Time for New Tires.......................5-64
Buying New Tires.........................................5-65
Uniform Tire Quality Grading..........................5-66
Wheel Alignment and Tire Balance..................5-67
Wheel Replacement......................................5-67
Tire Chains..................................................5-69
If a Tire Goes Flat........................................5-69
Changing a Flat Tire.....................................5-70
Compact Spare Tire......................................5-81
Section 5 Service and Appearance Care
5-1
Page 261 of 394

A. Windshield Washer Fluid Reservoir. SeeWindshield
Washer Fluid on page 5-43.
B. Battery. See
Battery on page 5-47.
C. Remote Positive (+) Terminal. See
Jump Starting on
page 5-48.
D. Upper Underhood Fuse Block. See ªUpperhood
Fuse Block (Upper)º under
Fuses and Circuit
Breakers on page 5-91.
E. Lower Underhood Fuse Block. See ªUnderhood
Fuse Block (Lower)º under
Fuses and Circuit
Breakers on page 5-91.
F. Radiator Pressure Cap. See
Radiator Pressure Cap
on page 5-29.
G. Engine Coolant Recovery Tank. See
Cooling System
on page 5-32.
H. Power Steering Fluid Reservoir. See
Power Steering
Fluid on page 5-42.I. Electric Cooling Fan. See
Cooling System on
page 5-32.
J. Engine Oil Fill Cap. See ªChecking Engine Oilº
under
Engine Oil on page 5-16.
K. Engine Oil Dipstick. See ªChecking Engine Oilº
under
Engine Oil on page 5-16.
L. Bleed Valves (underneath engine shield). See ªHow
to Add Coolant to the Radiatorº under
Cooling
System on page 5-32.
M. Transaxle Fluid Dipstick. See
Automatic Transaxle
Fluid on page 5-24.
N. Brake Master Cylinder Reservoir. See
Brakes on
page 5-44.
O. Engine Air Cleaner/Filter. See
Engine Air
Cleaner/Filter on page 5-22.
5-13
Page 263 of 394

A. Windshield Washer Fluid Reservoir. SeeWindshield
Washer Fluid on page 5-43.
B. Battery. See
Battery on page 5-47.
C. Remote Positive (+) Terminal. See
Jump Starting on
page 5-48.
D. Upper Underhood Fuse Block. See ªUpperhood
Fuse Block (Upper)º under
Fuses and Circuit
Breakers on page 5-91.
E. Lower Underhood Fuse Block. See ªUnderhood
Fuse Block (Lower)º under
Fuses and Circuit
Breakers on page 5-91.
F. Radiator Pressure Cap. See
Radiator Pressure Cap
on page 5-29.
G. Engine Coolant Recovery Tank. See
Cooling System
on page 5-32
H. Power Steering Fluid Reservoir (low in engine
compartment). SeePower Steering Fluid on
page 5-42.I. Electric Cooling Fan. See
Cooling System on
page 5-32.
J. Engine Oil Dipstick. See ªChecking Engine Oilº
under
Engine Oil on page 5-16.
K. Engine Oil Fill Cap. See ªChecking Engine Oilº
under
Engine Oil on page 5-16.
L. Bleed Valves (underneath engine shield). See ªHow
to Add Coolant to the Radiatorº under
Cooling
System on page 5-32.
M. Transaxle Fluid Dipstick. See
Automatic Transaxle
Fluid on page 5-24.
N. Brake Master Cylinder Reservoir. See
Brakes on
page 5-44.
O. Engine Air Cleaner/Filter. See
Engine Air
Cleaner/Filter on page 5-22.
5-15
Page 276 of 394
Checking Coolant
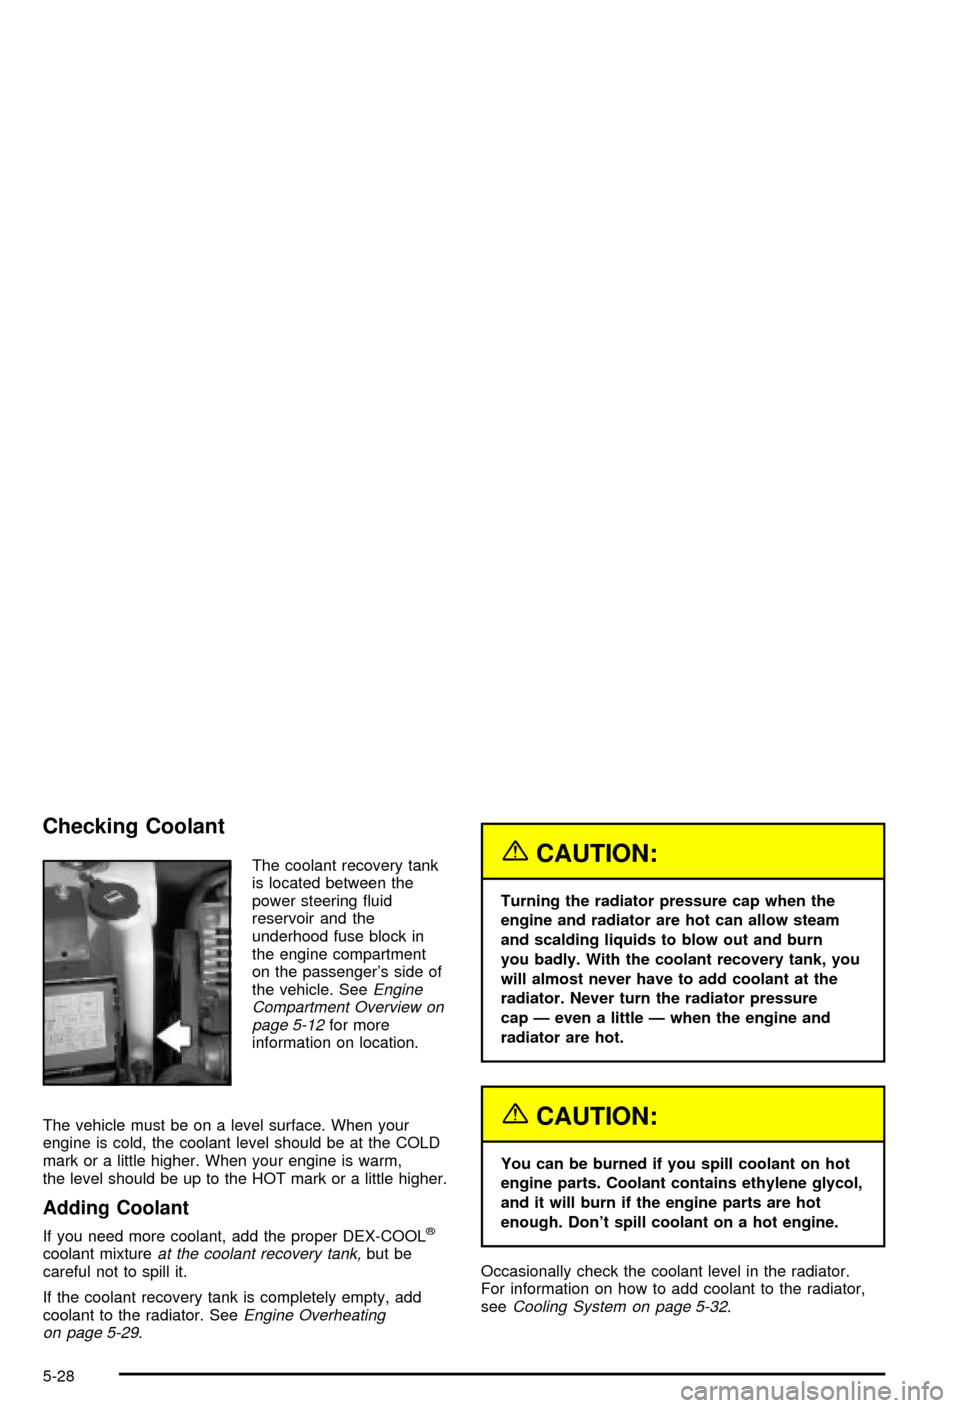
The coolant recovery tank
is located between the
power steering ¯uid
reservoir and the
underhood fuse block in
the engine compartment
on the passenger's side of
the vehicle. See
Engine
Compartment Overview on
page 5-12
for more
information on location.
The vehicle must be on a level surface. When your
engine is cold, the coolant level should be at the COLD
mark or a little higher. When your engine is warm,
the level should be up to the HOT mark or a little higher.
Adding Coolant
If you need more coolant, add the proper DEX-COOLž
coolant mixtureat the coolant recovery tank,but be
careful not to spill it.
If the coolant recovery tank is completely empty, add
coolant to the radiator. See
Engine Overheating
on page 5-29.
{CAUTION:
Turning the radiator pressure cap when the
engine and radiator are hot can allow steam
and scalding liquids to blow out and burn
you badly. With the coolant recovery tank, you
will almost never have to add coolant at the
radiator. Never turn the radiator pressure
cap Ð even a little Ð when the engine and
radiator are hot.
{CAUTION:
You can be burned if you spill coolant on hot
engine parts. Coolant contains ethylene glycol,
and it will burn if the engine parts are hot
enough. Don't spill coolant on a hot engine.
Occasionally check the coolant level in the radiator.
For information on how to add coolant to the radiator,
see
Cooling System on page 5-32.
5-28
Page 277 of 394

Radiator Pressure Cap
Notice:Your radiator cap is a pressure-type cap
and must be tightly installed to prevent coolant loss
and possible engine damage from overheating.
Be sure the arrows on the cap line up with the
over¯ow tube on the radiator ®ller neck.
The radiator pressure cap is located in the front of the
engine compartment on the passenger's side, near
the diagonal cross brace. See
Engine Compartment
Overview on page 5-12for more information on location.
Engine Overheating
You will ®nd a coolant temperature gage and a warning
message about a hot engine on your instrument
panel cluster. See
Engine Coolant Temperature Gage
on page 3-38andHot Coolant Temperature Warning
Message on page 3-46.
Overheated Engine Protection
Operating Mode
This emergency operating mode allows your vehicle to
be driven to a safe place in an emergency situation.
If an overheated engine condition exists, an overheat
protection mode which alternates ®ring groups of
cylinders helps prevent engine damage. In this mode,
you will notice a signi®cant loss in power and engine
performance. The low coolant light may come on
and the temperature gage will indicate an overheat
condition exists. Driving extended miles (km) and/or
towing a trailer in the overheat protection mode should
be avoided.
Notice:After driving in the overheated engine
protection operating mode, to avoid engine damage,
allow the engine to cool before attempting any
repair. The engine oil will be severely degraded.
Repair the cause of coolant loss, change the oil and
reset the oil life system. See ªEngine Oilº in the
Index.
5-29
Page 280 of 394
Cooling System
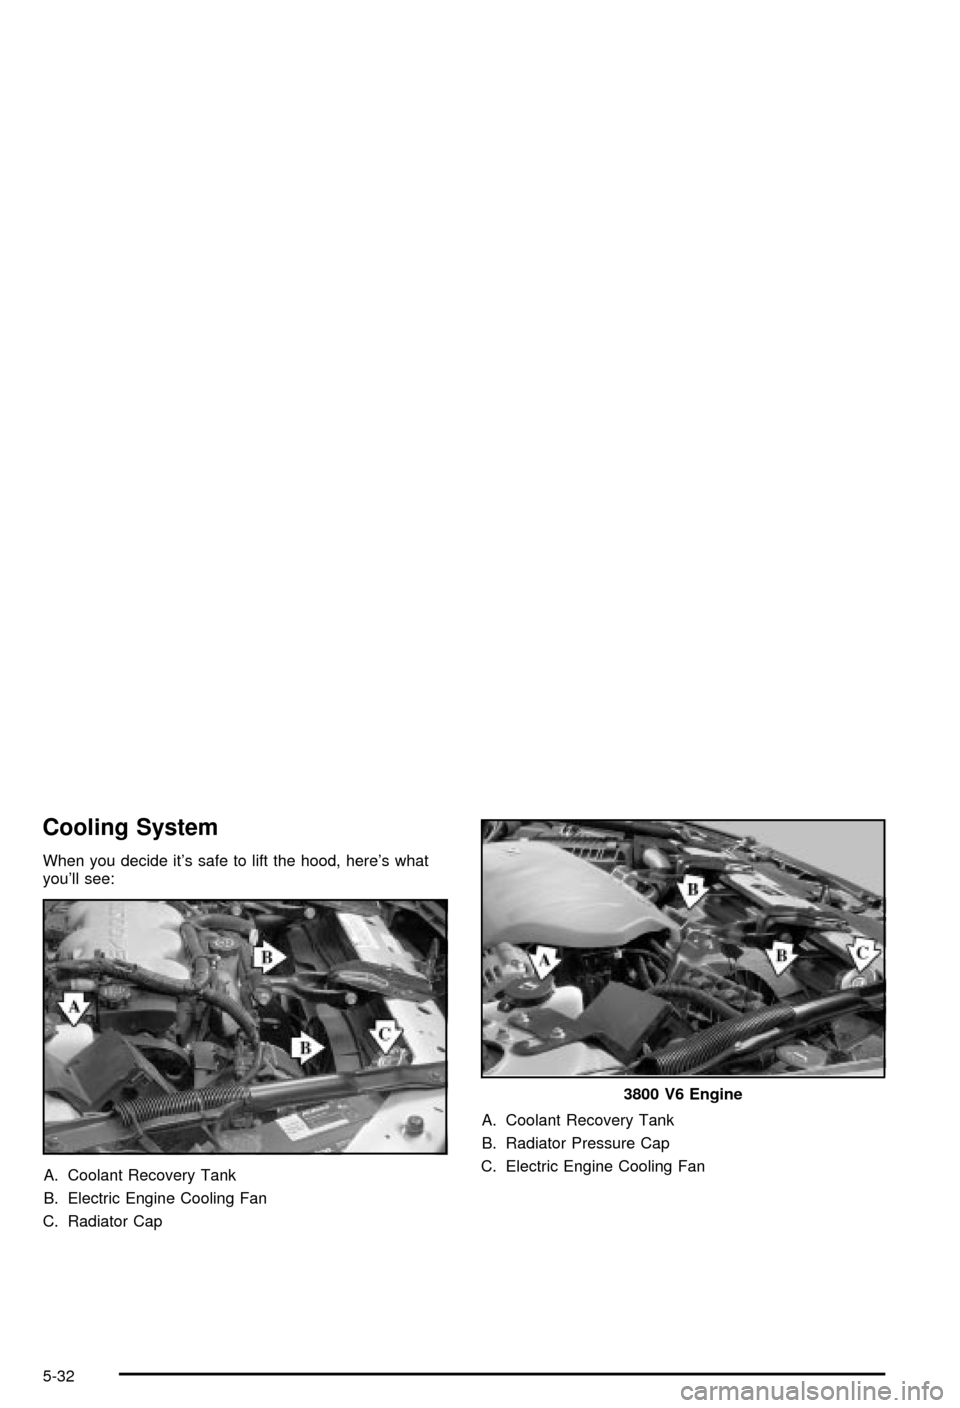
When you decide it's safe to lift the hood, here's what
you'll see:
A. Coolant Recovery Tank
B. Electric Engine Cooling Fan
C. Radiator CapA. Coolant Recovery Tank
B. Radiator Pressure Cap
C. Electric Engine Cooling Fan
3800 V6 Engine
5-32
Page 281 of 394
{CAUTION:
An electric engine cooling fan under the hood
can start up even when the engine is not
running and can injure you. Keep hands,
clothing and tools away from any underhood
electric fan.
If the coolant inside the coolant recovery tank is boiling,
don't do anything else until it cools down. The vehicle
should be parked on a level surface.
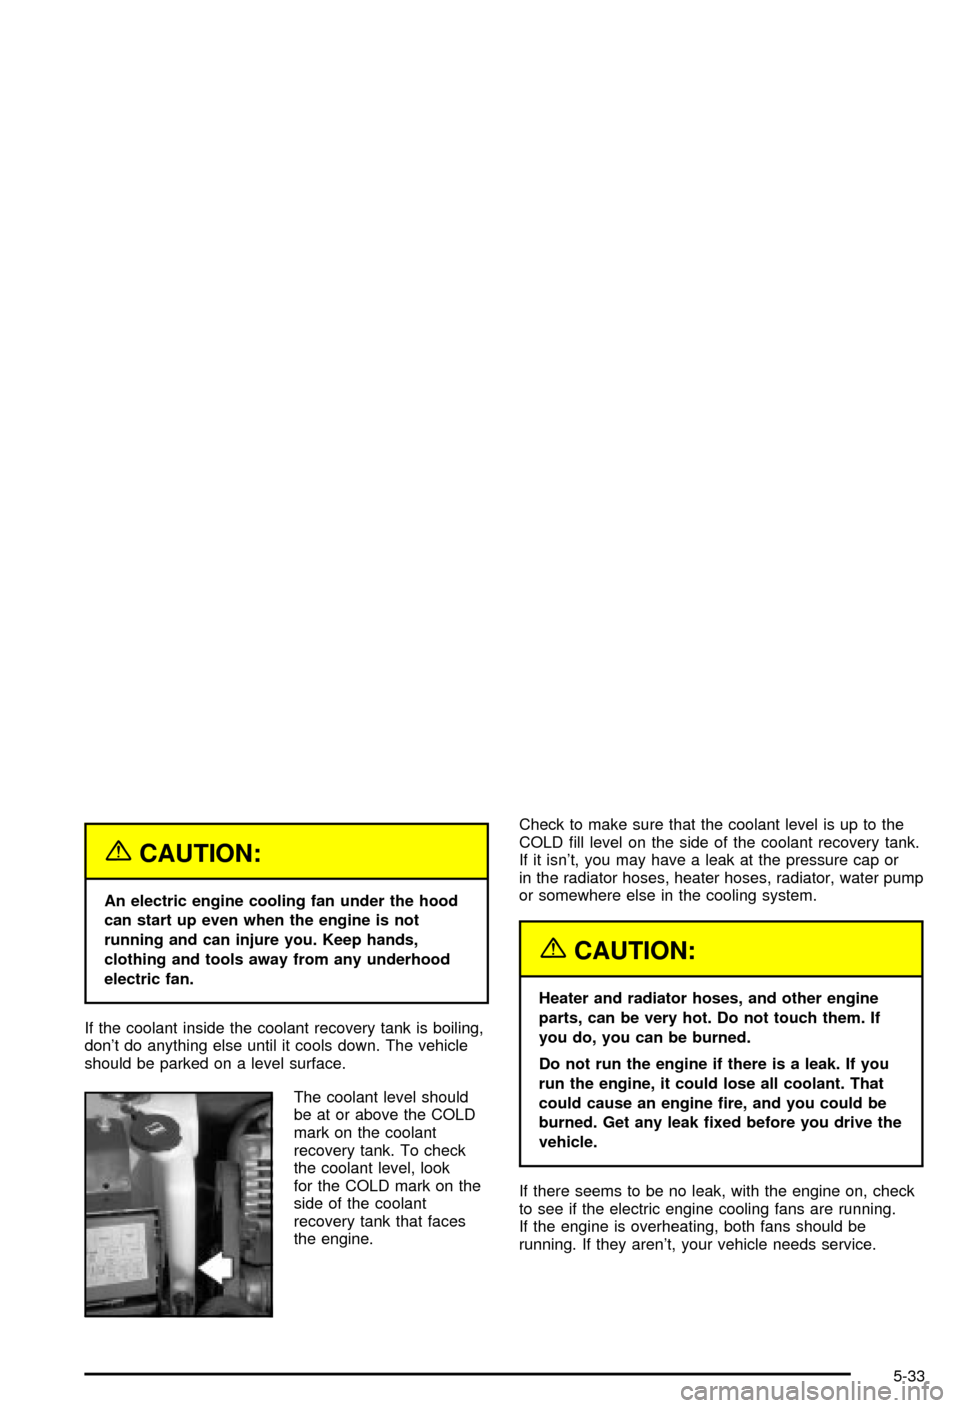
The coolant level should
be at or above the COLD
mark on the coolant
recovery tank. To check
the coolant level, look
for the COLD mark on the
side of the coolant
recovery tank that faces
the engine.Check to make sure that the coolant level is up to the
COLD ®ll level on the side of the coolant recovery tank.
If it isn't, you may have a leak at the pressure cap or
in the radiator hoses, heater hoses, radiator, water pump
or somewhere else in the cooling system.
{CAUTION:
Heater and radiator hoses, and other engine
parts, can be very hot. Do not touch them. If
you do, you can be burned.
Do not run the engine if there is a leak. If you
run the engine, it could lose all coolant. That
could cause an engine ®re, and you could be
burned. Get any leak ®xed before you drive the
vehicle.
If there seems to be no leak, with the engine on, check
to see if the electric engine cooling fans are running.
If the engine is overheating, both fans should be
running. If they aren't, your vehicle needs service.
5-33
Page 284 of 394
If the overheat warning continues, there's one more
thing you can try. You can add the proper coolant
mixture directly to the radiator, but be sure the cooling
system is cool before you do it.
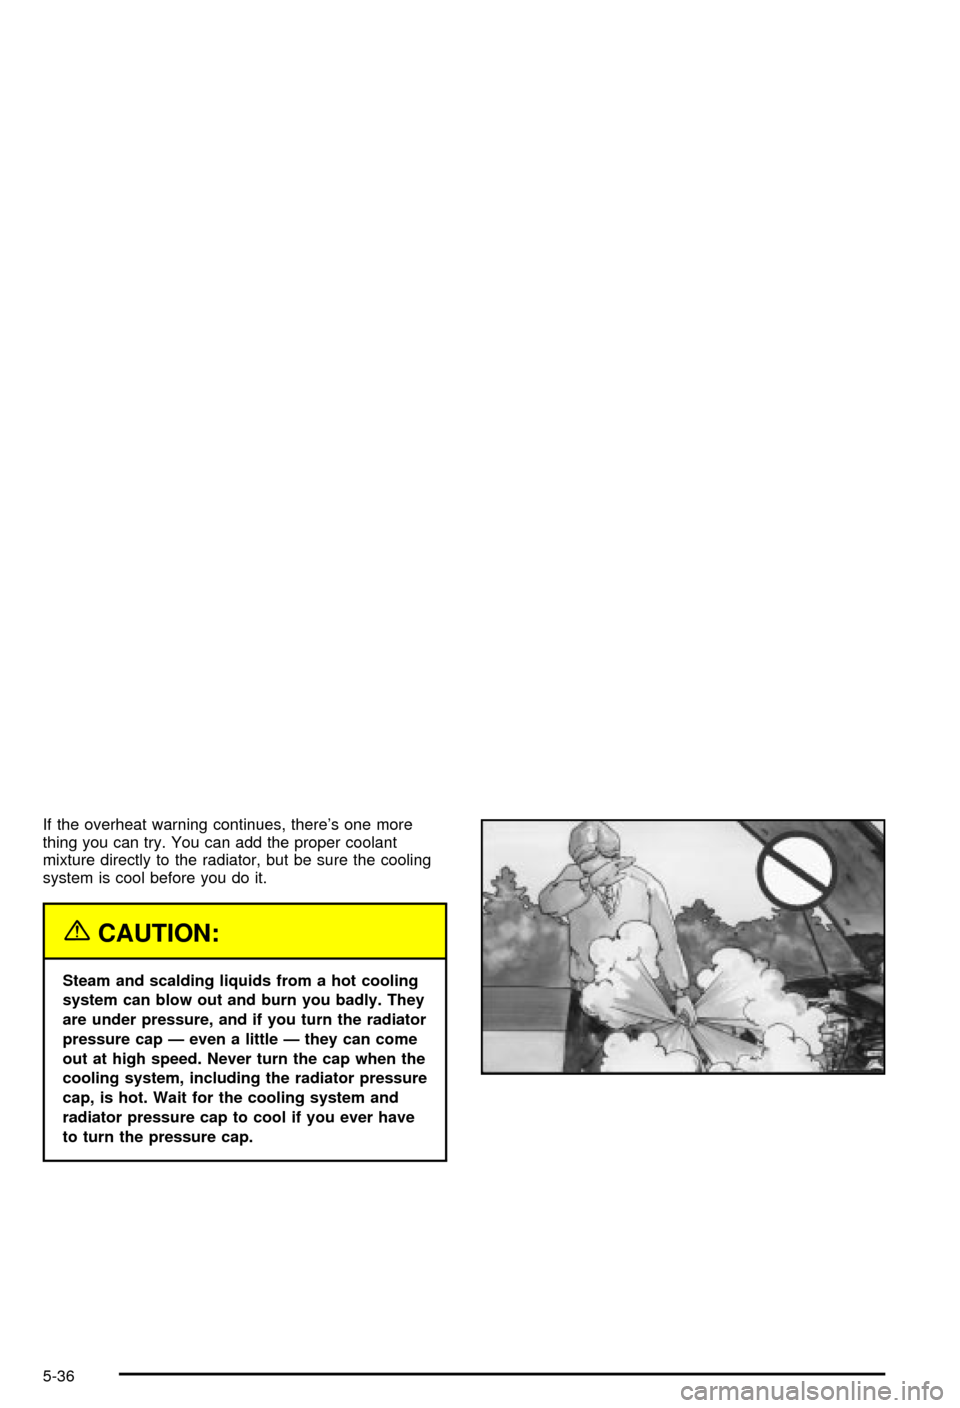
{CAUTION:
Steam and scalding liquids from a hot cooling
system can blow out and burn you badly. They
are under pressure, and if you turn the radiator
pressure cap Ð even a little Ð they can come
out at high speed. Never turn the cap when the
cooling system, including the radiator pressure
cap, is hot. Wait for the cooling system and
radiator pressure cap to cool if you ever have
to turn the pressure cap.
5-36
Page 285 of 394
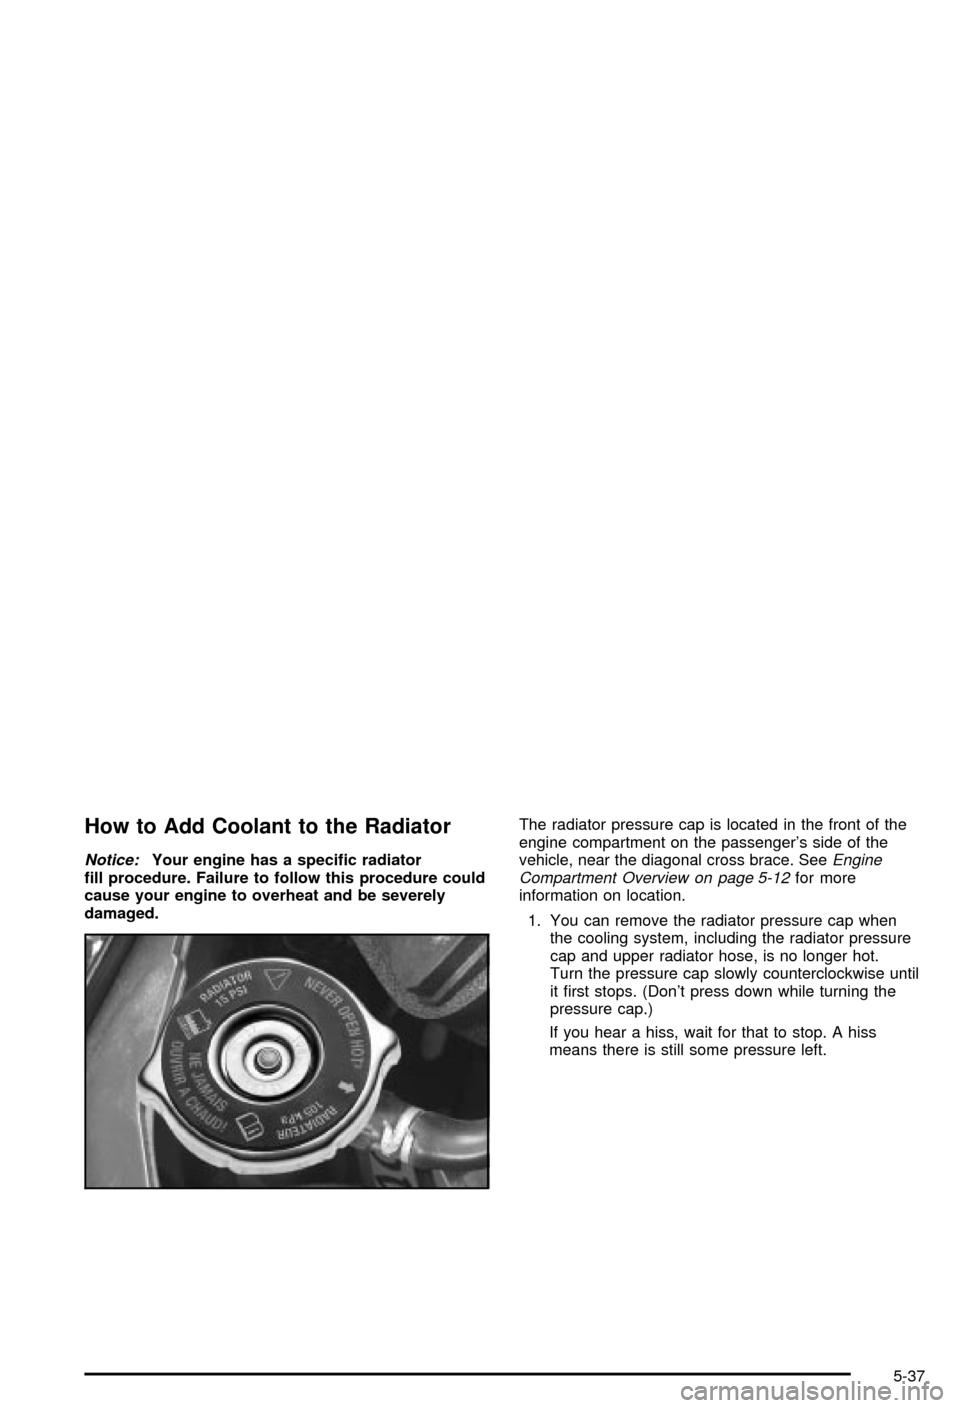
How to Add Coolant to the Radiator
Notice:Your engine has a speci®c radiator
®ll procedure. Failure to follow this procedure could
cause your engine to overheat and be severely
damaged.The radiator pressure cap is located in the front of the
engine compartment on the passenger's side of the
vehicle, near the diagonal cross brace. SeeEngine
Compartment Overview on page 5-12for more
information on location.
1. You can remove the radiator pressure cap when
the cooling system, including the radiator pressure
cap and upper radiator hose, is no longer hot.
Turn the pressure cap slowly counterclockwise until
it ®rst stops. (Don't press down while turning the
pressure cap.)
If you hear a hiss, wait for that to stop. A hiss
means there is still some pressure left.
5-37
Page 288 of 394
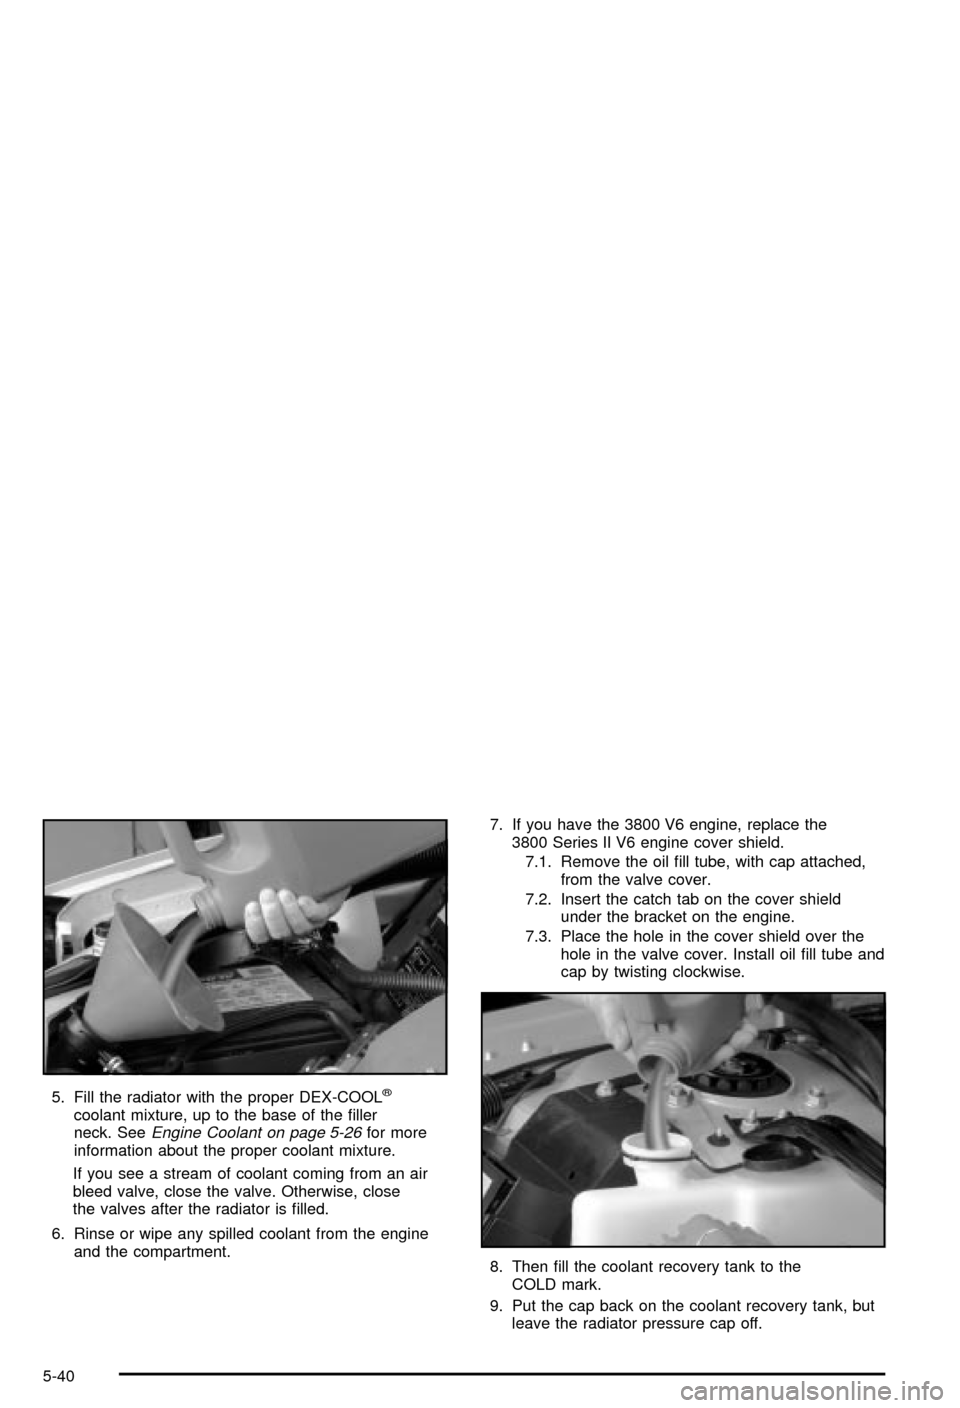
5. Fill the radiator with the proper DEX-COOLž
coolant mixture, up to the base of the ®ller
neck. SeeEngine Coolant on page 5-26for more
information about the proper coolant mixture.
If you see a stream of coolant coming from an air
bleed valve, close the valve. Otherwise, close
the valves after the radiator is ®lled.
6. Rinse or wipe any spilled coolant from the engine
and the compartment.7. If you have the 3800 V6 engine, replace the
3800 Series II V6 engine cover shield.
7.1. Remove the oil ®ll tube, with cap attached,
from the valve cover.
7.2. Insert the catch tab on the cover shield
under the bracket on the engine.
7.3. Place the hole in the cover shield over the
hole in the valve cover. Install oil ®ll tube and
cap by twisting clockwise.
8. Then ®ll the coolant recovery tank to the
COLD mark.
9. Put the cap back on the coolant recovery tank, but
leave the radiator pressure cap off.
5-40