tow CHEVROLET MONTE CARLO 2003 6.G Owners Manual
[x] Cancel search | Manufacturer: CHEVROLET, Model Year: 2003, Model line: MONTE CARLO, Model: CHEVROLET MONTE CARLO 2003 6.GPages: 394, PDF Size: 2.73 MB
Page 1 of 394

Seats and Restraint Systems........................... 1-1
Front Seats
............................................... 1-2
Rear Seats
............................................... 1-8
Safety Belts
.............................................1-10
Child Restraints
.......................................1-29
Air Bag Systems
......................................1-48
Restraint System Check
............................1-56
Features and Controls..................................... 2-1
Keys
........................................................ 2-2
Doors and Locks
....................................... 2-8
Windows
.................................................2-12
Theft-Deterrent Systems
............................2-14
Starting and Operating Your Vehicle
...........2-16
Mirrors
....................................................2-29
OnStar
žSystem
......................................2-34
HomeLinkžTransmitter
.............................2-35
Storage Areas
.........................................2-39
Sunroof
..................................................2-40
Vehicle Personalization
.............................2-41
Instrument Panel............................................. 3-1
Instrument Panel Overview
.......................... 3-4
Climate Controls
......................................3-22
Warning Lights, Gages and Indicators
.........3-30
Message Center
.......................................3-44
Driver Information Center (DIC)
..................3-52Trip Computer
.........................................3-55
Audio System(s)
.......................................3-56
Driving Your Vehicle....................................... 4-1
Your Driving, the Road, and Your Vehicle
..... 4-2
Towing
...................................................4-29
Service and Appearance Care.......................... 5-1
Service
..................................................... 5-3
Fuel
......................................................... 5-4
Checking Things Under the Hood
...............5-10
Headlamp Aiming
.....................................5-53
Bulb Replacement
....................................5-54
Windshield Wiper Blade Replacement
.........5-58
Tires
......................................................5-59
Appearance Care
.....................................5-82
Vehicle Identi®cation
.................................5-90
Electrical System
......................................5-90
Capacities and Speci®cations
.....................5-98
Normal Maintenance Replacement Parts
....5-100
Maintenance Schedule..................................... 6-1
Maintenance Schedule
................................ 6-2
Customer Assistance Information.................... 7-1
Customer Assistance Information
.................. 7-2
Reporting Safety Defects
............................ 7-8
Index................................................................ 1
2003 Chevrolet Monte Carlo Owner ManualM
Page 9 of 394
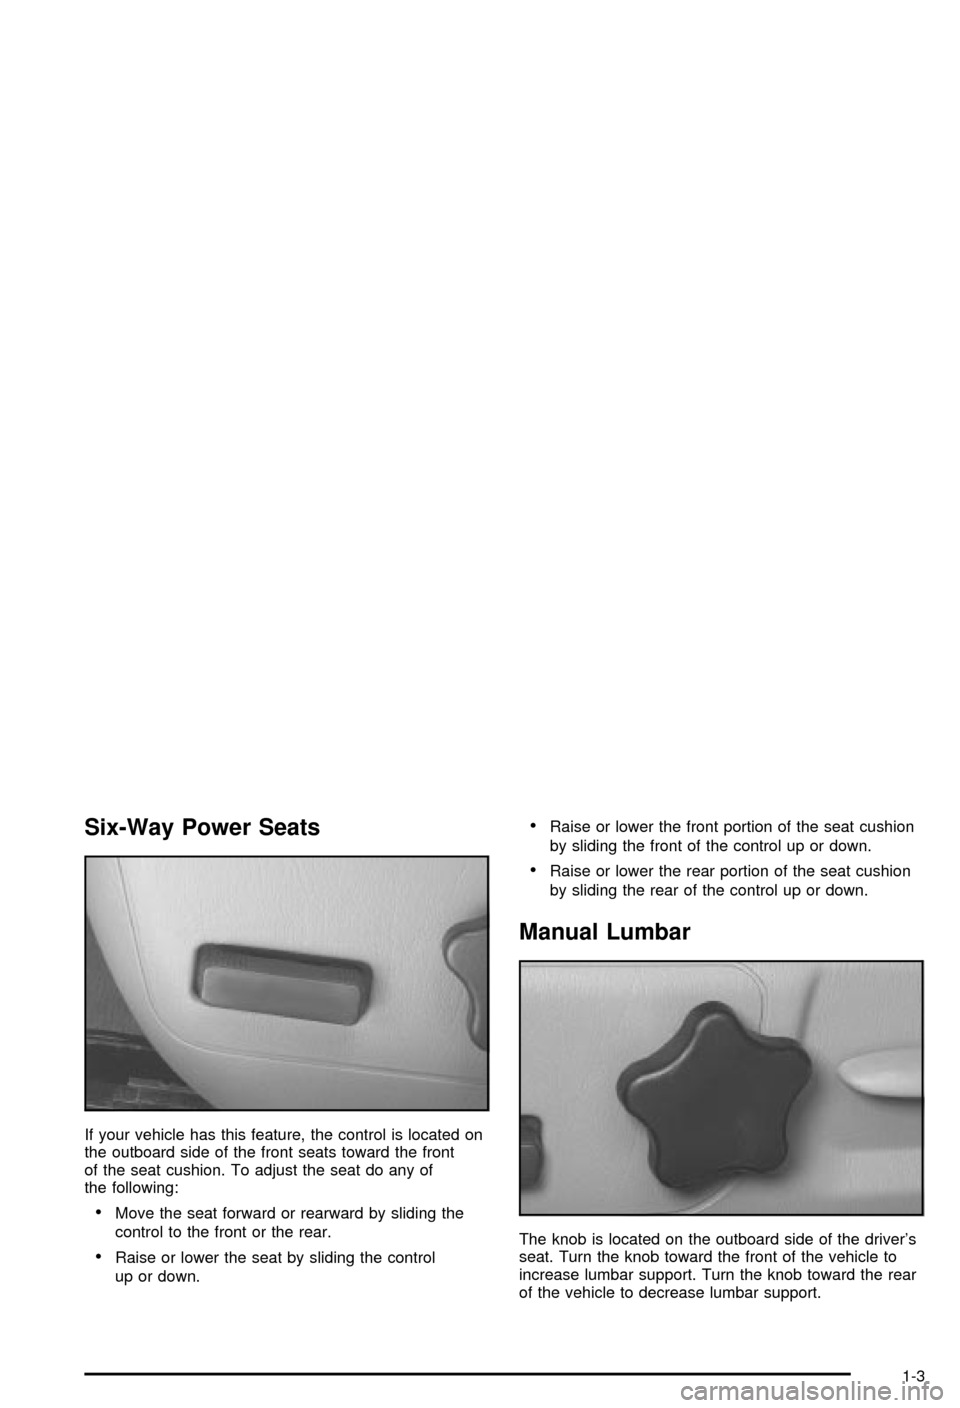
Six-Way Power Seats
If your vehicle has this feature, the control is located on
the outboard side of the front seats toward the front
of the seat cushion. To adjust the seat do any of
the following:
·Move the seat forward or rearward by sliding the
control to the front or the rear.
·Raise or lower the seat by sliding the control
up or down.
·Raise or lower the front portion of the seat cushion
by sliding the front of the control up or down.
·Raise or lower the rear portion of the seat cushion
by sliding the rear of the control up or down.
Manual Lumbar
The knob is located on the outboard side of the driver's
seat. Turn the knob toward the front of the vehicle to
increase lumbar support. Turn the knob toward the rear
of the vehicle to decrease lumbar support.
1-3
Page 12 of 394
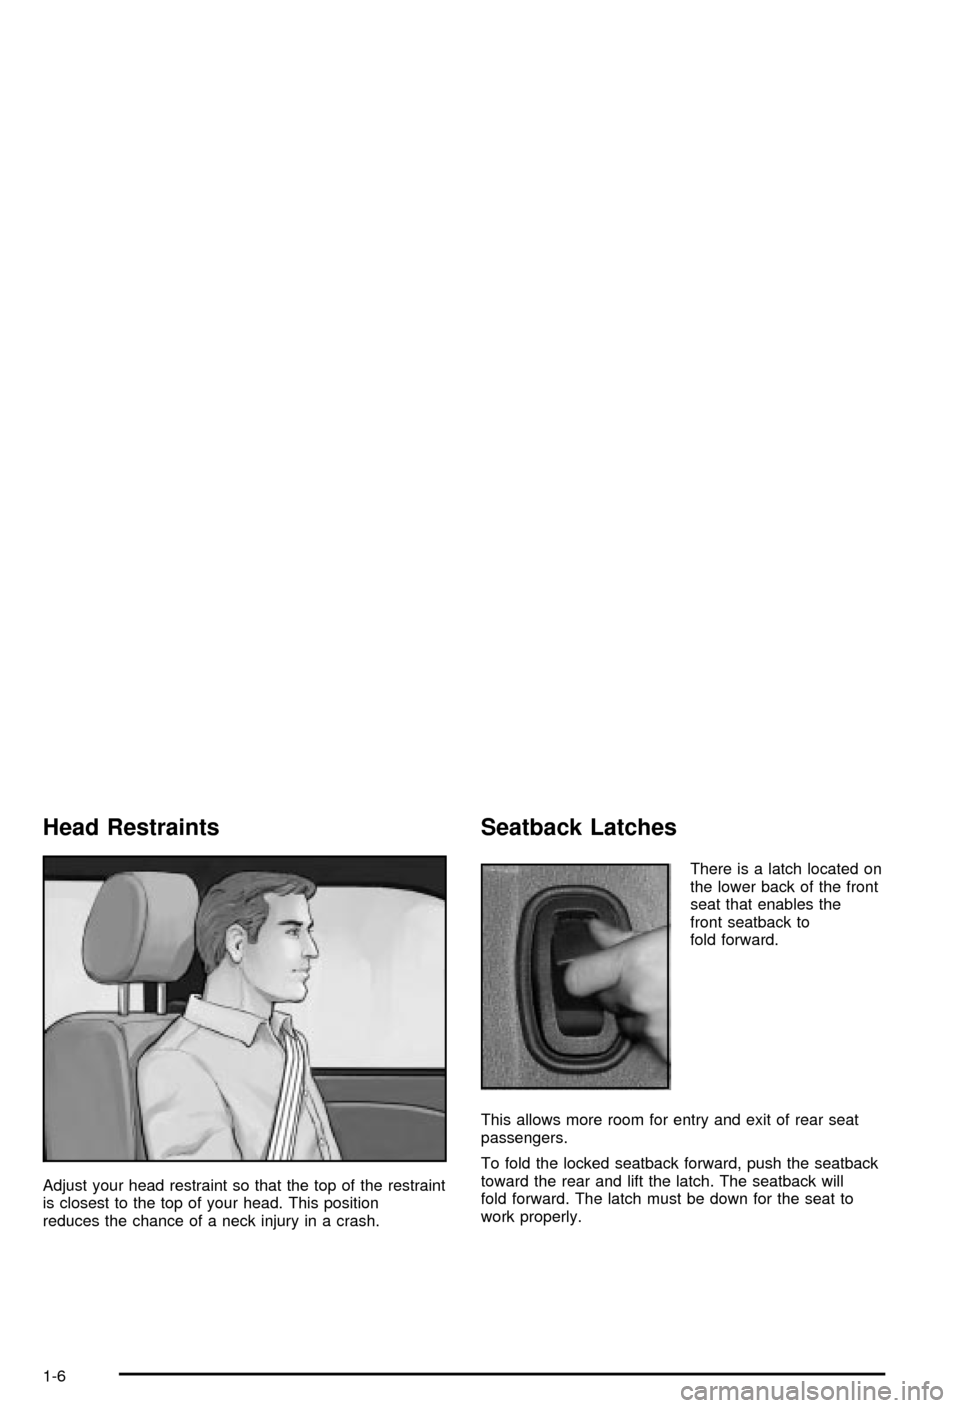
Head Restraints
Adjust your head restraint so that the top of the restraint
is closest to the top of your head. This position
reduces the chance of a neck injury in a crash.
Seatback Latches
There is a latch located on
the lower back of the front
seat that enables the
front seatback to
fold forward.
This allows more room for entry and exit of rear seat
passengers.
To fold the locked seatback forward, push the seatback
toward the rear and lift the latch. The seatback will
fold forward. The latch must be down for the seat to
work properly.
1-6
Page 36 of 394
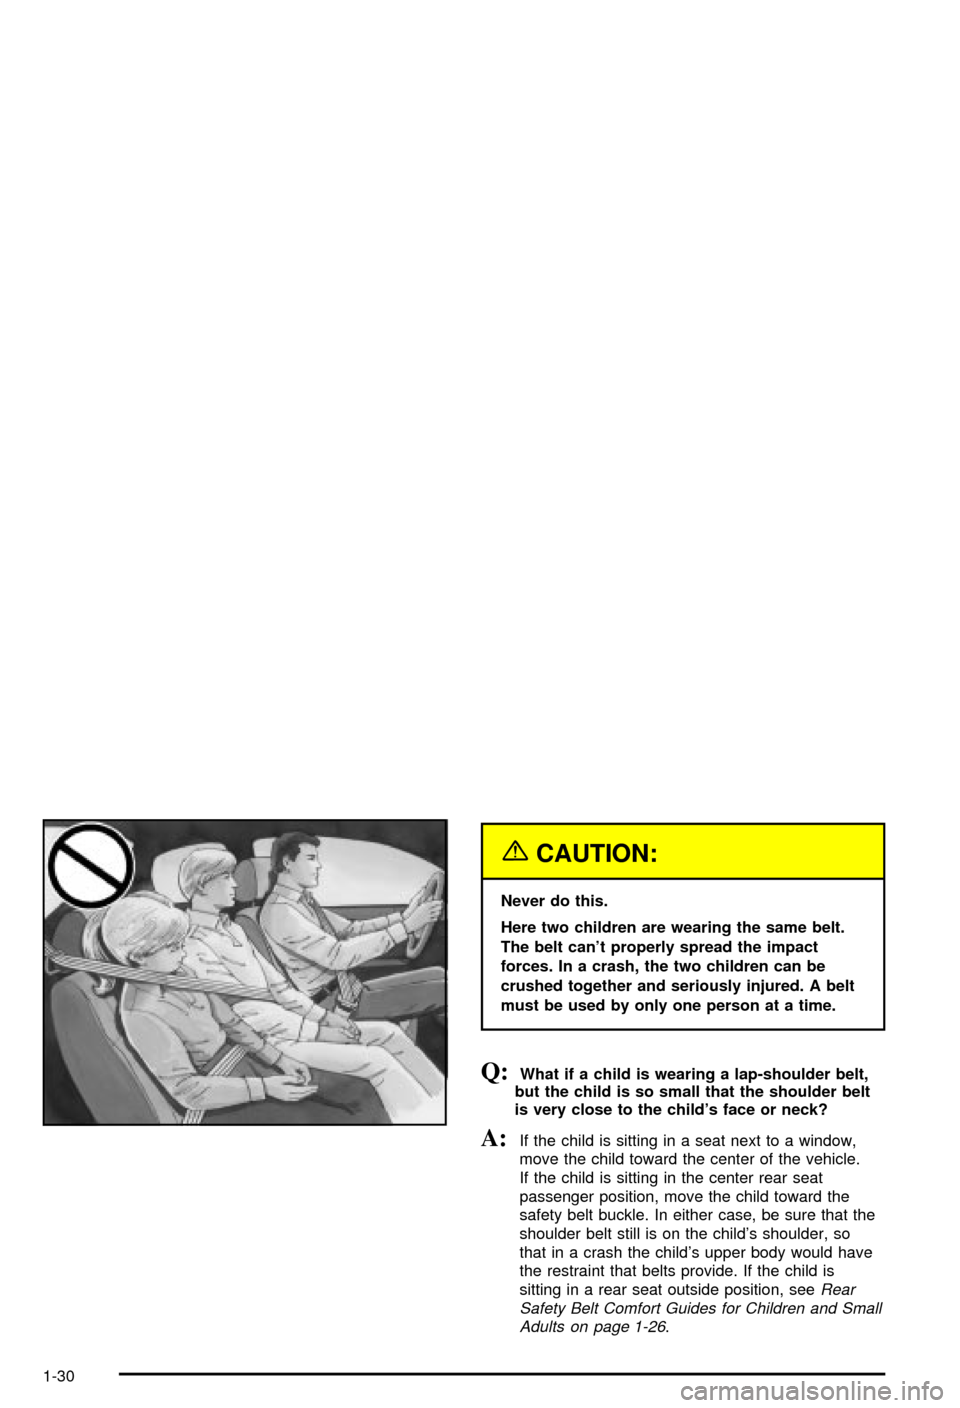
{CAUTION:
Never do this.
Here two children are wearing the same belt.
The belt can't properly spread the impact
forces. In a crash, the two children can be
crushed together and seriously injured. A belt
must be used by only one person at a time.
Q:What if a child is wearing a lap-shoulder belt,
but the child is so small that the shoulder belt
is very close to the child's face or neck?
A:If the child is sitting in a seat next to a window,
move the child toward the center of the vehicle.
If the child is sitting in the center rear seat
passenger position, move the child toward the
safety belt buckle. In either case, be sure that the
shoulder belt still is on the child's shoulder, so
that in a crash the child's upper body would have
the restraint that belts provide. If the child is
sitting in a rear seat outside position, see
Rear
Safety Belt Comfort Guides for Children and Small
Adults on page 1-26
.
1-30
Page 41 of 394
{CAUTION:
The body structure of a young child is quite
unlike that of an adult or older child, for whom
the safety belts are designed. A young child's
hip bones are still so small that the vehicle's
regular safety belt may not remain low on the
hip bones, as it should. Instead, it may settle
up around the child's abdomen. In a crash, the
belt would apply force on a body area that's
unprotected by any bony structure. This alone
could cause serious or fatal injuries. Young
children always should be secured in
appropriate child restraints.
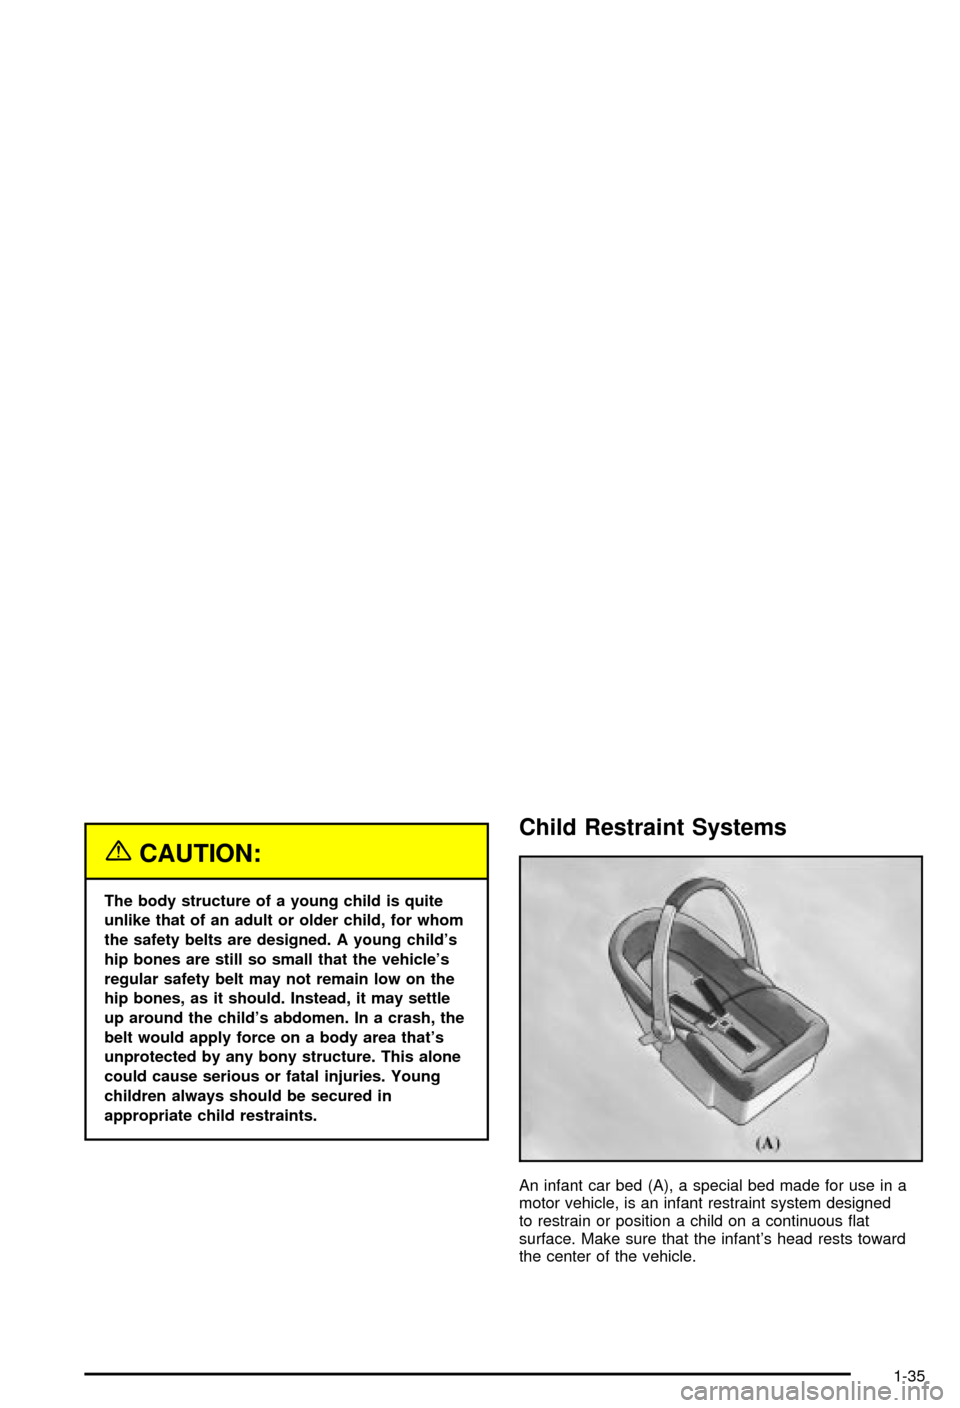
Child Restraint Systems
An infant car bed (A), a special bed made for use in a
motor vehicle, is an infant restraint system designed
to restrain or position a child on a continuous ¯at
surface. Make sure that the infant's head rests toward
the center of the vehicle.
1-35
Page 60 of 394

How Does an Air Bag Restrain?
In moderate to severe frontal or near frontal collisions,
even belted occupants can contact the steering wheel or
the instrument panel. In moderate to severe side
collisions, even belted occupants can contact the inside
of the vehicle. The air bag supplements the protection
provided by safety belts. Air bags distribute the force of
the impact more evenly over the occupant's upper
body, stopping the occupant more gradually. But the
frontal air bags would not help you in many types
of collisions, including rollovers, rear impacts, and many
side impacts, primarily because an occupant's motion
is not toward the air bag. A side impact air bag
would not help you in many types of collisions, including
frontal or near frontal collisions, rollovers, and rear
impacts, primarily because an occupant's motion is not
toward that air bag. Air bags should never be regarded
as anything more than a supplement to safety belts,
and then only in moderate to severe frontal or
near-frontal collisions for the driver's and right front
passenger's frontal air bags, and only in moderate to
severe side collisions for vehicles with a driver's
side impact air bag.
What Will You See After an Air Bag
In¯ates?
After the air bag in¯ates, it quickly de¯ates, so quickly
that some people may not even realize the air bag
in¯ated. Some components of the air bag module will be
hot for a short time. These components include the
steering wheel hub for the driver's frontal air bag and the
instrument panel for the right front passenger's frontal air
bag. For vehicle's with a driver's side impact air bag, the
side of the seatback closest to the driver's door will be
hot. The parts of the bag that come into contact with you
may be warm, but not too hot to touch. There will be
some smoke and dust coming from the vents in the
de¯ated air bags. Air bag in¯ation doesn't prevent the
driver from seeing or being able to steer the vehicle, nor
does it stop people from leaving the vehicle.
{CAUTION:
When an air bag in¯ates, there is dust in the
air. This dust could cause breathing problems
for people with a history of asthma or other
breathing trouble. To avoid this, everyone in
CAUTION: (Continued)
1-54
Page 72 of 394
Doors and Locks
Door Locks
{CAUTION:
Unlocked doors can be dangerous.
·Passengers Ð especially children Ð can
easily open the doors and fall out of a
moving vehicle. When a door is locked, the
handle will not open it. You increase the
chance of being thrown out of the vehicle
in a crash if the doors are not locked. So,
wear safety belts properly and lock the
doors whenever you drive.
·Young children who get into unlocked
vehicles may be unable to get out. A child
can be overcome by extreme heat and can
suffer permanent injuries or even death
from heat stroke. Always lock your vehicle
whenever you leave it.
·Outsiders can easily enter through an
unlocked door when you slow down or
stop your vehicle. Locking your doors can
help prevent this from happening.There are several ways to lock and unlock the vehicle.
From the outside, use your key or the optional
remote keyless entry transmitter. From the inside, use
the manual or power door locks.
To manually unlock the driver's door from the outside,
insert the key and turn it toward the front of the vehicle.
To manually lock the driver's door from the outside,
insert the key and turn it toward the rear of the vehicle.
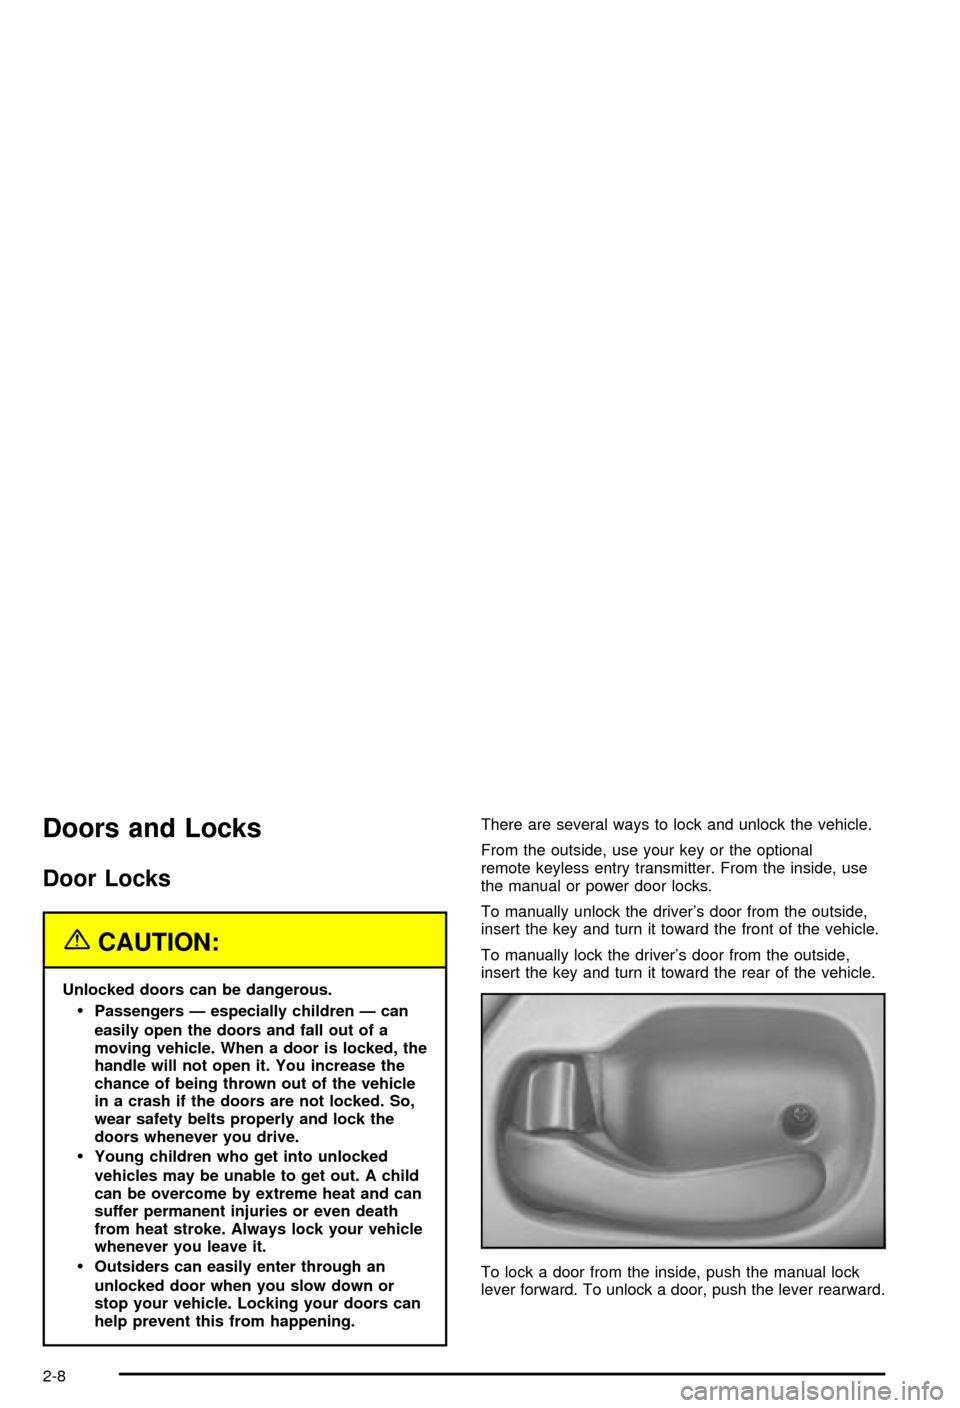
To lock a door from the inside, push the manual lock
lever forward. To unlock a door, push the lever rearward.
2-8
Page 75 of 394
Trunk Lock
To unlock the trunk from the outside, insert the key in
the lock and turn it. You can also press the car
symbol on your remote keyless entry transmitter.
Remote Trunk Release
You can also unlock the trunk from inside the vehicle.
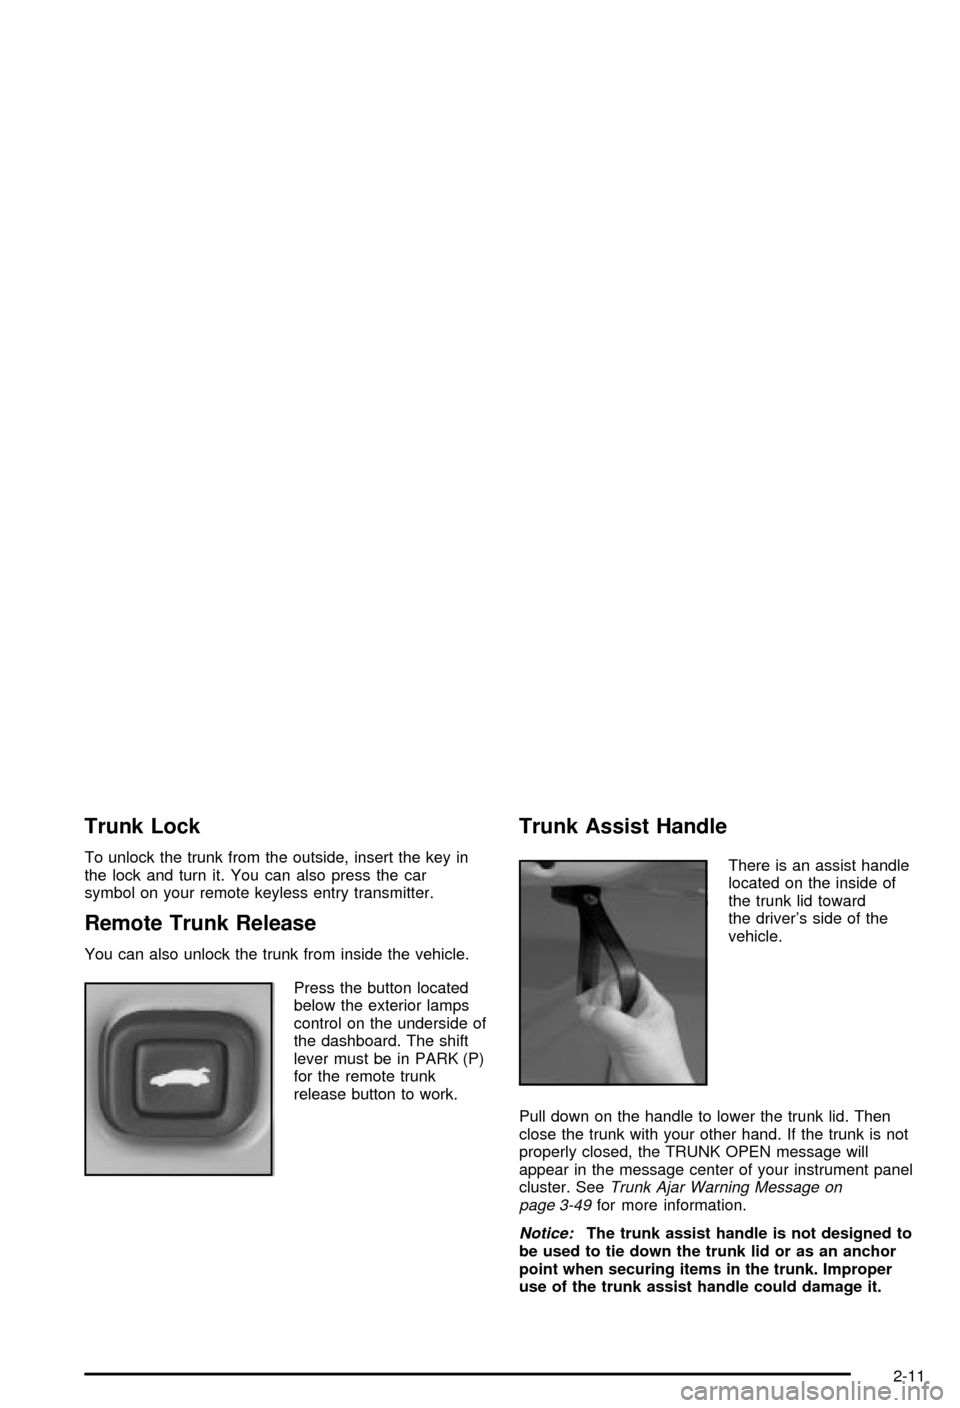
Press the button located
below the exterior lamps
control on the underside of
the dashboard. The shift
lever must be in PARK (P)
for the remote trunk
release button to work.
Trunk Assist Handle
There is an assist handle
located on the inside of
the trunk lid toward
the driver's side of the
vehicle.
Pull down on the handle to lower the trunk lid. Then
close the trunk with your other hand. If the trunk is not
properly closed, the TRUNK OPEN message will
appear in the message center of your instrument panel
cluster. See
Trunk Ajar Warning Message on
page 3-49for more information.
Notice:The trunk assist handle is not designed to
be used to tie down the trunk lid or as an anchor
point when securing items in the trunk. Improper
use of the trunk assist handle could damage it.
2-11
Page 80 of 394

Passlockž
Your vehicle is equipped with the Passlockž
theft-deterrent system.
Passlock
žis a passive theft-deterrent system. Passlockž
enables fuel if the ignition lock cylinder is turned with
a valid key. If a correct key is not used or the ignition
lock cylinder is tampered with, fuel is disabled and
the engine will not start.
During normal operation, the SECURITY message will
be displayed after the key is turned to the ON ignition
position. See
Security Message on page 3-49.
If the engine stalls and the SECURITY message
¯ashes, wait until the light stops ¯ashing before trying to
restart the engine.
If the engine is running and the SECURITY message
comes on, you will be able to restart the engine if
you turn the engine off. However, your Passlock
ž
system is not working properly and must be serviced by
your dealer. Your vehicle is not protected by Passlockž
at this time. You may also want to check the fuse.
SeeFuses and Circuit Breakers on page 5-91. See your
dealer for service.
In an emergency, contact Chevrolet Roadside
Assistance. See
Roadside Assistance Program on
page 7-5for more information.
Starting and Operating Your
Vehicle
New Vehicle Break-In
Notice:Your vehicle doesn't need an elaborate
ªbreak-in.º But it will perform better in the long run
if you follow these guidelines:
·Don't drive at any one speed Ð fast or
slow Ð for the ®rst 500 miles (805 km).
Don't make full-throttle starts.
·Avoid making hard stops for the ®rst 200 miles
(322 km) or so. During this time your new
brake linings aren't yet broken in. Hard stops
with new linings can mean premature wear and
earlier replacement. Follow this breaking-in
guideline every time you get new brake linings.
·Don't tow a trailer during break-in. See ªTowing
a Trailerº in the Index for more information.
2-16
Page 86 of 394

There are several different positions for your shift lever.
PARK (P):This position locks your front wheels. It's
the best position to use when you start your engine
because your vehicle can't move easily.
{CAUTION:
It is dangerous to get out of your vehicle if the
shift lever is not fully in PARK (P) with the
parking brake ®rmly set. Your vehicle can roll.
Do not leave your vehicle when the engine is
running unless you have to. If you have left the
engine running, the vehicle can move
suddenly. You or others could be injured. To
be sure your vehicle will not move, even when
you are on fairly level ground, always set your
parking brake and move the shift lever to
PARK (P). See ªShifting Into Park (P)º in the
Index. If you are pulling a trailer, see ªTowing
a Trailerº in the Index.Make sure the shift lever is fully in PARK (P) before
starting the engine. Your vehicle has an automatic
transaxle shift lock control system. You must fully apply
your regular brakes before you can shift from PARK (P)
while the ignition is in ON. If you cannot shift out of
PARK (P), ease pressure on the shift lever by pushing it
all the way into PARK (P) while keeping the brake
pedal pushed down and the shift lever button pressed
in. Release the shift lever button. Then move the
shift lever out of PARK (P). SeeShifting Out of Park (P)
on page 2-27.
REVERSE (R):Use this gear to back up.
Notice:Shifting to REVERSE (R) while your vehicle
is moving forward could damage your transaxle.
Shift to REVERSE (R) only after your vehicle is
stopped.
To rock your vehicle back and forth to get out of snow,
ice or sand without damaging your transaxle, see If
You Are Stuck: In Sand, Mud, Ice or Snow on
page 4-28.
2-22